ModelRailroadForums.com is a free
Model Railroad Discussion Forum and
photo gallery. We cover all scales and sizes of model railroads. Online since 2002, it's one of the oldest and largest model railroad forums on the web. Whether you're a master model railroader or just getting started, you'll find something of interest here.
Jim, that's some excellent scenery, very nice details
I like, thanks for sharing
Thank you all for the kind comments .
Lynn , if it will help you I am starting some more and I could take some pictures of the process for you , let me know.
Tony , as Horseman said , I did post a few photo's of the process . It was really quite easy . I used the W.S. realistic water and W.S. water effects . I formed the waterfall "mold" with the water effects on plastic coated freezer paper and once it dried , about 24 hours , I filled in the cavities with the realistic water and let that dry. After that I mixed a bit of white acrylic with a small amount of water effects to kind of " drybrush " some highlights on . What you see in the pics is actually 2 separate pieces stacked in front of each other with about a 1/4 inch between them .
Yannis , thanks , I was not sure just how those would come out . I think I will try to add a bit more rubble around them .
Jim any help is always appreciated, thanks.
Lynn , here is what I did to make the trees . I followed the basic outline that I got off of a you-tube video . I don't remember who's video it was to give proper credit to unfortunately. I started out with 1/4 and 5/16 inch dowels and cut them to the length I wanted my tree's to be .
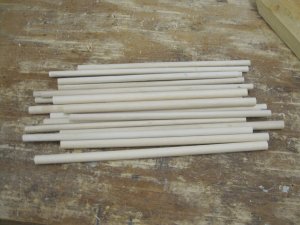
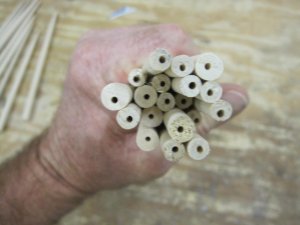
Then I drilled a hole in the bottom of each "trunk" for a pin to use to mount to the layout .
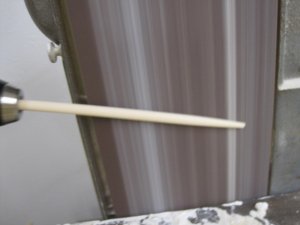
Then I shaped them . I used a cordless drill and a fixed belt sander , but you could use what ever you had available to get the shape you wanted .
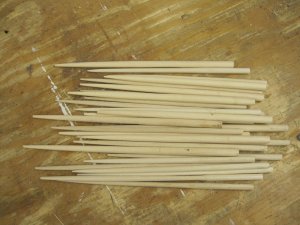
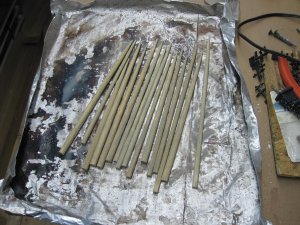
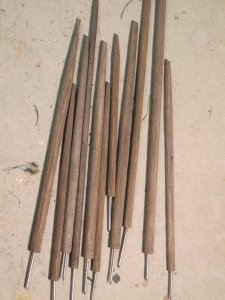
This is now what my pile of trunks looked like.
After shaping them to what I wanted , I used a small wire wheel to rough them up and put some bark texture on them.
this is what I used to put bark texture on the "trunks"
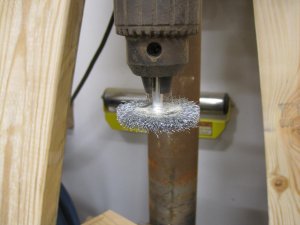
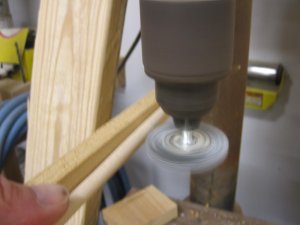
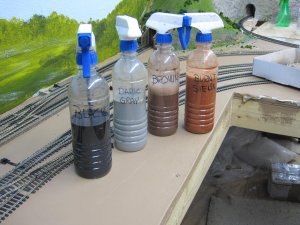
Then I put my color washes on . I colored them all at the same time .
These are the colors I used . I just kept applying until I got the color I wanted.
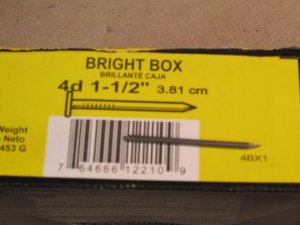
This is what I used for the anchor pins . I just cut the heads off and pushed them up inside the "trunks" .
This is the material I used to make the basic branch structure . I got it from Amazon , but I was told you can also get it at Walmart .
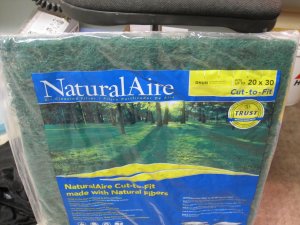
I cut the material up into about 3 inch squares . They are about an inch thick which is just to thick so I cut them in half to make them thinner.
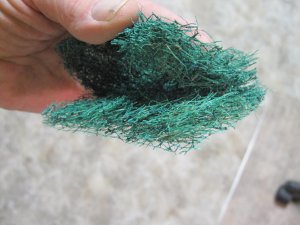
After I cut them in half , I took and painted some of them with Krylon Camoflauge Olive and I left some of them unpainted . It kind of depends on how dark you want your finished tree to be .
.
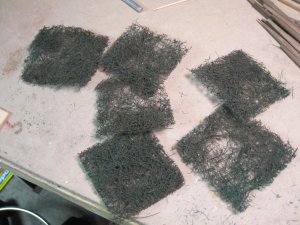
After the paint is dry , cut them into random shaped pieces . I cut some clover shaped and some like stars . The only thing I found to try and avoid is to try not to leave sharp points .
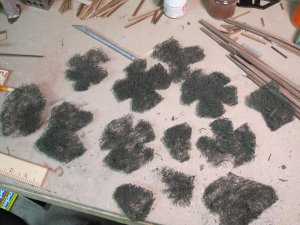
Now that all the pieces are ready , you start your assembly . I start with a bigger piece slid over the trunk to where I want then apply some white glue to hold it . Then put on a small piece and glue . Just keep that pattern up till you get to the top.Then glue a piece of the cut waste on top to finish it.
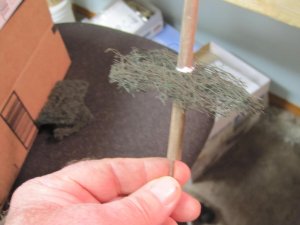
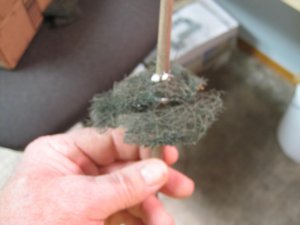
Once you get it to here , set it aside to dry while building more. Once its dry take your scissors and do any trimming that is needed . I found that most of the trimming was at the top to taper the tree . Also take the opportunity now to cut any wild strands off .
This is the material I used to put the "leaf" on .
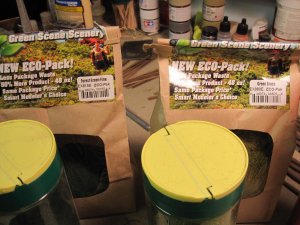
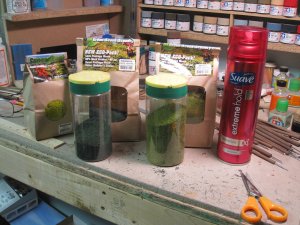
Take the hairspray and give the "tree" a good heavy coat and then over a box or some sort of catch basin apply your darkest color flock , putting it on until it wont hold any more . Once applied tap the trunk a few times over the box to catch anything that falls off . The stuff that falls off can be reloaded into the shaker to be reapplied .
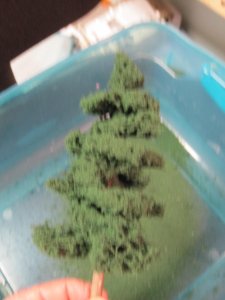
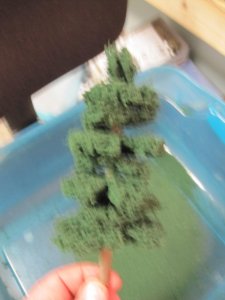
Lightly put more hairspray on again but this time only on what is the top of the branches . We don't need to stick any flock under the branches this time. Then apply your lighter accent color .
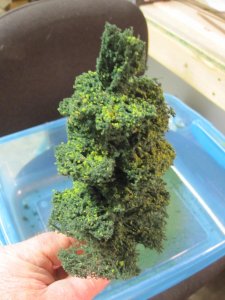
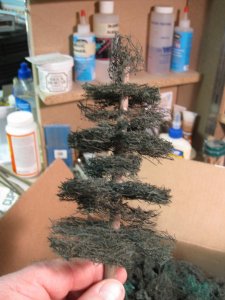
And here you have it , a tree ready to plant ....
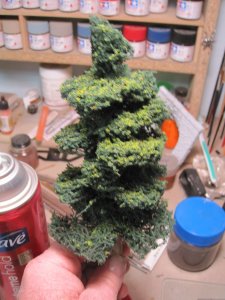
I hope this little guide will help someone with tree building . It is nice to be able to give something back to the board , I have taken so much from here and plan to take more

Thanks Jim excellent tutorial.
Nice tutorial and it sure helped me - cheers!
Glad to see you around Tony .
I'm still around, just been busy with a million and one things and haven't had the chance to get on much lately.
This is going to be nice.
Quite an ambitious build. I will be waiting to see the results.
Jim,
Looking forward to seeing this one being built, looks like it is quite a challenge with the curves and truss inclusion.
Northern Pacific history enthusiast
Really nice tutorial on the furnace filter trees! Looking forward to watching the new trestle take place as well. Thanks.
Same here, nice tutorial for the trees
That trestle will be a mighty piece of work and can't wait to see the progress on it
Thanks
So I have a couple photos to post of the
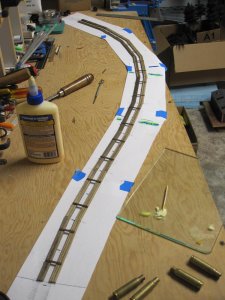
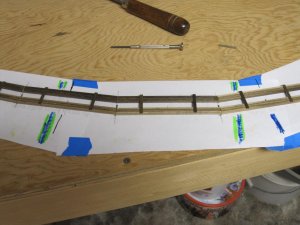
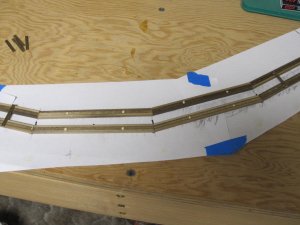
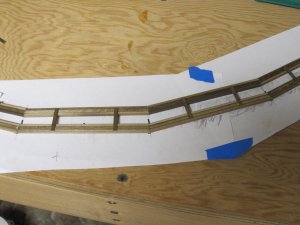
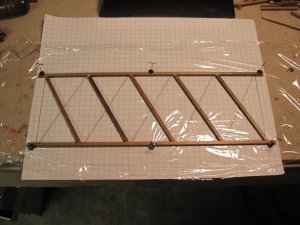
very slow progress. What my plan is , is to make a modified Howe timber truss and basically put it between the bents that go over the stream . This is what I have done so far . I made my 1-1 pattern and cut all the pieces for that step . Then I put some plastic wrap over it so the glue would not stick and pinned the top and bottom runners down , which made it very easy to apply some glue and position the cross braces .
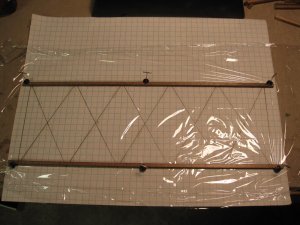
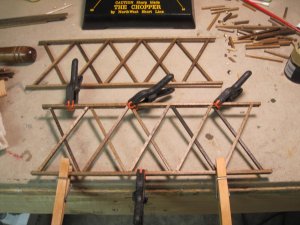
Then I took those and rotated them and glued the 2 assemblies together .
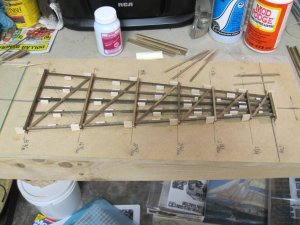
This is the bent jig working .

Affiliate Disclosure: We may receive a commision from some of the links and ads shown on this website
(Learn More Here)