
You are using an out of date browser. It may not display this or other websites correctly.
You should upgrade or use an alternative browser.
You should upgrade or use an alternative browser.
BearClaw Valley Railroad
- Thread starter jim81147
- Start date
ModelRailroadForums.com is a free Model Railroad Discussion Forum and photo gallery. We cover all scales and sizes of model railroads. Online since 2002, it's one of the oldest and largest model railroad forums on the web. Whether you're a master model railroader or just getting started, you'll find something of interest here.

Michael may be talking about building up in layers and finishing with a sprinkle of burnt grass. If you haven't tried it you have to try some ws polyfiber. Polyfiber is your friend.
So what do you think caused the discoloration when I used hydrocal over hydrocal ? you can see it in picture #2

Keep in mind hydrocal is different than pop. I tend to stick to pop for everything. That and the ground goop I use.


Affiliate Disclosure: We may receive a commision from some of the links and ads shown on this website (Learn More Here)
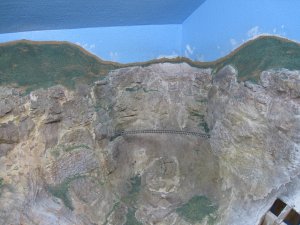
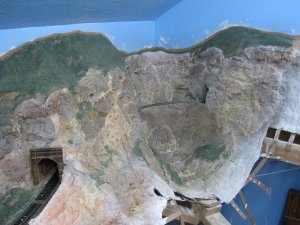
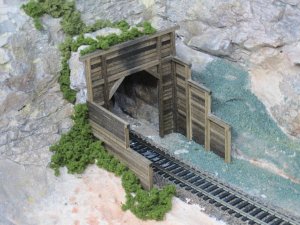
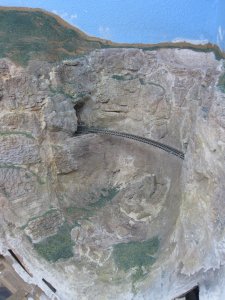
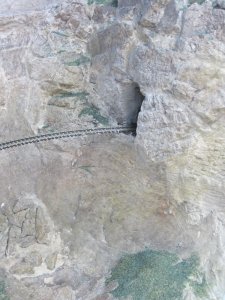
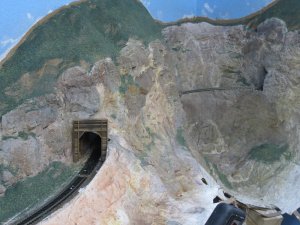
Motley , when you talk about the yellow in the grass are you seeing something like fields of dandelion or more like just a sprinkling of dead grass?
Lynn , as an overall , yes I am OK with it . I have to say though that there are things , one in particular , that I am very unhappy with . If you look at the second picture immediately to the right of the portal you can see where the plaster to join the castings did not take color the same as the castings themselves did .That is the largest area , but many of the blends look like that. I had this same issue on the first set of mountains I did where I used plaster for the castings but drywall mud to set/blend everything together . The different materials took the washes differently . I figured that there would be some slight variation due to material difference but not anything as ugly as what I got . That is why on this attempt , I made sure and used hydrocal exclusively . I still got the bold color difference . I do not like it , but don't know what I did wrong to create the problem to begin with . I guess I will just have to camouflage the joints with grass or bushes the best I can . On the plus side though , I am much happier with the blending of the castings themselves than what I got on my first attempt.
Lynn , as an overall , yes I am OK with it . I have to say though that there are things , one in particular , that I am very unhappy with . If you look at the second picture immediately to the right of the portal you can see where the plaster to join the castings did not take color the same as the castings themselves did .That is the largest area , but many of the blends look like that. I had this same issue on the first set of mountains I did where I used plaster for the castings but drywall mud to set/blend everything together . The different materials took the washes differently . I figured that there would be some slight variation due to material difference but not anything as ugly as what I got . That is why on this attempt , I made sure and used hydrocal exclusively . I still got the bold color difference . I do not like it , but don't know what I did wrong to create the problem to begin with . I guess I will just have to camouflage the joints with grass or bushes the best I can . On the plus side though , I am much happier with the blending of the castings themselves than what I got on my first attempt.
Lynnb
Well-Known Member
Yes i understand Jim , pop and drywall compounds are defiantely different and as you have experienced will not take colour the same. Luckily for you drywall compound is not hard like pop and can easily be picked away and replaced with pop. Or remove enough so that you can fill in overtop. I have a siringe that I use for this sort of thing or if you have a small tool that you can apply the pop with into the cracks and then use a artist brush like a #3 or so and once you apply the plaster just dip brush into water and make the pop wet enough so it will push and flow to your liking. If you try to camoflauge what you have there now it will look just like that, camoflauged and will stand out like a sore thumb. But thats just me.
Lynnb
Well-Known Member
Ahhh very nicely done. You abosolultye nailed the all the colors. The portal looks great too.
For the grass. Add some yellow grass in spotted areas. Also add some bushes.
Michael may be talking about building up in layers and finishing with a sprinkle of burnt grass. If you haven't tried it you have to try some ws polyfiber. Polyfiber is your friend.
Yes i understand Jim , pop and drywall compounds are defiantely different and as you have experienced will not take colour the same. Luckily for you drywall compound is not hard like pop and can easily be picked away and replaced with pop. Or remove enough so that you can fill in overtop. I have a siringe that I use for this sort of thing or if you have a small tool that you can apply the pop with into the cracks and then use a artist brush like a #3 or so and once you apply the plaster just dip brush into water and make the pop wet enough so it will push and flow to your liking. If you try to camoflauge what you have there now it will look just like that, camoflauged and will stand out like a sore thumb. But thats just me.
So what do you think caused the discoloration when I used hydrocal over hydrocal ? you can see it in picture #2
I understand the layering and plan to do that as materials become available . I wanted to get a base down , partly to give the rest something to stick to but also because I was tired of looking at that plaster My progress never seems to be as fast as everyone else . maybe If I stayed off the computer a bit more 
My progress never seems to be as fast as everyone else . maybe If I stayed off the computer a bit more
Motley
Active Member
Yes I'm talking about the burn grass. In Colorado we have lots of burnt grass, specially during the summer months.
Also you need dirt! Lots of dirt. Just go outside (well when its not snowing). Get a bucket of dirt. Get a flower sifter. Sift the dirt to get all the big rocks out of it. Then use white glue (not thinned down), to glue it.
Get the woodland scenics fine leaf foilage here: http://woodlandscenics.woodlandscenics.com/show/Item/F1134/page/1
Replicate the grasses in this photo here:


Also you need dirt! Lots of dirt. Just go outside (well when its not snowing). Get a bucket of dirt. Get a flower sifter. Sift the dirt to get all the big rocks out of it. Then use white glue (not thinned down), to glue it.
Get the woodland scenics fine leaf foilage here: http://woodlandscenics.woodlandscenics.com/show/Item/F1134/page/1
Replicate the grasses in this photo here:
Last edited by a moderator:
Lynnb
Well-Known Member
So what do you think caused the discoloration when I used hydrocal over hydrocal ? you can see it in picture #2
Keep in mind hydrocal is different than pop. I tend to stick to pop for everything. That and the ground goop I use.
I think I have the waterfall and first part of the stream ready to pour . Now would be the time to add or subtract things . Any input would be great . I am trying to model the stream in mid summer when the flow is low . The waterfall water is a separate piece . I am looking at silicone or WS water effects and realistic water like on the WS video.
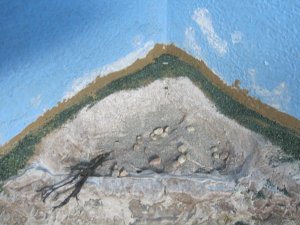
this is where the waterfall will start
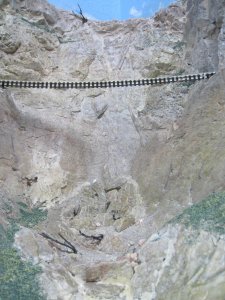
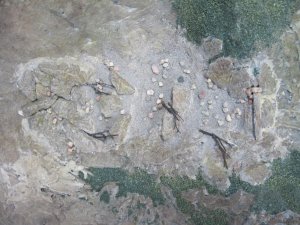 these are the streambed , sorry I could not figure out how to rotate the last one. The water flows from left to right
this is where the waterfall will start
these are the streambed , sorry I could not figure out how to rotate the last one. The water flows from left to right
Lynnb
Well-Known Member
Hard to tell from pics what the grade of the stream will be, just be careful the water doesn't take off on you and if your going to add the river bed stuff like dried up twigs for logs on the banks then you will want to do it before pouring, also make sure the river bottom has the color you want. You can put the waterfall hanging over the edge and pour the water right into it.
Lynn , I have stepped the grade so that each area is fairly flat with what will be a small water over the rocks to the next level , not really enough drop to call it a water fall and not sure what other label may fit. The water should , I hope , hope , not take off with this in place . As for coloring , my thoughts are that with it being a low flow time of year the water should be fairly shallow so seeing the bottom should be easy . That is why I chose not to color any depth into the stream . My thoughts were it should look just like the rock on which it runs basically . I think I may add a bit more debris . Thanks for the input.
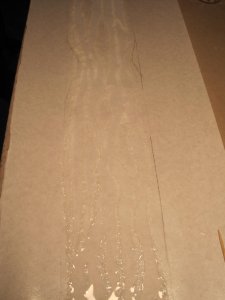
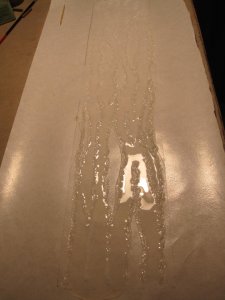
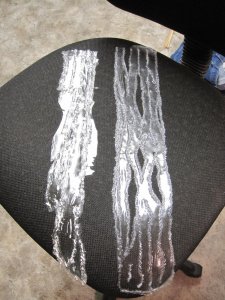
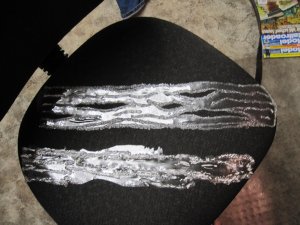
So I was able to install my pieces . What I did first was to take the smaller back piece and roll up the top end into a very tight tube . I then put a spot of hot glue on the tube to hold it together . I made the tube so that when glued on to the rock work it would hold out the sheet so it was not tight up against the rocks.
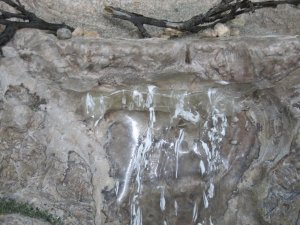
So then I hot glued it where I wanted it to hang , then went and put a couple small glue spots on the bottom to hold that end where I wanted it .
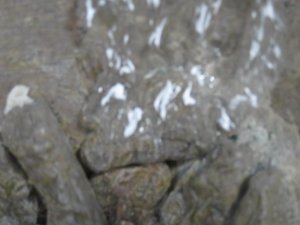
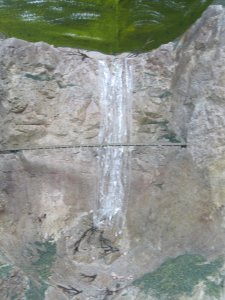
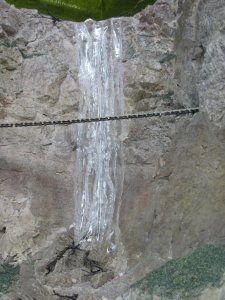
Then I took my top sheet and cut it to rough length . I made them long so I would have some room to play with for positioning . I fit it where I liked it and hot glued the top in position . The hot glue will melt the water if you put to much on . I found that out on my test piece.
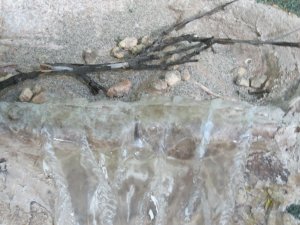
Then I fit the bottom to the rocks . The water cuts very easy so you can match shapes . Once I got it how I wanted it I put a few blobs of hot glue down and wrapped the bottom around the shape of the rocks.
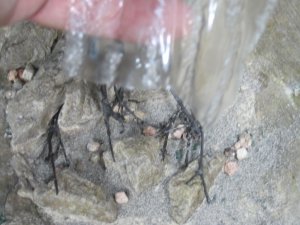
So then I hot glued it where I wanted it to hang , then went and put a couple small glue spots on the bottom to hold that end where I wanted it .
Then I took my top sheet and cut it to rough length . I made them long so I would have some room to play with for positioning . I fit it where I liked it and hot glued the top in position . The hot glue will melt the water if you put to much on . I found that out on my test piece.
Then I fit the bottom to the rocks . The water cuts very easy so you can match shapes . Once I got it how I wanted it I put a few blobs of hot glue down and wrapped the bottom around the shape of the rocks.
flyboy2610
Loveably weird
That looks good! I like that effect.
Affiliate Disclosure: We may receive a commision from some of the links and ads shown on this website (Learn More Here)