
You are using an out of date browser. It may not display this or other websites correctly.
You should upgrade or use an alternative browser.
You should upgrade or use an alternative browser.
BearClaw Valley Railroad
- Thread starter jim81147
- Start date
ModelRailroadForums.com is a free Model Railroad Discussion Forum and photo gallery. We cover all scales and sizes of model railroads. Online since 2002, it's one of the oldest and largest model railroad forums on the web. Whether you're a master model railroader or just getting started, you'll find something of interest here.



Affiliate Disclosure: We may receive a commision from some of the links and ads shown on this website (Learn More Here)
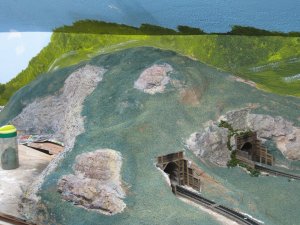
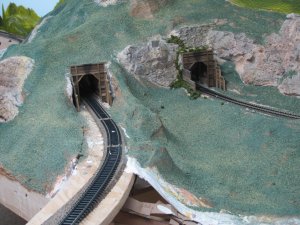
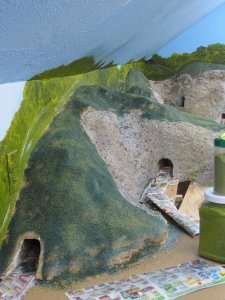
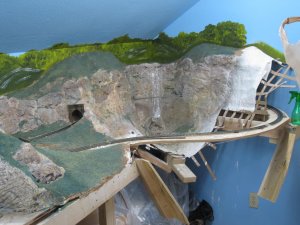
Lynnb
Well-Known Member
Keep at it Jim I think your starting to get the hang of it. The waterfall came out good although to add to it I think myself I would add rocks down each side kind of like a river flowing through rocks in a gorge where the verticle walls would be 3-4 feet on each verticle side but instead of a river it would be a waterfall. Kind of would give the water definition.back quite a few years ago when I started in the hobby I came across a site called amr and there was a chap on there and his name was Paul Templar or otherwise known as Shamus he did some excellent tutorials you may want to look at and one was carving rock faces . shamus has since passed away but he was much like jim, always helpful. Check it out here http://www.all-model-railroading.co.uk/amr/index.htm
Thank you for the link Lynn , there looks like tons of good info and pictures there . It will be a good place to research more how-to's .
Here are a couple photo's of the engine shed . I just started to weather it . I am looking for pointers on what and where to do to it next . I prefer lighter weathering myself . I have put some rust on the roof and some " soot and coal dust " on the building overall .Detail pieces are on order . I wish I could find a detail assortment pack . That would be handy and I think would give me more ideas as I see the different parts.
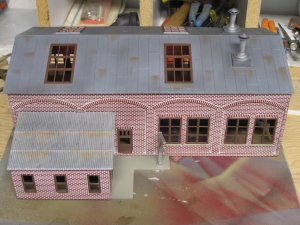
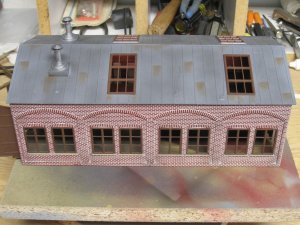
Thanks for any input.
Here are a couple photo's of the engine shed . I just started to weather it . I am looking for pointers on what and where to do to it next . I prefer lighter weathering myself . I have put some rust on the roof and some " soot and coal dust " on the building overall .Detail pieces are on order . I wish I could find a detail assortment pack . That would be handy and I think would give me more ideas as I see the different parts.
Thanks for any input.
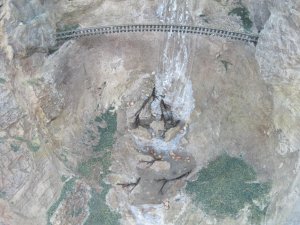
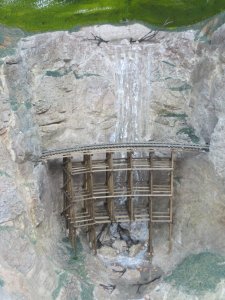
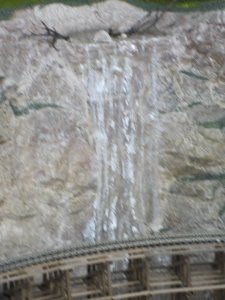
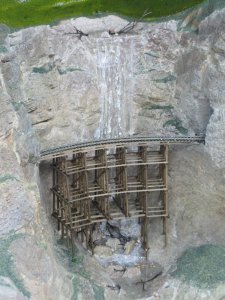

Thanks Chet , but I could not have done any of it without the help I have received from all those who have given me comments and pointers or who have posted photos from their own layouts illustrating how things are done. Hopefully it will just get better from here on out !!
Motley
Active Member
Holy smokes batman! That turned out really well. Love the waterfall.
My only suggestion is the grass. Its got a blue tint to it? . It needs different shades of green. It doesn't match your green in the painted backdrp.
And needs some areas of dried/dead grass & weeds. Oh and some bushes too.
My only suggestion is the grass. Its got a blue tint to it? . It needs different shades of green. It doesn't match your green in the painted backdrp.
And needs some areas of dried/dead grass & weeds. Oh and some bushes too.
Last edited by a moderator:
You are right Michael , I never noticed the blue tint until you pointed that out now its glaring , or it was . I had the time to do another layer of landscape and now I am working on finishing up some evergreen trees. I even had a little time to go pick some sage brush for lower elevation trees . I think it will need atleast one more application of bushes and shrubs , but I think the trees should be placed first .
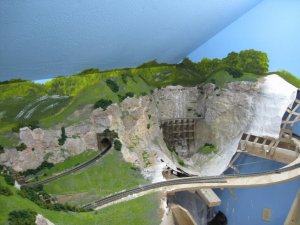
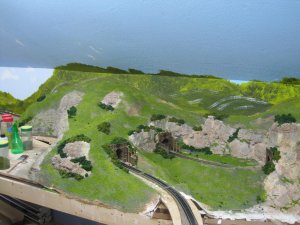
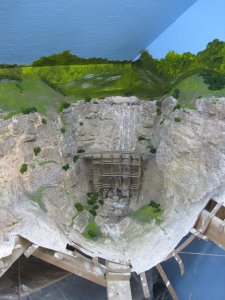
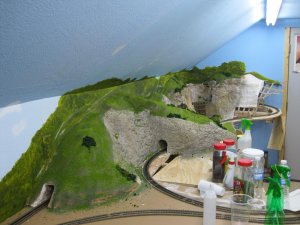
Thanks for all the input .
Thanks for all the input .

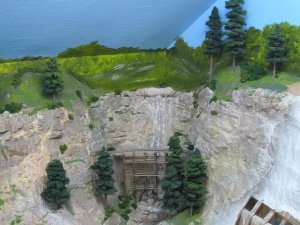
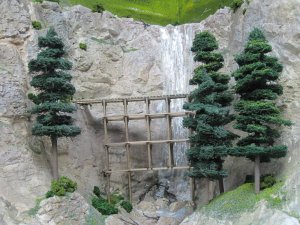
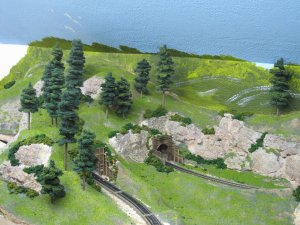
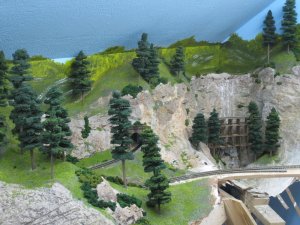
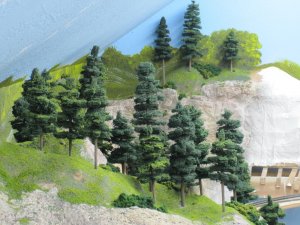
Thank you Lynn , yes I did make those . They are from furnace filter material and covered with flock and turf . I used dowel for the trunks , sanded to a point and then ran a wire wheel over them to get some texture and finally a few different colored washes. When we do a landscape job we generally adhere to the "odd" rule . It took me days to build those trees but only took minutes to use them all and I still need plenty more . I guess I have something to do now on those cols snowy days . I also have to give Chet's deciduous trees a shot . I will need them for down in the "valley" .

Iron Horseman
Well-Known Member
Tony, go back to post #36 of this thread. He shows how the technique there. I'm actually going to try that as I have not liked any other waterfall that I've seen on a model railroad before this one.The layout is looking very very good! I really like your water fall as well - how did you do that?
Last edited by a moderator:
Affiliate Disclosure: We may receive a commision from some of the links and ads shown on this website (Learn More Here)