Northern Pacific Rocky Valley Branch Switching Layout Build


GuilfordRailman

Well-Known Member
Hello Everyone!

Model railroading had been put aside the last few months except for some minor Lionel train set work.

Last week I received an email inviting me to exhibit a layout at a local train show! This brought back some motivation to build another layout:)

Now…since my n scale layout was sold two months ago (unfortunately) I didn’t have a layout to display and will need to build one. The show has some space available for 6 ft folding tables and therefore will limit my choices for a design!

However…I like a challenge! That being said, I plan to build a 1 ft x 6.5 ft shelf switching layout in HO scale. Yes, operations will be limited, but…I love micro-layouts and switching cars so it’s the perfect size for me:) Plus, 6.5 ft is about as much space as I have available haha.

I have until October 28th to complete the build which isn’t very long so work will be getting started very soon! Looking forward to sharing my build progress.
That's quite a challenge, looking forward to watching this build.
 
Just made a run to Home Depot to obtain the lumber and hardware for the build.

IMG_5906.jpeg


I will upload a schematic later detailing my plans for the benchwork.

Due to limited space in my vehicle for transport to and from the show, I designed the benchwork to split apart into two 3’ 3” sections with latches fastening the two sides together. The legs themselves can be removed as well for easy transport.
 
Here is a schematic of the layout benchwork:

View attachment 173584

I plan to add a fascia and create a shadowbox effect for the layout including some led lighting.

Here is a link to a layout I found online which includes photos of a layout that is part of the inspiration for this layout. It also shows how I’ll construct the fascia.

I clicked on the link. That's a good-lookin' little switching layout you found online. I like it. :)👍
 
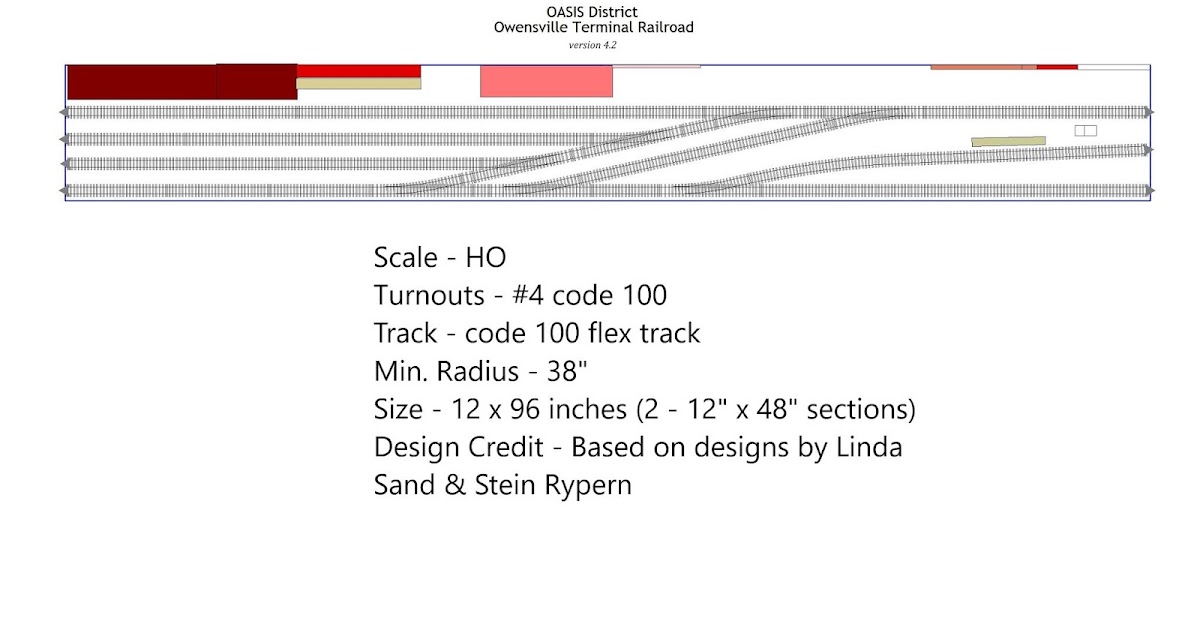
Here is a SCARM rendering of the track plan I've decided to go with. I discovered it after watching a video from Mog on Youtube, who got the idea from Alcanman1 on Youtube. Alcanman1's layout can be found here:

The main difference between our layouts is that I will not be using an additional off staging area or fiddle track. I had to go with a track plan that didn't include turnouts in the center of the layout as this is where the layout sections will split which requires gaps between flex track pieces.

I plan to use Atlas Code 83 flex track with #4 turnouts, but I may end up using Code 100.

1 x 6.5 ho scale exhibition layout.png


1 x 6.5 ho scale exhibition layout 2.png


I may or may not change the track plan slightly as I progress with the project. Due to the limited design choices for this build, I will be utilizing 40' rolling stock and shorter wheelbase locomotives, most likely an Alco S2. In terms of industries, I will have two on this layout. I have not decided yet which kinds, but I am thinking a team track to allow a variety of rolling stock and possibly a manufacturing plant or warehouse of some kind.
 
Last edited:
Okay….so problem #1 with layout construction! After purchasing what were labeled as 1’ x 4’ common boards from Home Depot, they are in fact NOT 1’ but one was 11 1/4” and the other 11 1/2” in width. After some consideration, I opted to cut the larger board down to 11 1/4” and will make that the “official” width of the layout. Note to self: “Always bring a tape measure to the store when purchasing lumber!”.
 
Last edited:
I expect that it dates back to the calculation of board feet in a log. A log could be cut into so many say 4" boards, not counting saw cut and finishing. An exception s a 4'x8' sheet of plywood is actually 4x8...
actually, to be more precise, the nominal dimension is the term assigned to what the lumber is named (like 2 x 4 or 1 x 6); the actual dimension is smaller, due to the fact that the planer takes away from the rough.

Since plywood and waferboard are manufactured and not not sawn products, these factors do not apply.

There are standards for finished lumber using the nominal dimensions. What is called a 1 x 6 is actually 3/4" x 5 1/2".

The measuring of logs is generally calculated for payment and is also a rough estimate of actual volume. There are more than one log measurement, or log scaling, standards; these originally based on how the log will be cut and the "kerf", or loss to the width of the mill blade.

The yield of logs will be greatest when large dimension lumber is sawn, since the scale subtracts the kerf based on 1" boards and usually 1/4" kerf.

They still calculate lumber volume with a scaling stick measuring board feet.

Dave LASM
 
I have completed the primary benchwork for the layout. It still needs some sanding and such but other than that I will move forward with creating the shadowbox component using hardboard.

IMG_5924.jpeg


IMG_5920.jpeg


IMG_5922.jpeg


As you can see i’ve also installed latches on each side of the benchwork. These will hopefully help aid in getting the two halves lined up whenever needed. I have also installed leveling feet on each leg to keep everything as level as possible.

One thing I’m not thrilled about is that due to the size of the layout and it being so narrow, it’s a little top heavy and slightly wobbly. It won’t fall over by any means unless someone decides to knock it over lol, but still makes me a little uneasy. Unfortunately due to living in a rented apartment, I can’t drill too many holes in the wall for stuff and therefore can’t create a typical true shelf layout. I would have preferred to do that instead.
 
Stability was the first thing I thought of when I saw the finished base.

Attach a little shelf, on each end, connecting the bottom of both legs. A paver brick on each shelf will stabilize it.
I’ve actually decided to redo the legs of the benchwork to create something I feel will work better. I plan to reuse as much of the wood as possible with a few new pieces added in. I will upload a new schematic later today of the design idea I have.


Back
Top