Dave's Layout v. 4.0


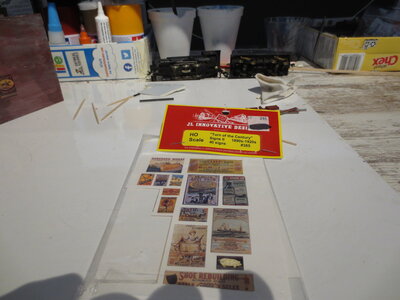
I finished off the back wall of the Cornerstone Saloon to my satisfaction, applied these two billboards, would be the paper type rather than the painted on ones which allow all the brick details to show:

IMG_3068.JPG


Here is the product:

IMG_3067.JPG

Next will be touching up the windows and adding a detail to the top of the building, chimney, interior light; also a couple signs for the windows


Dave
 
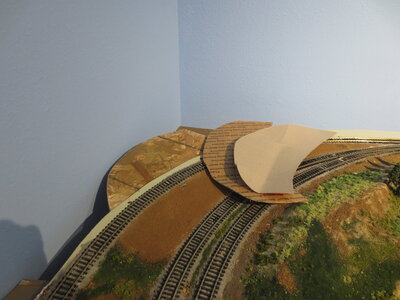
Pics of final stages of the Hotel/Cafe bldg, first an extension to the layout needs to be fabricated, I screwed this piece of OSB to the existing layout with sheet rock screws:

extension for layout.JPG

The waferboard is screwed to the bottom of the layout, then added some cardboard and paperboard to get it up to grade. My benchwork is not connected to the wall anywhere but free standing on some legs, I can get behind here to do detail work;

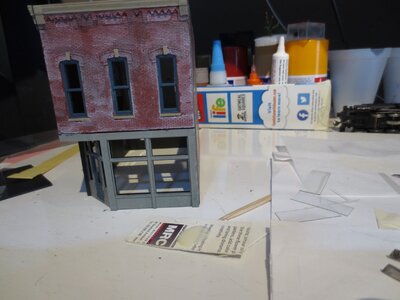
The windows were glued in place with Testors "clear parts cement and window maker", I usually cut the windows out of a piece of packaging material and use a tooth pick to apply cement to the building:

window progress.JPG

I previously did touch up work on the paint (following white washing and india ink treatment), also added a little color along the top of the building

Also, used the hot glue gun to create a base for the building above the waferboard (OSB);

I also added chimneys and shades:

ready for light, floor.JPG


This building will be lighted and road frontage for the bldg crosses the track here so will do a bunch of building up on the near side of the track as well, as in the prototype photograph I am using

Also I have a grocery store to add to the scene, as in the photo:

Wyoming street scene.png


Leave a comment!

Thanks for looking, Dave LASM
 
Pics of final stages of the Hotel/Cafe bldg, first an extension to the layout needs to be fabricated, I screwed this piece of OSB to the existing layout with sheet rock screws:

View attachment 159948

The waferboard is screwed to the bottom of the layout, then added some cardboard and paperboard to get it up to grade. My benchwork is not connected to the wall anywhere but free standing on some legs, I can get behind here to do detail work;

The windows were glued in place with Testors "clear parts cement and window maker", I usually cut the windows out of a piece of packaging material and use a tooth pick to apply cement to the building:

View attachment 159949

I previously did touch up work on the paint (following white washing and india ink treatment), also added a little color along the top of the building

Also, used the hot glue gun to create a base for the building above the waferboard (OSB);

I also added chimneys and shades:

View attachment 159950

This building will be lighted and road frontage for the bldg crosses the track here so will do a bunch of building up on the near side of the track as well, as in the prototype photograph I am using

Also I have a grocery store to add to the scene, as in the photo:

View attachment 159951

Leave a comment!

Thanks for looking, Dave LASM
Looking good. :)
 
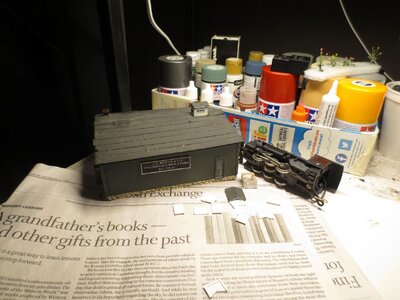
Over the long weekend I decided to rework the Potato warehouse building some, the louvered vents for the cupola were purchased 3 years ago and finally decided to do the upgrade work, as well as put in a permanent foundation for the building:

potato watrehouse before work.JPG

Here is the warehouse, the second set of cupolas pictured, will be making a third and final set using the white louveres shown. The old cupola came off easy as it was attached with just a speck of CA glue. I also reworked the little Mantua 0-6-0 and it runs very quietly now.

making foundation.JPG

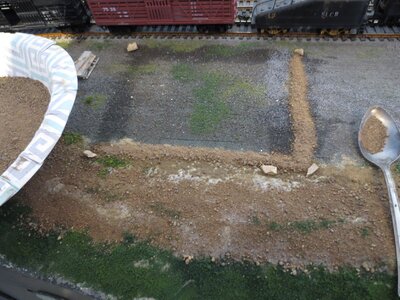
(above) I am using sifted, dried sand material for the permanent foundation. First I put down some scenic cement then sprinkled the sand mixture. The larger rocks are there as a guide

foundation ready for building.JPG

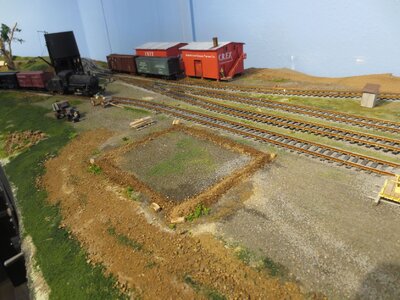
after the foundatio is in place, I added some weeds then more drops of the scenic cement, then will be pressing the building in place:

warehouse w coupolas, foundation work done.JPG


here we are with the new cupolas and permanent foundation. I will be adding a bit of sand here and there but otherwise shouldn't be working on this building any more for a while

THANKS for looking, and for your comments and likes!

Dave LASM
 
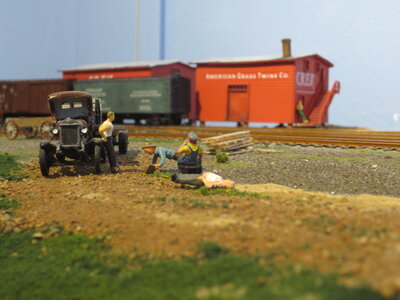
Thanks, Louis... this scene at first glance made me think James Dean (guy leaning on semi) told a dry joke and clipboard man and guy with tatoo and beer fell over laughing, while man eating lunch is undaunted:

Dry joke.JPG

Then they regrouped at the newly placed potato warehouse for a safety meeting.

safety meeting.JPG


more later, Dave
 
Dave, I don’t know which pics are real or the layout, I have to remain mum and say nothing!
Thanks, Gary!! Here is a peek at my next project, the Country Store by Chooch, will go by the Wyoming hotel building in the new extension to the layout, hope to get some of it together this weekend!

Country Store kit.JPG


Some of those hard plastic pieces are slightly warped, not sure if it will make a difference when it is all assembled, this looks like pretty old stock


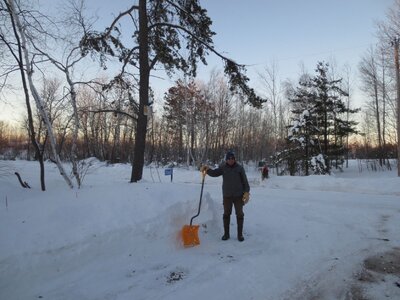
Here is a pic of our snowfall this year, I actually have a small gas engine snow thrower that does most of the work but wife wanted me to pose with the shovel.

I think we had some thawing since the snow fell but also some more snow. The ashes are sprinkled on the snow to aid melting also greatly increase traction

Dave shoveling r.JPG

more later, Dave LASM
 
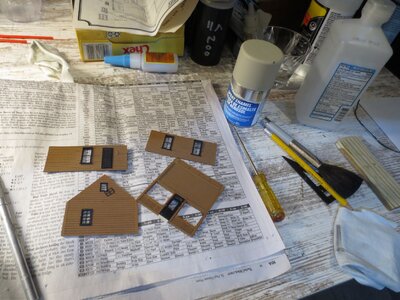
I got a couple hours working on the layout in, first prepped the wall sections of the Country Store by fitting the windows/doors. Plastic is very old but somewhat pliable, they recommend bending the warps and that actually worked:

fitting parts r.JPG

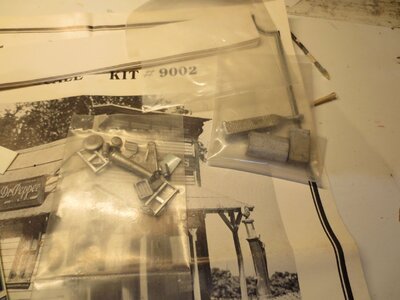
Here are the metal castings that came with the kit, they look very good, oil tank. pump jack, gas filler...

castings r.JPG

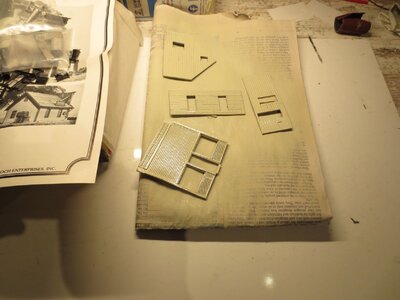
sprayed wall sections:

painted sections.JPG

I removed the casings and spray painted the wall sections, will be setting aside for now and have a couple small projects to putz with,

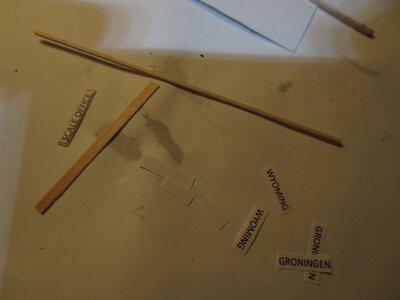
First some signs for along the ROW also name a couple buildings...printed on copy paper then affix to small scale wood, weather with india ink

signsr.JPG

Lastly been meaning to update this little scene by making a more appropriate storage track for this small maintenance vehicle

speeder3.JPG


The little speeder was sitting on a section of track but just didn't look right, made a wooden track section and built up the ground a bit with some boulders.

THANKS for looking and leave a comment if you like...


Dave LASM
 
I have a couple speeders Gary, yes they can be quite heavy!
There are handles that pull out like a wheelbarrow, easiest is to lift the rear as the front is the heavy end.
Dave you’ll need some planks between the rails if your guys are going to roll onto the rails.
Lookin good!
 
Thanks for the comments, and Rico I second that statement. As a young person, like almost 60 years ago I also witnessed them getting one of the bigger speeders on the track. They pulled out a couple handles and maneuvered it on to the tracks. There were also permanent planks between the rails and the movable planks I was wondering if anyone would point out that detail.

Very astute!
 
Dave , I just spent some time reading and taking in your vision , excellent work and well documented for sure.
THANKS Lynn, glad you took the time to check out my project and I appreciate the encouragement. My old locomotives are running so well that I spent about half my free time running trains this weekend, however I did make some headway on my grocery store building:

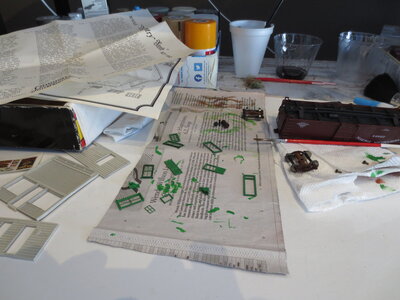
Here I have the wall sections only painted with the base coat then putting my trim coat on, while I have the paint brush out decided to paint the trucks on this freight car as well, inspired by TomO's weathering thread. Between projects I am gradually improving the trucks on my freight cars with the paint and some weathering powders

in process.JPG

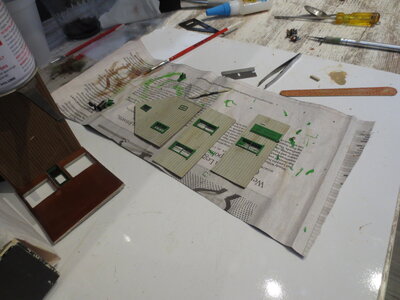
Below I have weathered/treated the wall sections with a wash of tan also a coat of water/india ink/dish soap to get some variation also make the walls more realistic. Also began glueing wall section to floor:

assembly.JPG

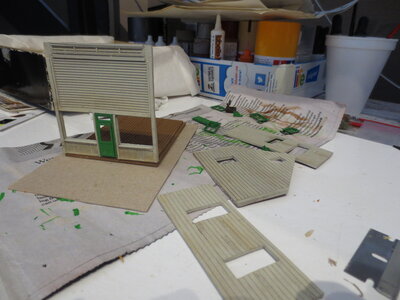
Here is the weathered wall section, front, will be mounted on the reinforced cardboard pad shown

weathered wall sections.JPG

staging the new bldg.JPG


This is where it is going on the layout, this part of town will be these two buildings then plan to paint a backdrop for the buildings behind it. The buildings were sparse in the original town site and that is how this scene will play out.

I am using CA glue as recommended on the kit. These walls are a strange plastic product but real wood is used as well, manufacturer anticipated the warping but everything is easy to bend back like rubber and glues well.

I have intended to make a youtube video featuring the three locomotives on this layout each pulling their loads, maybe this week...

Thanks for looking and leave a comment if you feel like it

Dave LASM


Back
Top