Wpf 2-17/2-23


jeffrey-wimberly

Dr Frankendiesel
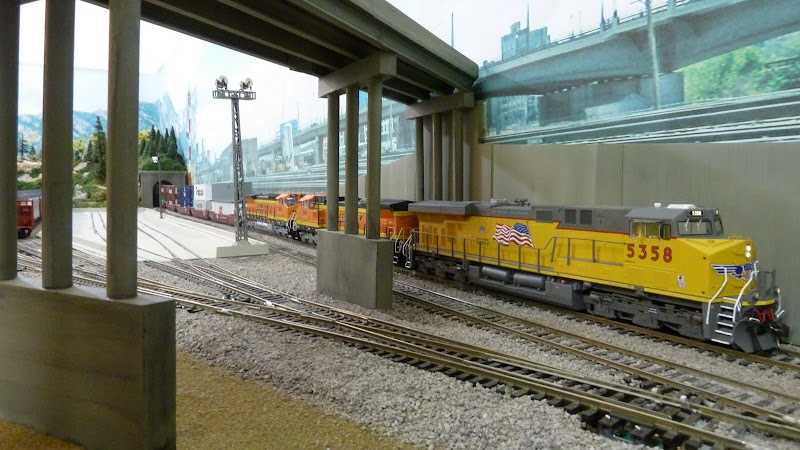
This week has just been weathering work.


P1010401.jpg


P1010402.jpg


P1010404.jpg


P1010405.jpg


P1010408.jpg


P1010410.jpg
 
Hey jeff, since all i did was tell u ur work made me cry last week lol let me just say I love ur weathering. How did you do ur rust? :( That's one i cant figure out yet is rust.
 
who makes those telephone poles? I have a small 24" programming track that i'de like to detail a bit so its not so boring looking.
 
Hey jeff, since all i did was tell u ur work made me cry last week lol let me just say I love ur weathering. How did you do ur rust? :( That's one i cant figure out yet is rust.
I set the car on it's side and use a small paint brush (water color brush) to place some rust colored powder on the car then use the brush to push it around to where I need it. I build it up into little piles like streaks or rusted through paint then set the car, still on it's side into the spray area and holding the spray can about two feet away spray it over the model so it comes down as a mist and moistens the powder. I then get a little closer and and spray on a slightly heavier coat. I let that dry then rub the rust streaks or spots gently so the powder breaks uo a little, gently blow off the excess then spray it again.
 
Aaaahhhhhh! The weekend!

Nice start here as always folks! You all inspire me. I have been involved in the continuing saga of the remake of one of the two rooms my layout is in. Here was last week:

Demolition07w.png


Here is now:

FloorRepaint1w.png


FloorRepaint2w.png


Am slowly starting to move some things back into the room.
 
Project engines this week. Most of the detail parts are on, then after this shot was taken the 1st coat of reefer orange went on. They will now set and cure a few weeks before getting the dark blue then stiping and lettering to be Maryland Midland units. 4 chassis, all with sound await them!!
paint%20rack.JPG
 
Last edited by a moderator:
Wow, some great pics and good to see progress shots as well!
This week I picked up a Walthers rotary dumper and have started construction. I have a question for those who have built this kit... to make it functional will I need to remove or modify the bottom of the pit?
Now back to the workbench!
 
I'll have uploaded photo's of the Intermountain ES40DC primered. I ordered the decals for the custom paint job it will be receiving this week.
 
Motley,
Thought I was under I70, near North Yard, excpet for the tunnel portal in the distance. Nice modeling and photo.
 
Pics of the primered es40dc that was former NS unit from intermountain. I reversed the horn so 3 bells are facing forward now.
0217121929.png

0217121930.png
 
Rico, There's a guy on E-bay that sells a motor with mounting kit to make the dumper operational. $35, but I think it's worth it, to make it work for you. I went that route and also I drilled 1/2 holes to empty the pit into a plastic shoe box mounted beneath that. He'll make it right hand or left hand drive. Works very well !


Back
Top