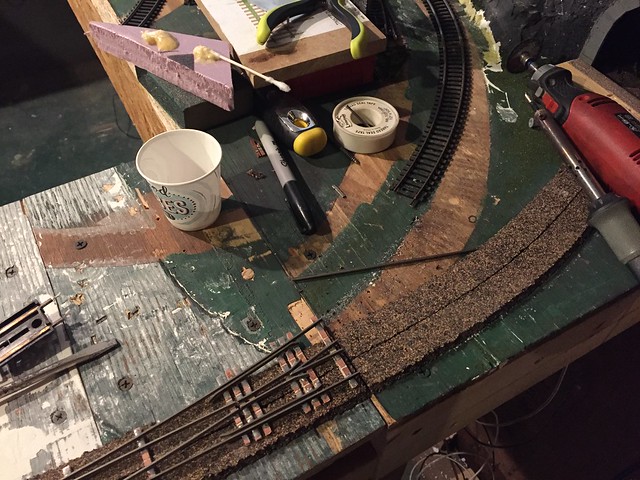
Rebuilding My Layout


KB02

Well-Known Member
Well, it has begun, and there is no turning back now.
... well... I guess I COULD turn back if I wanted to, but I'm not going to.

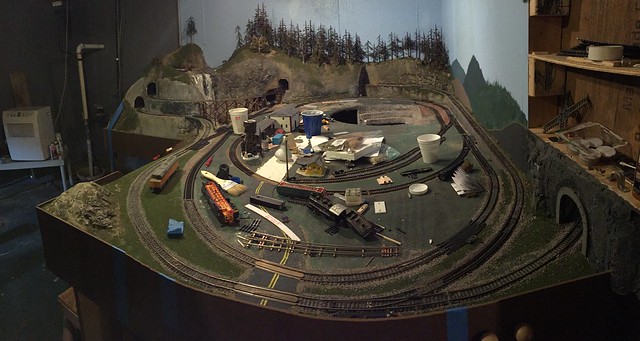
My layout started as a pretty standard 4x8, then I drilled holes in the walls and built mountains and now I want to have a bit more functionality, you know?

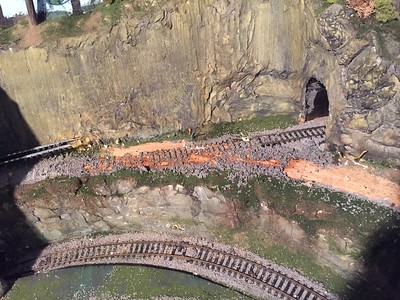
Started with this:
49762302486_e08c5ef614_z.jpg


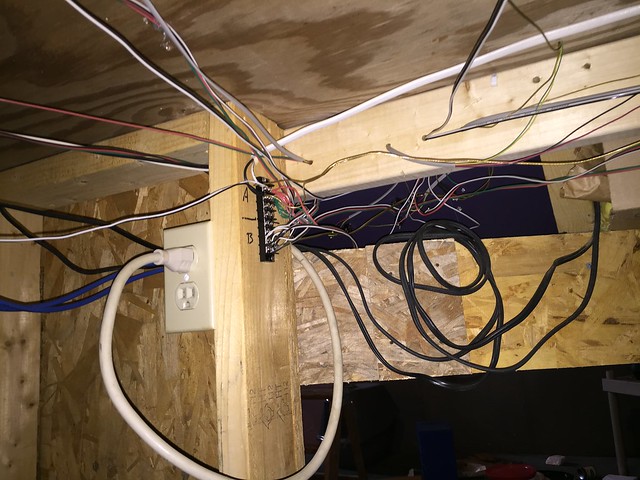
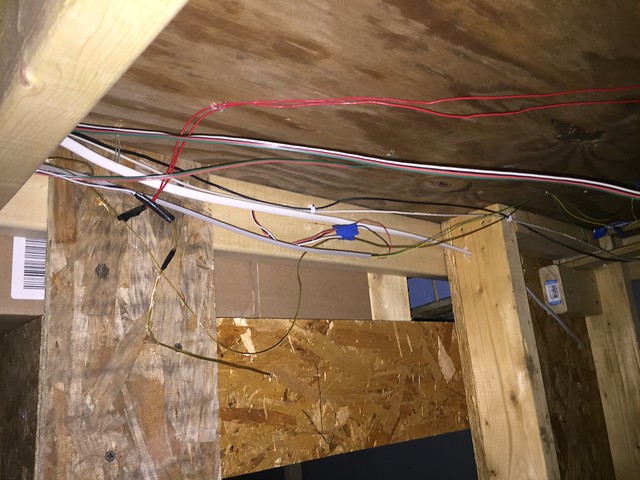
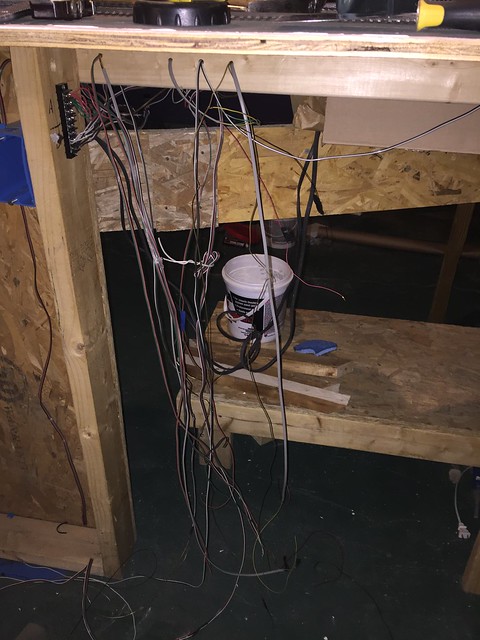
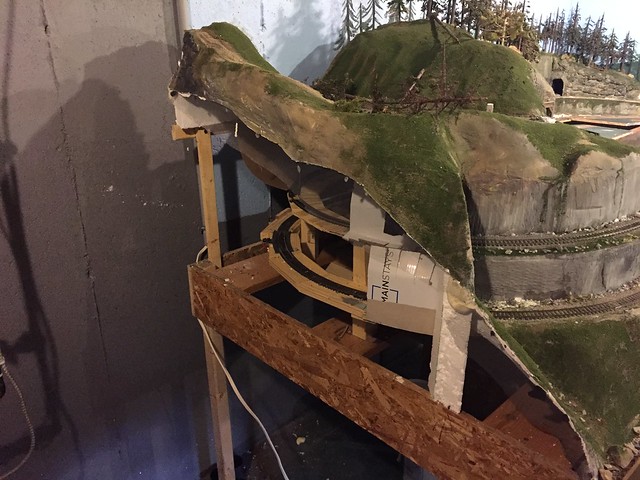
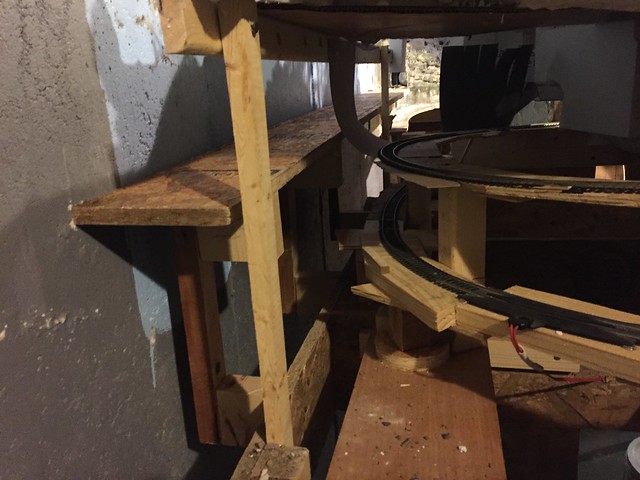
The underside looks like this:
49762631972_001d1c4037_z.jpg

49762301811_617ecd7068_z.jpg


Hoping that I'll be able to properly address both top and bottom.
As you look at the above photo, I'm going to cut it down the middle and the "left" side will be moved out and towards the camera. This will create a kind of double peninsula. Along the wall will be an industry (something that loads cars under a roof - that way I can put a picture of the factory on the wall and build an actual roof for the cars to roll under. On the other side will be both the original track that goes in front of the waterfall and under the mountain, but also a wider turning track (bigger radius) so I can run bigger locos (and the "Local short line" can run on the tighter curves). You see, I really like my waterfall and don't want to lose it.

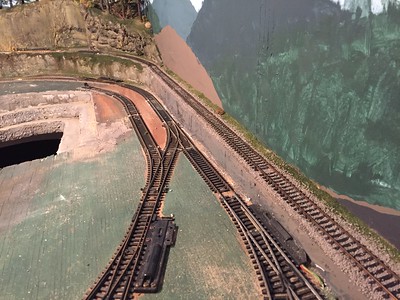
First to go was the steep rise along the back wall:
49762632177_60f0bb729a_w.jpg

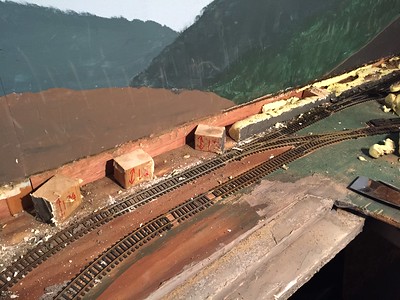
It was actually kind of fun tearing it down. It was also kind of interesting to see the different construction methods I used as I started this layout.
49761770888_b03bf977b5_w.jpg

49762301946_6ecb3965ed_w.jpg


After that side was clean off, it was time to strip some more:
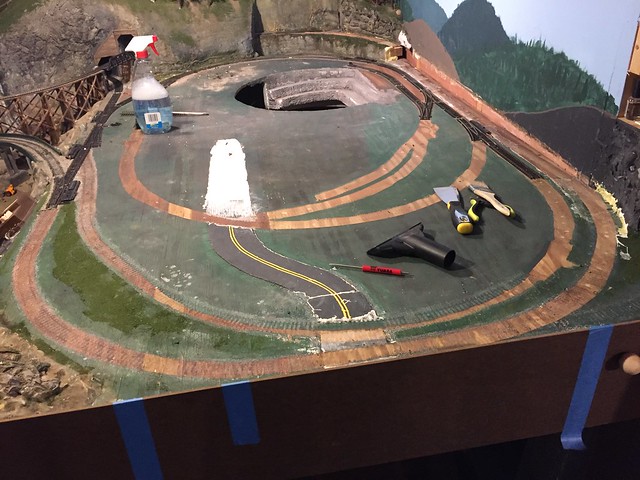
49761770803_c292e5edde_z.jpg


My better sensibilities overrode my frugal-ness and I chose not to try and save the ballast to reuse it later. The shop vac made made a quick clean up of all that.
With most of the ballast cleaned off the tracks, they have been stored neatly away and I will make ready for my first cut (gulp...). This could be interesting...
 
Well it was a productive isolated Easter Sunday hiding from the family working on the layout.
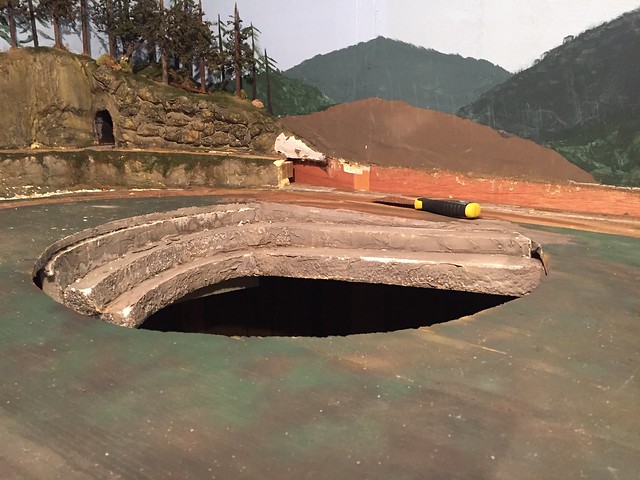
The one thing that I will miss is the little "Pit Mine" I built to camouflage the pop up hole I built to get to the back corner. My back will not miss crawling under the layout to get there, though.
49768720981_9b20d346fc_z.jpg


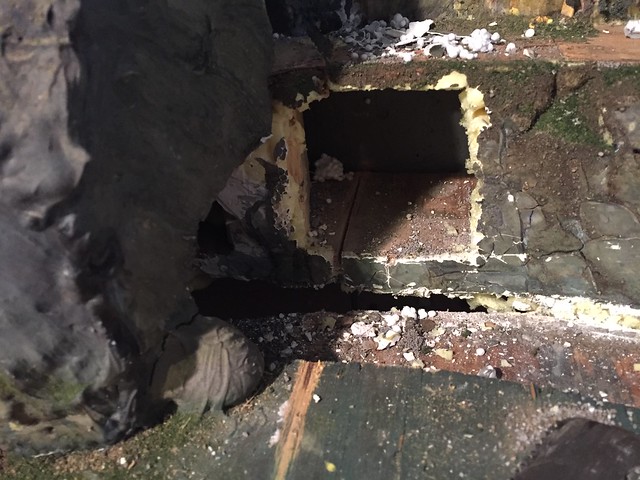
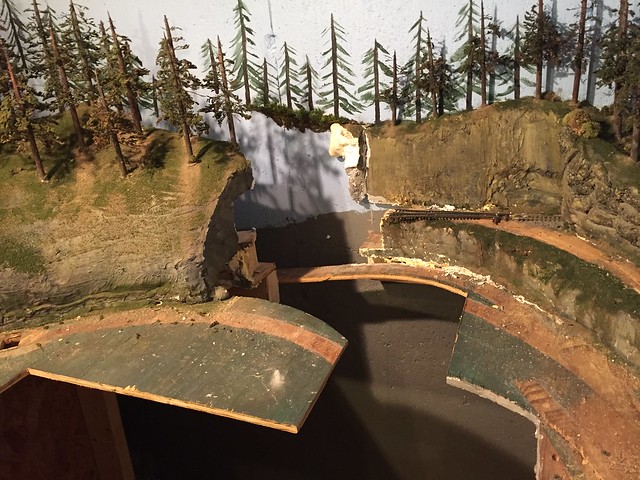
After stripping nearly all the track on the original 4x8 and pulling nearly all the wiring, it was time to make the first cut. I figured I would start with the hardest cut first, and that was the small section along the back wall:
49768936122_179cfbd5e3_z.jpg


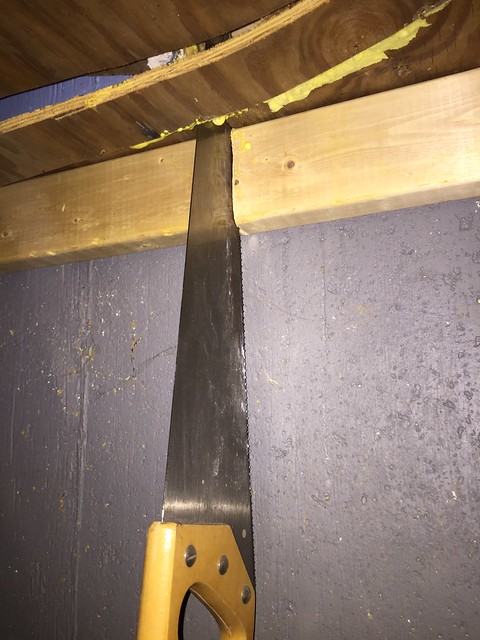
Getting my saw started in this little section was a bit of a pain, but making the cut in this fashion best fit the future plans.
49768936202_4821c9b3a5_z.jpg

Not to self: Sharpen saw...

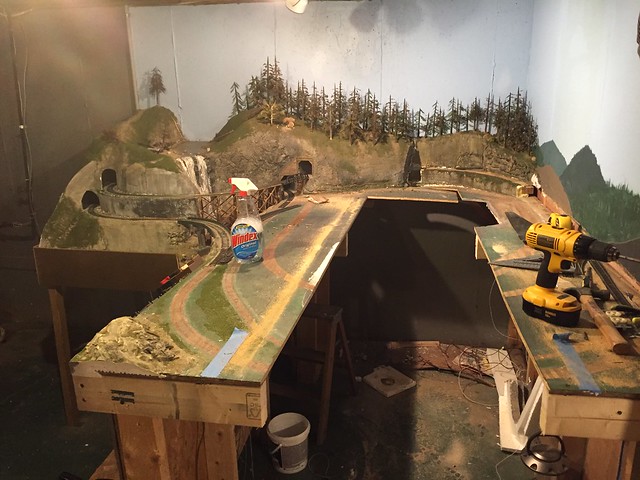
With that cut accomplished, out came the circular saw and a new isle was created:
49768936167_bfe4315df1_z.jpg


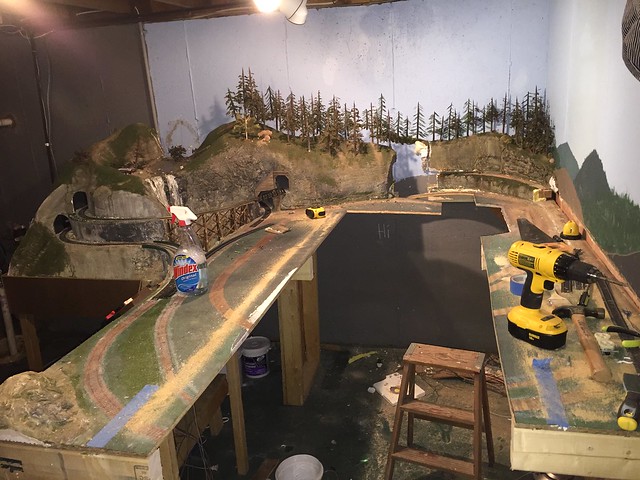
Then and earthquake and the fault opened up and moved the world:
49768143563_786415a662_z.jpg

49768078433_391e13851f_z.jpg


Next step will be suring up the bench design and making new connecting points. Then I can get down to rebuilding rail beds.
 
It was a mostly productive week and weekend again.
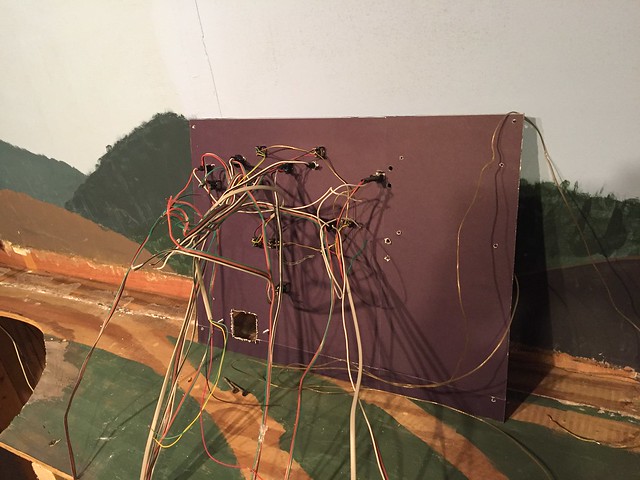
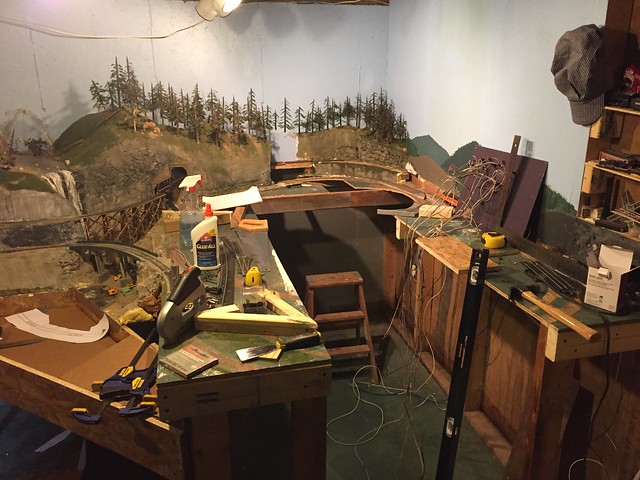
Finally got all the wiring stripped out and my control panel removed:
49794875233_5d29529308_z.jpg

49794874883_787bc9294f_z.jpg


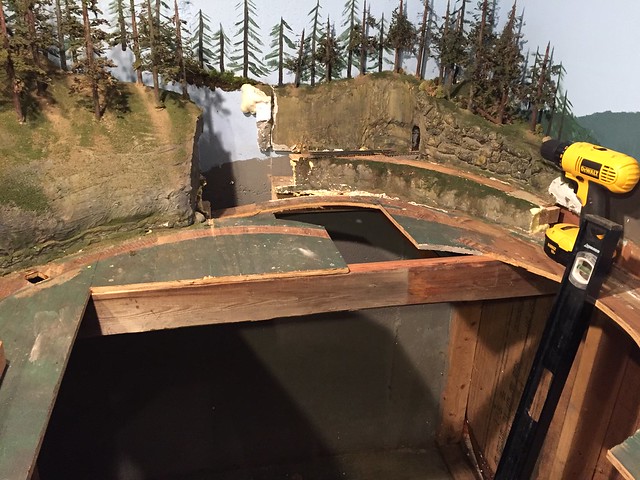
Then It was time to take all the measurements and start reconnecting the halves in their new locations:
49794875108_214f01c0ed_z.jpg


With that simply 2x4 in place, the two halves became remarkably stable. I then tore the side of of the mountain so I could see and have a little more room to work:
49795727152_09a4e340bf_z.jpg


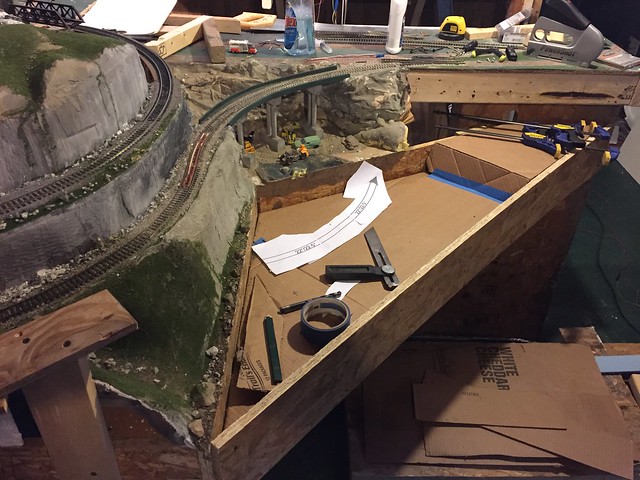
The next goal was building the lane for the new track along the back side. It is a fairly basic structure built with the idea that there will be another track underneath it.

And with it nestled in place:

Next was the lower track. With the mountain moved further away, and height restrictions not as much as they were, I'm able to not only reduce the grade to less than 3% (was about 4+ previously), but I'll be able to increase the radius on the lead in to the down grade making it much easier for the locos and the cars behind them.

And at the head end:

More work will be done to the lower track, but what you're seeing is a directional angle change, not a "crease" in the subroadbed.
And last thing for the night was a new front and new supports where the lift-up will be.


And the last photo I will leave you with is this. My older son, who was actually a little disappointed I was tearing things apart, saw that the road I had made was no longer going to be used, so he asked if he could tear it up. Sure, why not?

After this, I taught him how to use the shop vac. 😁😁 😁 😁
 
When all this stay-at-home and quarantine stuff started happening, I was told that since I was an essential worker (I work for the State Health Department) and that so much of what we do has to do with the physical documents that e have to have in our hands, that my position would never be a work from home position.
So anyway, while I was working from home today, I made the choice that I wouldn't spend 6 hours playing solitaire (because there really isn't a whole lot I can do from home without certain physical documents in hand), and that I would do some work on the layout instead.

Doing the measurements and making a few cuts and the sub roadbed has been laid from behind and around the mountain:
Untitled by Robert Martin, on Flickr

Also gave a "floor" to the new front end:
49806008071_e031cdef6c_z.jpg


Next will be carving up some foam to form the new valley that my new bridge will have to traverse AND designing and building the lift up section. Then I can start relaying track.

And... eventually... I'll have to do some cleaning up, too.
49805453373_2ecacd524f_z.jpg
 
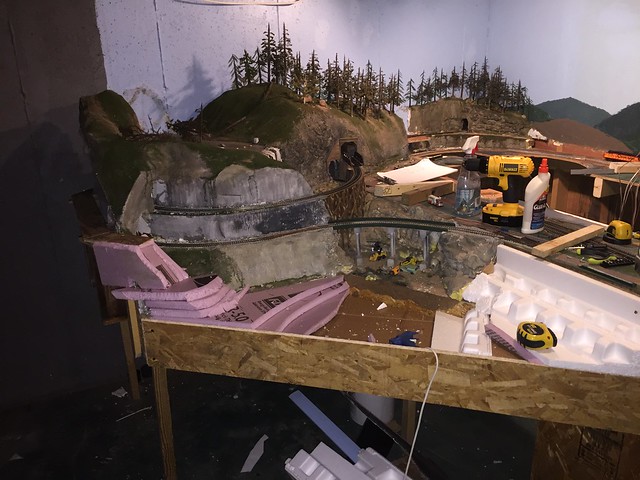
Got some foam work done over the week on the new terrain:
Untitled by Robert Martin, on Flickr

Got to get the track work laid out on the front end before I can start building the lead up to the other side of the new bridge. But before I can do that, I need to fill this gap:
Untitled by Robert Martin, on Flickr

I have decided that a lift up will make the most sense, so that's what I'm going with.
Started with the basic rails and a wooden dowel for my hinge. Going super old school! (mainly because I can't sit in the hardware store and browse for half an hour.)
Untitled by Robert Martin, on Flickr

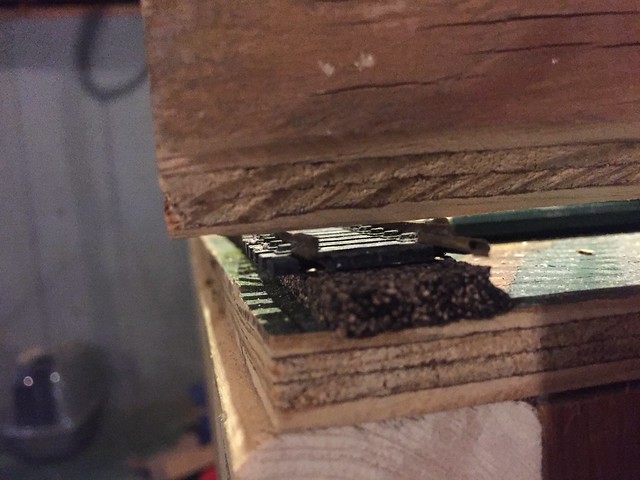
With the pivot point forward of the gap, it will allow material to be lifted up and over the edge (in theory). With the gate at full lift, I still have room for code 100 rail on cork roadbed to fit under the edge.
Untitled by Robert Martin, on Flickr
(and now that I am typing this, I am wondering if that will work... might have to do some more testing before I go too much further).

Also dropping a couple of small locator dowels on far side and will putting in some magnets to help hold it in place.
Untitled by Robert Martin, on Flickr

That was this morning's work anyway. Will see what else I can get done this weekend.
 
And that’s where the party stopped. :mad: While the lift up bridge works perfectly fine, when you put track on top, you run into conflict. Which means most of today’s work was for naught. Dang it.

Been trying to think of some DIY solution, but I can’t come up with anything.
 
Top hinges like yours are the back up plan to my back up plan. Hiding the hinges can be a bit of a chore, so I'm interested on how Yours is going to come out. :)

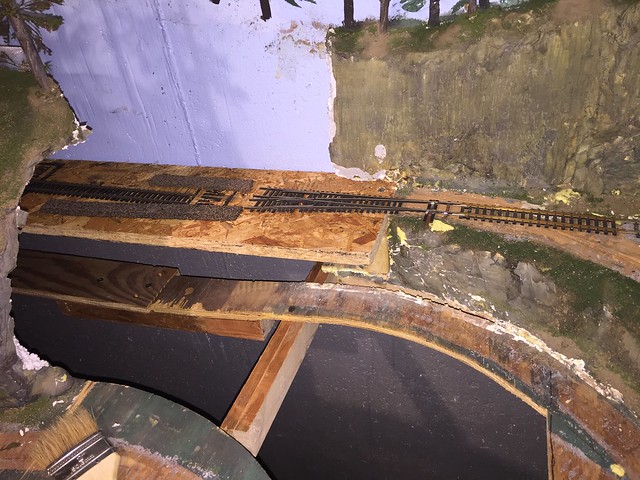
With the lift up on hold, I snuck over to the other side of the wall. To bring the changes smoothly through, I ended up having to pull up about 2 more feet of track and another turn out.
Untitled by Robert Martin, on Flickr

I got the roadbed set last night and have been working on relaying track on and off this morning.
Untitled by Robert Martin, on Flickr

I've got the track relayed back up to the portal where I have a Peco curved turnout in place. The bottom of this little stretch will need some work, too, to get rid of some 18r track, but that should be relatively simple once I get there (he says with fingers, toes and eyes crossed).
 
Got the new hinges in, finally, so lift up section work may recommence.
These are the hinges used for frameless cabinets. I used a scrap piece of ply for a test fit.

the hole in the top is no problem. I’m using half inch ply, and these hinges need a half in deep hole to sit in. But they open up and in, so it does not Crush down on the track when open.
This is the gap I’ll have to leave in the track. I can live with this since it will be on a straight away.

and when down, it will look like this:

Now track laying can recommence in earnest. :D
 
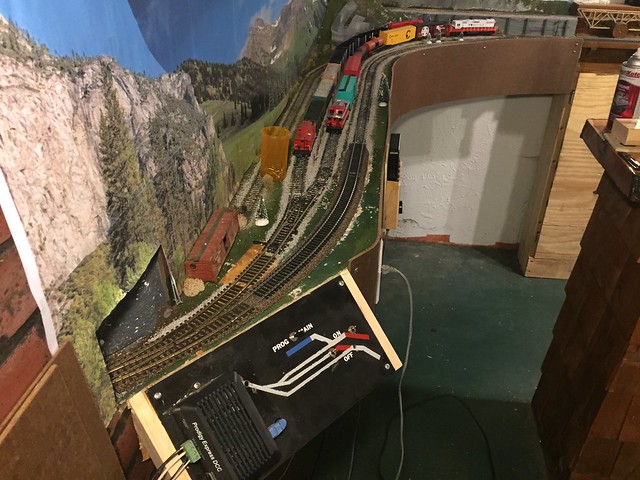
Been working hard(ish) on getting track re-laid so that rail traffic can resume.
Untitled by Robert Martin, on Flickr

And that's when I was reminded that just because it works on paper, it doesn't always work in real life.
Untitled by Robert Martin, on Flickr

I honestly wasn't too happy with the frog on this turnout anyway, so it looks like I'll have the chance to re-do it.


Back
Top