ModelRailroadForums.com is a free Model Railroad Discussion Forum and photo gallery. We cover all scales and sizes of model railroads. Online since 2002, it's one of the oldest and largest model railroad forums on the web. Whether you're a master model railroader or just getting started, you'll find something of interest here.
Thanks. When I first posted this thread, I did wonder if the thread title would put off any 'serious' modellers from looking at it. On the other hand, the curious title may well attract people who would normally pass by!
I can easily send a couple of photos of the layout to some magazines once complete If they are interested, I can write an article. With all the posts I've made as reference, it should be easy to put something together to fill a page or two.
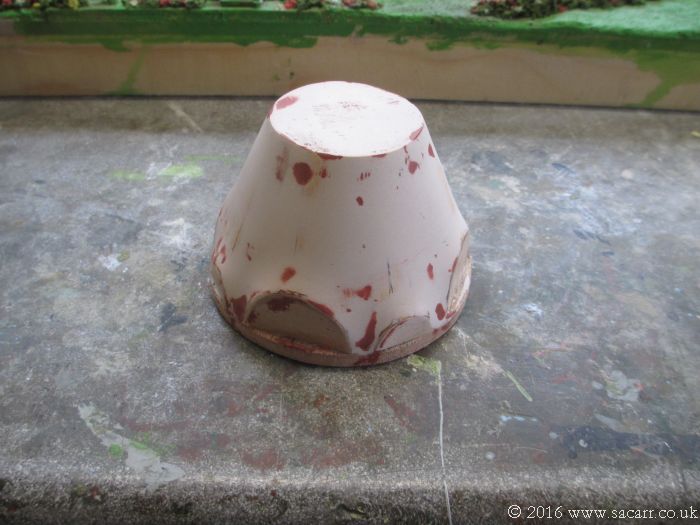
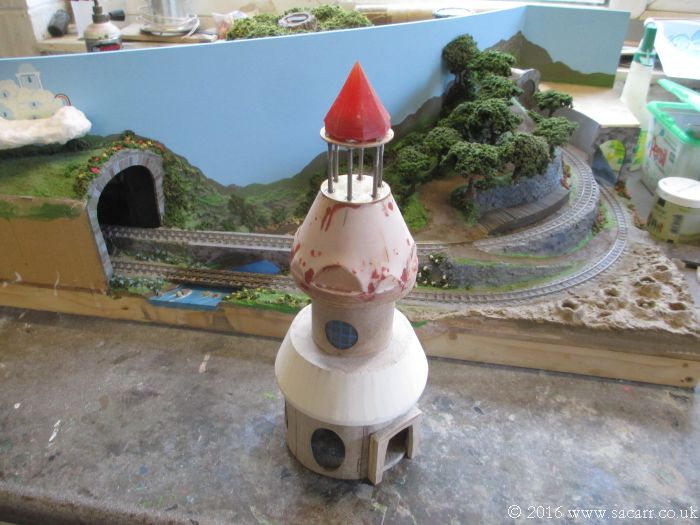
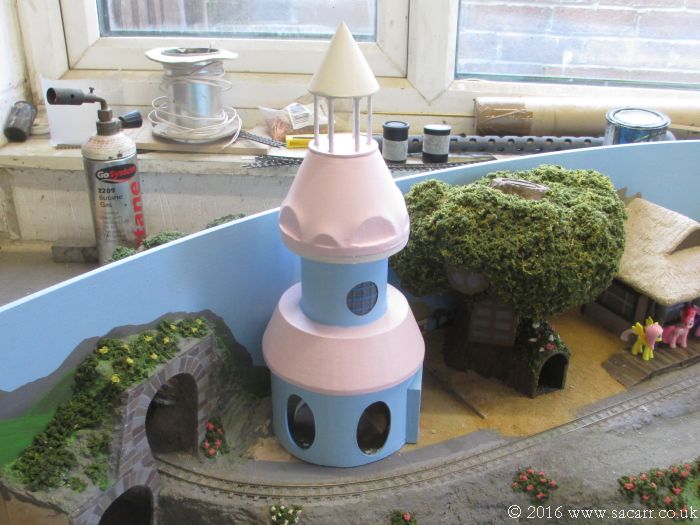
The top of the boutique was wet sanded late last night, rubbing off most of the fine surface filler.
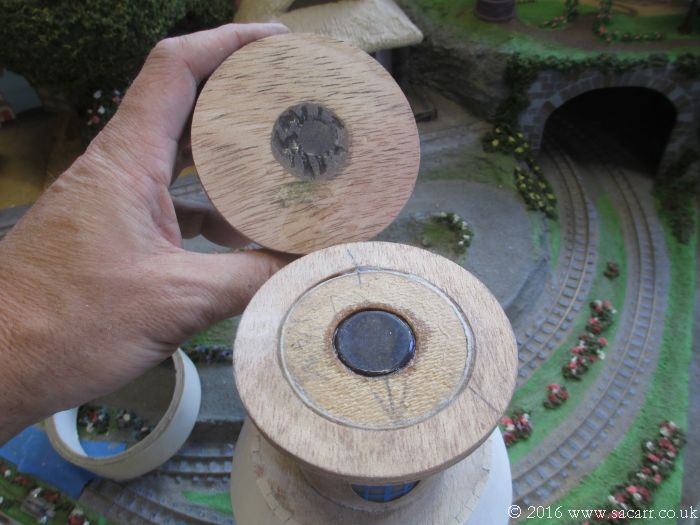
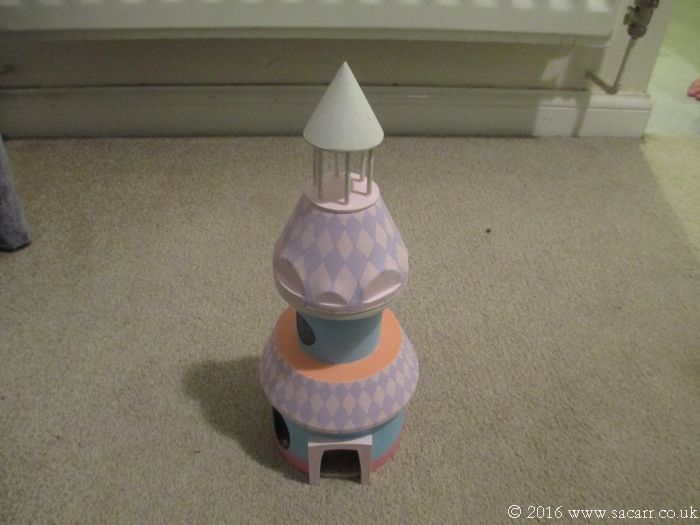
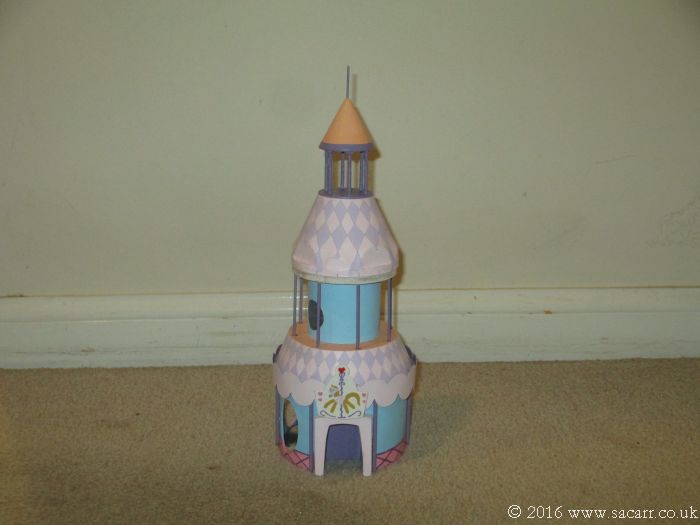
Magnets were recessed into the main building and top section to hold the top in place, but as the whole thing is round, I'm probably going to add a dowel key so it only fits on the way the magnet holds it most securely.
Some long M3 bolts were used for the pillars on the top and an eight sided resin cone epoxied to the top to complete the building height. This was left over from another project, but was just the right size. It just needs some filler to blend it into the circular ply base.
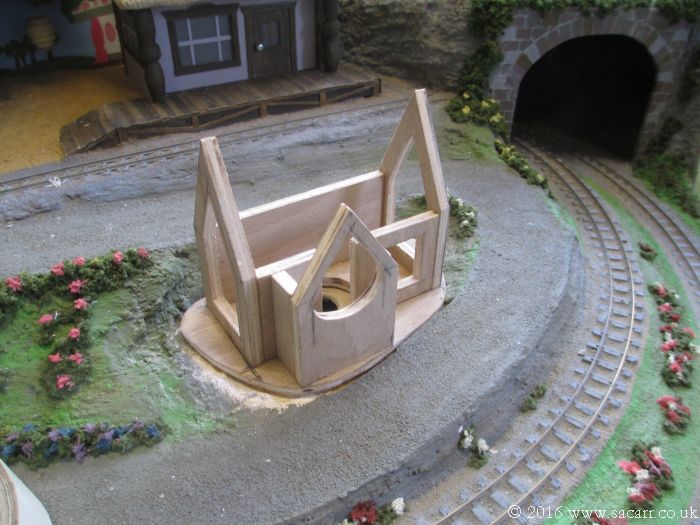
Today also saw the start of the small cottage. I was thinking about a two storey building to start with, but decided against it as it would block too much of the station. The 1/8 ply frame will be clad with 1/32 inch ply, into which will be set the glazing, as I'd done on the station.
The silicone moulds had two days to fully cure, but the frog mould could have done with a bit more catalyst, as it still felt very soft and sticky. Starting with the aircraft part moulds for another project, I peeled the styrene boxes apart, and then pulled the rubber mould off the master patterns. One had been a mix of the first soft batch, and a second batch with more catalyst. This pulled off the master without damage, so I felt a bit more confident about the frog mould.
While it was very soft, I slowly peeled the styrene sides off, and then eased the mould off the frog. It came away undamaged!
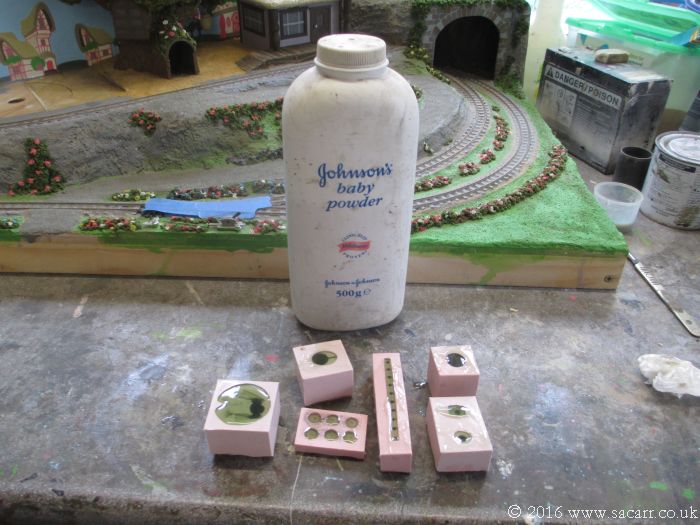
Some polyester resin was mixed up and poured, then left to cure. I hate sticky fingers when working with resin, and always seem to get in a mess. I can't get away with latex gloves, as they always rip within about 30 seconds of putting them on! So my back up plan is baby powder. After mixing and pouring the resin, I wipe off excess from my fingers with a tissue and then have a wipe with baby powder. This instantly stops the sticky feeling.
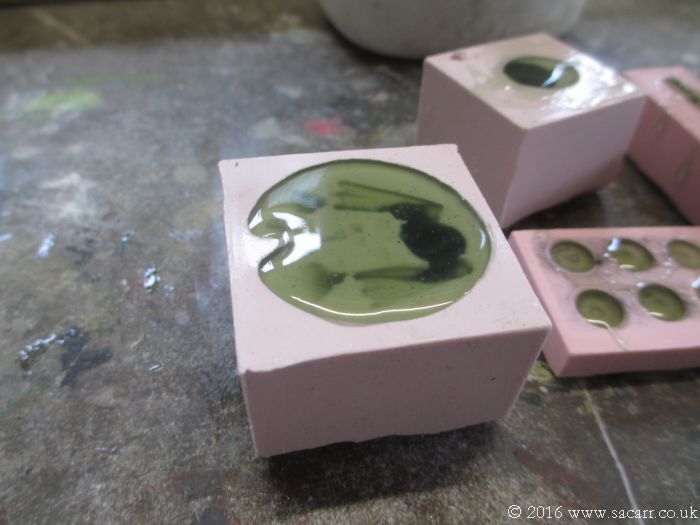
Here's a close up of the frog/lily pad mould soon after pouring.
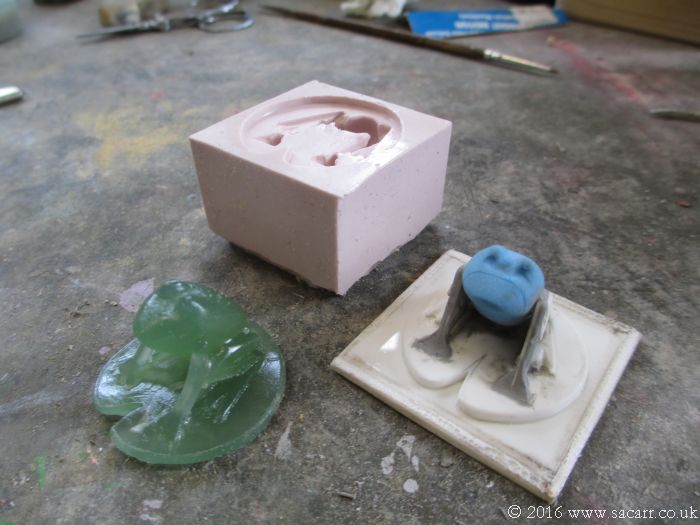
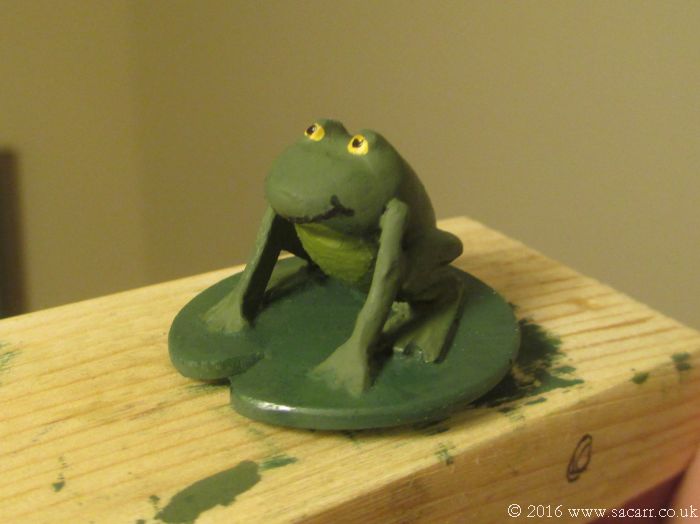
After it cured, the new frog was pulled from the mould and looked great. It needed some cleaning up and flash removal where I'd webbed between the front and rear legs to stop the gap trapping the rubber.
Frog number one, mould and master together!
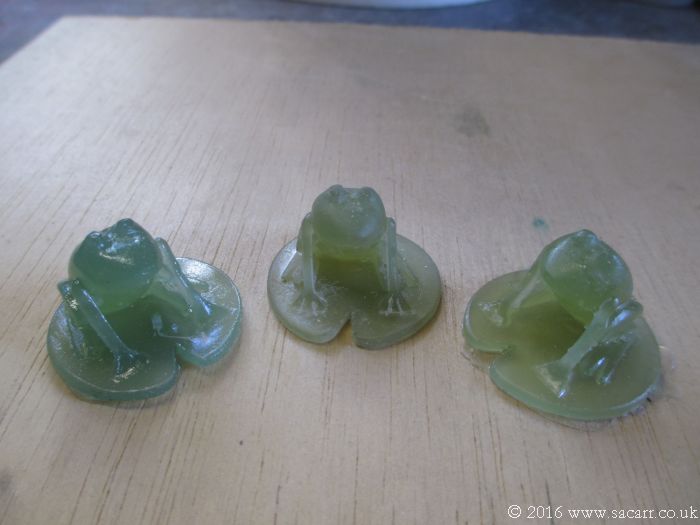
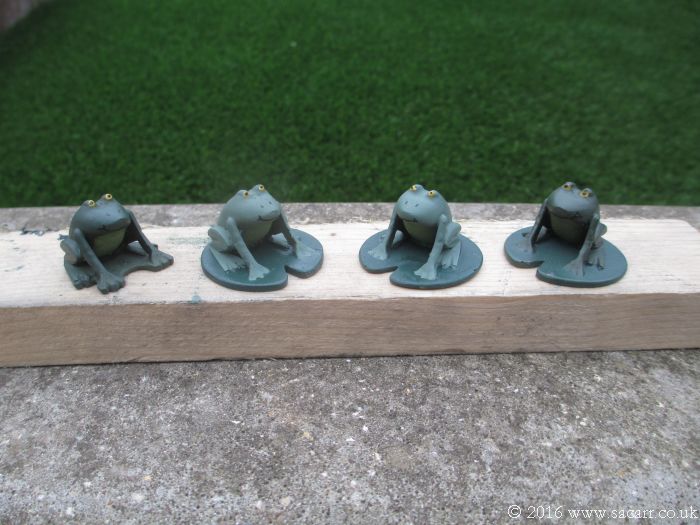
By school pick up time, I had three frogs made, and one cleaned up. Two will probably remain on the lily pads for the bog, while one wll have the pad sanded off and be left as a loose character to play with.
I was going to send you a picture of a Queensland Cane Toad, but figured if I did and your daughter saw it, it would put her off anything that croaks and lives in a pond forever.
In a few episodes, there's a bog, called "Froggy Bottom Bog", in which there are frogs. The bog beside the river is our version of the bog, and so it needed frogs!
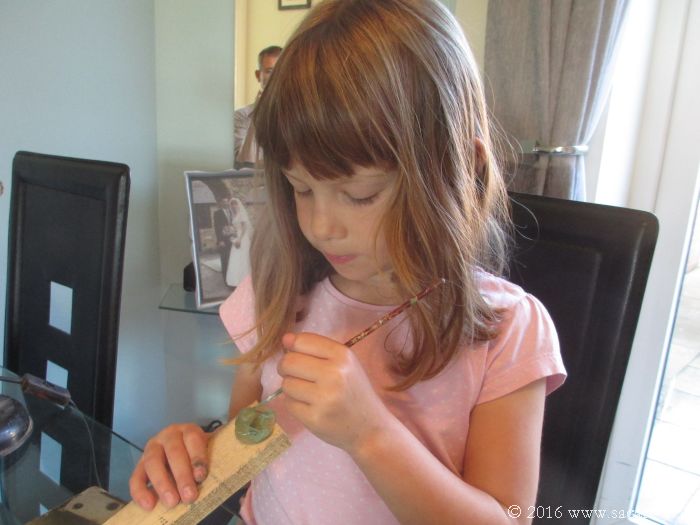
Several of the more recent parts of the project have been too complicated for my daughter to assist, but today, she got back involved and started painting the frogs.
She painted the basic colour on the frogs and once dry, I finished off the details.
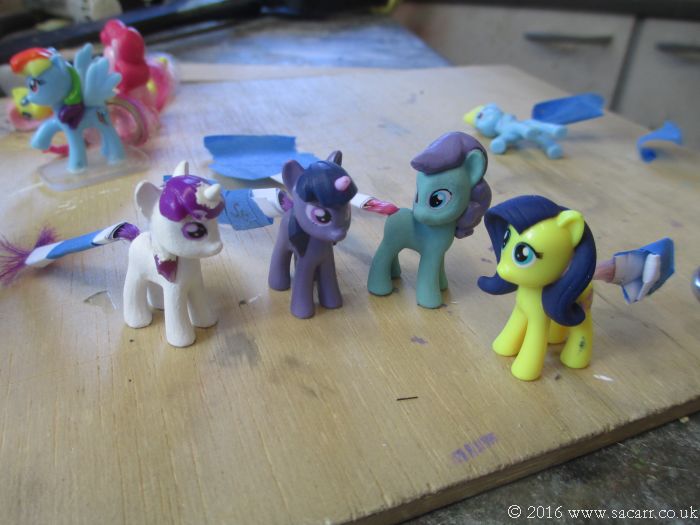
Several of the other ponies had additional remodelling and painting work done. However, the ponies that I had to work with, weren't all completely suitable. Fluttershy's mane covered one ear, meaning that trimming it to the correct style, would leave the pony one eared! There was only one action to take - sacrifice one Pinkie Pie to make a mould, as Pinkie Pie's mane was central, leaving both ears uncovered. This would give more flexibility in adapting the pony.
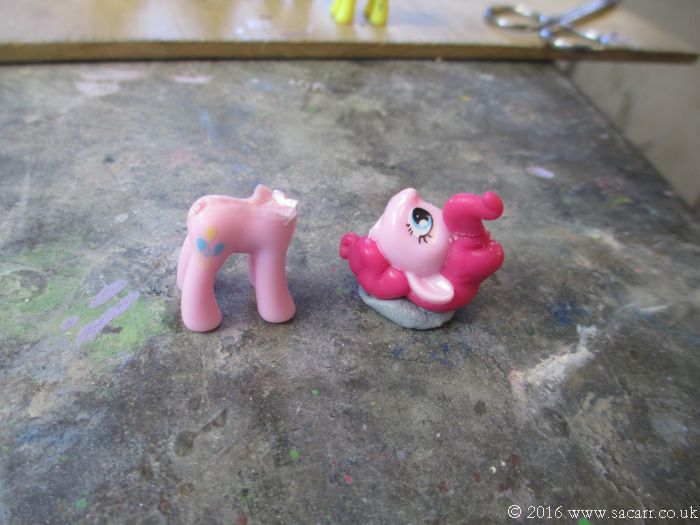
So, brutal though it seemed, Pinkie's sacrifice to the pot of silicone will open up further adaptions to be made. So, off with her head, to enable the body and head to be moulded separately. Pinkie's fringe was also cut and turned upward, as this suited "Mrs Cake" and further pony adaptations, most of which have more upward pointing fringes. The nylon thread tail was removed and an alternative tail will need to be made from a mouldable material or fine fibres which can be dyed.
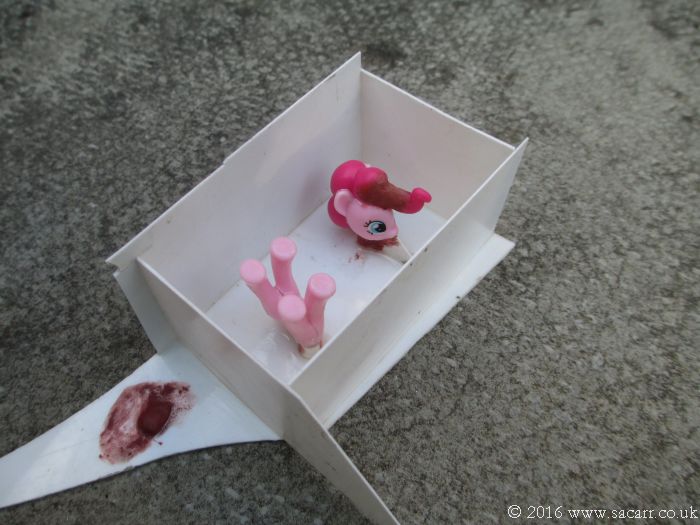
Extensions were added to the neck or the body and head to form the runner for the resin to be poured. A thin web of styrene was also added to aid the pouring and bubble ventilation. The runners and web were then trimmed and the pony parts glued down into the mould box. The silicone was poured late in the day.
My wife thinks I'm a monster. A friend thinks it is early warning signs of psychotic tendencies, but my daughter understands it was a necessary sacrifice for all of ponykind!
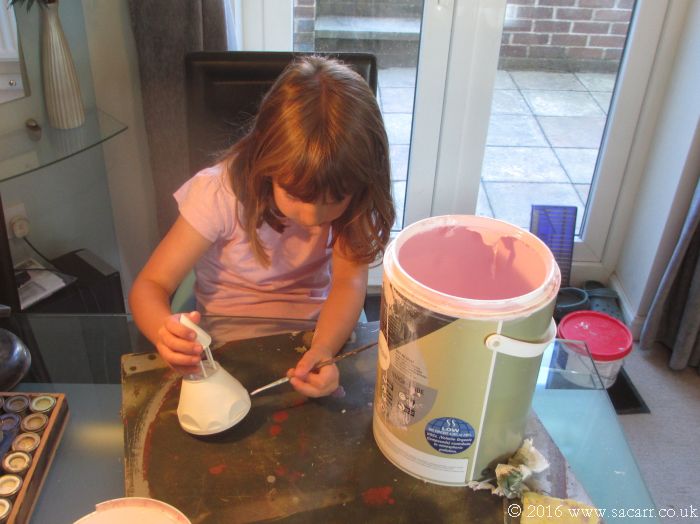
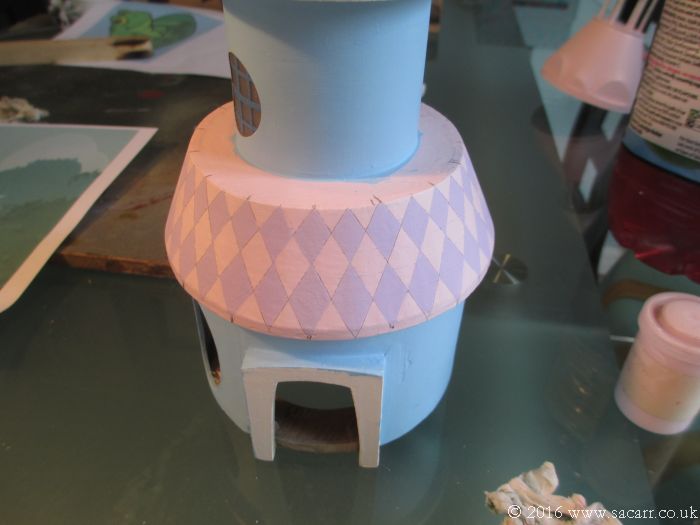
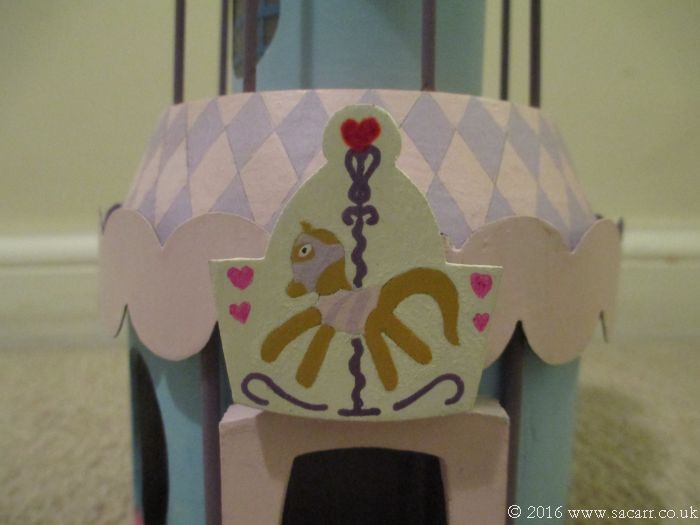
Yesterday, I spent quite some time painting diamonds on the boutique. Both the pink and lilac were fairly translucent, so took around three coats to cover up the pencil guidelines.
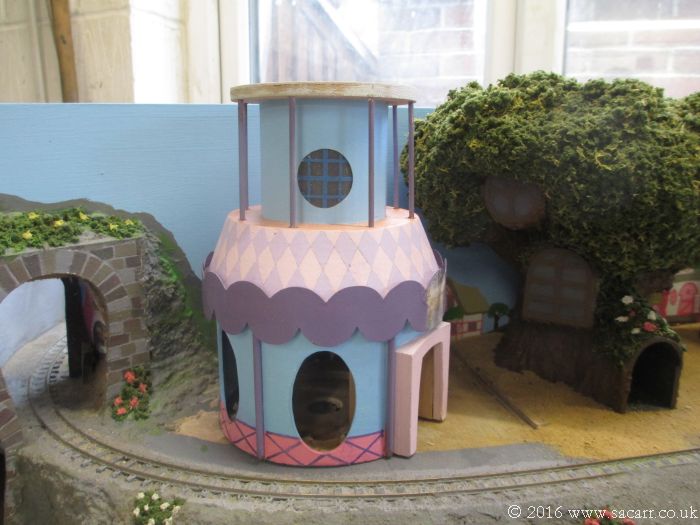
Today, the trim was added above the windows. The trim was cut from 0.5mm fibre glass sheet, which was strong enough for the fine details to survive accidental knocking. The GRP sheet was primed in model enamels, before being given a top coat of the pink to match the rest of the building.
The vertical metal rod detail was also made from pieces of welding rod, and fitted on the lower and upper levels.
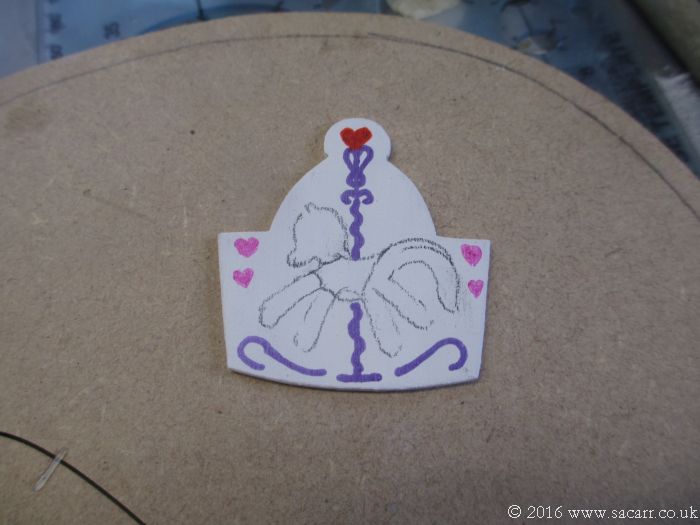
Above the doorway is a sign for the boutique. This was cut from 1/16 inch plywood, primed and the art added with a combination of paint and gel pens. This would glue over the join in the fibre glass trim, both reinforcing and hiding the joint.