ModelRailroadForums.com is a free Model Railroad Discussion Forum and photo gallery. We cover all scales and sizes of model railroads. Online since 2002, it's one of the oldest and largest model railroad forums on the web. Whether you're a master model railroader or just getting started, you'll find something of interest here.
The school holidays end today, with little legs going back in to year 2 tomorrow. While the layout isn't finished yet, we've made great progress in just a few weeks, and it certainly served its purpose to keep us entertained. The nearly seven weeks of holiday have flown by.
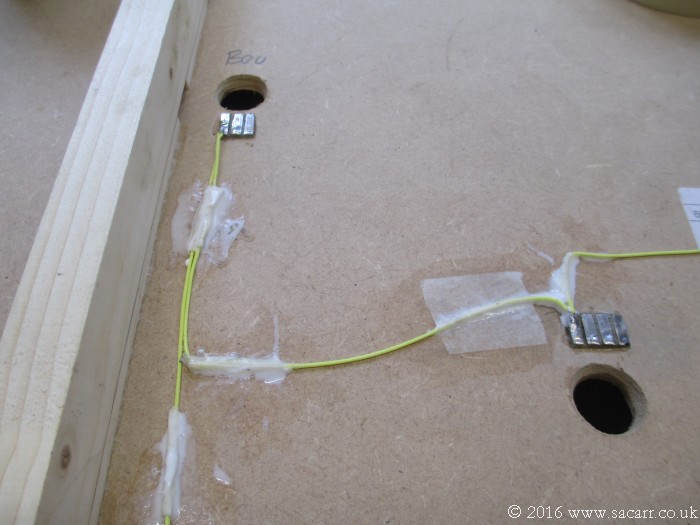
The last couple of days work have been me only, due to it being mostly wiring and soldering. On Friday 2nd, I started adding the LED wiring and buss bars for all the lighting. Since the buildings wont be added until the backscene is painted, I terminated all the wiring with copper clad board next to the hole where the building wiring drops through the base board. All the wiring can be fitted and tested with a spare LED, just leaving the final connections once the buildings are attached.
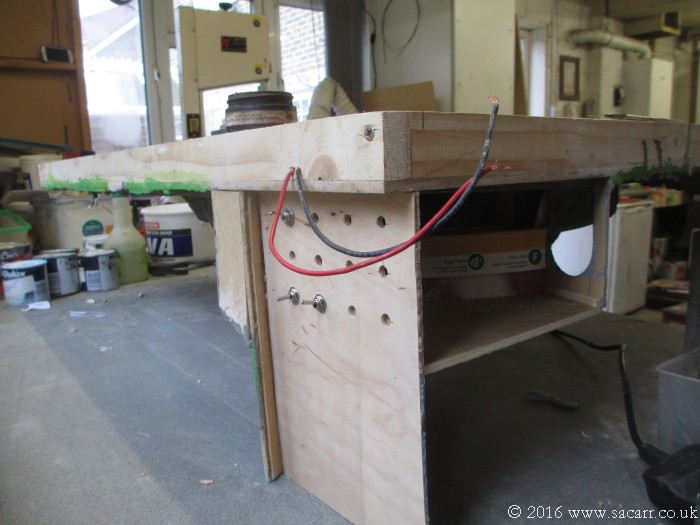
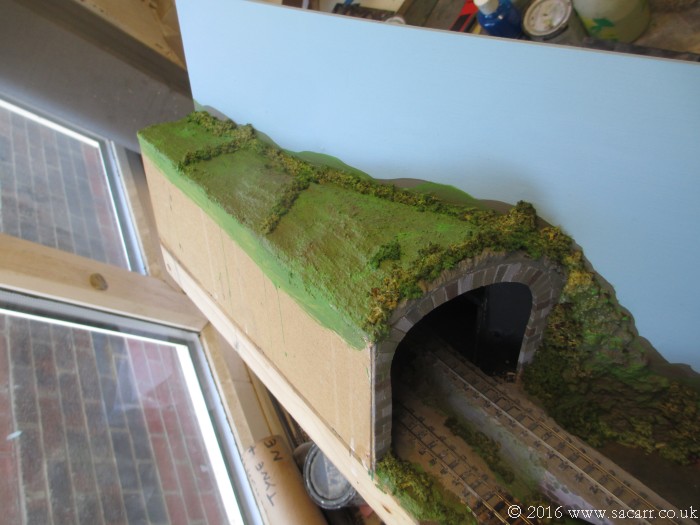
The hardboard backscene, which also forms the control panel, was faced with some 1/32 inch plywood for a nice finish. A side panel will be removable to access in the tunnel and to access the switch wiring.
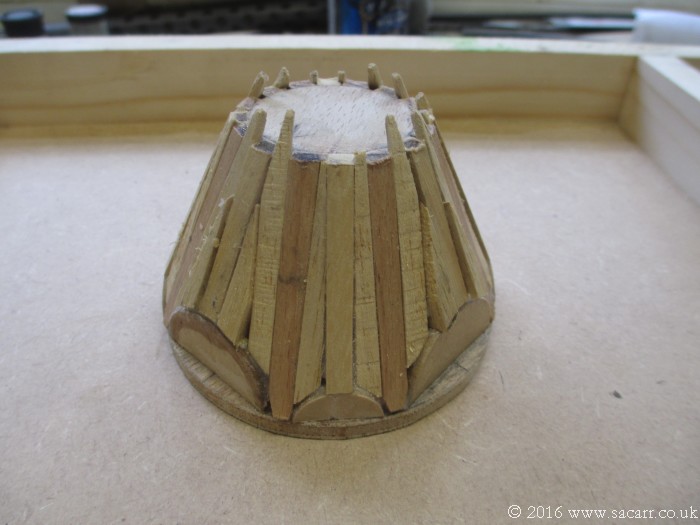
The top cone roof on the boutique also had its planking finished on Friday, and was left to dry. This can now be sanded and filled to create the final finish.
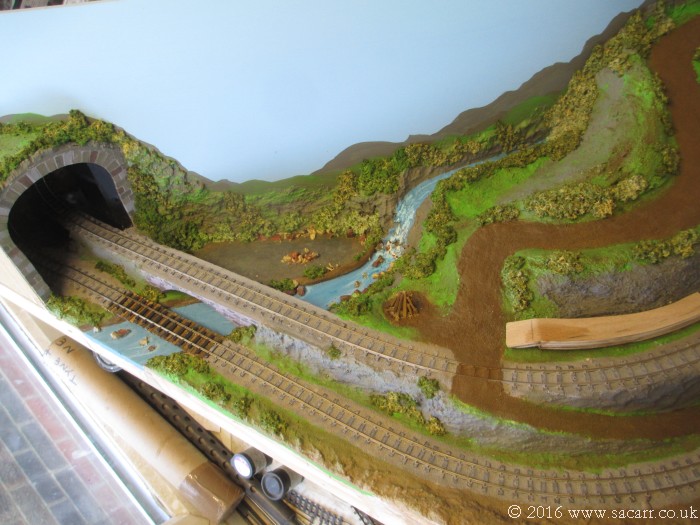
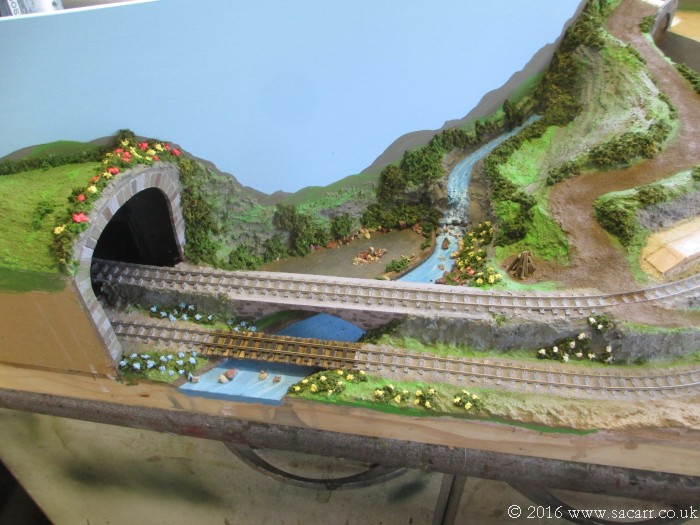
After watching further episodes, we decided to give the river a more cartoon feel like the series, by painting it blue. It needs another coat before varnishing again and some white water adding around the rocks and waterfall. The swamp has been left a muddy brown colour, which is how it appears in the show.
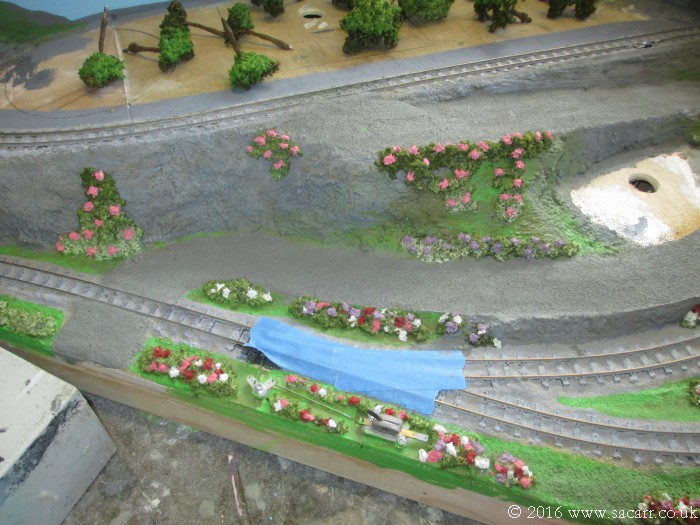
I mixed up some PVA glue and clump foliage and added some hedges on the hillside under Cloudsdale.
The support for the clouds was a piece of 1/8 inch ply, which will be glued to the backscene over the hillside. It needs covering with cotton wool clouds first.
The river had its white water added and then further bushes were added around the swamp and river, plus some up the path through the Everfree Forest.
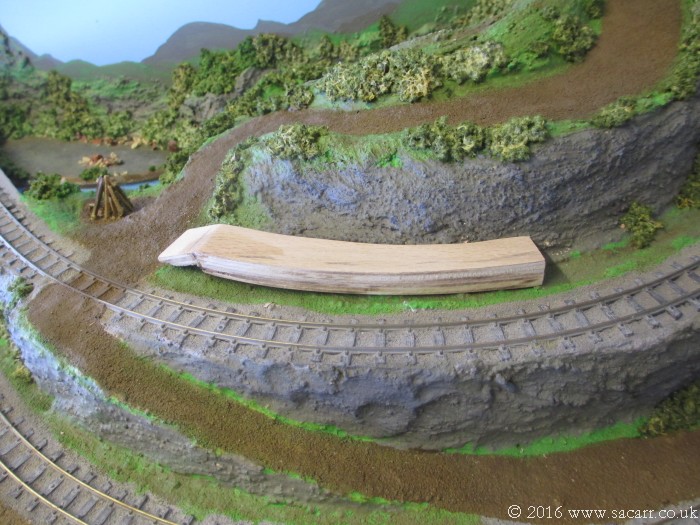
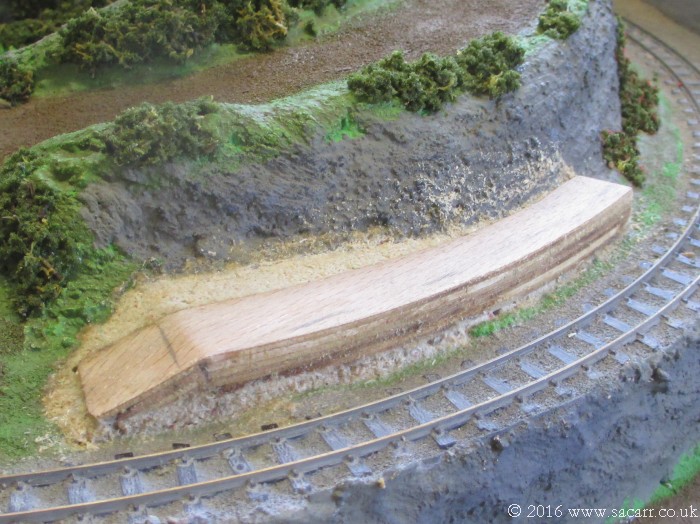
The beginnings of a new platform were made from more 1/8 inch ply as a stop to gain access to the Crystall Empire on the top of the hill, just a short walk through the forest.
The bushes need time to dry and that should darken them a little, then I need to work further on the backscene painting and add some more foreground trees.
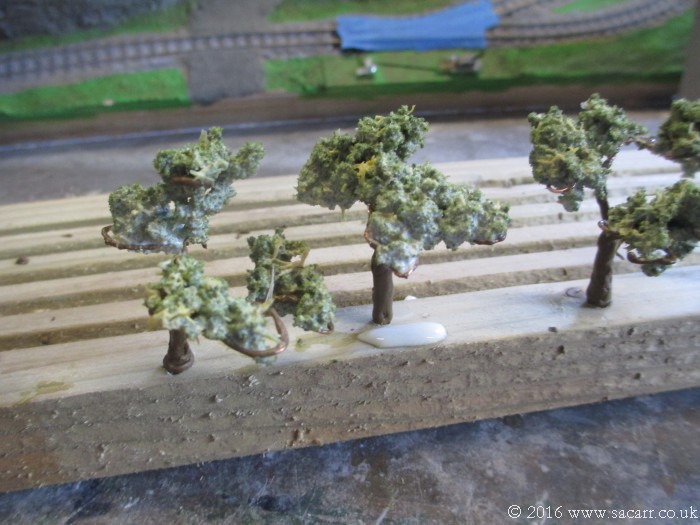
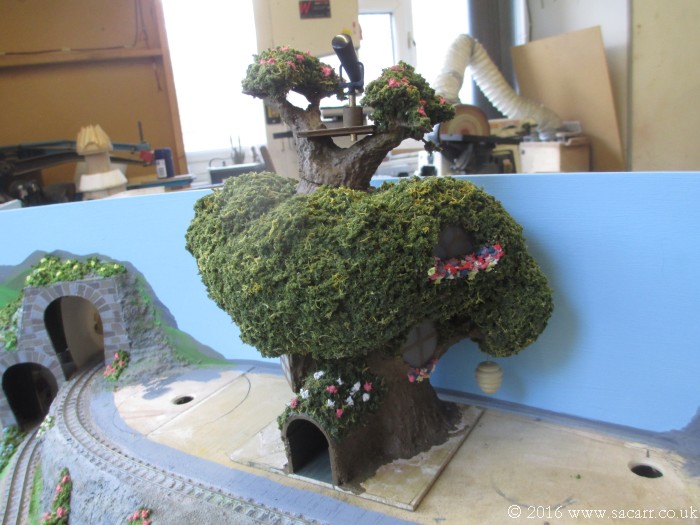
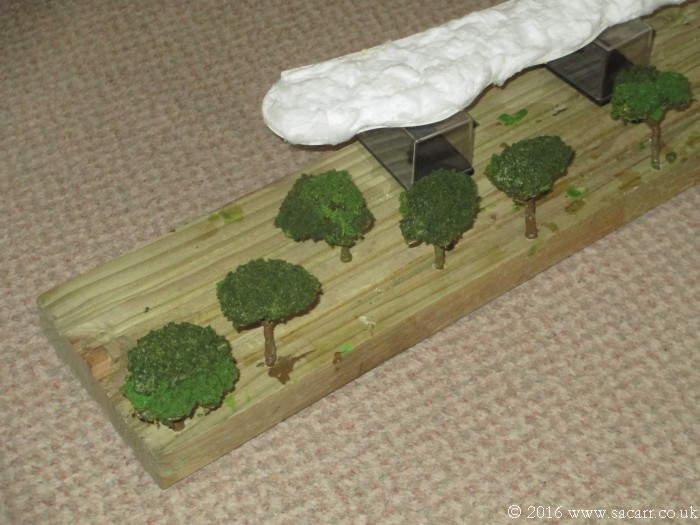
As for the forest, the real trees started to take shape. Copper wire trunks and branches were painted with a PVA/brown paint mix, and then more clump foliage added. When this first stage dries, further foliage can be added, building up the tree shape.
The new platform has been glued down the the gaps filled. Once dry, it will be planked with stained wood strips like the other platform.
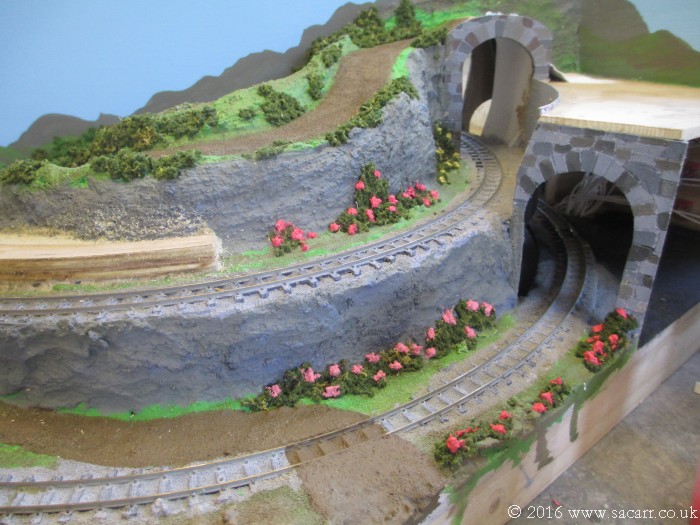
Once the platform was drying, it was time for more bushes, hedges; and Springtime has arrived as the flowers are now in bloom! This brings a lot more colour to the rocky areas and grass.
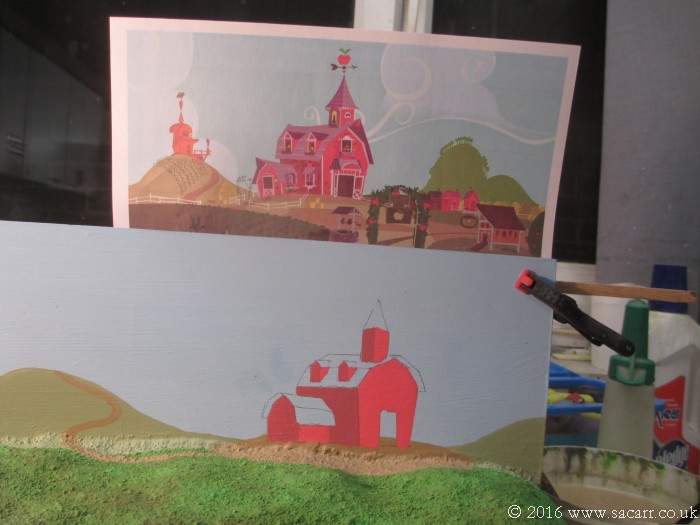
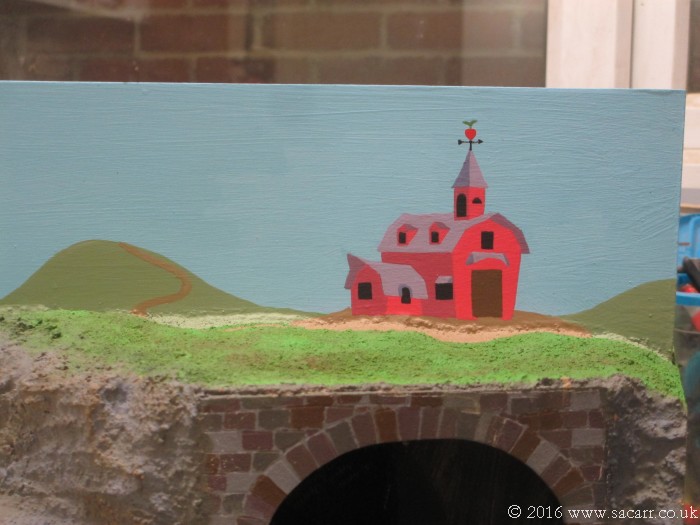
Last night, I spent three and a half hours painting Sweet Apple Acres Farm! It's only about 2.5 x 3 inches, and for several small details, I was using the wrong end of a paint brush, sharpened to a point to apply the paint, while peering through a large magnifying glass. The white window frames will probably have to be done with a gel pen.
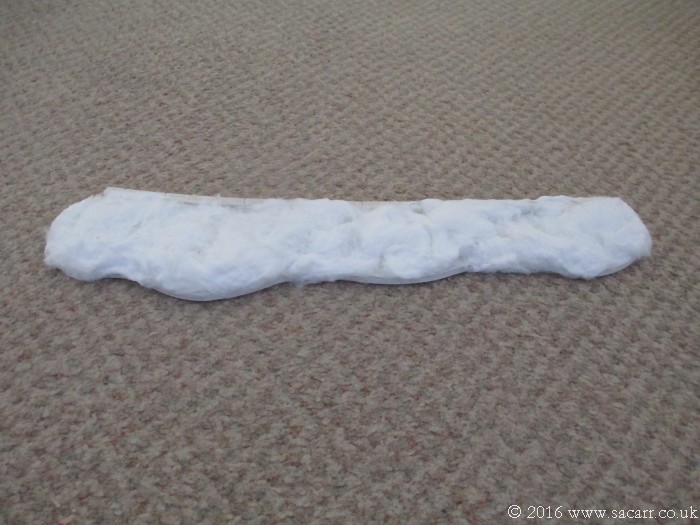
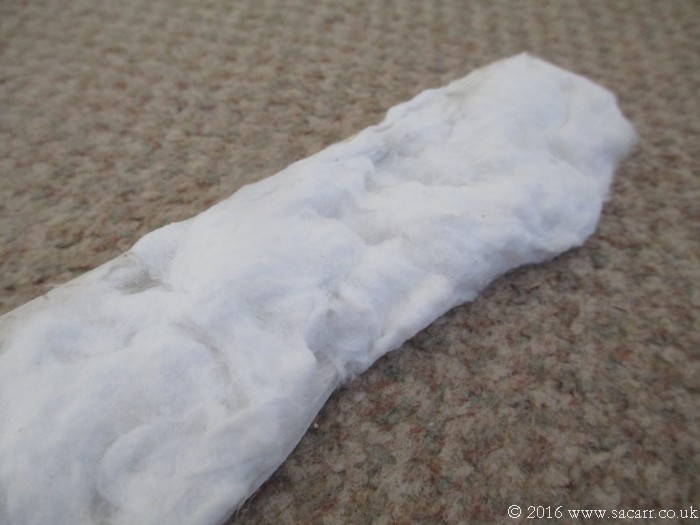
This morning I had a go at Cloudsdale. Cotton wool on its own would tear with play, so I had to toughen it up. I started by dunking cotton wool into a dilute PVA mix, but it lost all its fluffiness. So I painted the ply cloud base with PVA glue, and stuck dry cotton wool onto it. Once in place, I dripped dilute PVA onto the cotton wool, which held its shape better. Hopefully, once dry, the cloud will be firm, but still look fluffy. It may need further cotton wool or glue adding. I'll see once it has fully dried.
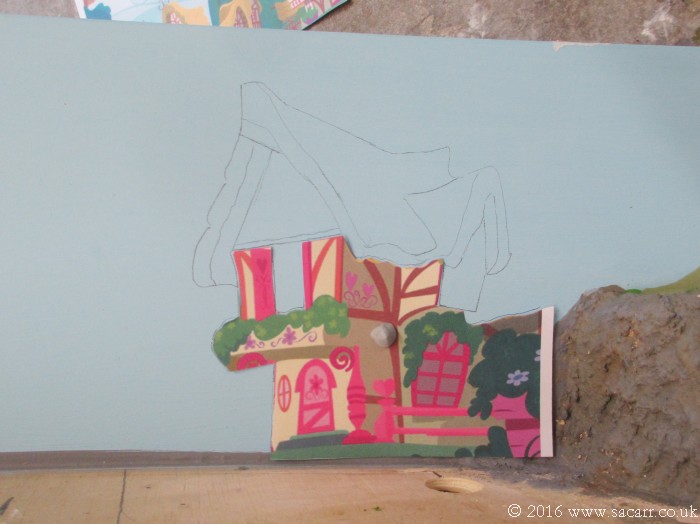
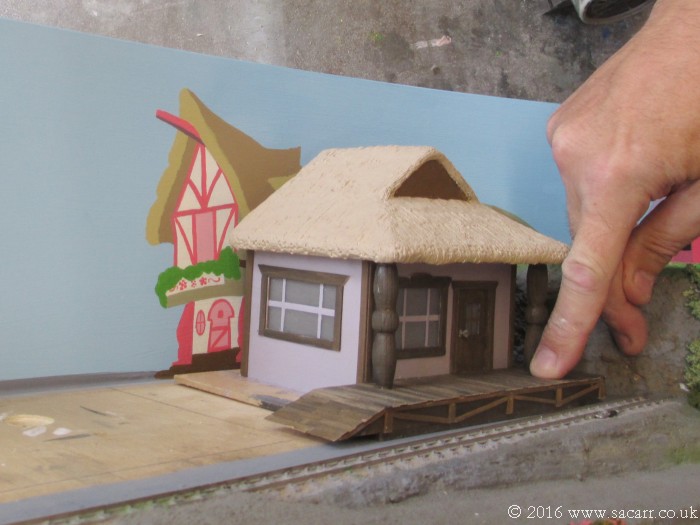
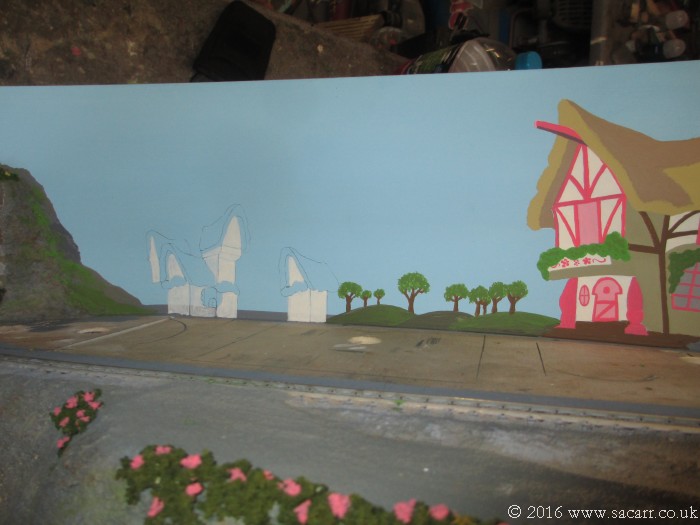
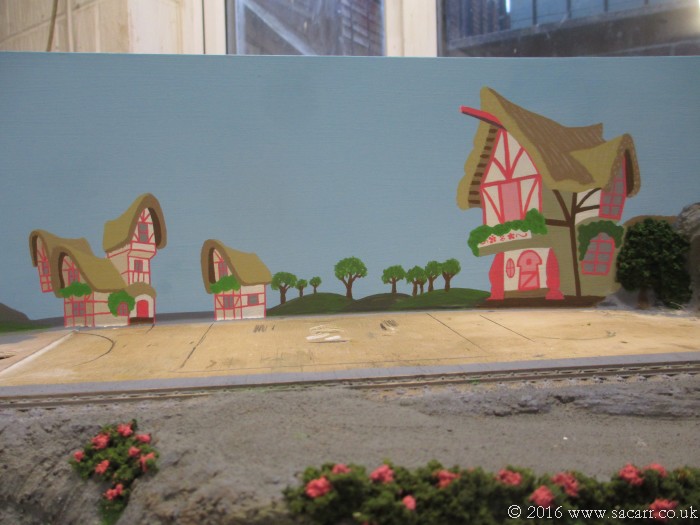
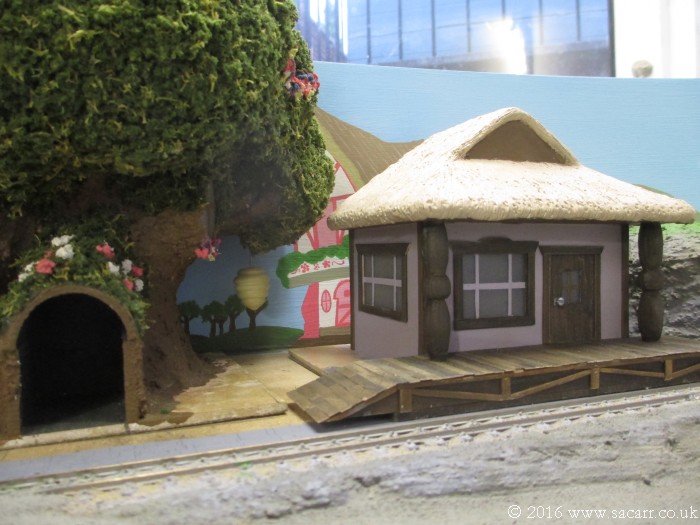
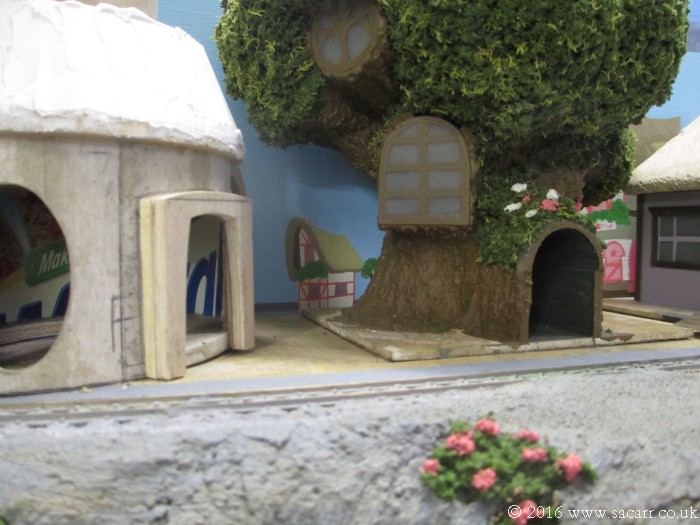
While all the PVA was drying, I turned my attention to the backscene again. The three real buildings in Ponyville needed further buildings behind to increase the size of the town, even though there aren't many gaps to see through. So behind the station, I wanted a small house. After printing one the right size, I drew around the outline, and then slowly cut more and more parts off, drawing around each piece as I went. This slowly transferred the house onto the backscene.
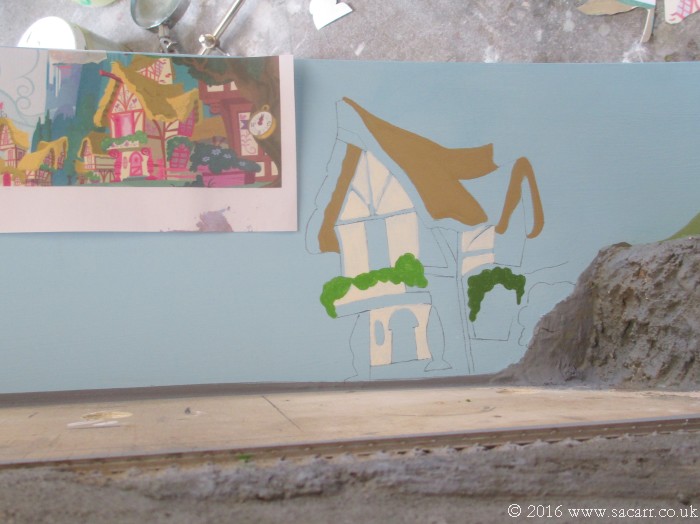
Once all the lines were drawn out, I began to fill in the colour. The pale colours took two or three coats. Painting with the backscene attached to the layout isn't easy. I'd normally have it separate, but due to the nature of the curved backscene being built into the layout, painting it fitted was the easiest option.
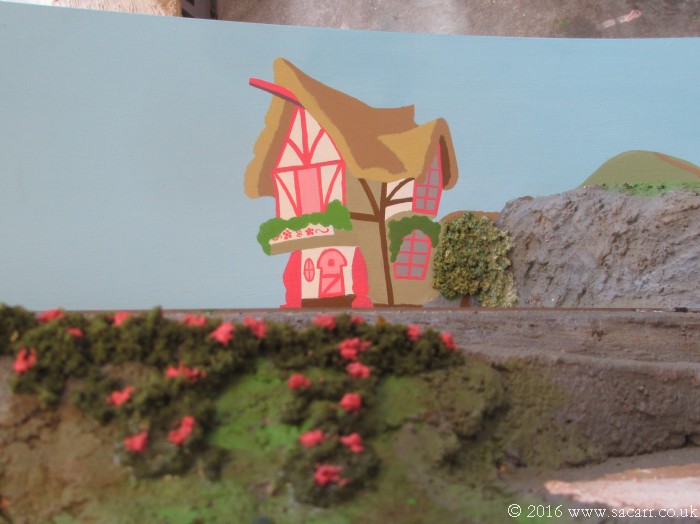
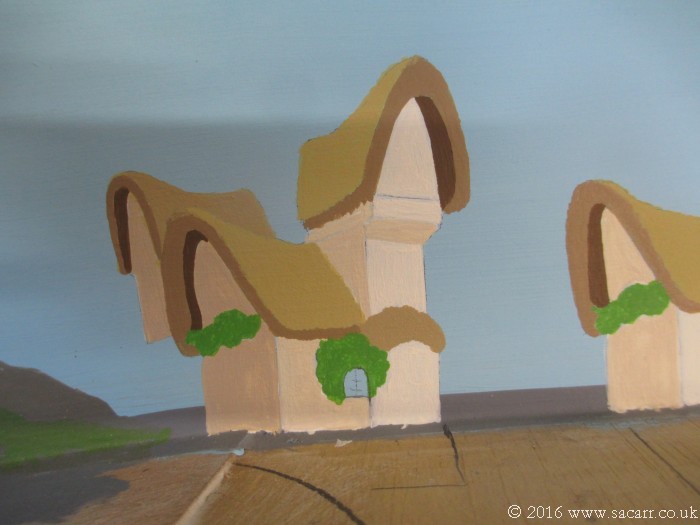
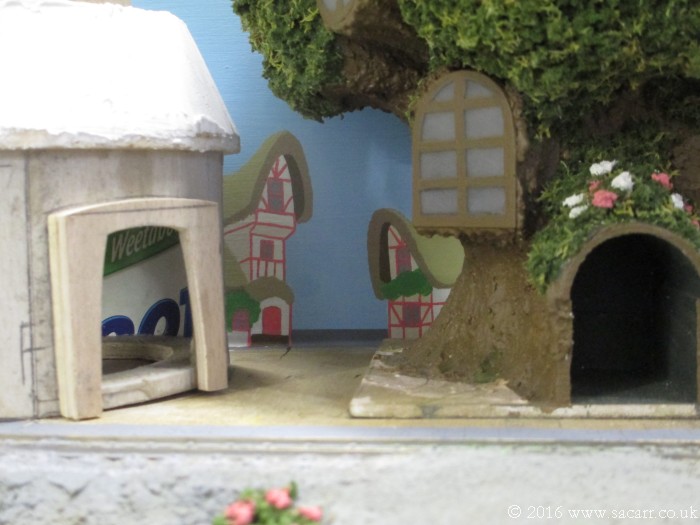
Thanks, we're really enjoying seeing this come together. Yesterday saw further back scene progress, with additional buildings painted between the Boutique and Library.
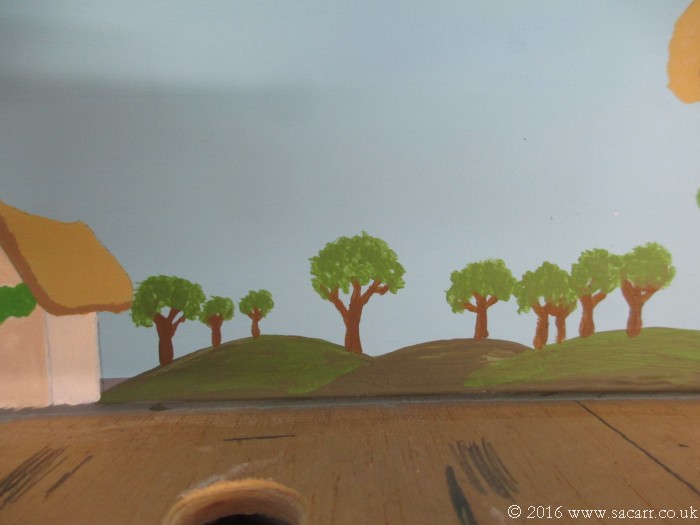
Some trees and distant hills were added behind the library, and by early evening, the pink detail painting was done - 90 minutes peering through a magnifying glass, painting with the sharpened handle end of a paint brush.