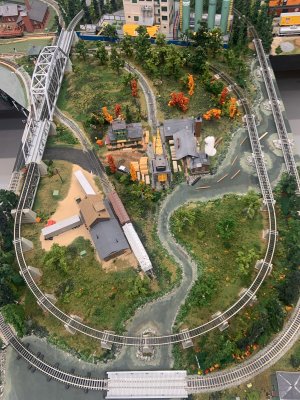
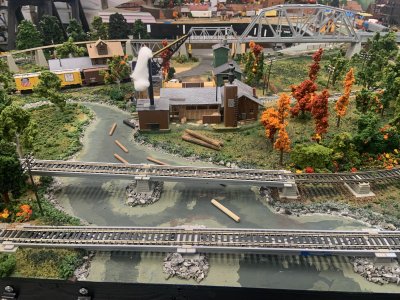
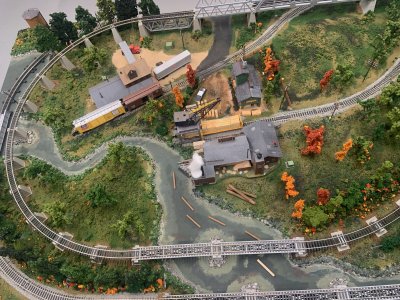
What's been happening on my layout lately hasn't been very good. A rash of gremlins broke out that I've been chasing since Friday. The first incident started when I tried to send a passenger train up Ute Pass and the engine which has pulled the same train successfully in the past stalled with spinning drivers about halfway up. It turns out that the track had lifted on one side at a rail joint, resulting in the engine losing its grip. Surprisingly, it didn't lose electrical contact. I had to surgically remove the portal on tunnel 4 to fix that one. I haven't repaired the portal yet, as I want to make sure everything is working right before I fix it. Saturday, a coupler popped out of its gear box on a passenger car. The next incident occurred on Sunday, when another section of track went uneven at a different joint, causing derailments. That one, fortunately, was an easy fix. We went through a sudden cold snap, and while not by a large number, the temps in the basement dropped suddenly, and I think that it made the rails contract, and since it couldn't pull the soldered joints apart it made them buckle a little. Yesterday was a double whammy, but the victims were engines this time. One of my Alco PA "house diesels" popped its nose coupler and shorted on a curve. It was in an unfinished area, so the track needed a shim. After that, my PFM Berkshire started cutting out, and shorting. The problem in this case was with the drawbar. The retainer nut worked loose, and the contact point would alternately lose contact or hit something it shouldn't have and short. I fixed that by tightening it, and I added a bypass wire with quick connect/disconnect plugs. It seems ok so far.


")