What's happening on your layout?


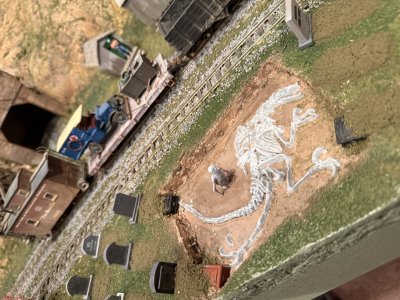
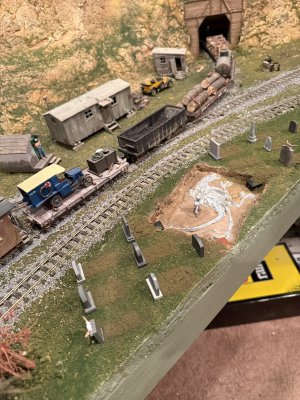
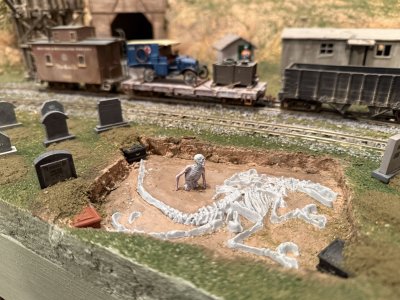
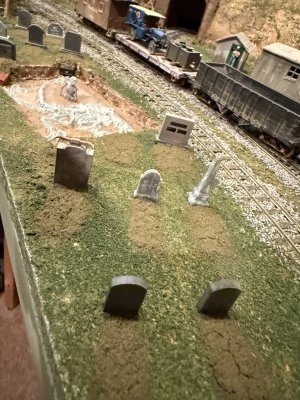
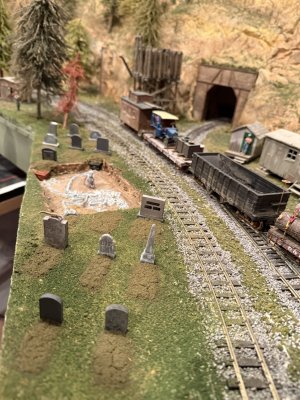
Very interesting...the living dinosaurs are on Chris' (Colberts) layout...sometimes. No zombies to my knowledge.

By the way, you did a great job with the 4' pulpwood load. You must be from back east, here in the Midwest they cut the pulp in 8' (100") pieces. In minnesota they often call it simply "hundred inch"
Actually the accuracy on the pulp wood car is completely by luck, I saw an example of this in a picture and wanted to duplicate it (not sure where the picture was from) I was in the California redwoods and picked up fallen branches. I just cut them to length according to the picture and started to glue them on. Glad it is realistic. If you have pictures of Midwest pulpwood cars, please post, it would be fun to try to duplicate.
 
Actually the accuracy on the pulp wood car is completely by luck, I saw an example of this in a picture and wanted to duplicate it (not sure where the picture was from) I was in the California redwoods and picked up fallen branches. I just cut them to length according to the picture and started to glue them on. Glad it is realistic. If you have pictures of Midwest pulpwood cars, please post, it would be fun to try to duplicate.
I don't have the prototype photo except in my memory, I used to cut pulpwood and this method was universally used in the late 1930's through the 90's and even today in some instances:

pulp load.jpg


load of pulp on my layout. Dave LASM
 
Hi everybody, here is a little more humor on my layout. The first one is in the hills where big foot is petting a moose while behind the tree is a photographer getting a "out of focus" picture. In the little town below is a statue of big foot last seen in 1964. Also, in the little town, all the cars drive on the left because all of the Yesteryear (British made) automobiles have the steering wheel on the right side
 

Attachments

  • IMG_0193.JPG
    IMG_0193.JPG
    975.2 KB · Views: 37
  • IMG_0195.JPG
    IMG_0195.JPG
    828.9 KB · Views: 33
Not quite along the lines of zombies, but here are a few scenes. First is a gentleman relieving himself.
View attachment 204530
Next is a voyeur taking pictures of a couple of nude sunbathers.
View attachment 204531
Finally a deputy and local police officer with a suspect.
View attachment 204532
Good evening Willie. I look at your brick work with the mortar in your second picture and wish I could do this. I have tried many techniques and have not been very satisfied. Any advice or pointers on mortar and aging bricks would be greatly appreciated. thanks.
 
Any advice or pointers on mortar and aging bricks would be greatly appreciated.
It actually varies from structure to structure, but the basics are the same. I mix a batch of paint and water, 1 drop paint, 2-3 drops rubbing alcohol and 20 drops of water and then brush it on while the surface is flat on the workbench. The alcohol helps break the surface tension. After the mixture runs into the recesses, I dab some but not all with a paper towel to remove the paint mixture from the surface only. Occasionally I will apply dull coat the the wall first, and add a bit more of the 91% isopropyl alcohol to the paint mixture. This causes cloudiness on the brick surface which looks more aged. As far as the paint color, it also varies. For a newer building, I use mostly white with a bit of gray mixed in. Sometimes I use Polly S concrete color, but other paint manufacturers have a concrete color close to it. Sometimes I mix all three colors, or just a mix of two. Depends on how I want the structure to eventually look.
Some kits are easier than others; older kits tend to have deeper recesses between the bricks which makes it easier. Walther's kits are the hardest for me as they barely make an indentation. Paint/water proportions can vary if I think that the mixture is too thick or thin. I use old Testor's Liquid Cement bottles to mix the paint in, and I make extra which can be sealed for later use. Yank the brush out of the top, leaving the liner in place to form a tight seal. I use a very soft 1/2" paintbrush to apply the mortar.
Wow, never used alcohol in everything I have tried. Thank you so much. I have a Downtown Deco building that was built but not weathered. just sitting there. I will try it this weekend. Thank you so much for taking the time to reply. yves
 
My old layout is coming down and moving 130 feet to the new shed. All the freight
Cars are packaged. The buildinga are being lifted out.

One hydrocal foundation damaged a bit, it will just present as a more distressed structure.

No other damage so far. First piece of benchwork installed on the new layout. Big day!

Dave LASM
 
Thanks, They are old pieces mostly. I haven't made signs yet but I have the industry for alcohol going on with a winery, a brewery, and a distillery and you have to have an Icehouse to keep things cool and of course the Snatchem casket factory, Rico and Arlee Stations that I got back in the 70's on my first layout. The windmill is a take back from when I lived in the St Louis area and there was/is a restaurant/bar called The Bevo Mill (added pic) Trying to carve out things that were part of my life growing up between the St. Louis area and Kentucky.View attachment 204305
Lovely windmill, was it a kit? Since my visit to Netherlands last summer, I decided to put a classic windmill on my layout, and add one as a yard ornament.
 
Overall plan:
0 original table back in service, DC
1 convert to DCC
2a add shop section
2a+ bench & temp yard <- YOU ARE HERE
2b extend mainline towards city
2c add interchange and city
2d add CSX

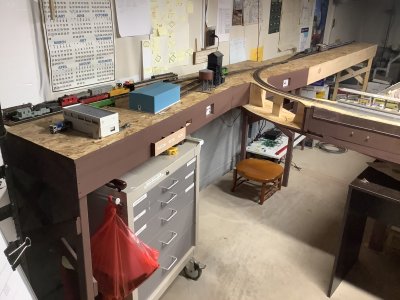
The shop and temp staging are done. I put temporary used track on the yard, it will move to new ends as the road grows. While I was waiting for parts, I painted the fascia and legs, glad I did, it looks good.

I’ve permanently installed the former lift-out section. The benchwork it connected to was too wobbly, and the angled track joint was hard to keep aligned.

I also added circuit breakers for the two power districts, and made places for the eventual third district and booster.

I can now operate short runs of the commuter and local freight trains. I’ve inventoried all cars and locos, and am upgrading the old car cards and waybills.

I’m really happy with the progress!
 

Attachments

  • image.jpg
    image.jpg
    560.9 KB · Views: 25
  • image.jpg
    image.jpg
    581.3 KB · Views: 26
  • image.jpg
    image.jpg
    542.4 KB · Views: 25
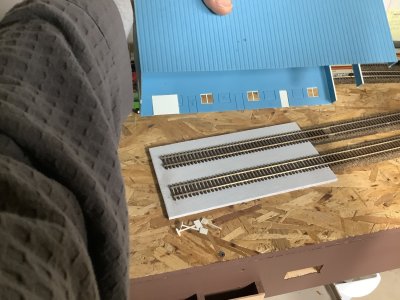
I have two tracks and a road at the oil seed plant that dead-end into a non coved corner that didn’t look quite right.
So I dug into the scrap bin once again and came up with a bridge and concrete walls to help hide them.
I’m gonna need trees, lots and lots of trees!

1000001296.jpeg
 
Last edited:


Back
Top