TLOC
Well-Known Member
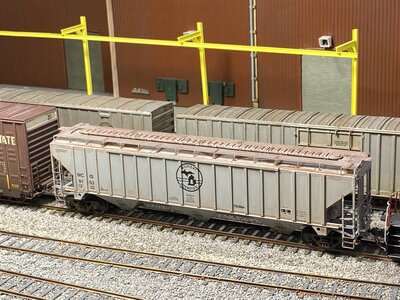
Gary, I use Tamiya X21 flat base to fade any color car. IMO it works pretty good. I put one coat on with a brush wait 2-3 hours and with a dry brush, brush it off. It dries to a chalky finish and since it has texture I brush it off but I am told you don’t have to. I have not experimented leaving it on and painting over it. Brushing it off works fine but it is tedious.How did you do the fade coat ?
One of the coil covers x-21 flat base painted on and drying
Mostly brushed off Forest Products car
Tamiya can be purchased anywhere I am told even my LHS but not at decent prices. I buy all my paints and most of my varnishes for matte and gloss at Scalehobbist.com. In USD.
Last edited: