Tuxedo Dave's Formal Wear & Chainsaw Sharpening


DaveInTheHat

Active Member
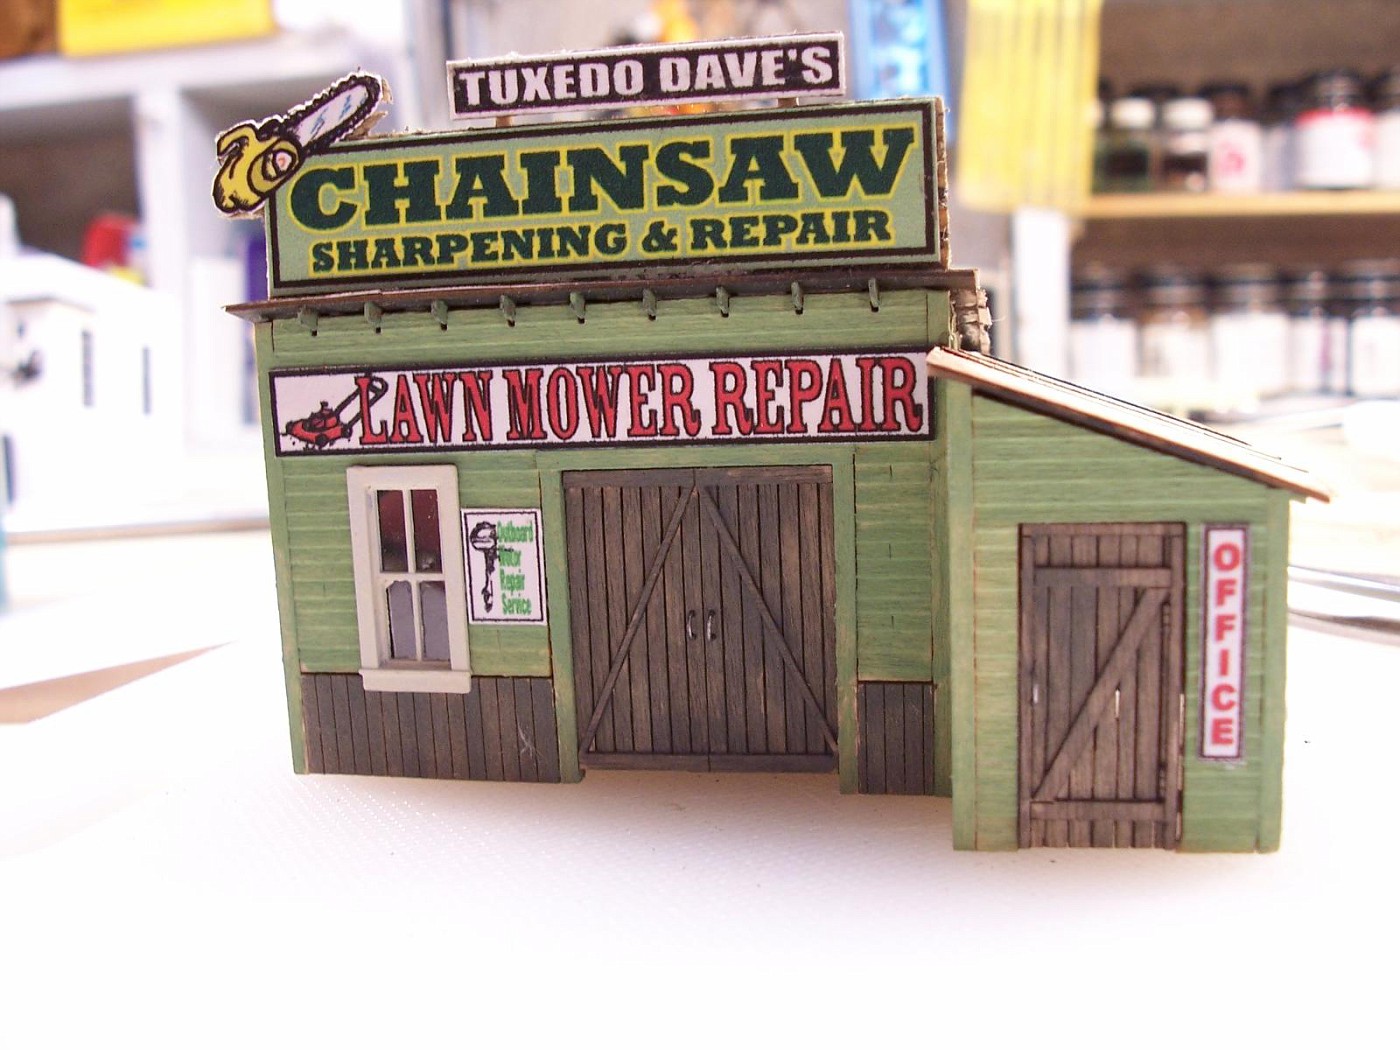
I started another diorama. This one fits next to Davetown Books.
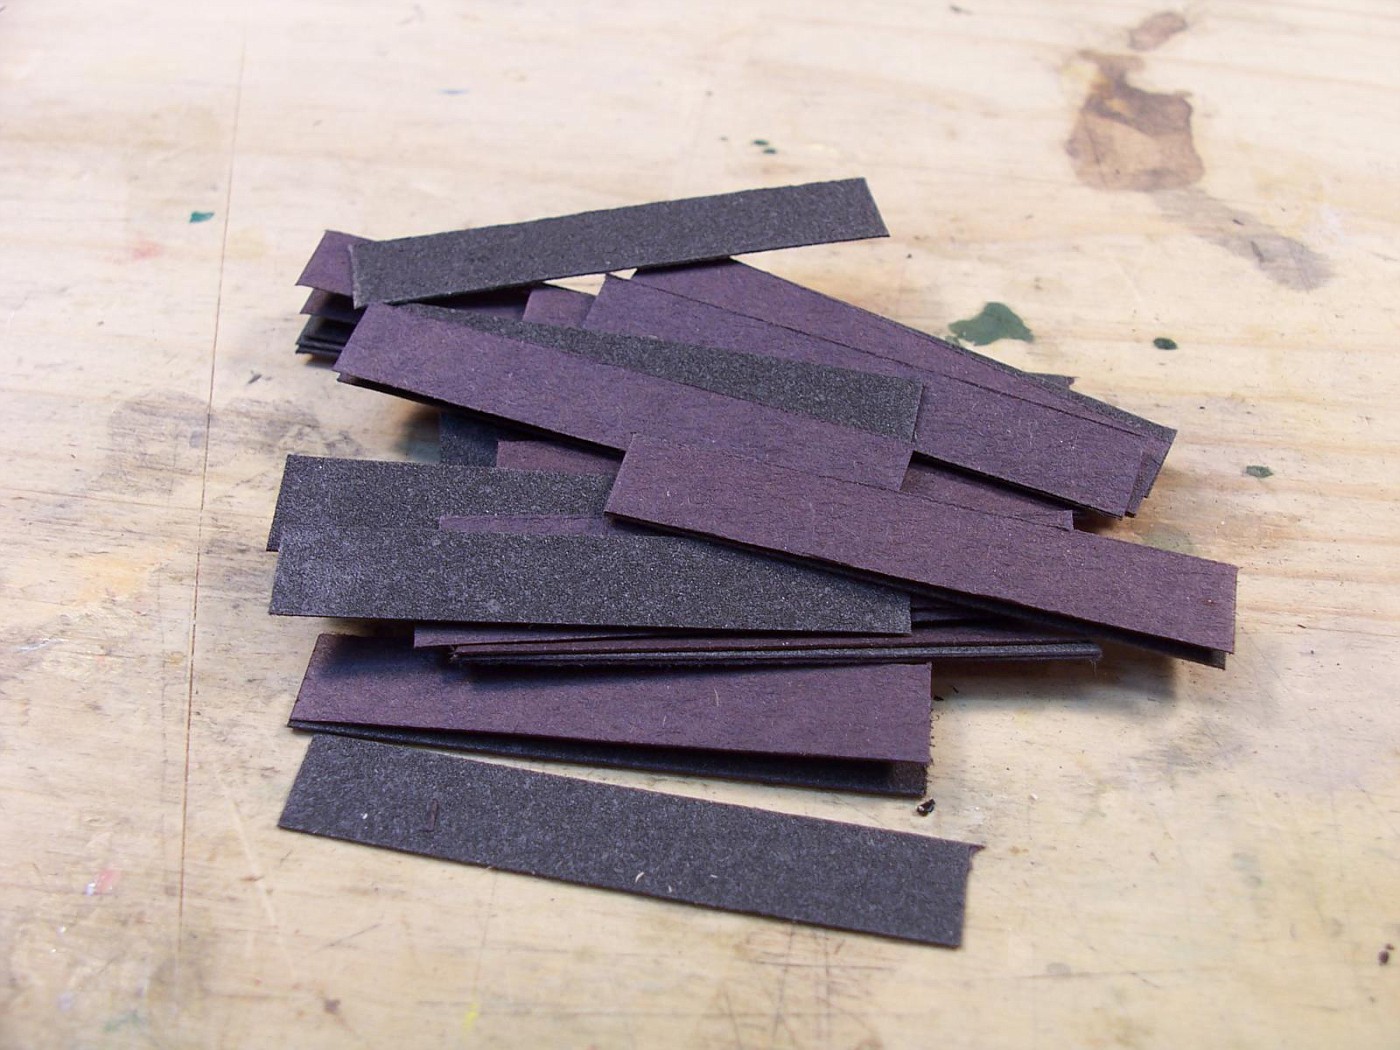
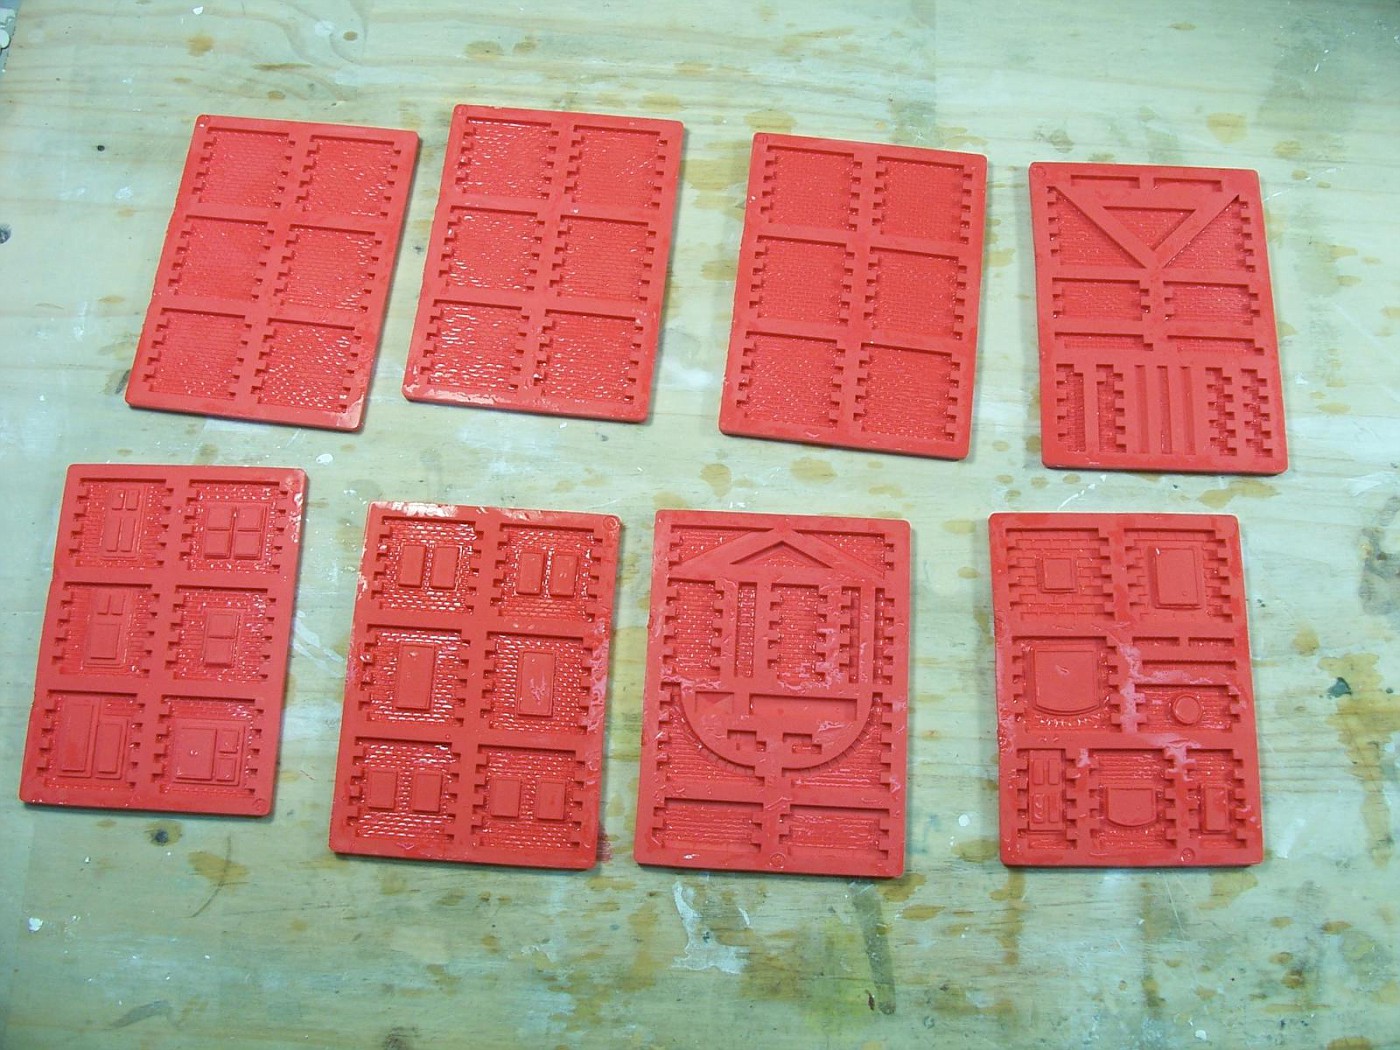
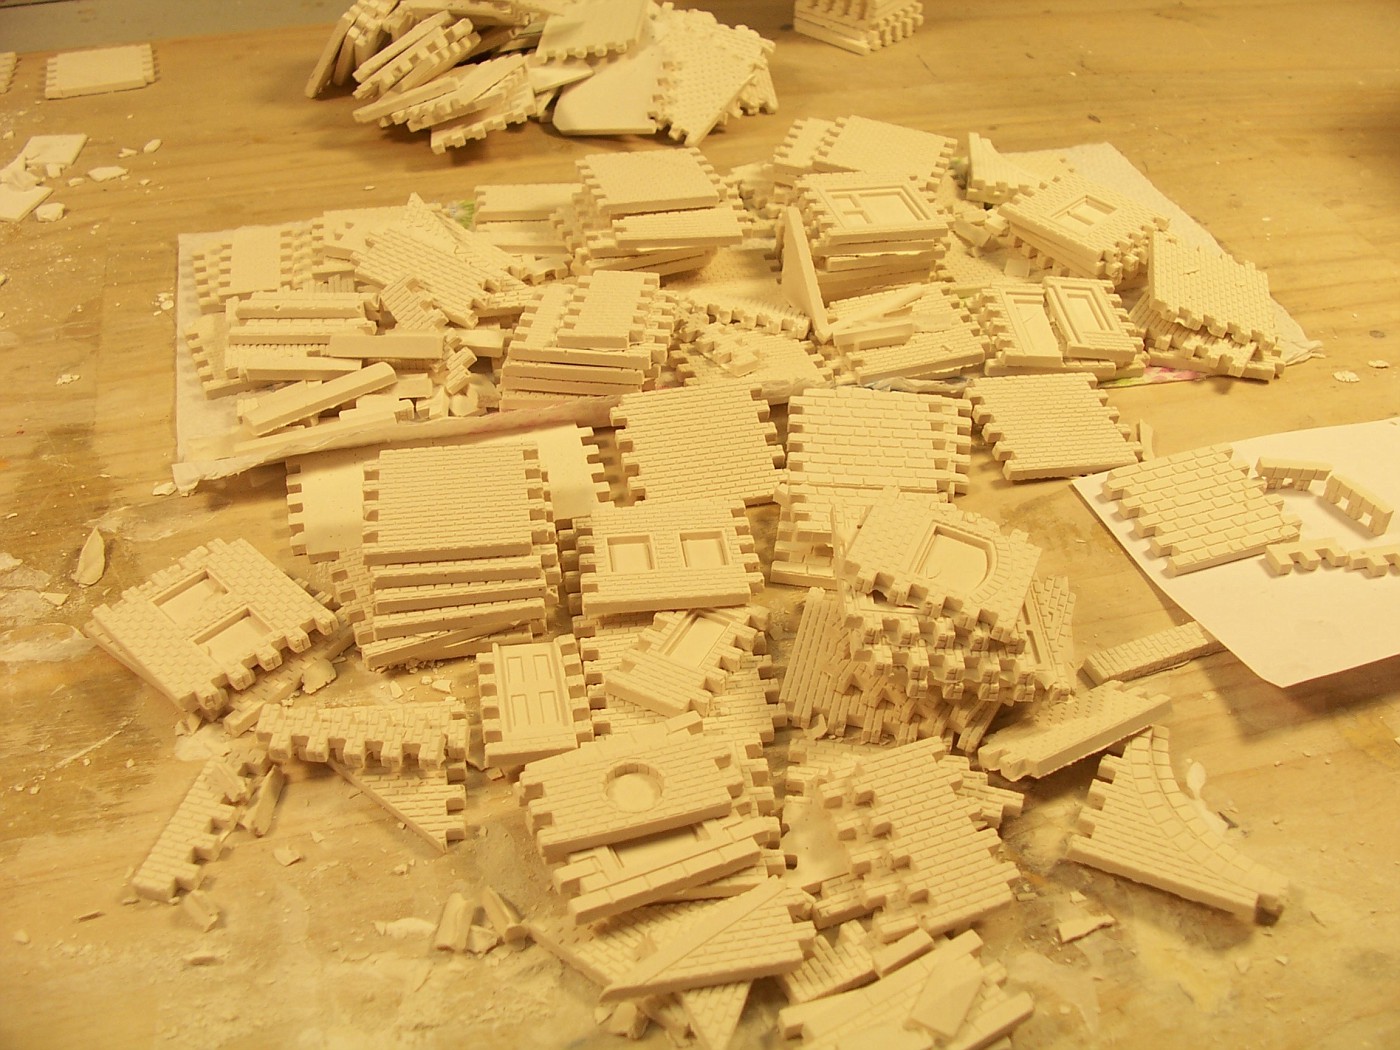
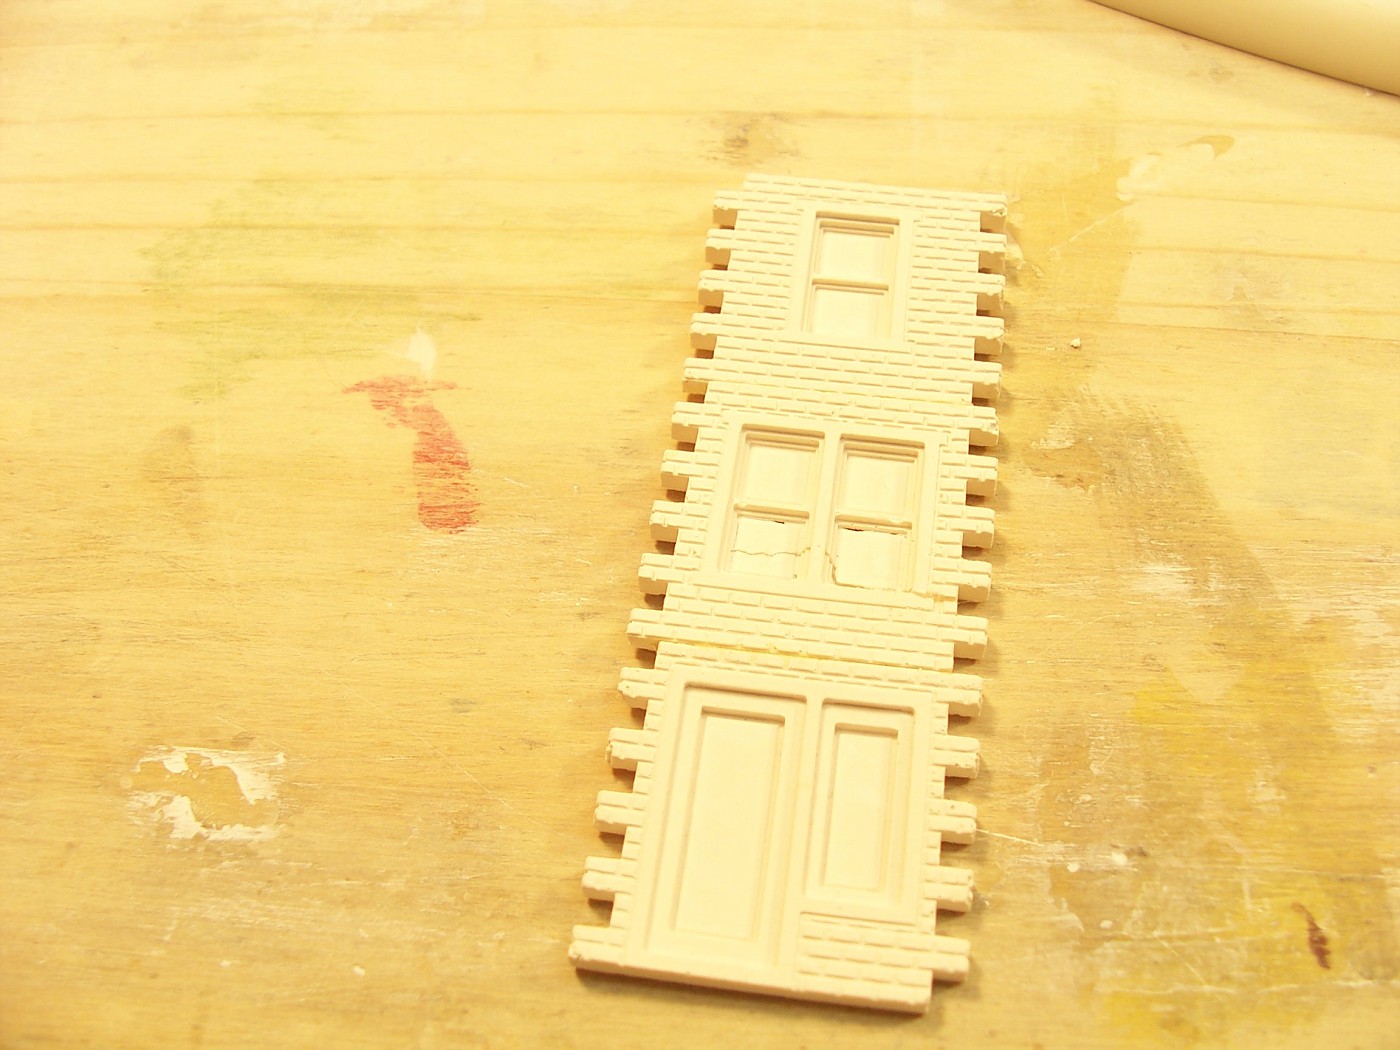
The Chainsaw Sharpening building is a Bar Mills kit. Here's what comes in the kit

100_8383-vi.jpg


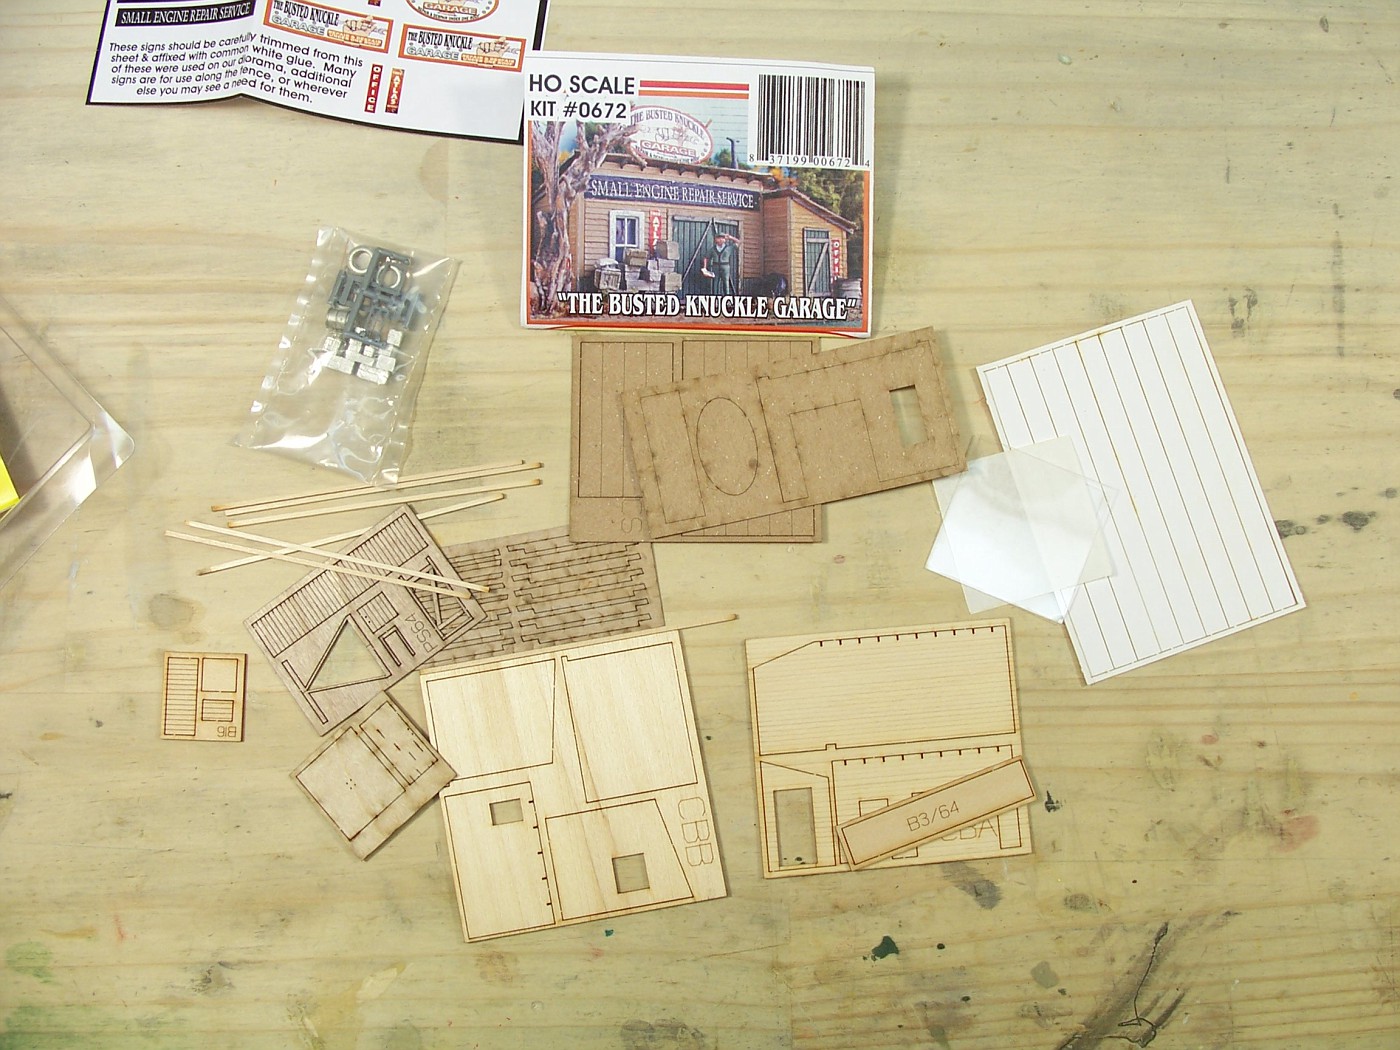
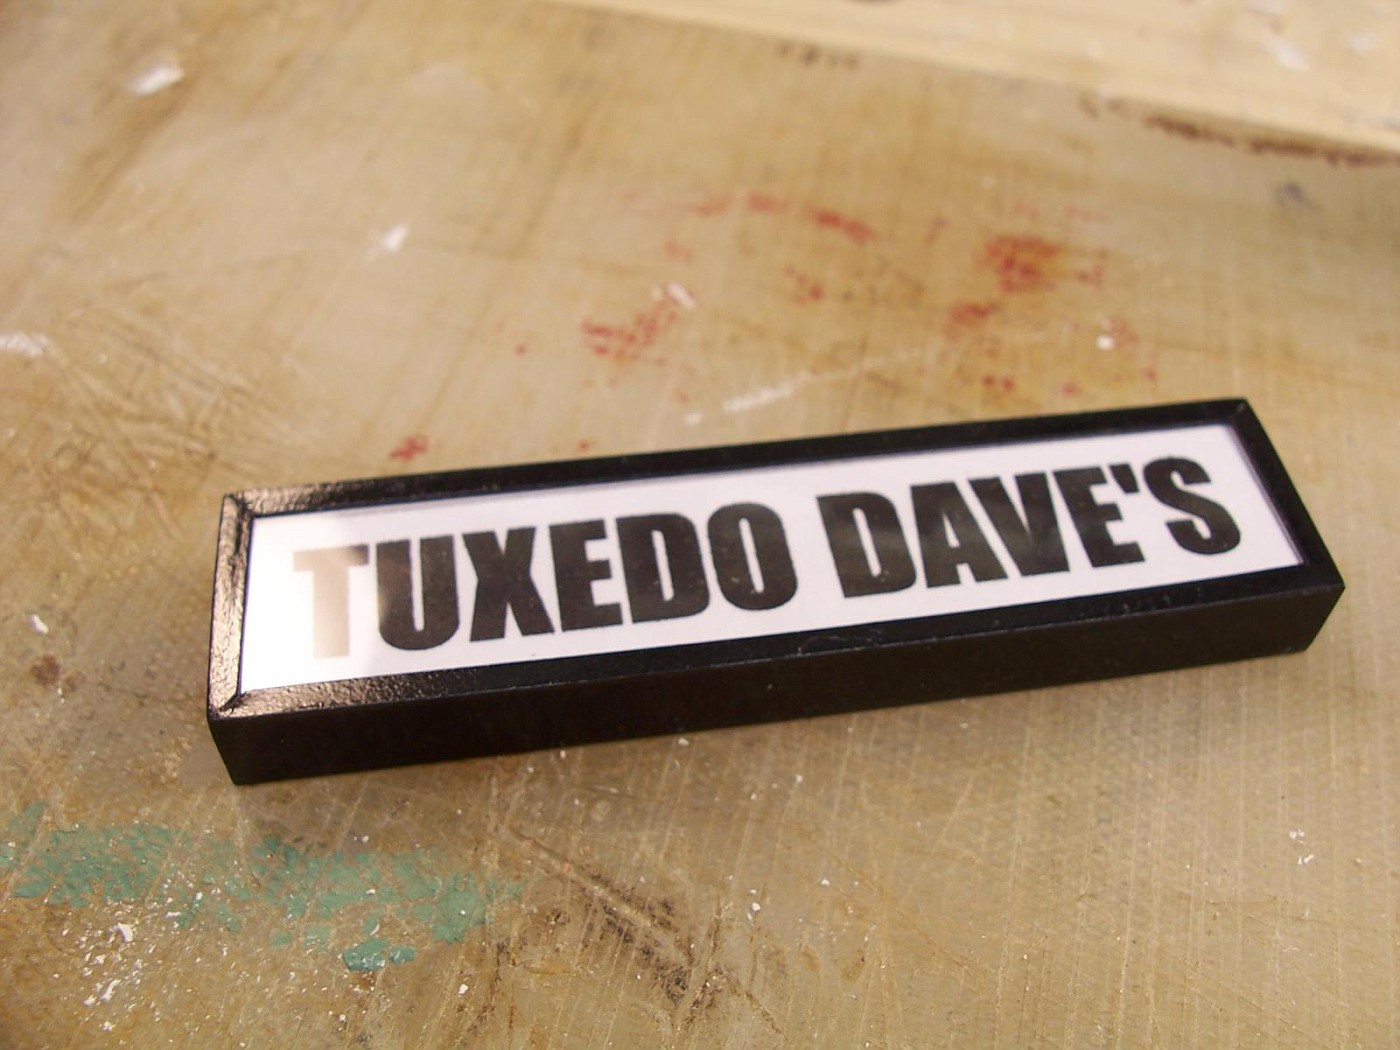
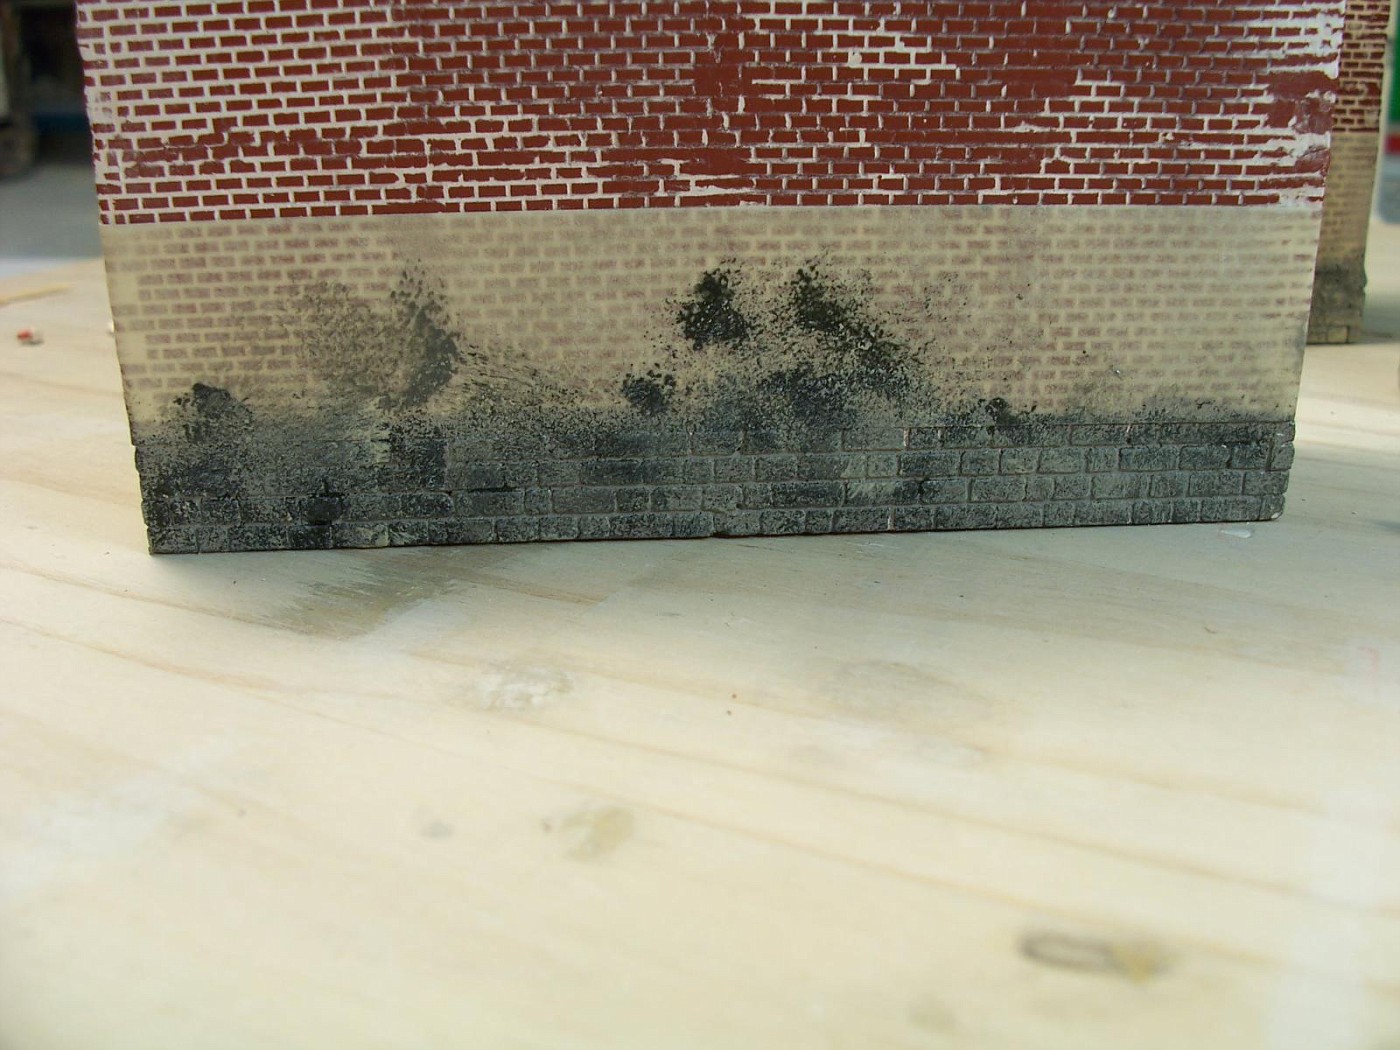
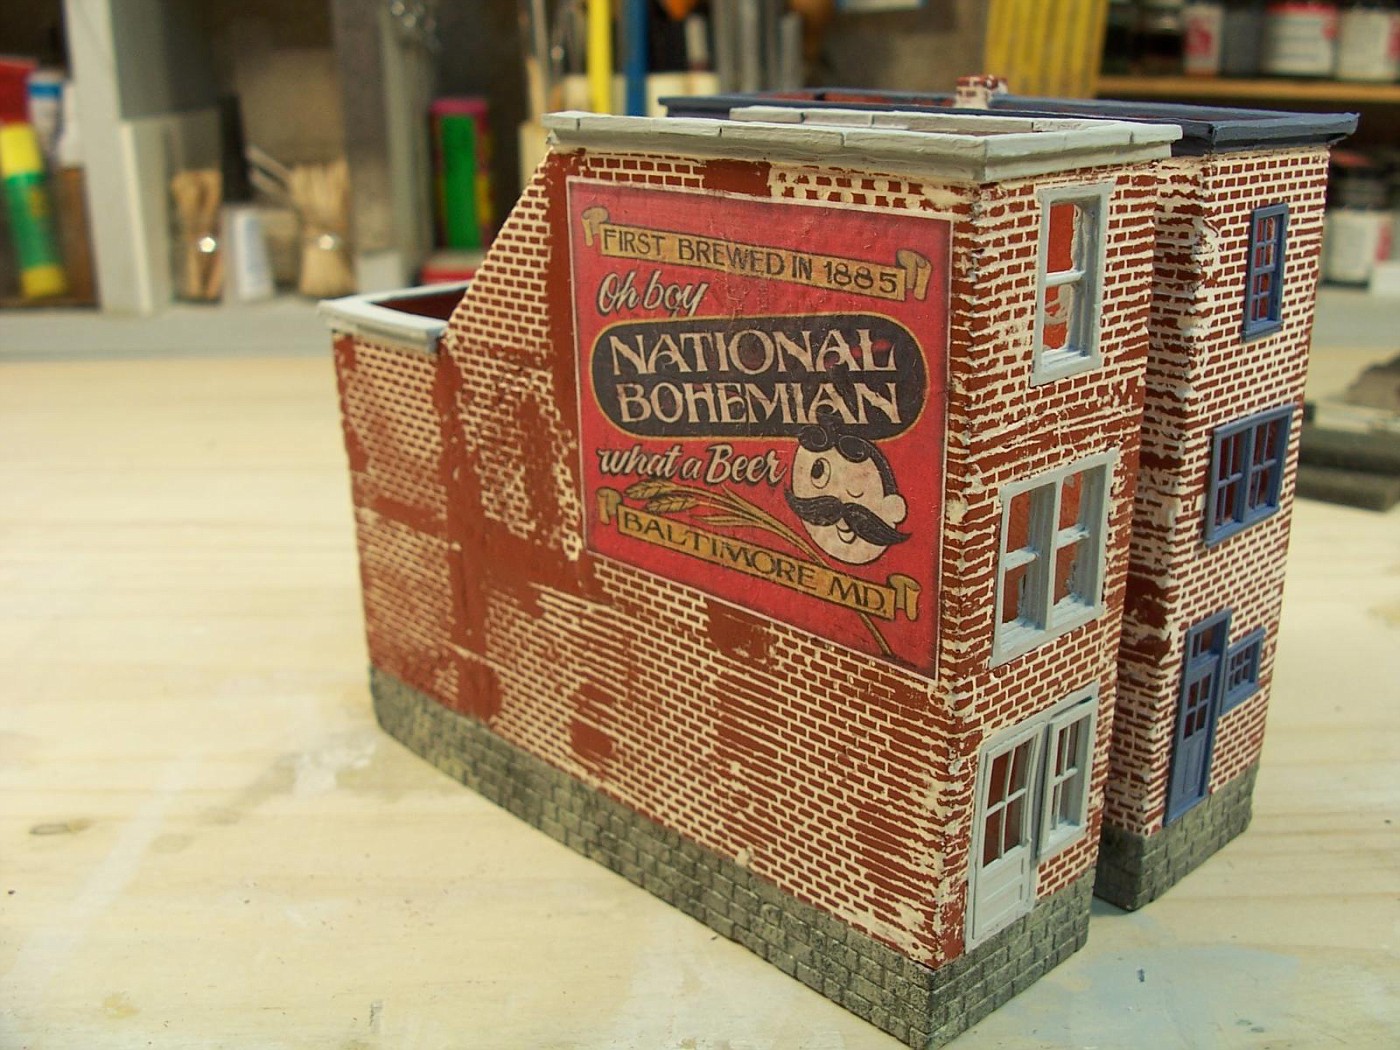
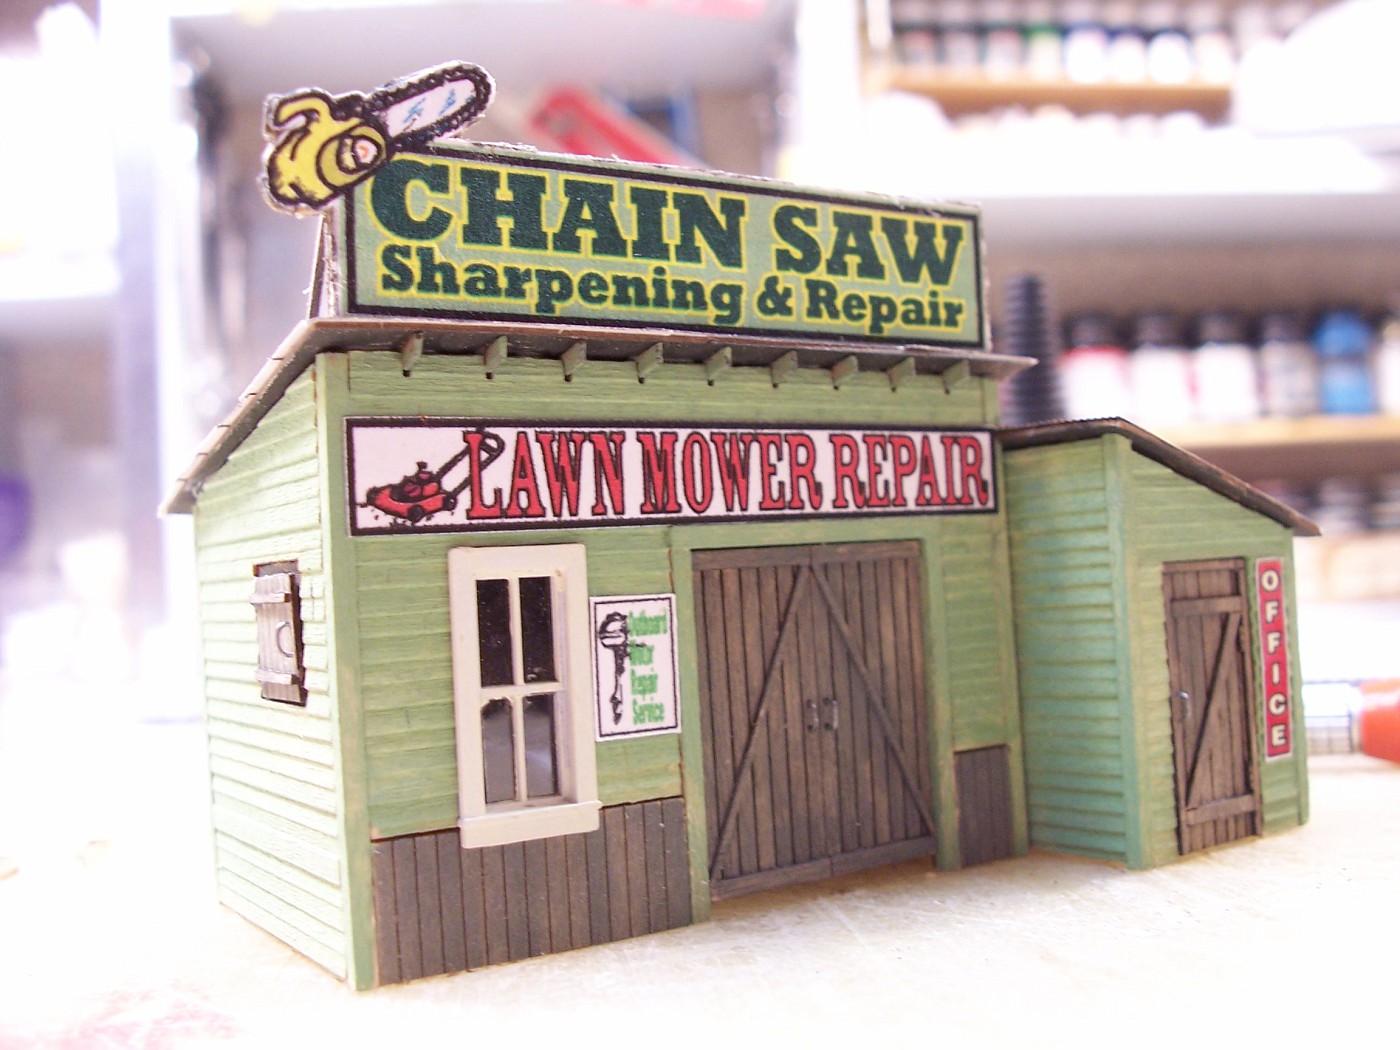
They're really a pleasure to build. The parts fit together perfectly with only very minor clean up. Mostly done with a razor blade and a nail file. The only modifications that I did were making one roof corrugated metal and making my own signs. I still need to weather the building and add a lot of details.
I might redo the roof sign, I'm not happy with the way it looks and Chainsaw should be all one word.

100_8394-vi.jpg


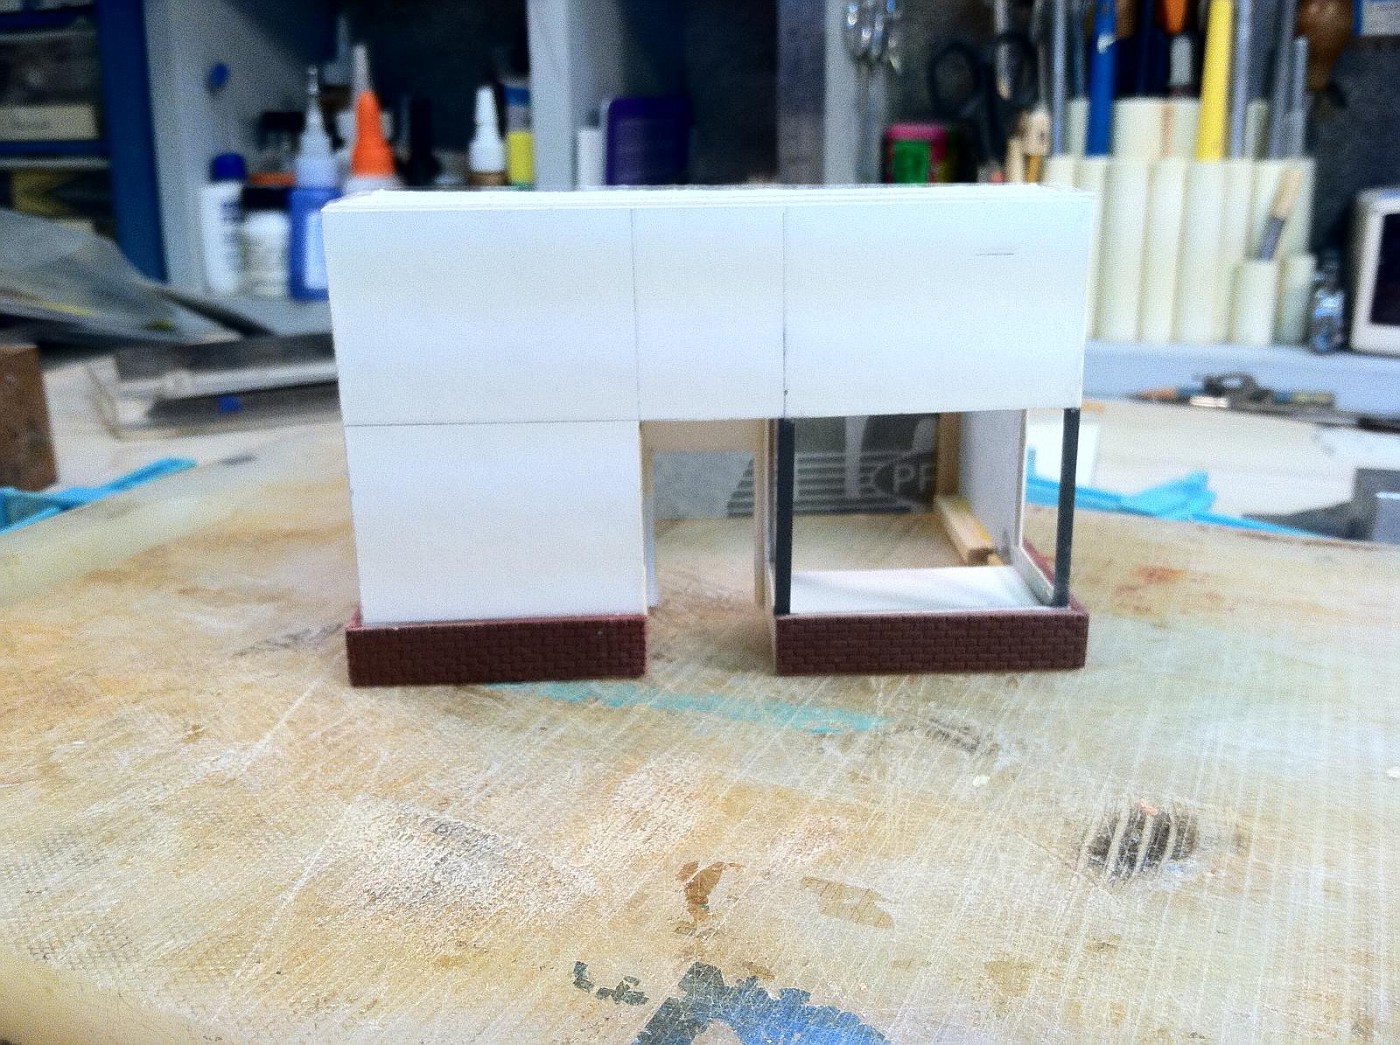
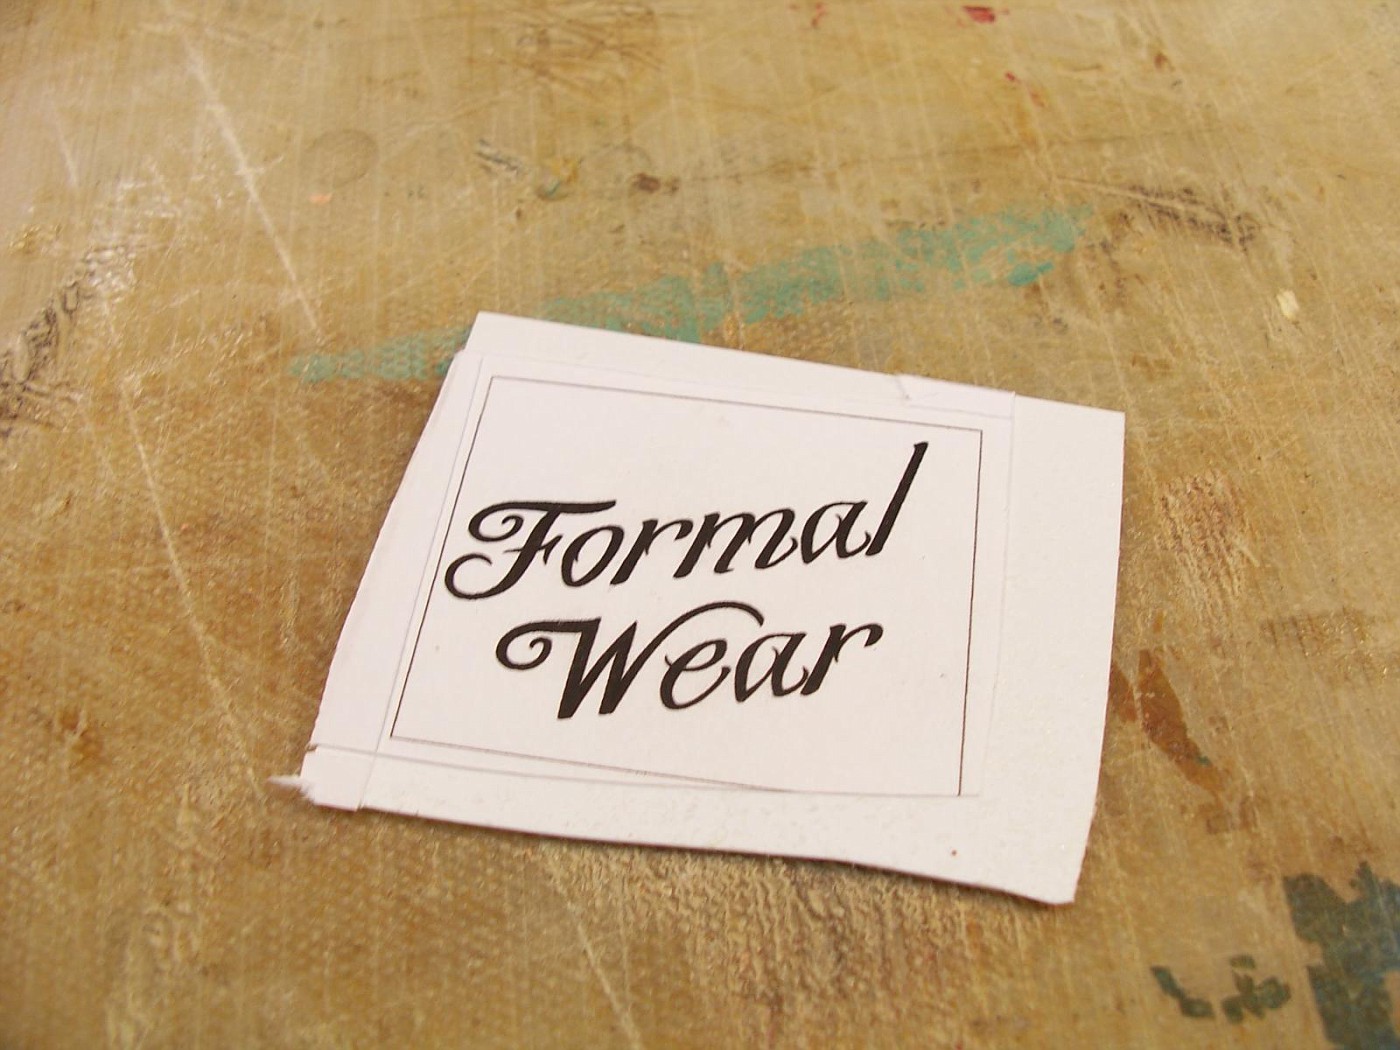
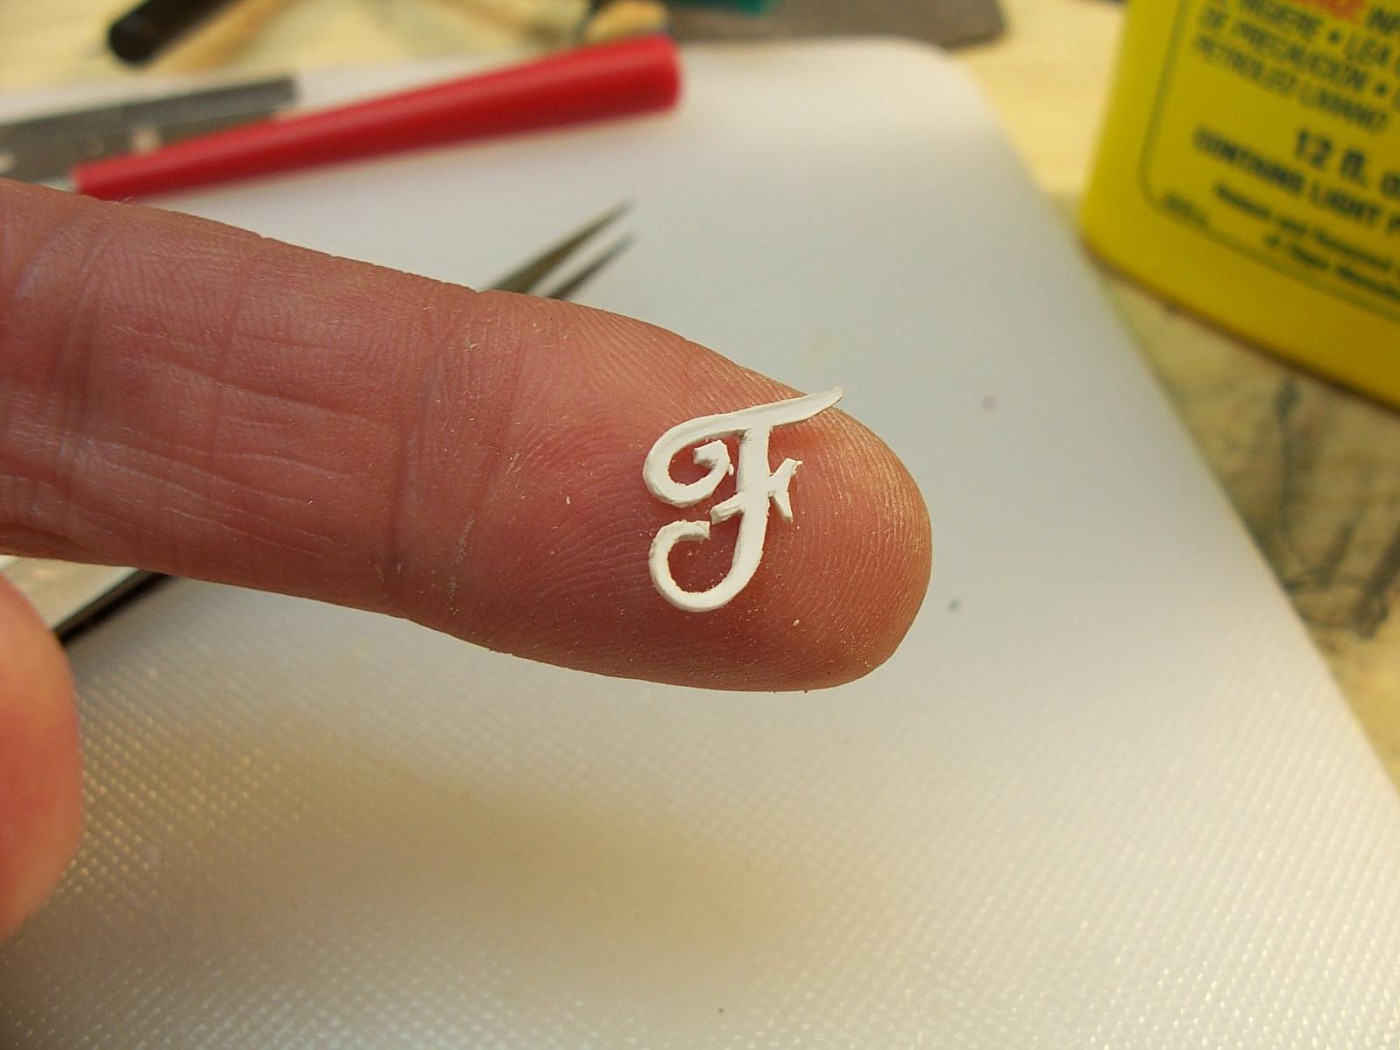
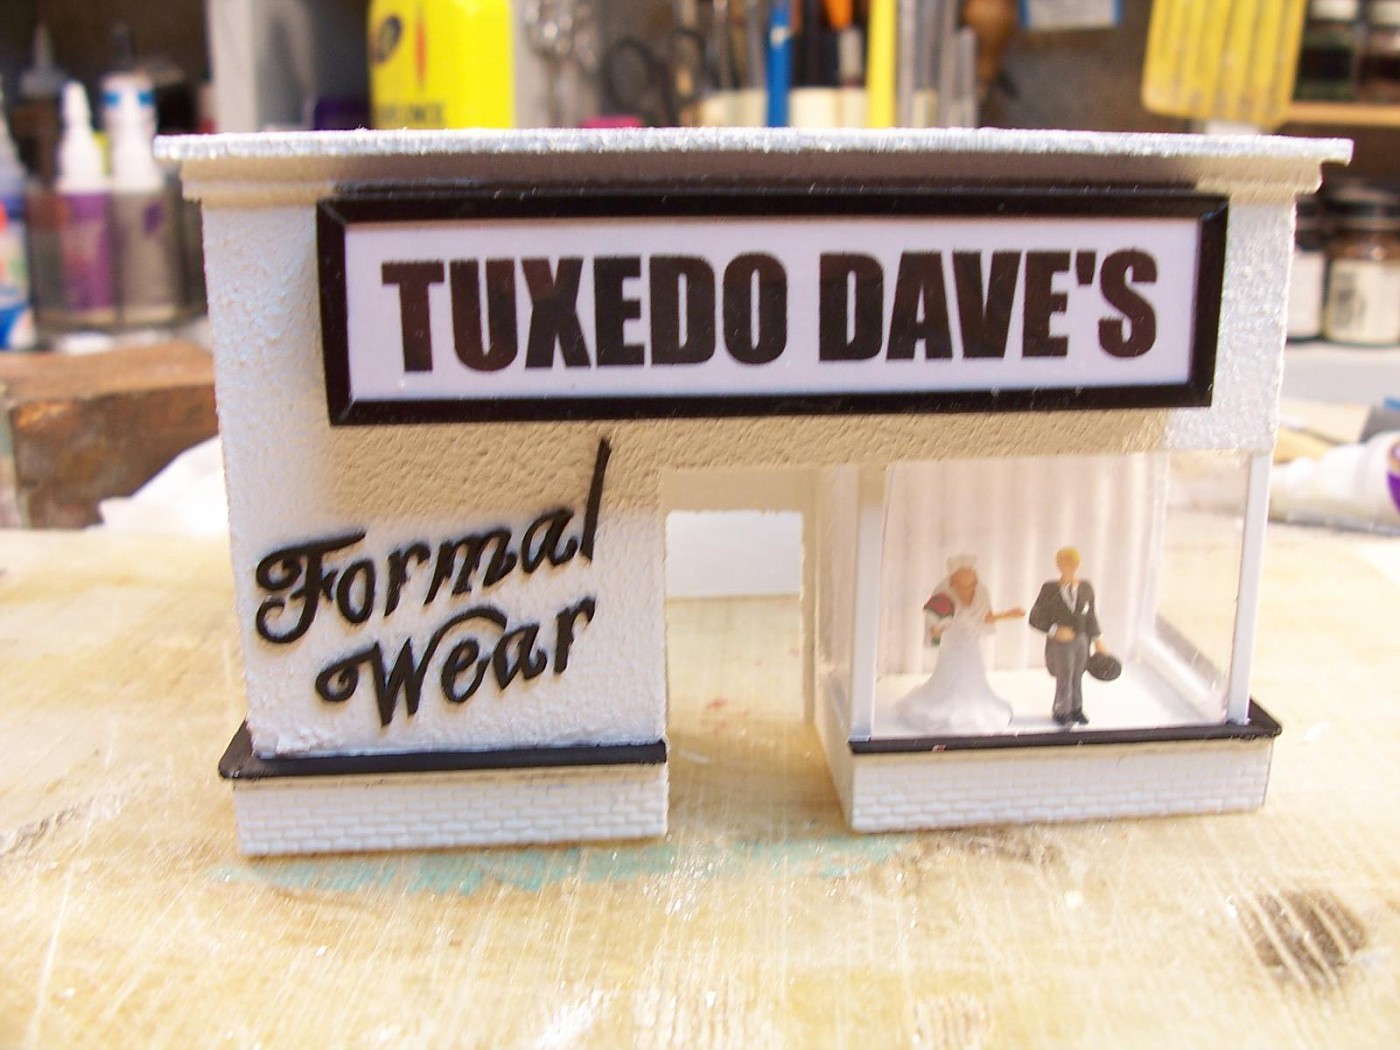
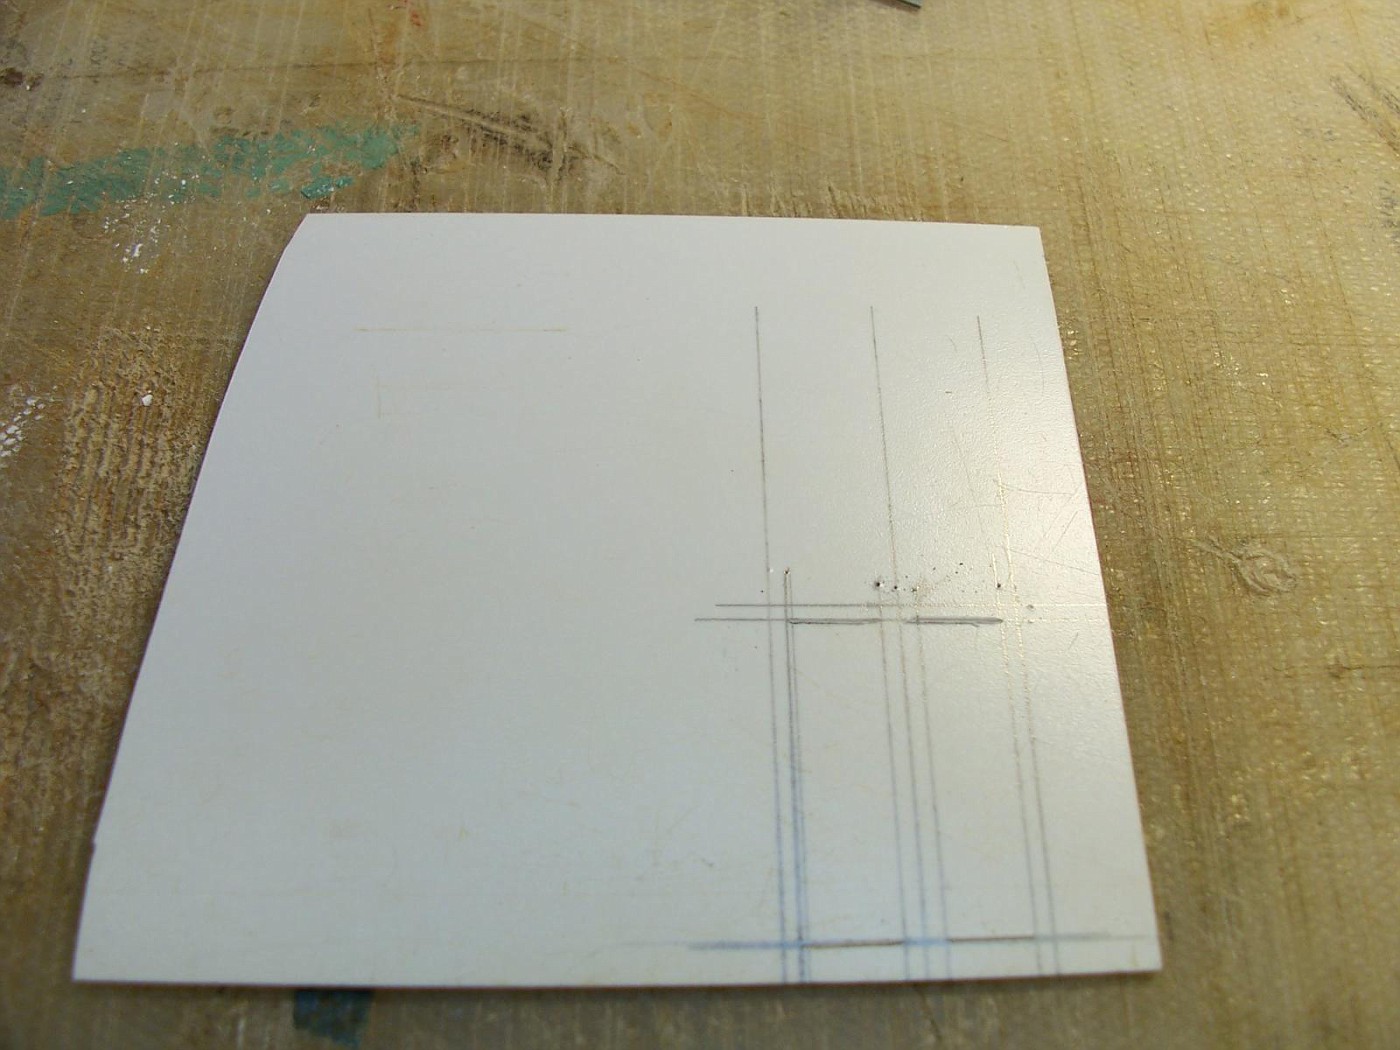
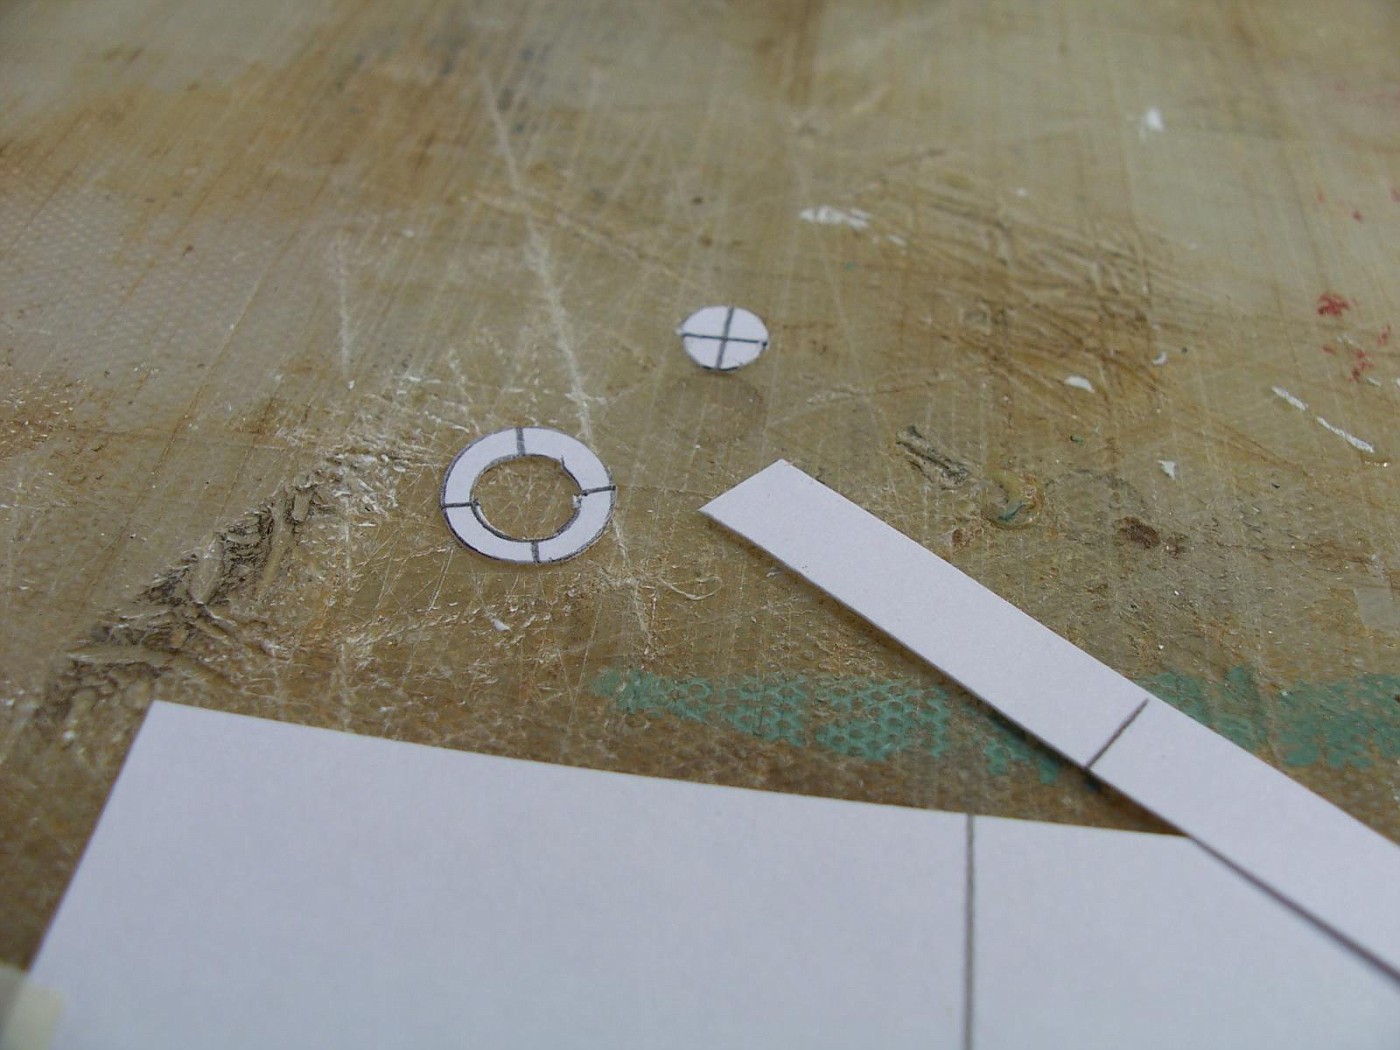
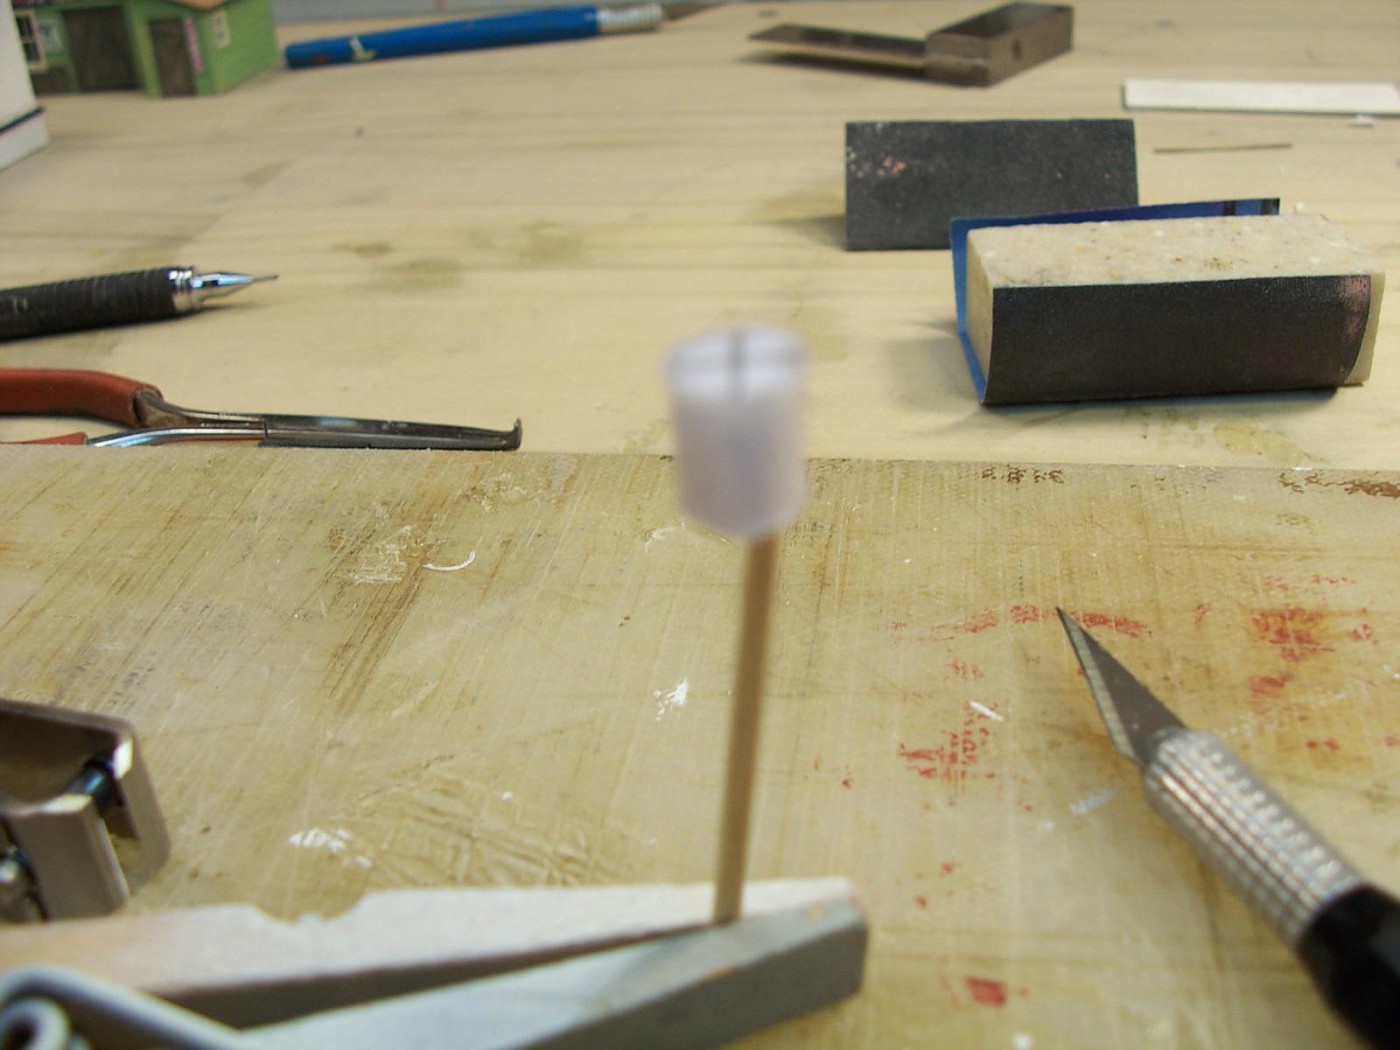
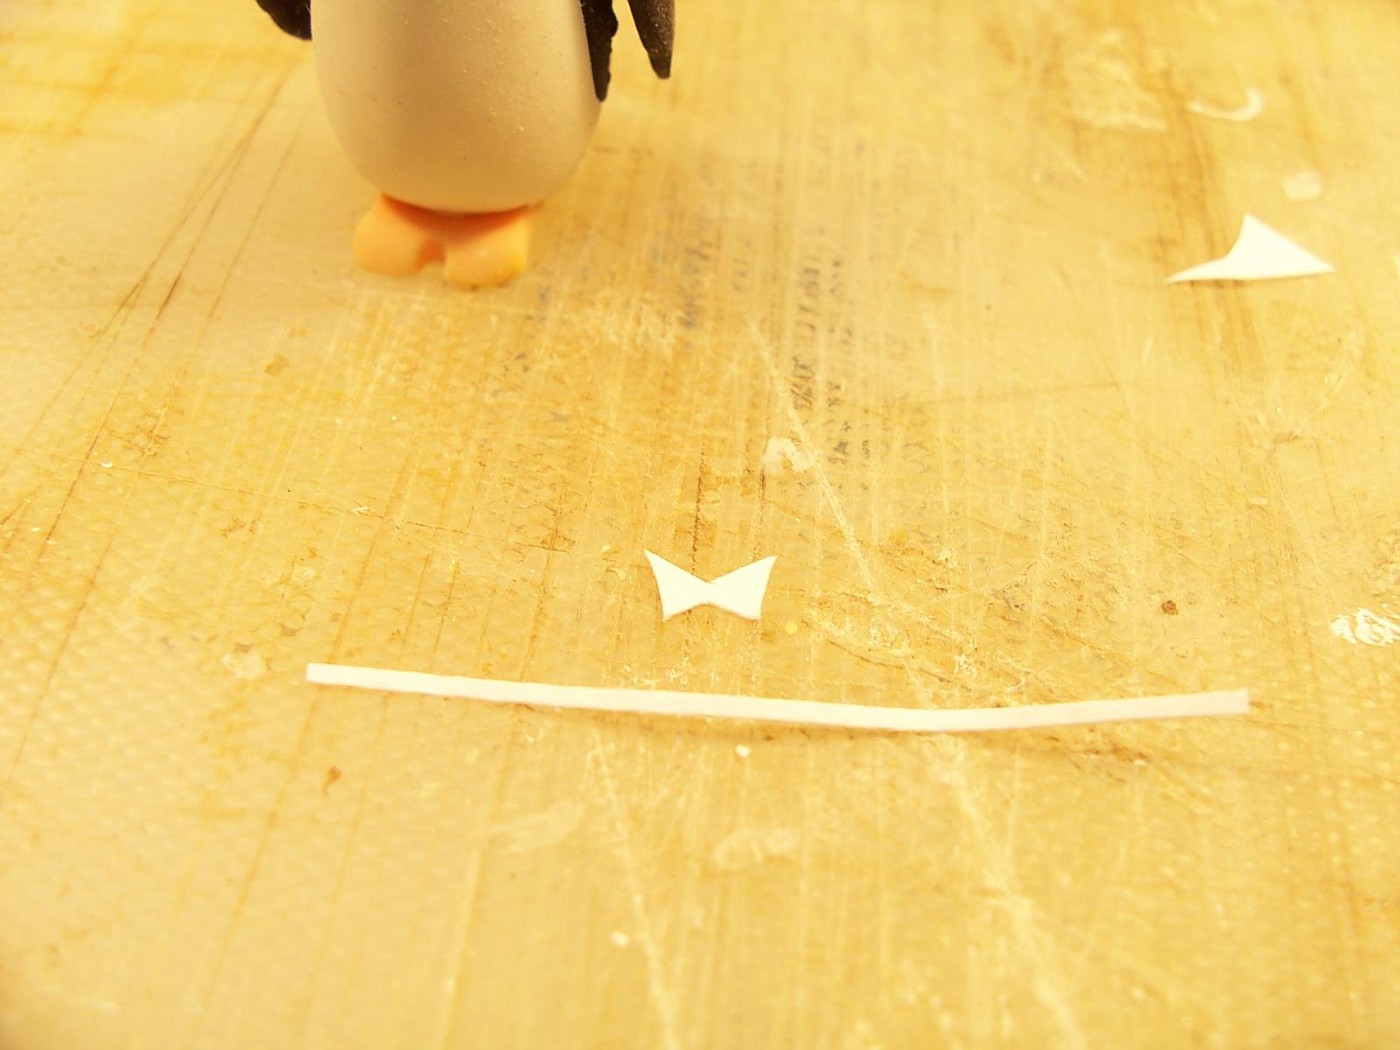
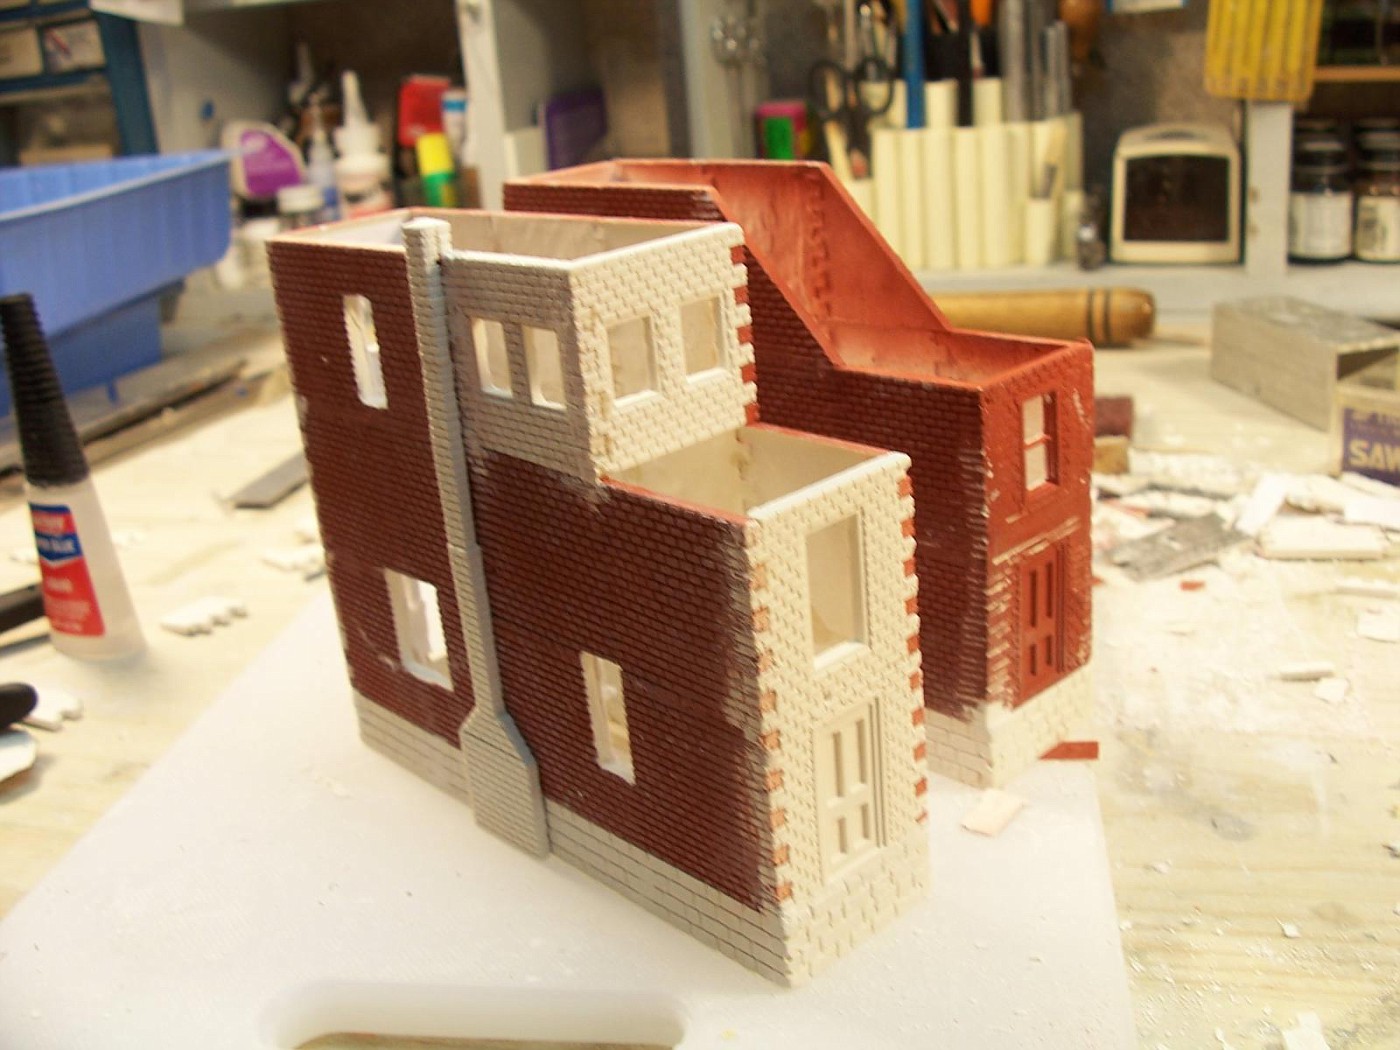
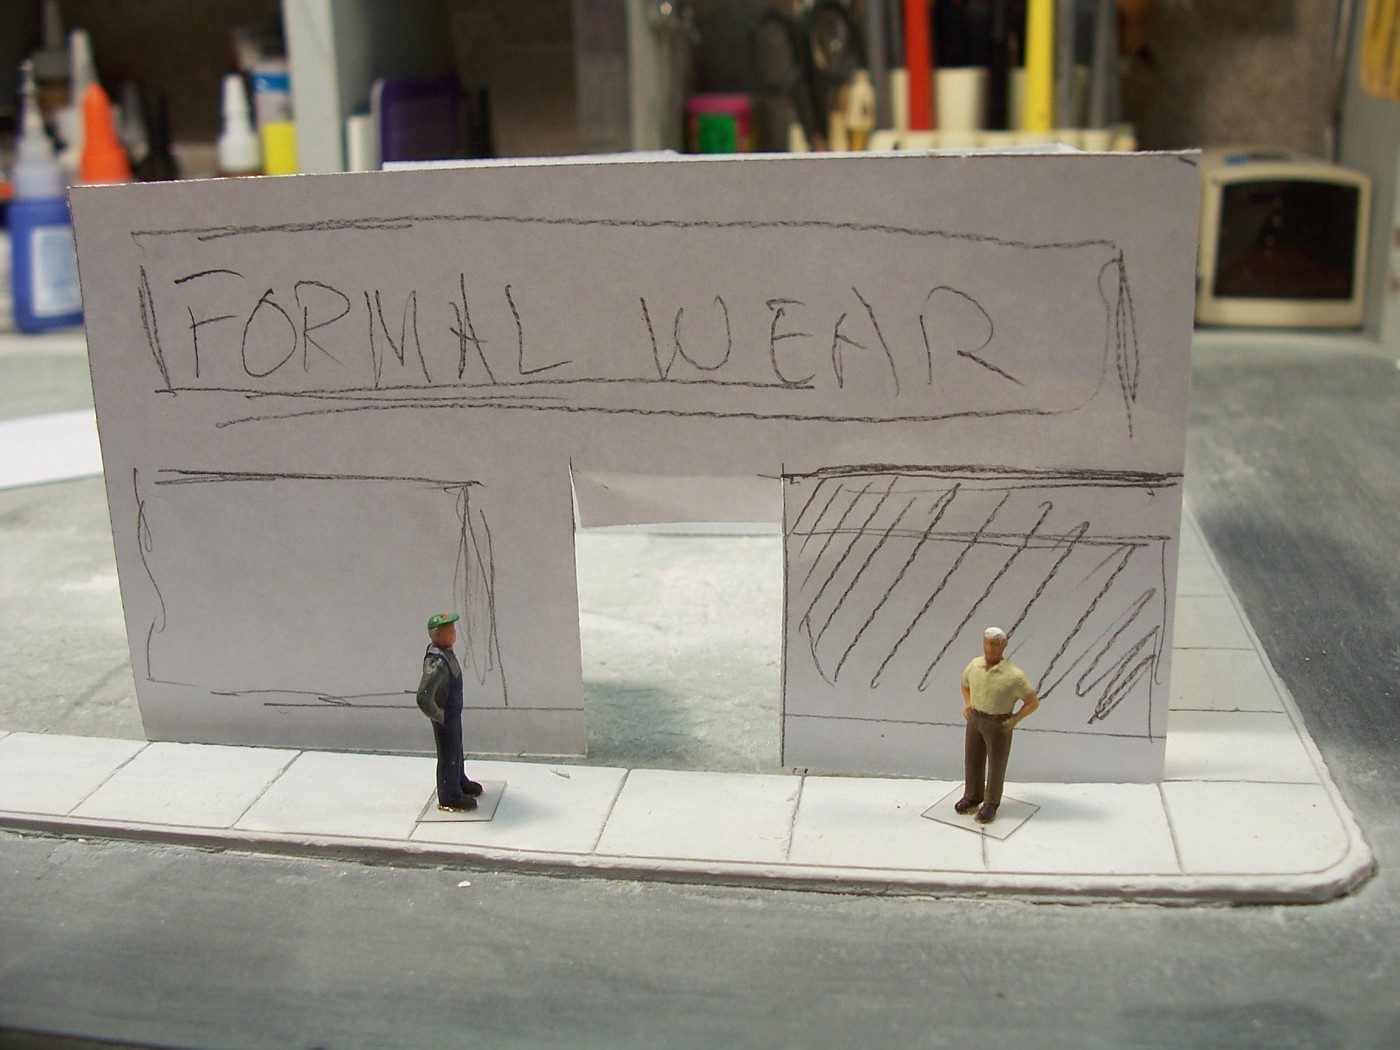
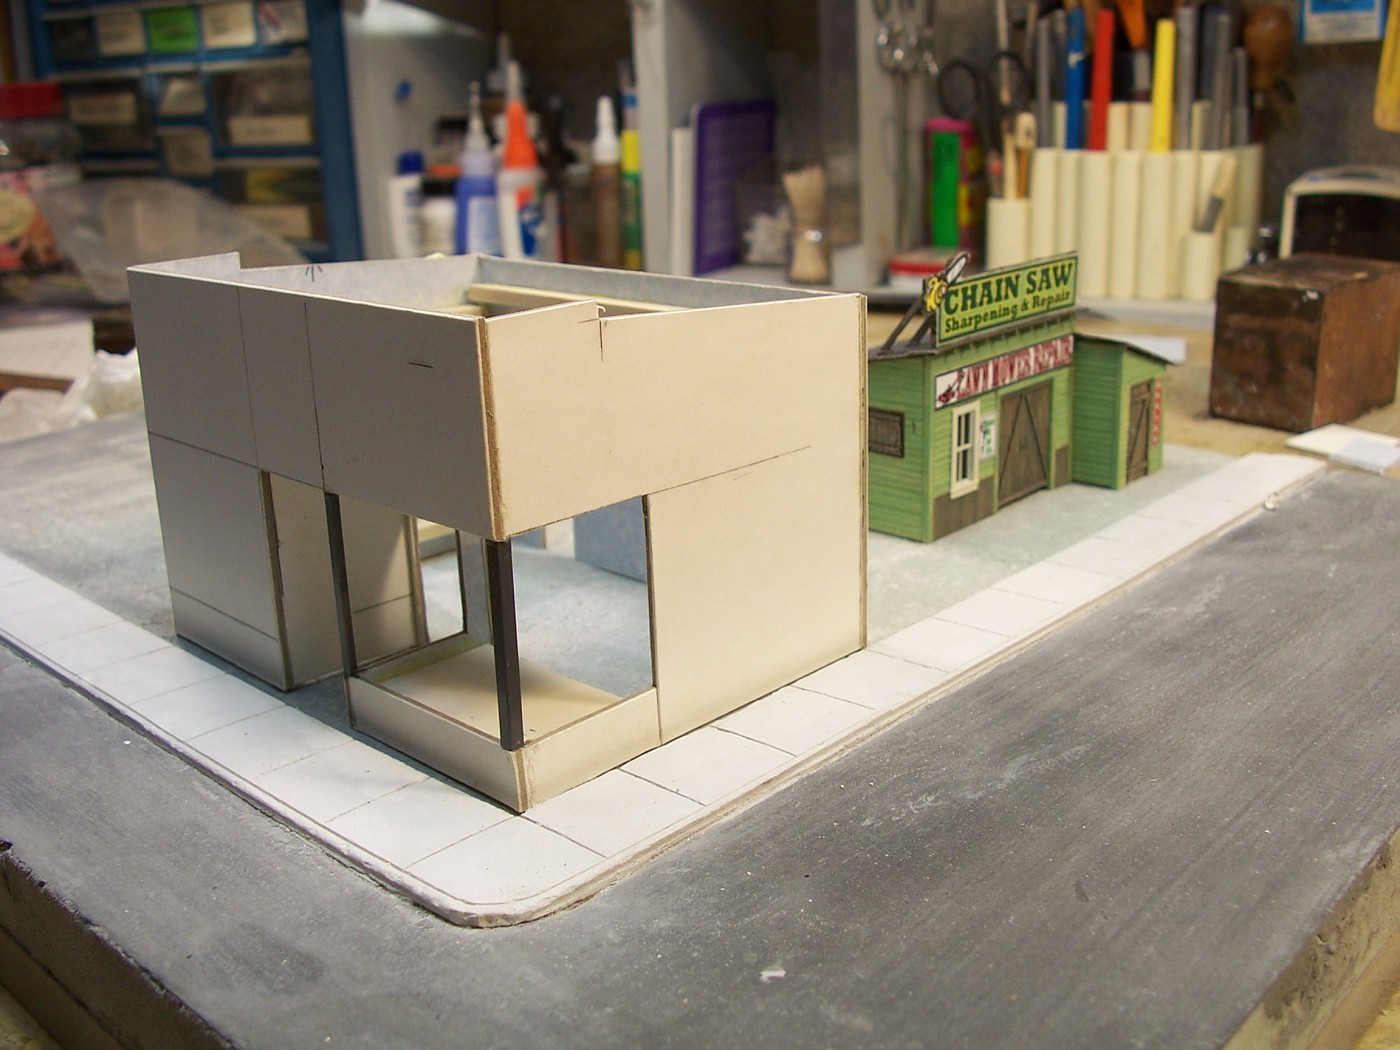
I did a couple rough sketches and fooled around with paper to get the "Formal Wear" building about the right size.

100_8396-vi.jpg


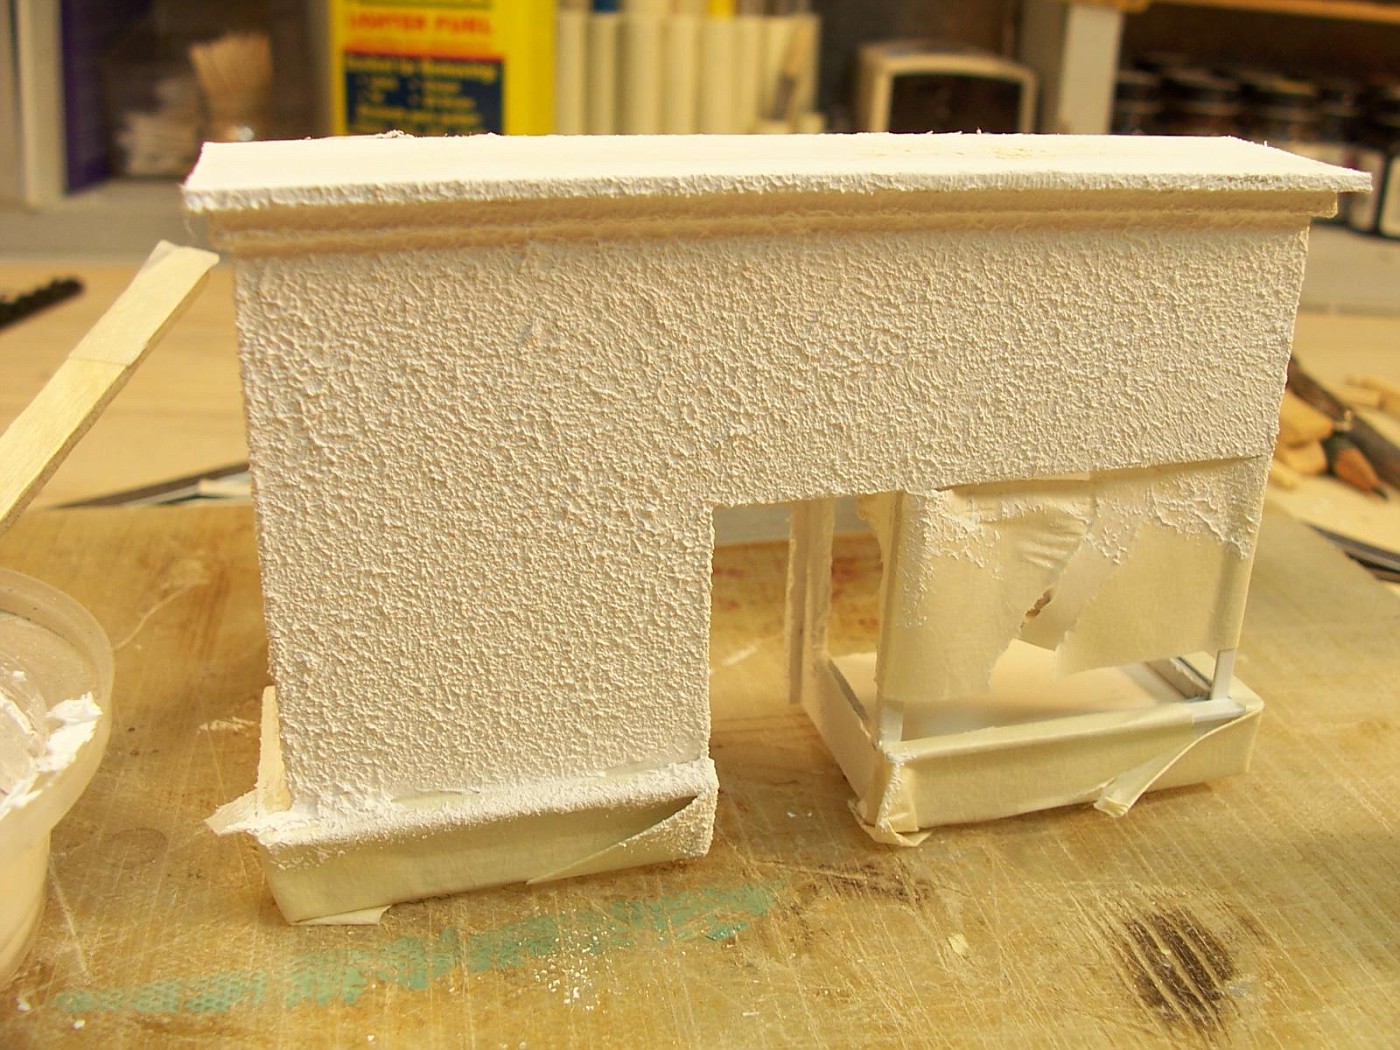
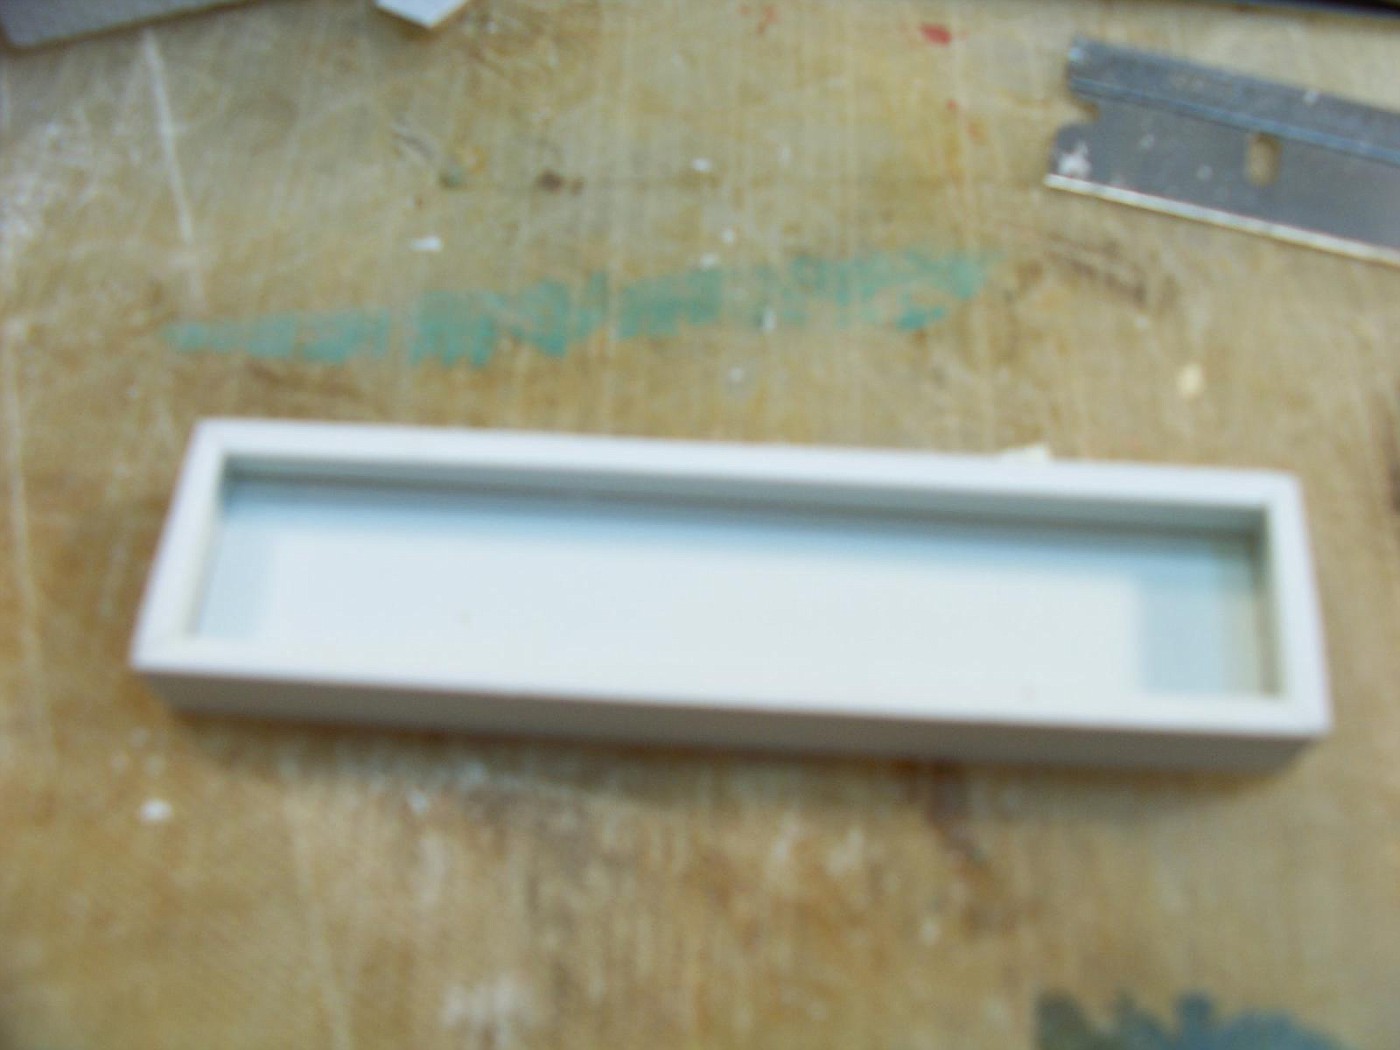
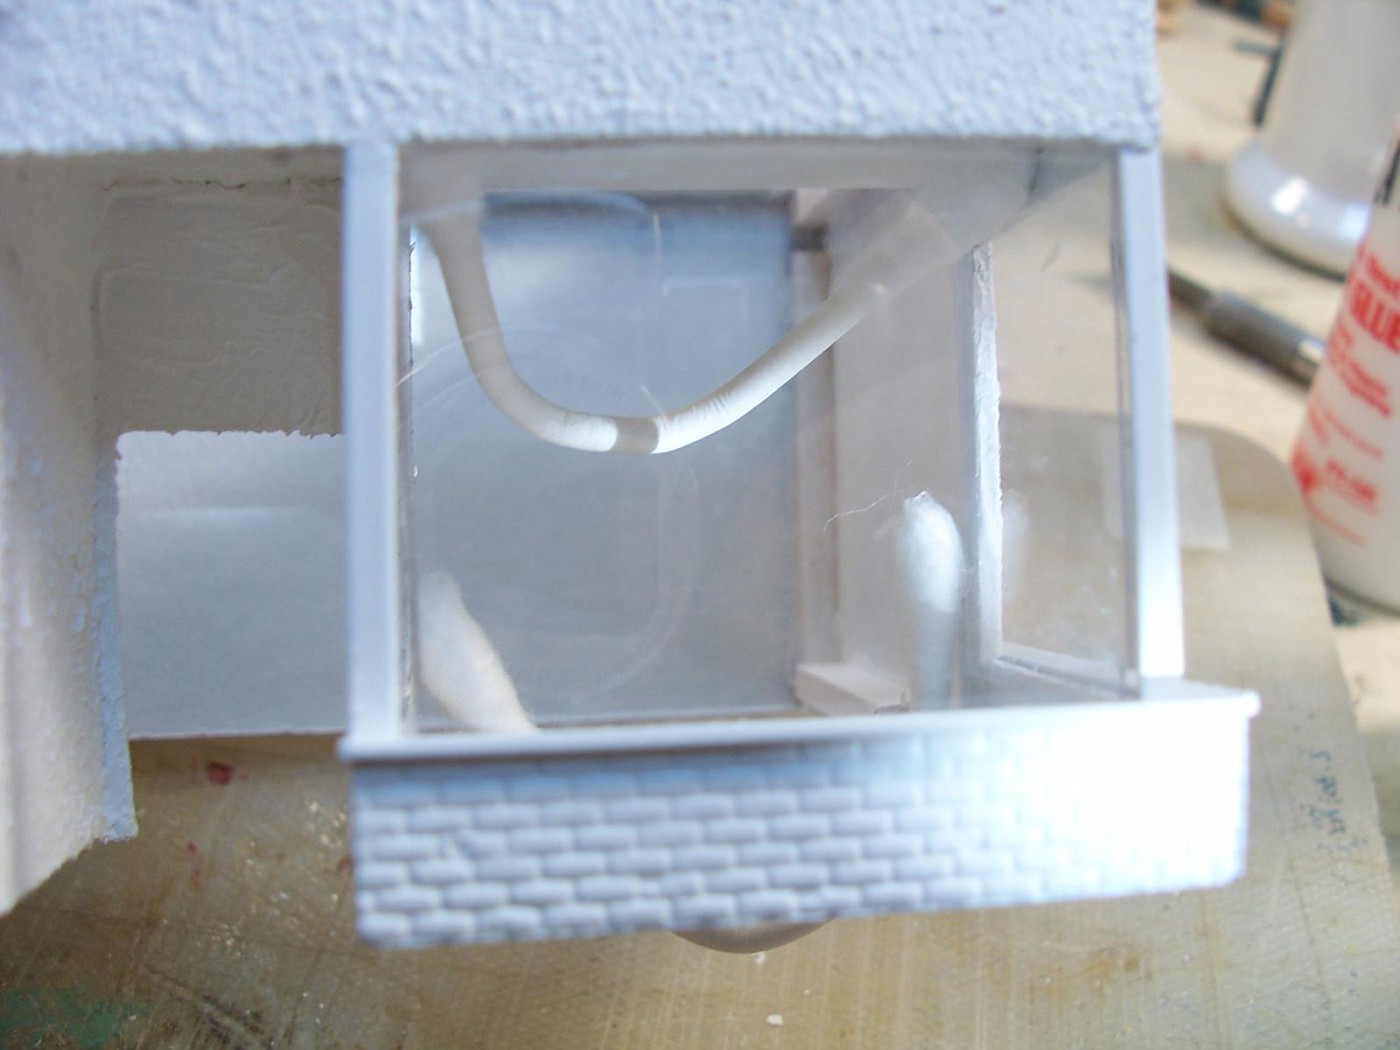
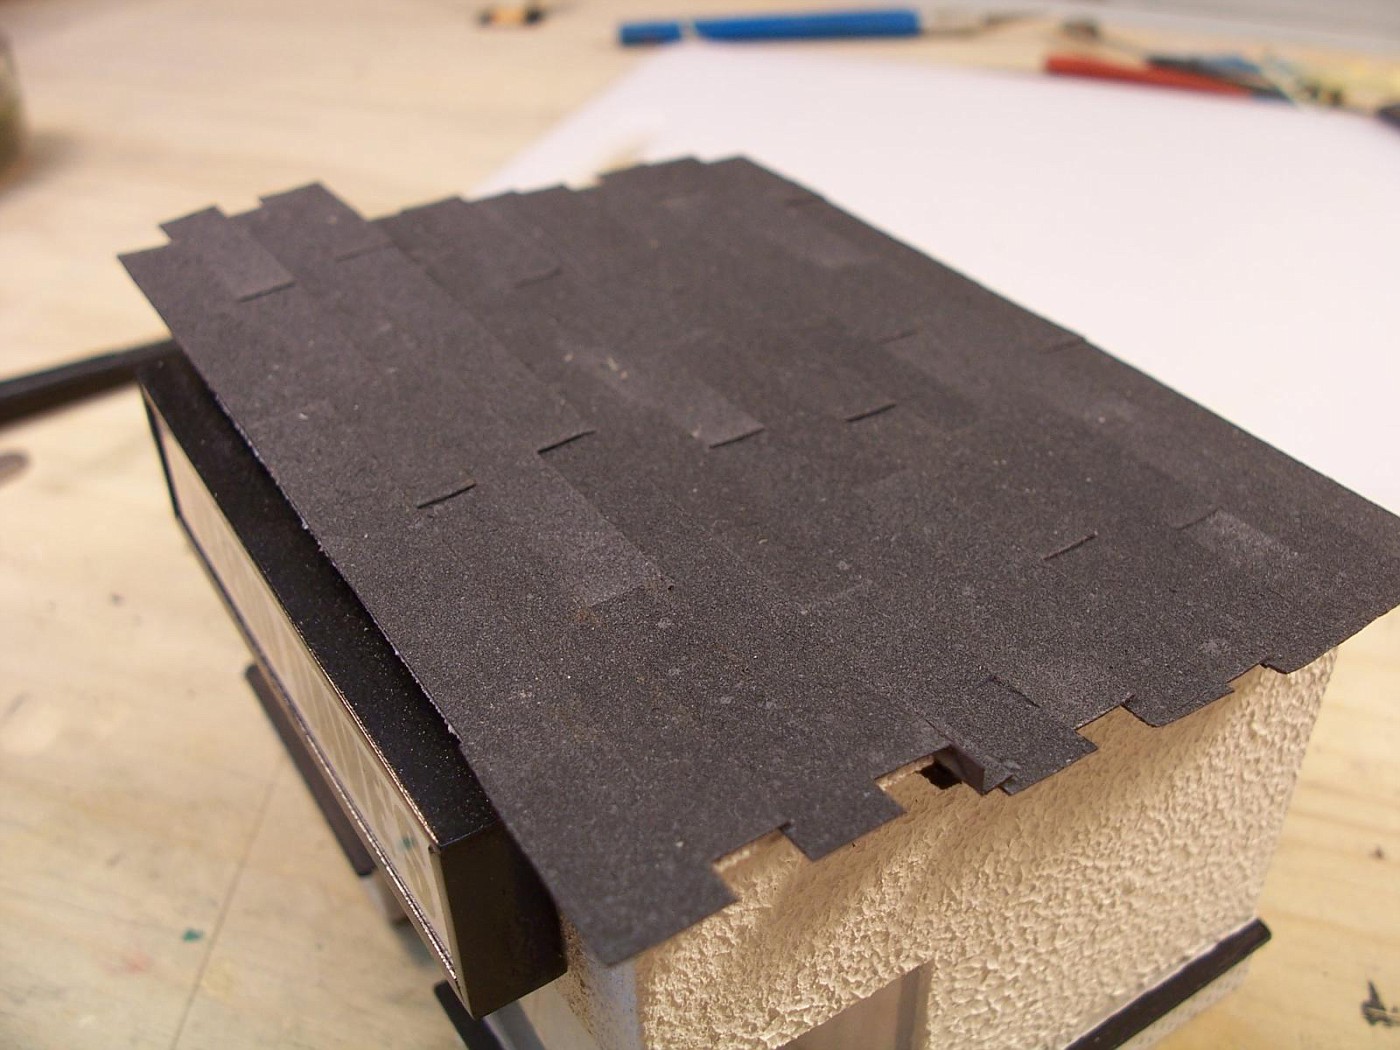
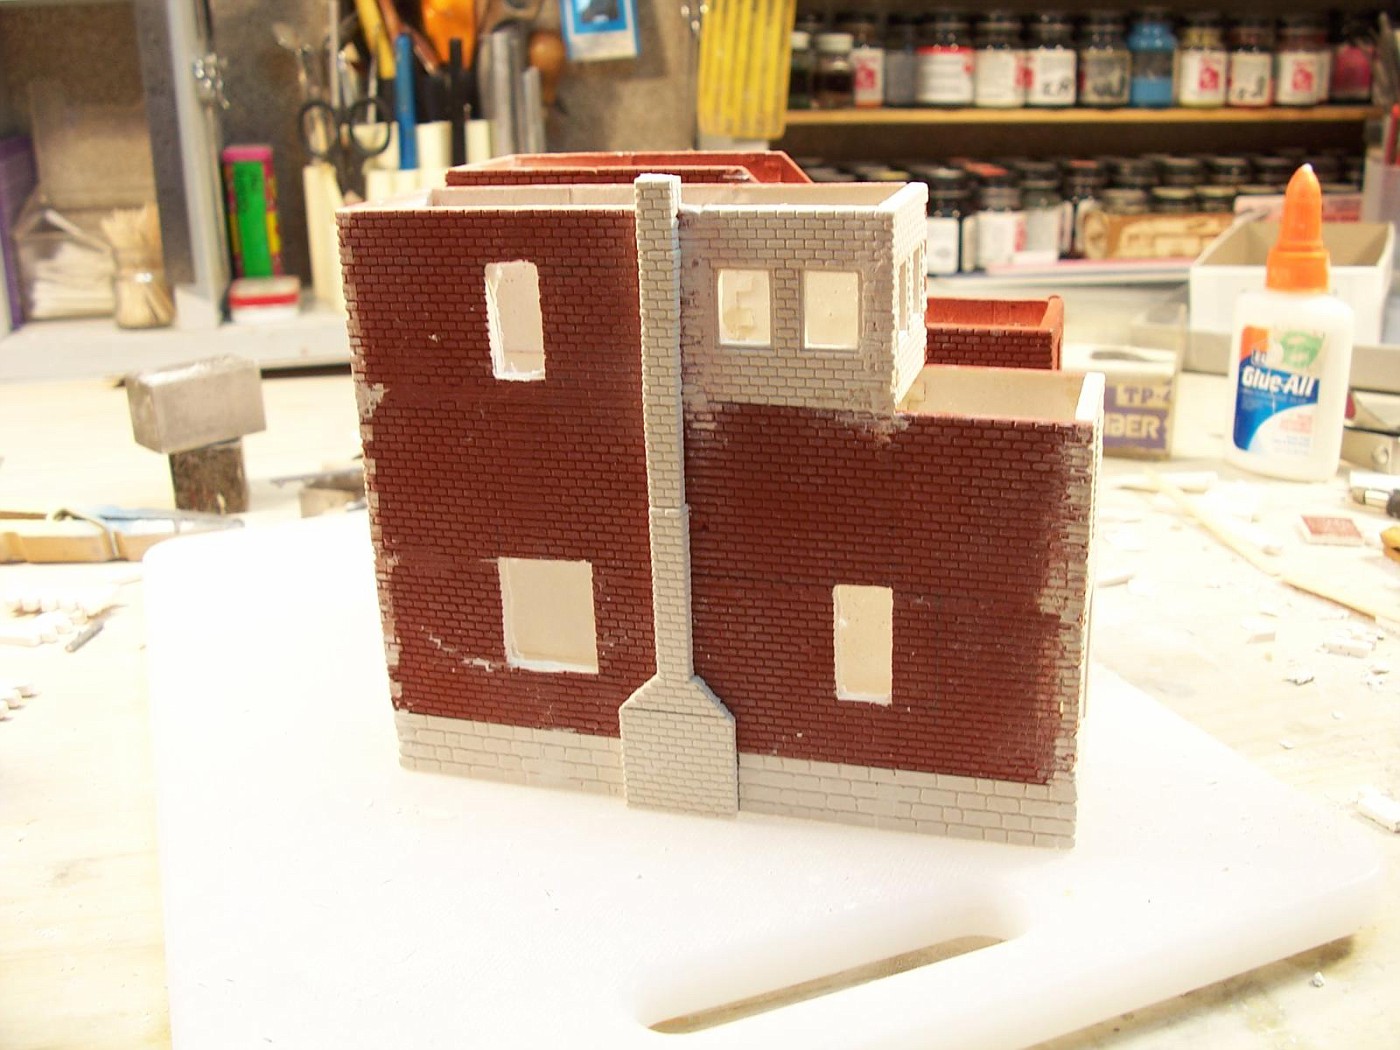
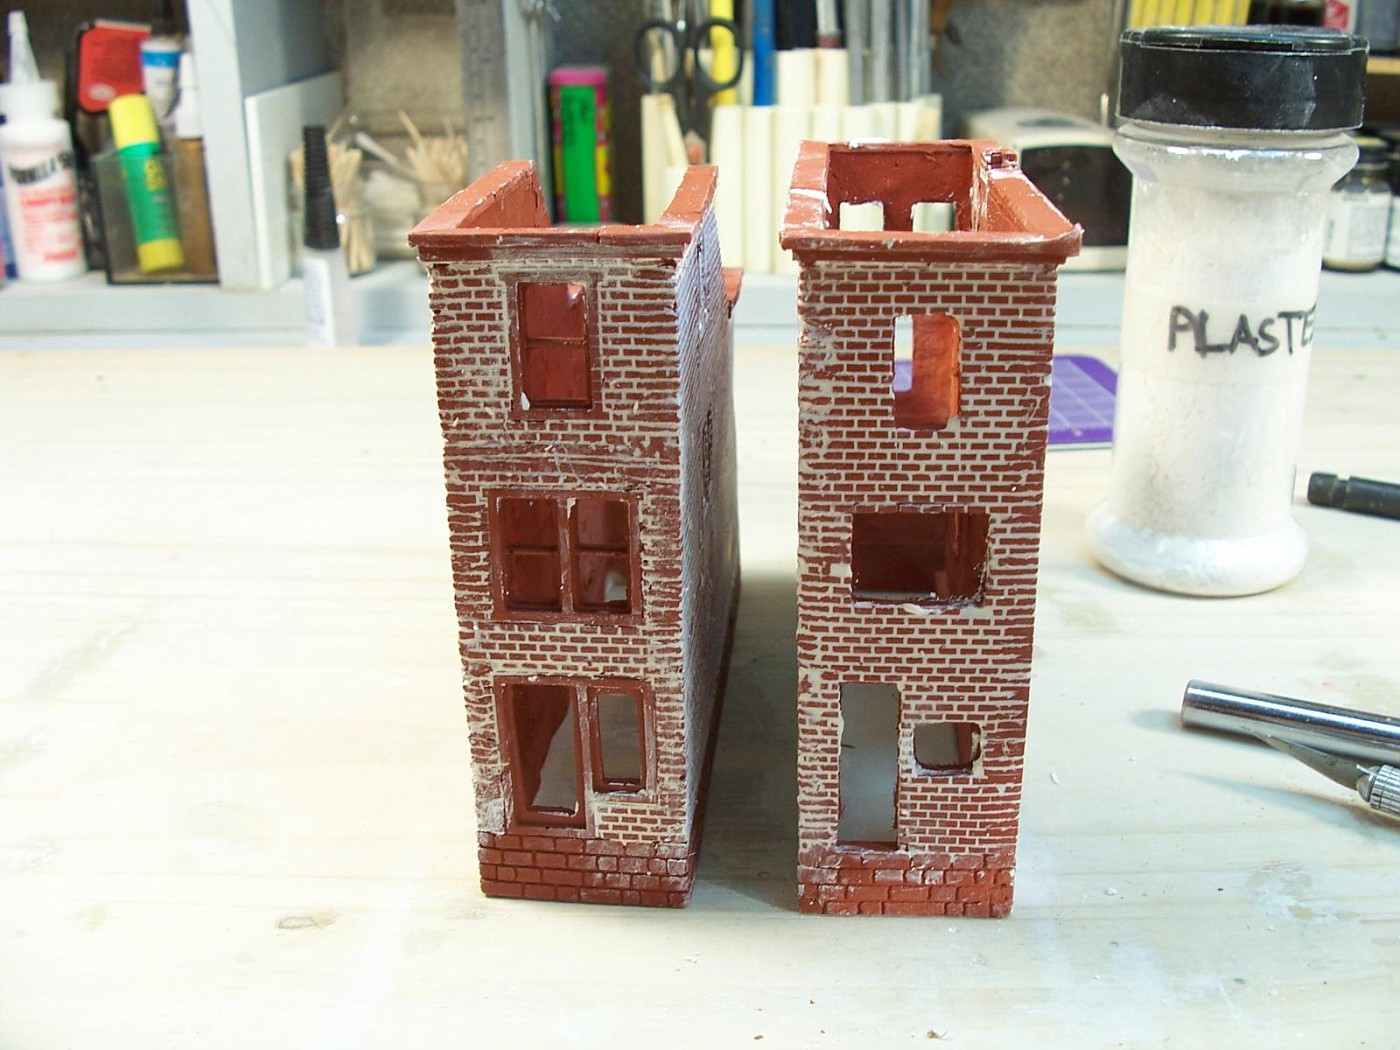
I'm using Illustration Board to construct the building.

100_8400-vi.jpg


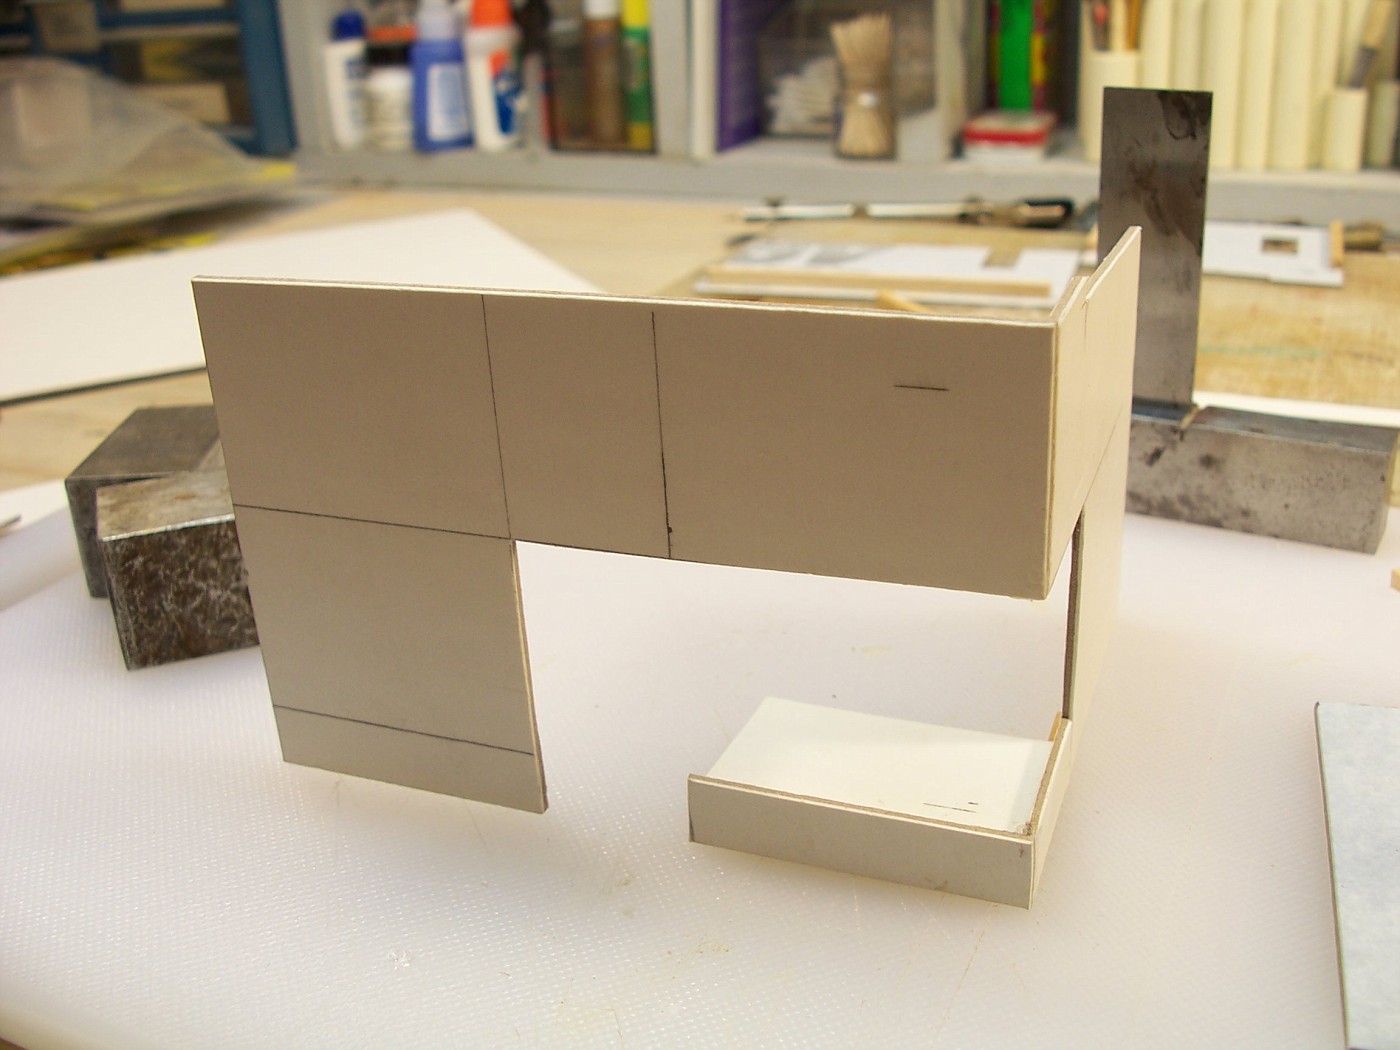
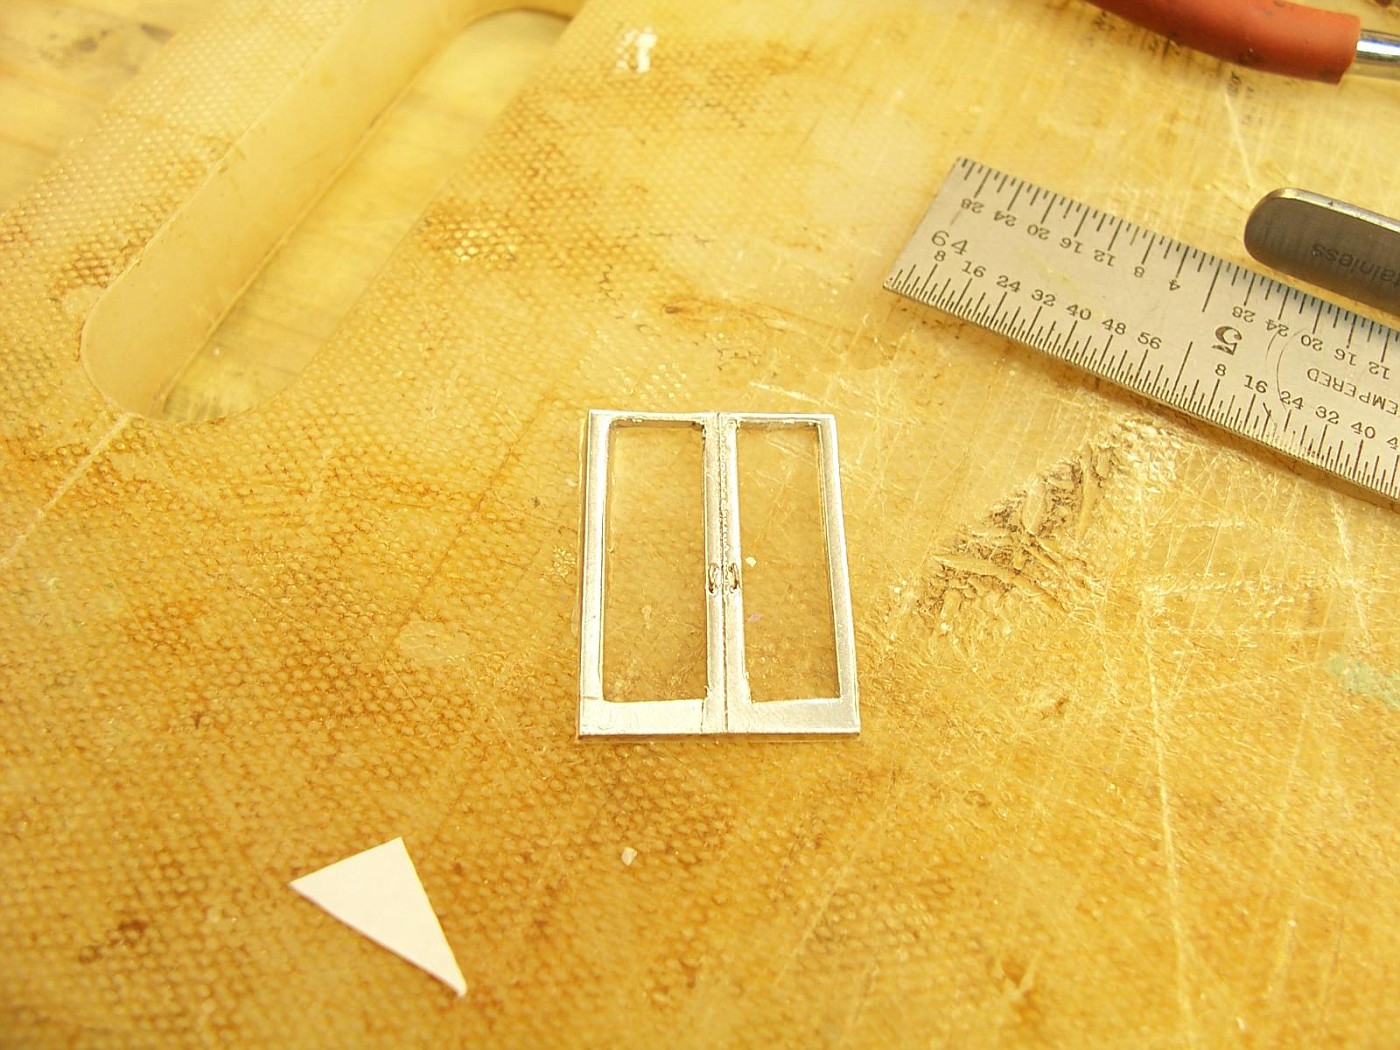
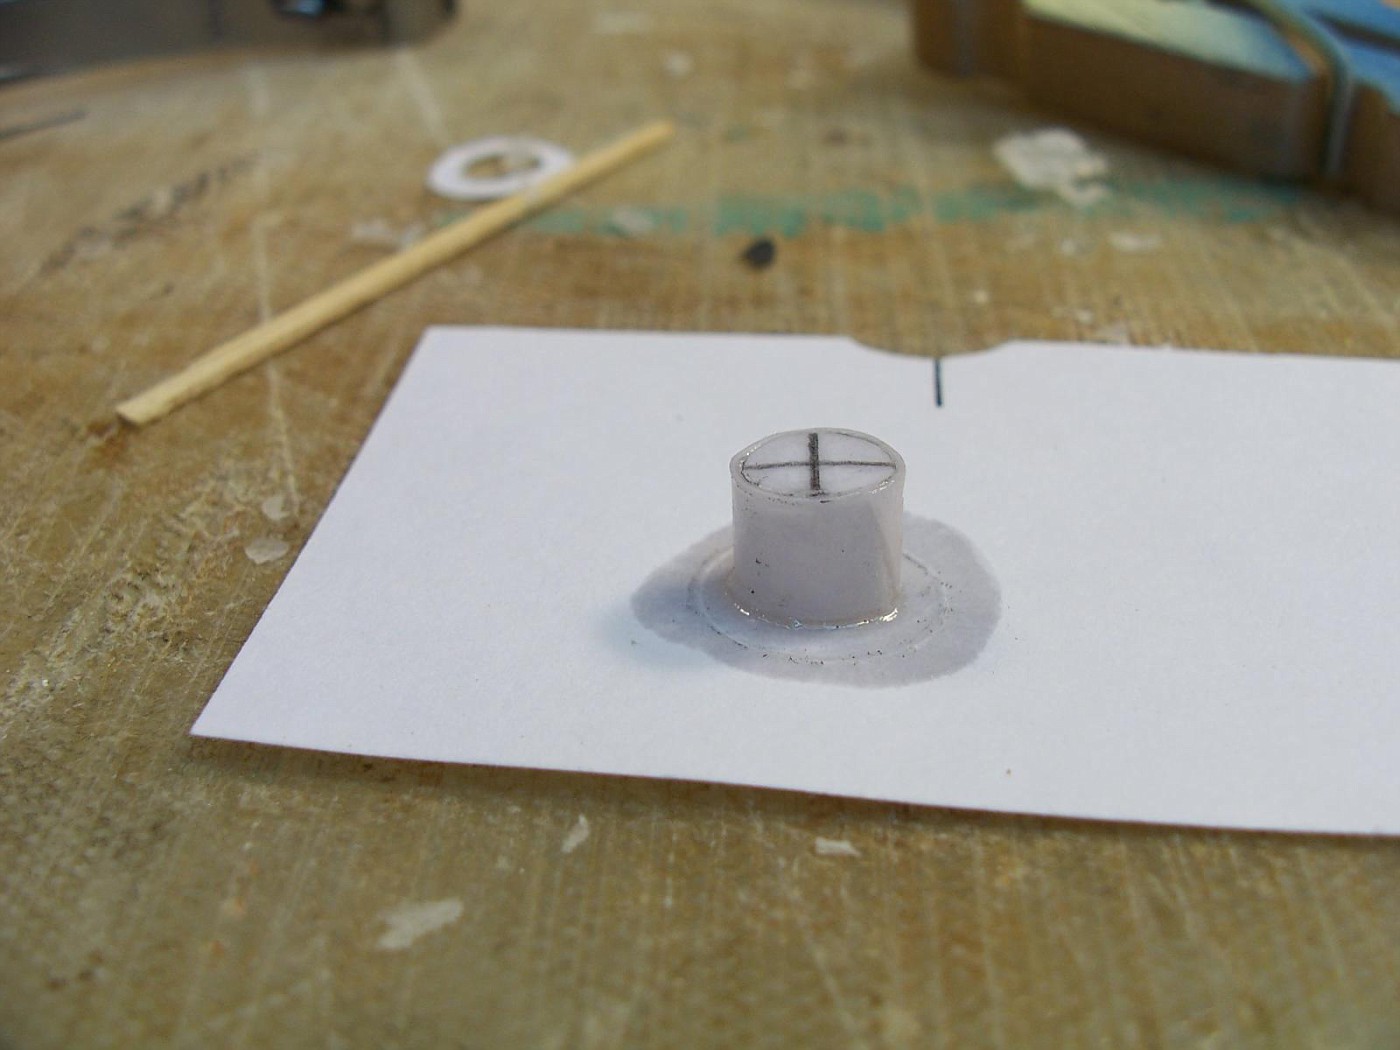
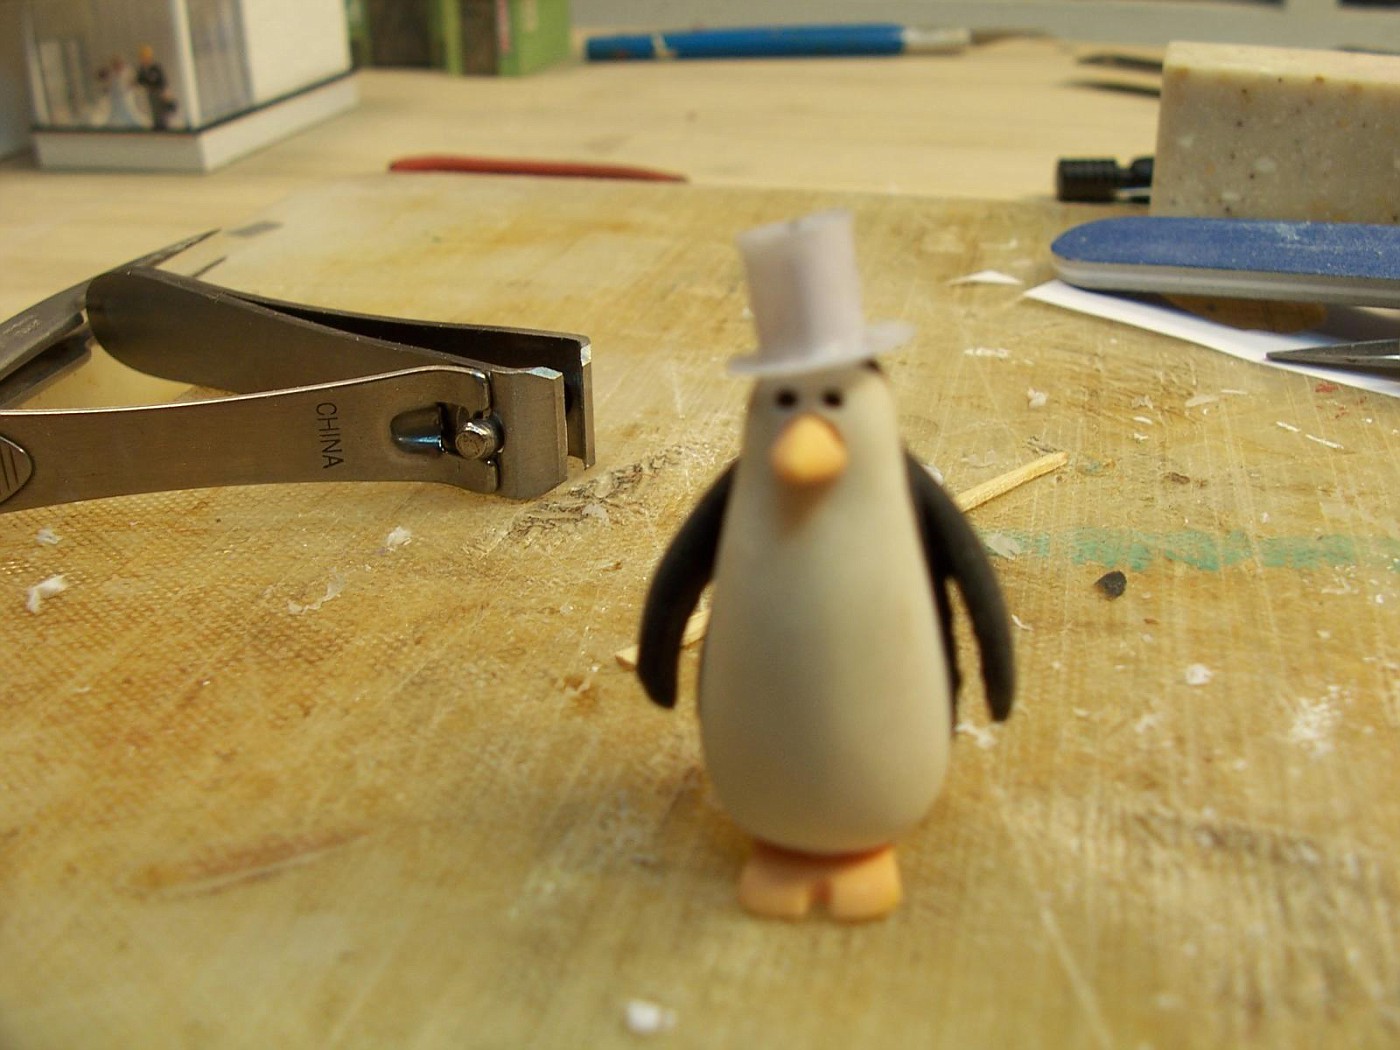
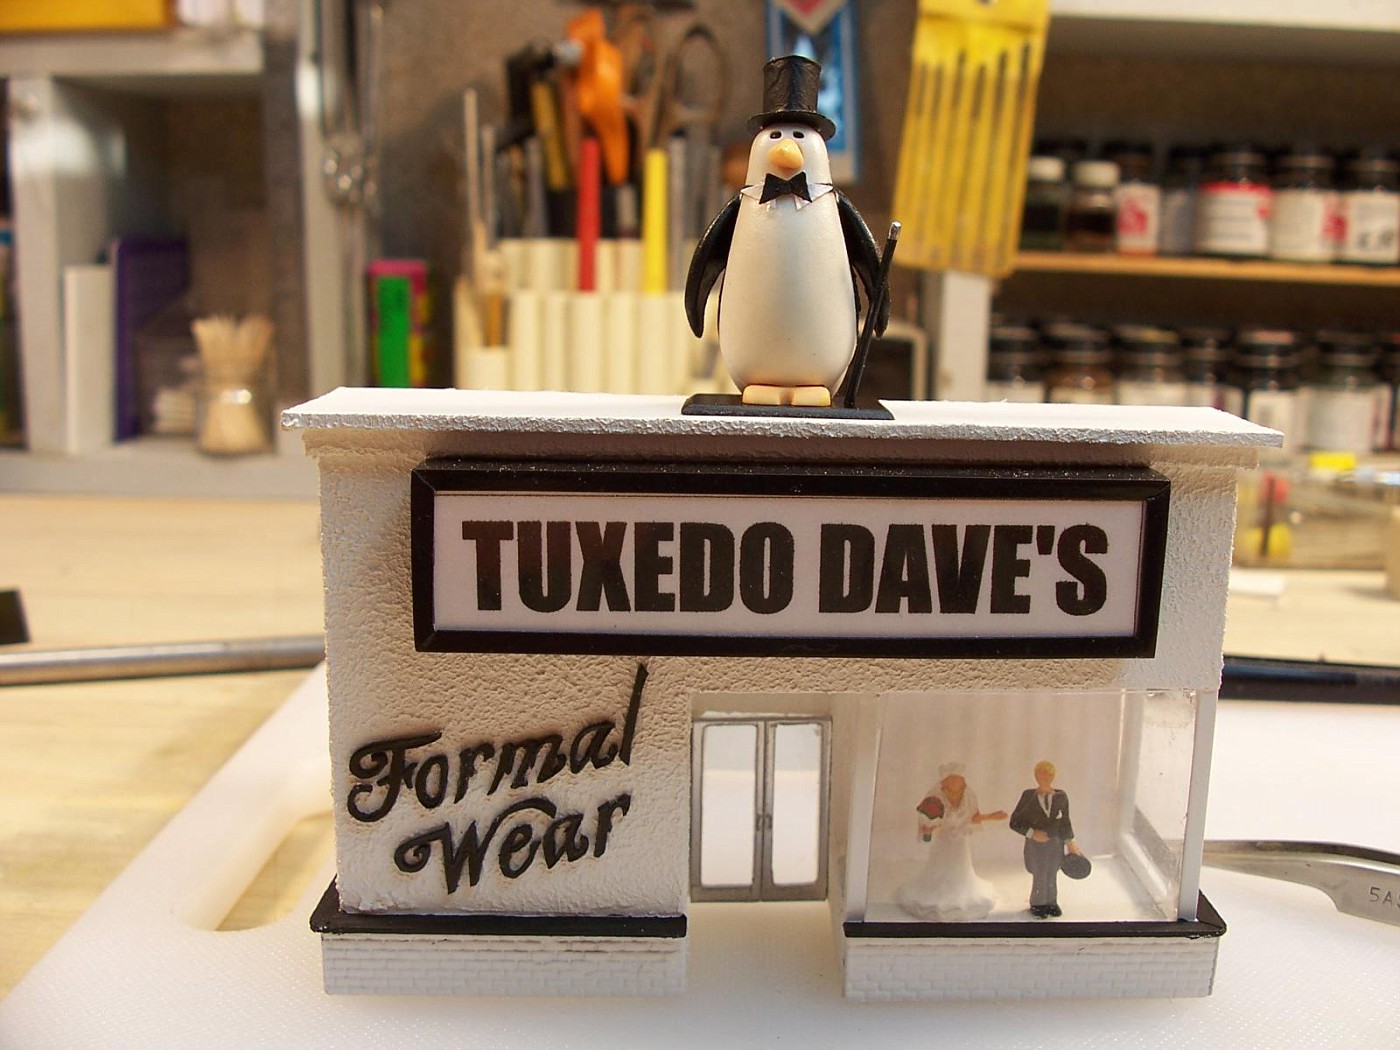
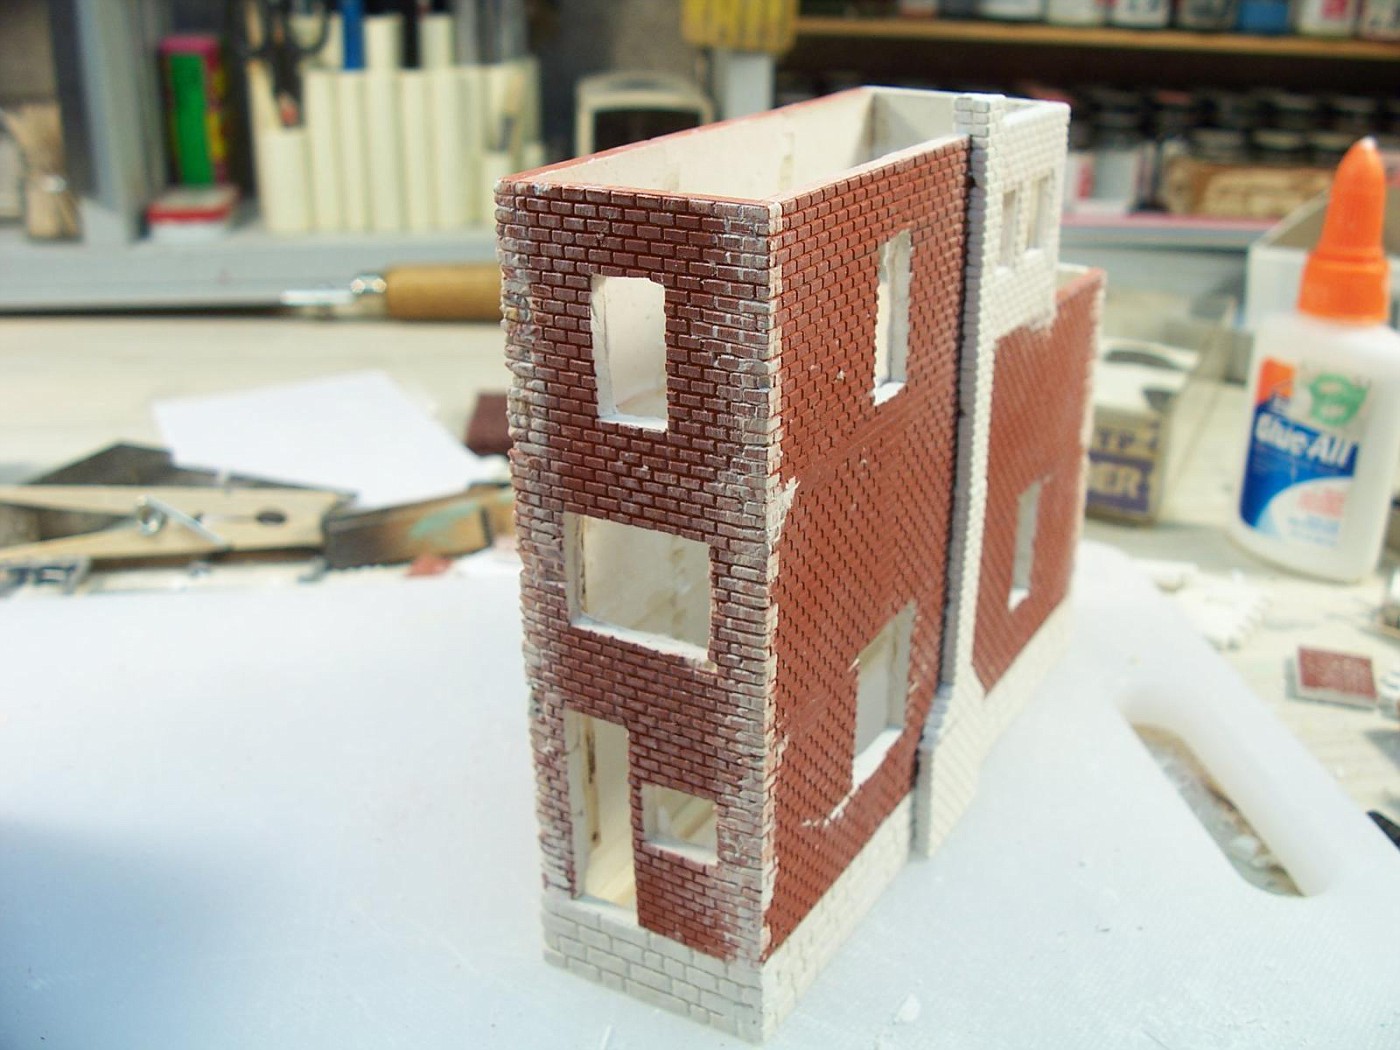
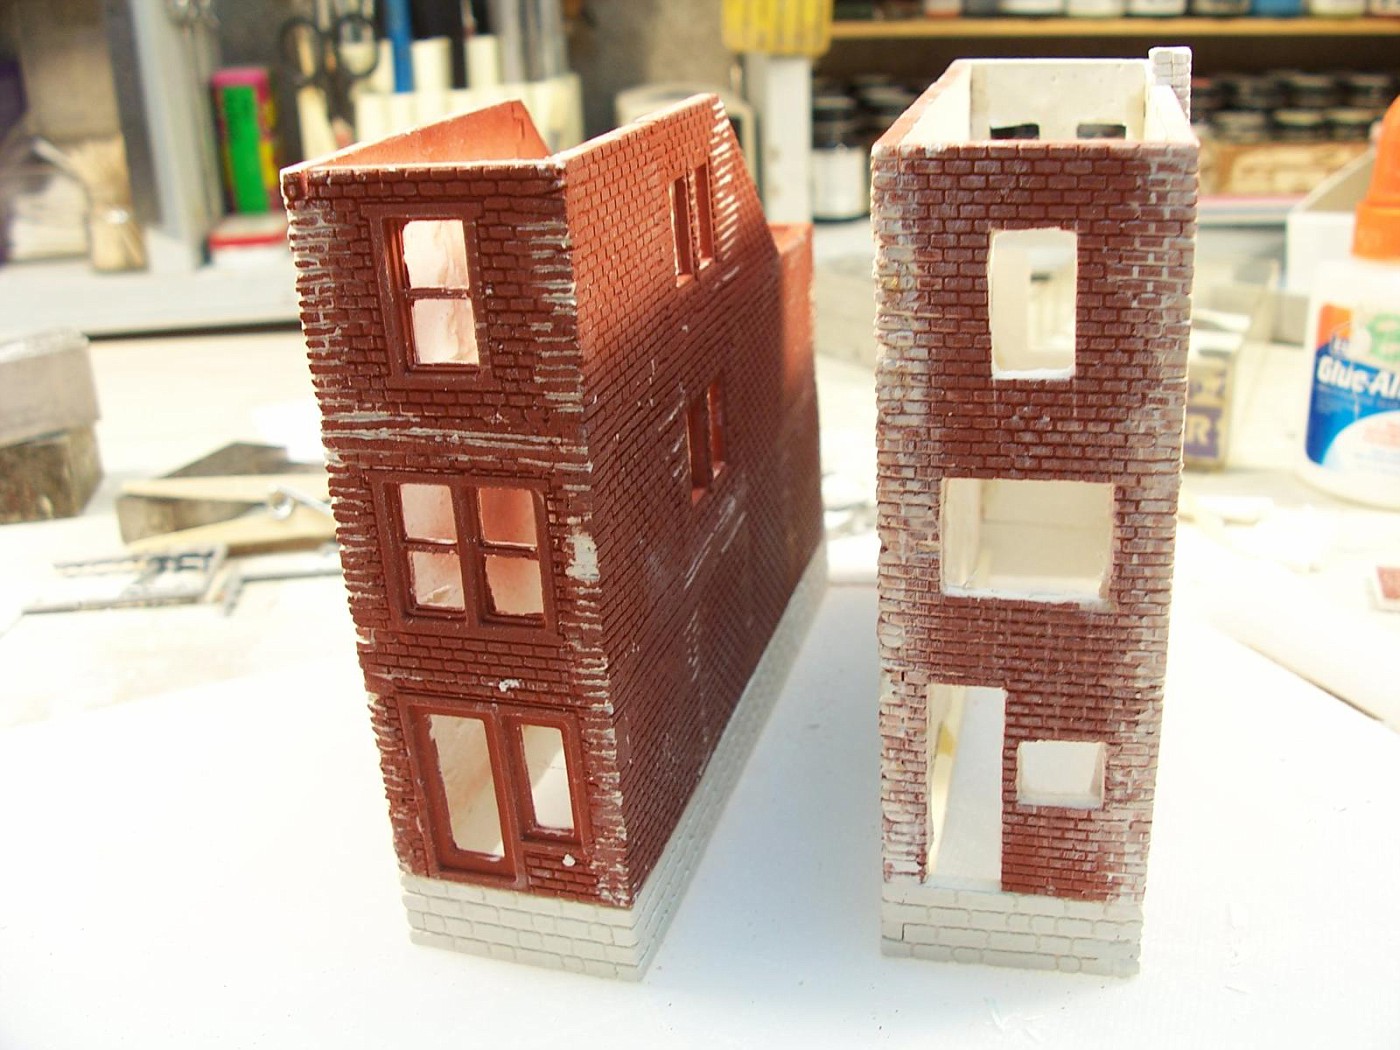
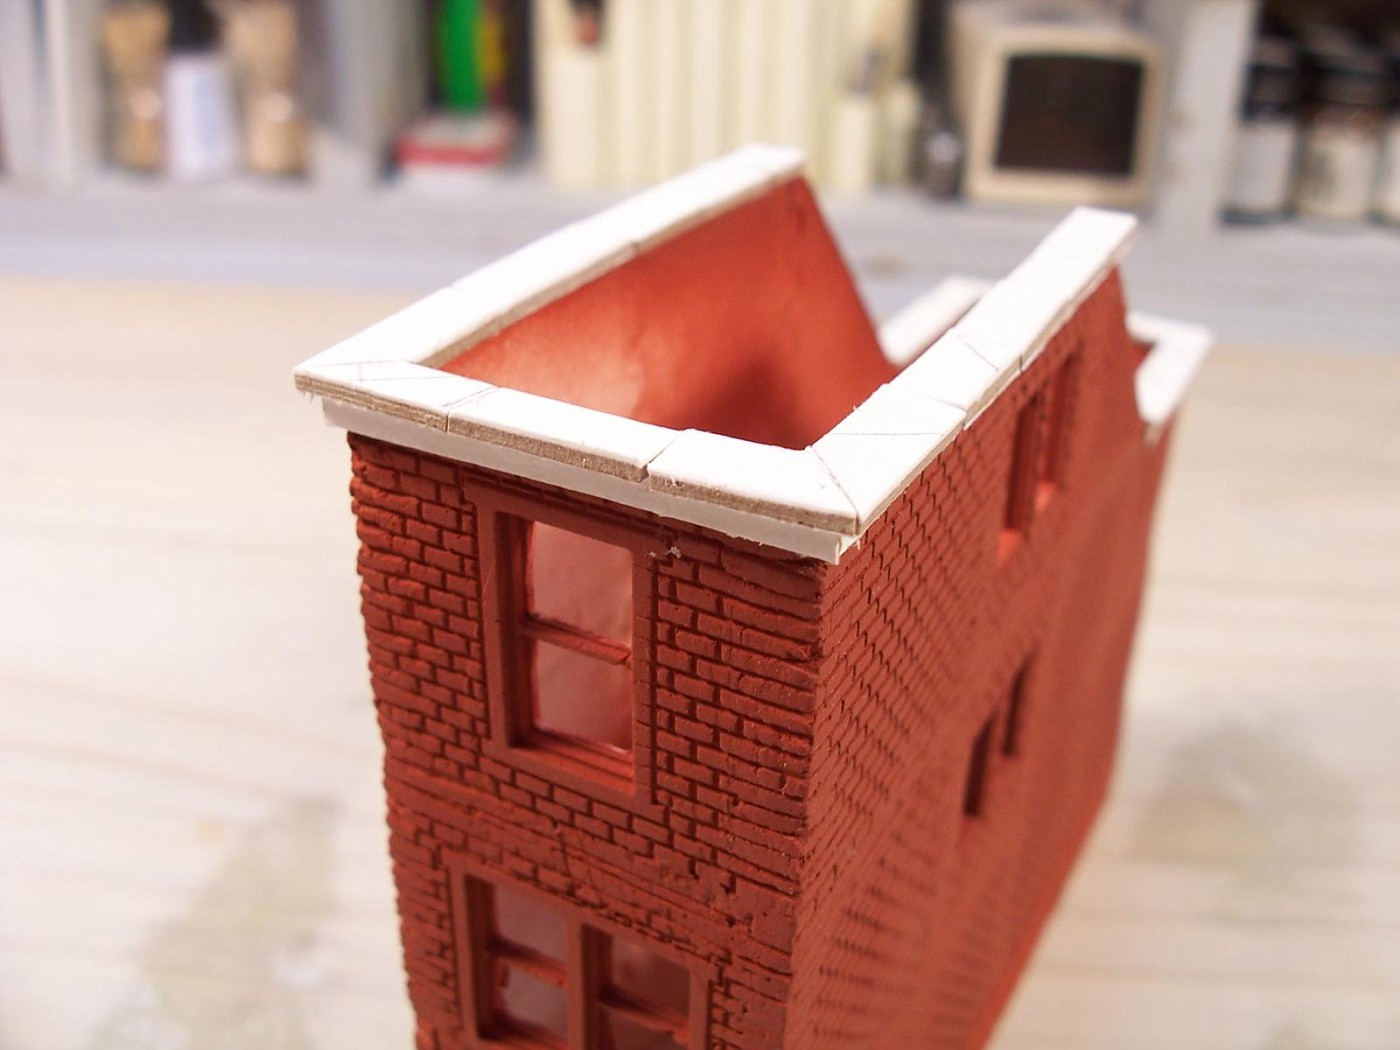
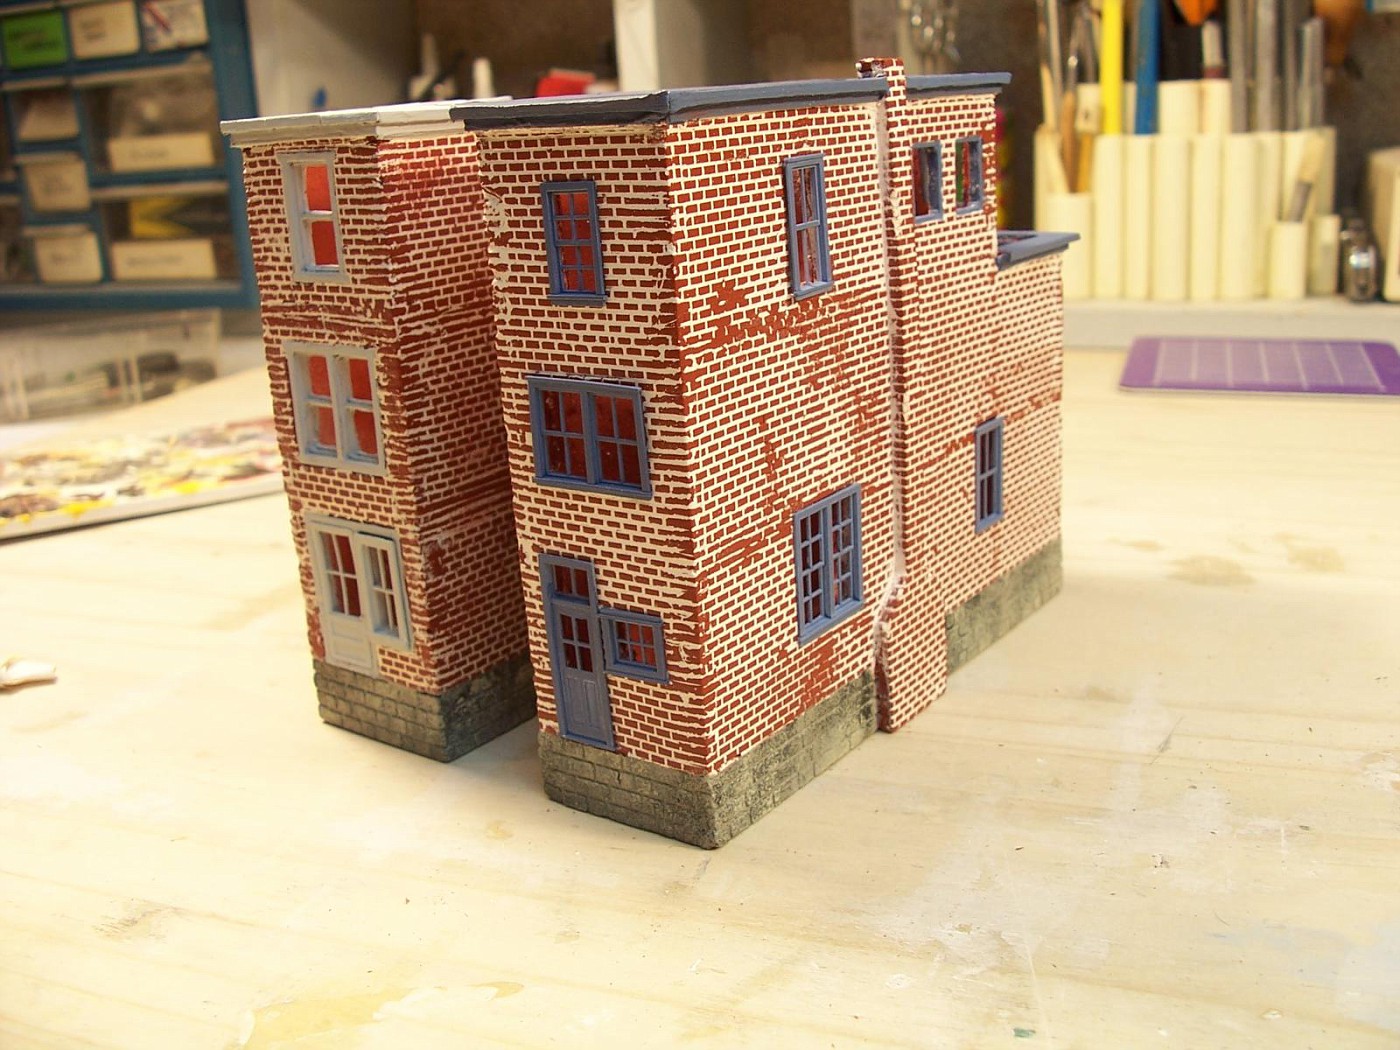
The basic shape is there. I have to add the finish and details.

100_8404-vi.jpg


Here's the rest of the pictures:
http://public.fotki.com/DaveInTheHat/davetown/tuxedo-daves-formal/
 
I didn't get much time at my workbench today. I added a brick base along the front and down the street side of the building.

100_8404a-vi.jpg
 
I added a few minor details to the building and then gave it a shot of white primer. Then I mixed acrylic paint and plaster about 50/50 and dabbed it on with a piece of foam rubber.

100_8424-vi.jpg


I made a sign box for the front of the building. It's going to be painted black.

100_8420-vi.jpg


I printed out "Formal Wear" to fit on the left side of the building. Then I glued it to a piece of .030 styrene and cut the letters out. They will be gloss black and pin mounted.

100_8410-vi.jpg


100_8417-vi.jpg
 
After the "stucco" dried I gave it another coat of flat white from a spray can just to seal everything. I put in the windows. Bent Q-Tips worked pretty good as clamps.

100_8426-vi.jpg


I got the sign box finished. The sign is printed on card stock and I put acetate in front of it. I added some strips along the back so it would have a place for the glue when it's mounted to the building.

100_8427-vi.jpg


I mounted the letters that I cut out with Tacky Glue, Stuck the sign on, and added the bride and groom to the front window. The background behind the window is made out of index card that I ran through a tube squeezer.

100_8432-vi.jpg


There's a couple more pictures here: http://public.fotki.com/daveinthehat/davetown/tuxedo-daves-formal/
 
Wow you cut the letters out?? Now that takes patience!
Lookin' good Dave, always love to see how you get things done!
 
I didn't like the way the sign on the chainsaw sharpening building looked so I changed it a little. Chainsaw is one word and I resized the text so it wasn't so big. I changed the office sign too.

100_8447-vi.jpg


I started with a sheet of plastic and drew out the front doors.

100_8433-vi.jpg


I cut out for the windows and added handles. Then gave them a coat spray can chrome paint that I got from Pep Boys.

100_8438-vi.jpg


I found this penguin at the dollar store. It's a rubber eraser. Seemed like it would be about the right size for what I have in mind.

100_8439-vi.jpg


I cut out some index card the shapes that I need to make a top hat.

100_8440-vi.jpg


I rolled the side around the top and covered the paper on both sides with gobs of super glue.

100_8442-vi.jpg


Then drew out an ellipse and centered the hat in it. And, more globs of super glue.

100_8443-vi.jpg


Check for size. Then to the paint booth for a coat of primer.

100_8444-vi.jpg


I cut out paper for a collar and bow tie. Then painted them.

100_8446-vi.jpg


The penguin was in pieces that sort of snap together but wont stay so I glued them and gave him a coat of clear gloss. Then glued all the stuff I made on him.

100_8449-vi.jpg


I figured he needed a walking stick to complete the ensemble. Glued him to a base made out of plastic. He's just sitting in position until I finish the roof. You can see how the doors look in position too.

100_8450-vi.jpg
 
Great job on the penguin!
All you need now is Carl sitting in front of the saw shop with "some of them French fried potaters"!
 
I painted a piece of construction paper with black primer and then varied the color with some quick sprays of grey and white primer so it didn't look so even. After it dried I cut it into strips.

100_8452-vi.jpg


Then I glued them to the roof.

100_8453-vi.jpg


Other than a few minor details this building is finished.

I'm planing more buildings to fill up the rest of the space on the diorama. I'm not sure what they're going to be yet. I started making some bricks. I'll see what happens.

These are Linka molds.

100_8454-vi.jpg


Filled with a mix of plaster, white glue and water.

100_8455-vi.jpg


About 3 hours later. I got bricks.

100_8456-vi.jpg
 
I sort of got my casting problems straightened out and I made a pile of bricks that turned out pretty good.

100_8457-vi.jpg


I started gluing stuff together. I think I'm going to build sort of a small, narrow townhouse sort of building and then a larger building next to it. This one will have a foundation under it so there will be steps up to the door.

100_8458-vi.jpg


100_8459-vi.jpg
 
I'm finally back to work on this diorama. I decided to build 2 buildings. I wasn't too concerned about getting them together perfect. I want them to look like old, weathered buildings. I did use a little plaster here and there to do some repairs and fill in some of the places that didn't look good.

100_8674-vi.jpg


100_8675-vi.jpg


I gave the buildings a quick shot of red primer because it's really hard for me to see what I'm doing with all the white.

100_8676-vi.jpg


I added a fireplace and chimney to cover up a section that looked really screwed up.

100_8677-vi.jpg


I used poster board and illustration board to finish off the top edge. This one is in small sections the other is in big sections just to give some variation in the details when it's finished.

100_8678-vi.jpg


100_8679-vi.jpg


I mixed up a thin batch of plaster and smeared it all over the bricks than when it started to dry I wiped off most of the excess.

100_8680-vi.jpg


The plaster fills in between the bricks good, but it leaves a film over all the bricks that makes them look white.

100_8682-vi.jpg


100_8681-vi.jpg


The buildings look awful right now. The first time I did this I went into a panic. It's not a problem. After it fully drys most of it brushes off. When I give it a coat of flat clear all the brick color comes back.
 
I got a little more done. I used a couple different colors and sponge painted the foundations.

100_8688-vi.jpg


The windows, doors and cornice are painted.

100_8690-vi.jpg


I added a sign to the side that will show on this building. I'm going to build a small wood addition starting just behind the sign.

100_8691-vi.jpg


I have to make the roofs, finish the windows, add some details and do a bunch of weathering.


Back
Top