You are using an out of date browser. It may not display this or other websites correctly.
You should upgrade or use an alternative browser.
You should upgrade or use an alternative browser.
New Layout
- Thread starter Lynnb
- Start date
Lynnb
Well-Known Member
It’s quite easy, I like to fill in with cheap foam board for anywhere there’s going to be scenery buildup and sometimes just bunch up some paper and then comer with plaster cloth ( not the ws expensive stuff ) then if it’s still weak paint on some durabond to add strength. Paint or add rocks and keep building up just like real life stuff.@Lynnb
The part I enjoy the most (less the mess of course). I am going to have to reacquaint myself with doing scenery on open grid bench work
goscrewyourselves
I'm the one
@Lynnb
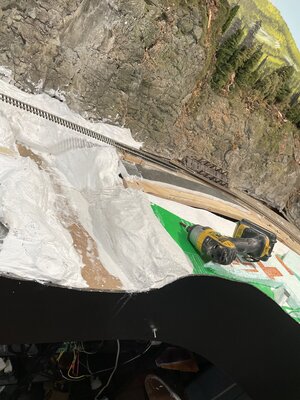
I have a bit of green foam board. Once I get the track plan down and cut out the roadbed sub structure from the ply, I'll most likely remove the excess ply so I can lay the track and do the wiring without being hindered. After that, I'll probably put the "cut out excess ply" back in where it came from and use that as my "base" for the scenery. I'll raise and or lower that base ply to suit so I am only going through one layer of 1" foam and a layer of (probably) 1/2" ply when it comes to wiring and the electrical work.
Anyway, sorry for side tracking mate ....... I'll let you get back to it
Lynnb
Well-Known Member
Sounds like a good plan. No side tracking at all, worked day shift and taking it easy tonight. I never just jump in both feet, do a bit and think about it and plan the next move.@Lynnb
I have a bit of green foam board. Once I get the track plan down and cut out the roadbed sub structure from the ply, I'll most likely remove the excess ply so I can lay the track and do the wiring without being hindered. After that, I'll probably put the "cut out excess ply" back in where it came from and use that as my "base" for the scenery. I'll raise and or lower that base ply to suit so I am only going through one layer of 1" foam and a layer of (probably) 1/2" ply when it comes to wiring and the electrical work.
Anyway, sorry for side tracking mate ....... I'll let you get back to it
goscrewyourselves
I'm the one
Rico
BN Modeller
Hmm... I wasn't aware that was actually doable! lolI never just jump in both feet, do a bit and think about it and plan the next move.
Lynnb
Well-Known Member
Takes a lot of patience and pracrice.Hmm... I wasn't aware that was actually doable! lol
Lynnb
Well-Known Member
Well yes when it comes to adding the missing ties, ballasting and painting track you would want to go to town and get it done , but with scenery I work along the lines of I think I know what I’m after but .@Lynnb
I try to do that but it doesn't always work. More often than not I'll decide what I want to do - ie, Ballast the Track Work and that is what I will do and wont give up on it till it is done - other wise, I do bits and pieces here and there
goscrewyourselves
I'm the one
Oh yeah, I know that feeling all too wellwith scenery I work along the lines of I think I know what I’m after but .
Lynnb
Well-Known Member
Did a bit more before heading to work tonight, I got the diorama fit back in place and filled a few more holes.Oh yeah, I know that feeling all too well
Attachments
goscrewyourselves
I'm the one
Looking really very good Sir! 
Lynnb
Well-Known Member
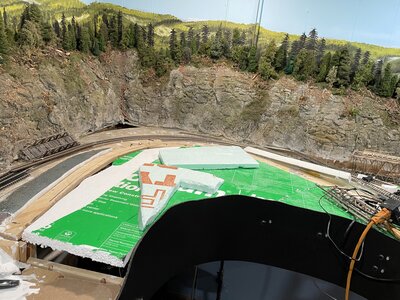
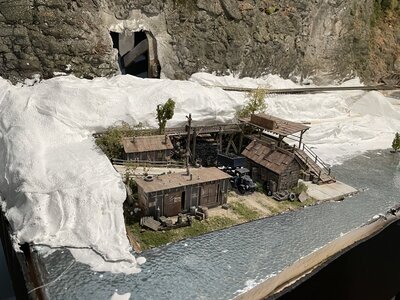
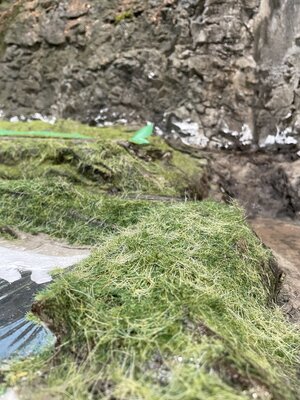
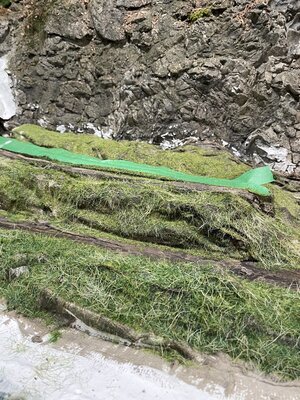
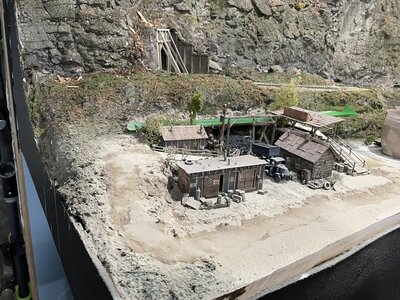
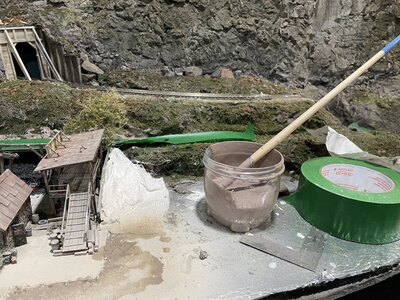
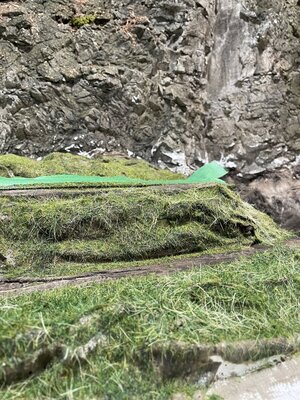
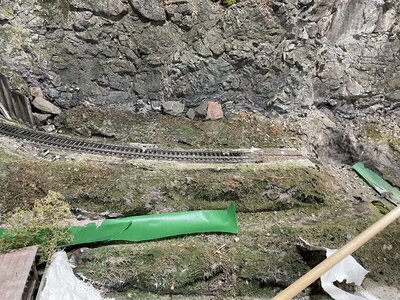
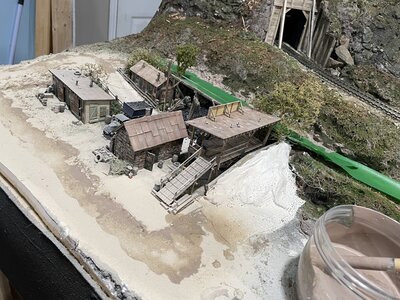
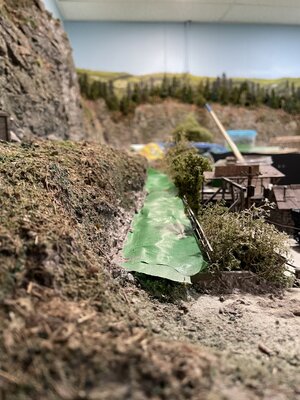
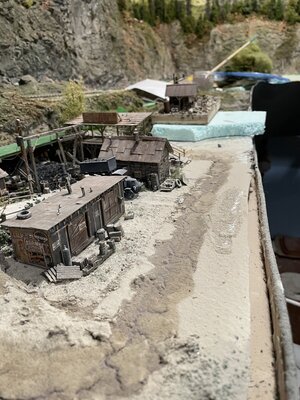
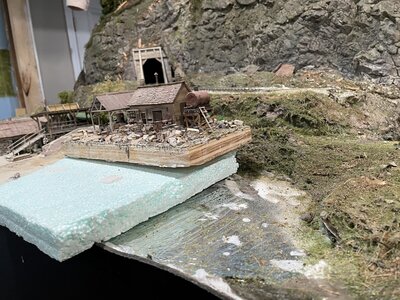
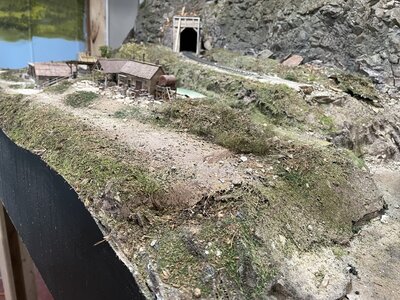
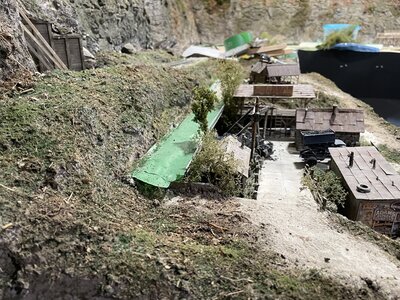
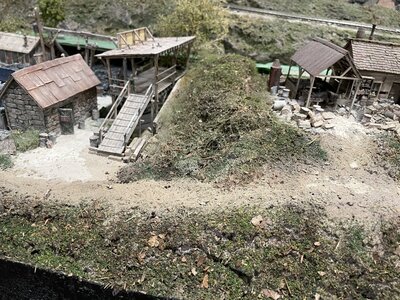
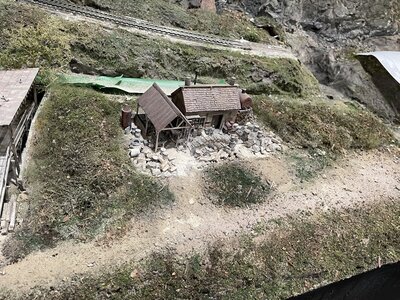
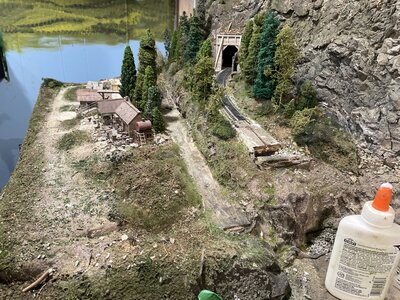
I planted the IM Dunn coal in place , I’m really taking my time here especially with the area to the right next to the river, I want to add a structure here but don’t think I will keep it at the same lever. I also got the portal in place along with a retaining wall. I did try the static grass with applicator one day with 2mm and the following day with 7mm hay colour but didn’t like the results so went over it with ground goop and went from there still leaving some grass showing. I started making the dirt roads using a latex paint as a base and then sifting fine dirt , will let it dry and vacuum and repeat if necessary. As always suggestions welcomed.
Attachments
-
 A97F708A-18B7-4FEA-B7B7-C93E6F6813F1.jpeg702.5 KB · Views: 69
 -
 8C08B0CE-81E4-4893-8090-0E97C3B50FB7.jpeg1,017 KB · Views: 73
 -
 1DB99726-BB81-4CE4-A8BC-B49C1CAF5E35.jpeg897 KB · Views: 63
 -
 1D3BE756-DCE6-41F8-9CFE-C1746C9BCDDE.jpeg813.7 KB · Views: 67
 -
 1DAA75A6-0637-4328-8E64-77FC70A967CE.jpeg974.2 KB · Views: 66
 -
 9E2A427F-C230-459E-9319-8DE652A3723E.jpeg927.4 KB · Views: 64
 -
 1E5D3D9C-1DC7-40EB-81F6-594295A99E3F.jpeg1.2 MB · Views: 61
 -
 05C12655-472A-4EAD-A1DA-37FBB9018A1A.jpeg833.3 KB · Views: 67
 -
 BEE85D23-DD81-4B06-A187-E576AB5A5F5E.jpeg624 KB · Views: 67
 -
 AF4A5AC3-7D00-4D2C-9630-A886AC1EFE4A.jpeg1 MB · Views: 67
goscrewyourselves
I'm the one
First class work Lynn
Lynnb
Well-Known Member
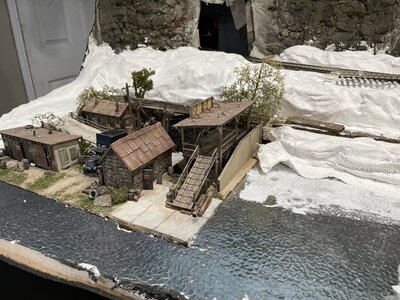
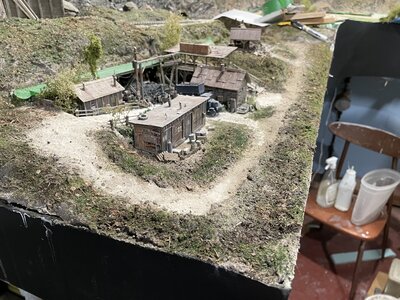
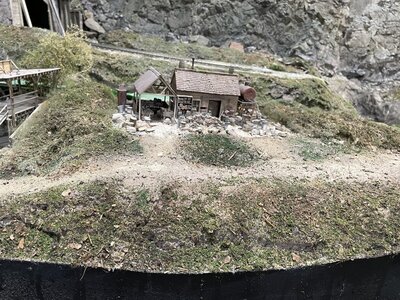
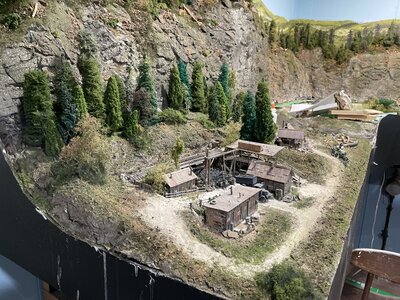
I decided on using the Tie Hackers shack on an elevated level. I built up many layers to get the terrain to this point, I’m not sure if I’m done yet .
Attachments
-
 F9DE32B1-E194-4D63-9B51-6ECC069AC582.jpeg622.9 KB · Views: 61
 -
 21A5EC14-DB5F-4A06-B9B0-3734B7199560.jpeg750.7 KB · Views: 63
 -
 BD5B9D8F-7F27-482C-A6F1-FFD1FAF97234.jpeg949.7 KB · Views: 63
 -
 90B8D6D4-A871-4CC4-A242-45BF21C3B7FC.jpeg621.5 KB · Views: 62
 -
 9D5BD935-C093-4916-8603-F85DBC68D63B.jpeg801 KB · Views: 60
 -
 A49A7F14-33DF-48AA-82E7-65ABC29B7718.jpeg1 MB · Views: 60
 -
 EA74EE86-6CCC-4E52-8435-36BBB66AC1DC.jpeg887.4 KB · Views: 61
 -
 D171B91C-CB18-4AE7-901C-2A525C28B359.jpeg1,009.9 KB · Views: 63
 -
 683E0F2B-33B2-447F-AFA0-90155BADDFB9.jpeg1 MB · Views: 61
 -
 75E392EE-C447-43AE-A515-9541A1EC05A8.jpeg1.2 MB · Views: 67
Lynnb
Well-Known Member
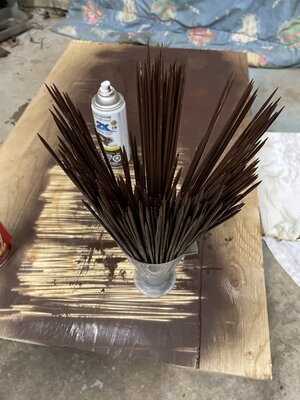
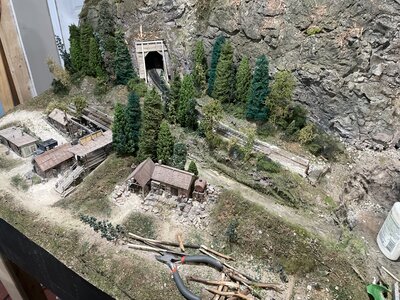
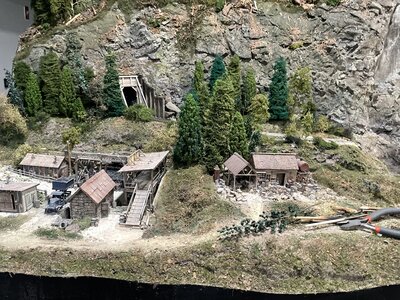
Planted some trees and a bit more scenery work, I can’t go any further until I get some rail behind the Wood Shack or I’ll be damaging what I plant, that and I need to make some more furnace filter trees.I decided on using the Tie Hackers shack on an elevated level. I built up many layers to get the terrain to this point, I’m not sure if I’m done yet .
Attachments
-
 96CF1C38-4430-425B-95F6-EFF5514710D8.jpeg1 MB · Views: 58
 -
 36A7DC52-B89A-4D3F-A9D1-77B8A1DE31B8.jpeg917.9 KB · Views: 61
 -
 DE204A8E-2BF7-4DF3-9A53-28A9BD2FB7D8.jpeg1.1 MB · Views: 61
 -
 997F3BA5-B7AC-4861-9088-948EEBACDD96.jpeg1,023.2 KB · Views: 57
 -
 E3752026-3383-4293-BB60-784394044FB7.jpeg917.9 KB · Views: 61
 -
 659341C7-24BE-4FEF-9336-ECAB2F3D2A87.jpeg1,023.2 KB · Views: 64
 -
 90B66336-33BE-41D7-8BB5-360923EC26B6.jpeg1.1 MB · Views: 57
BigGRacing
Aka. Gary Russell
Looking awesome Lynn!
Lynnb
Well-Known Member
Thanks GaryLooking awesome Lynn!
BigGRacing
Aka. Gary Russell
I can use your layout as inspiration as I grow my layout.
Lynnb
Well-Known Member
I think we all need inspiring.I can use your layout as inspiration as I grow my layout.