BunkerTheHusky
Well-Known Member
Having just recently finished assembling my Maintenance of Way train, I now have been faced with a new conundrum. What locomotive do I use to pull it? I'm the type of railfan that likes the obscure, ugly relics of the distant past. Horrendously outdated machines that have no right existing on into the modern era. Some may feel that the humble, albiet well loved EMD SW9 belongs in that category, and indeed it was my first choice of loco for the task at hand. However, long hood switchers are not obscure. They are still very much in service in many locations. I feel like it's the obvious choice for one to pull my MoW train. Here on the Fox Creek Terminal Railroad, we don't make the obvious choices. We go for the unique, even if it takes 2 weeks of 3D modeling in Fusion 360 to get there...
I started out where any bad decision starts, browsing Amazon at 3 in the morning, when I discovered the Kato 11-109 Chibi Totsu power unit. The 11-109 is a 2 Axle powered locomotive frame with no body. The perfect platform for the old gears to begin turning, and at the incredibly reasonable price of $26, I just had to add it to the cart. I always thought it would be cool to have an old turn of the century Boxcab in N-scale, but while you can find them, none really scratch that itch for me. Having been inspired by another 3D artist making a Long Island Boxcab over on Thingyverse, I busted out the caliper and went to work creating my masterpiece...


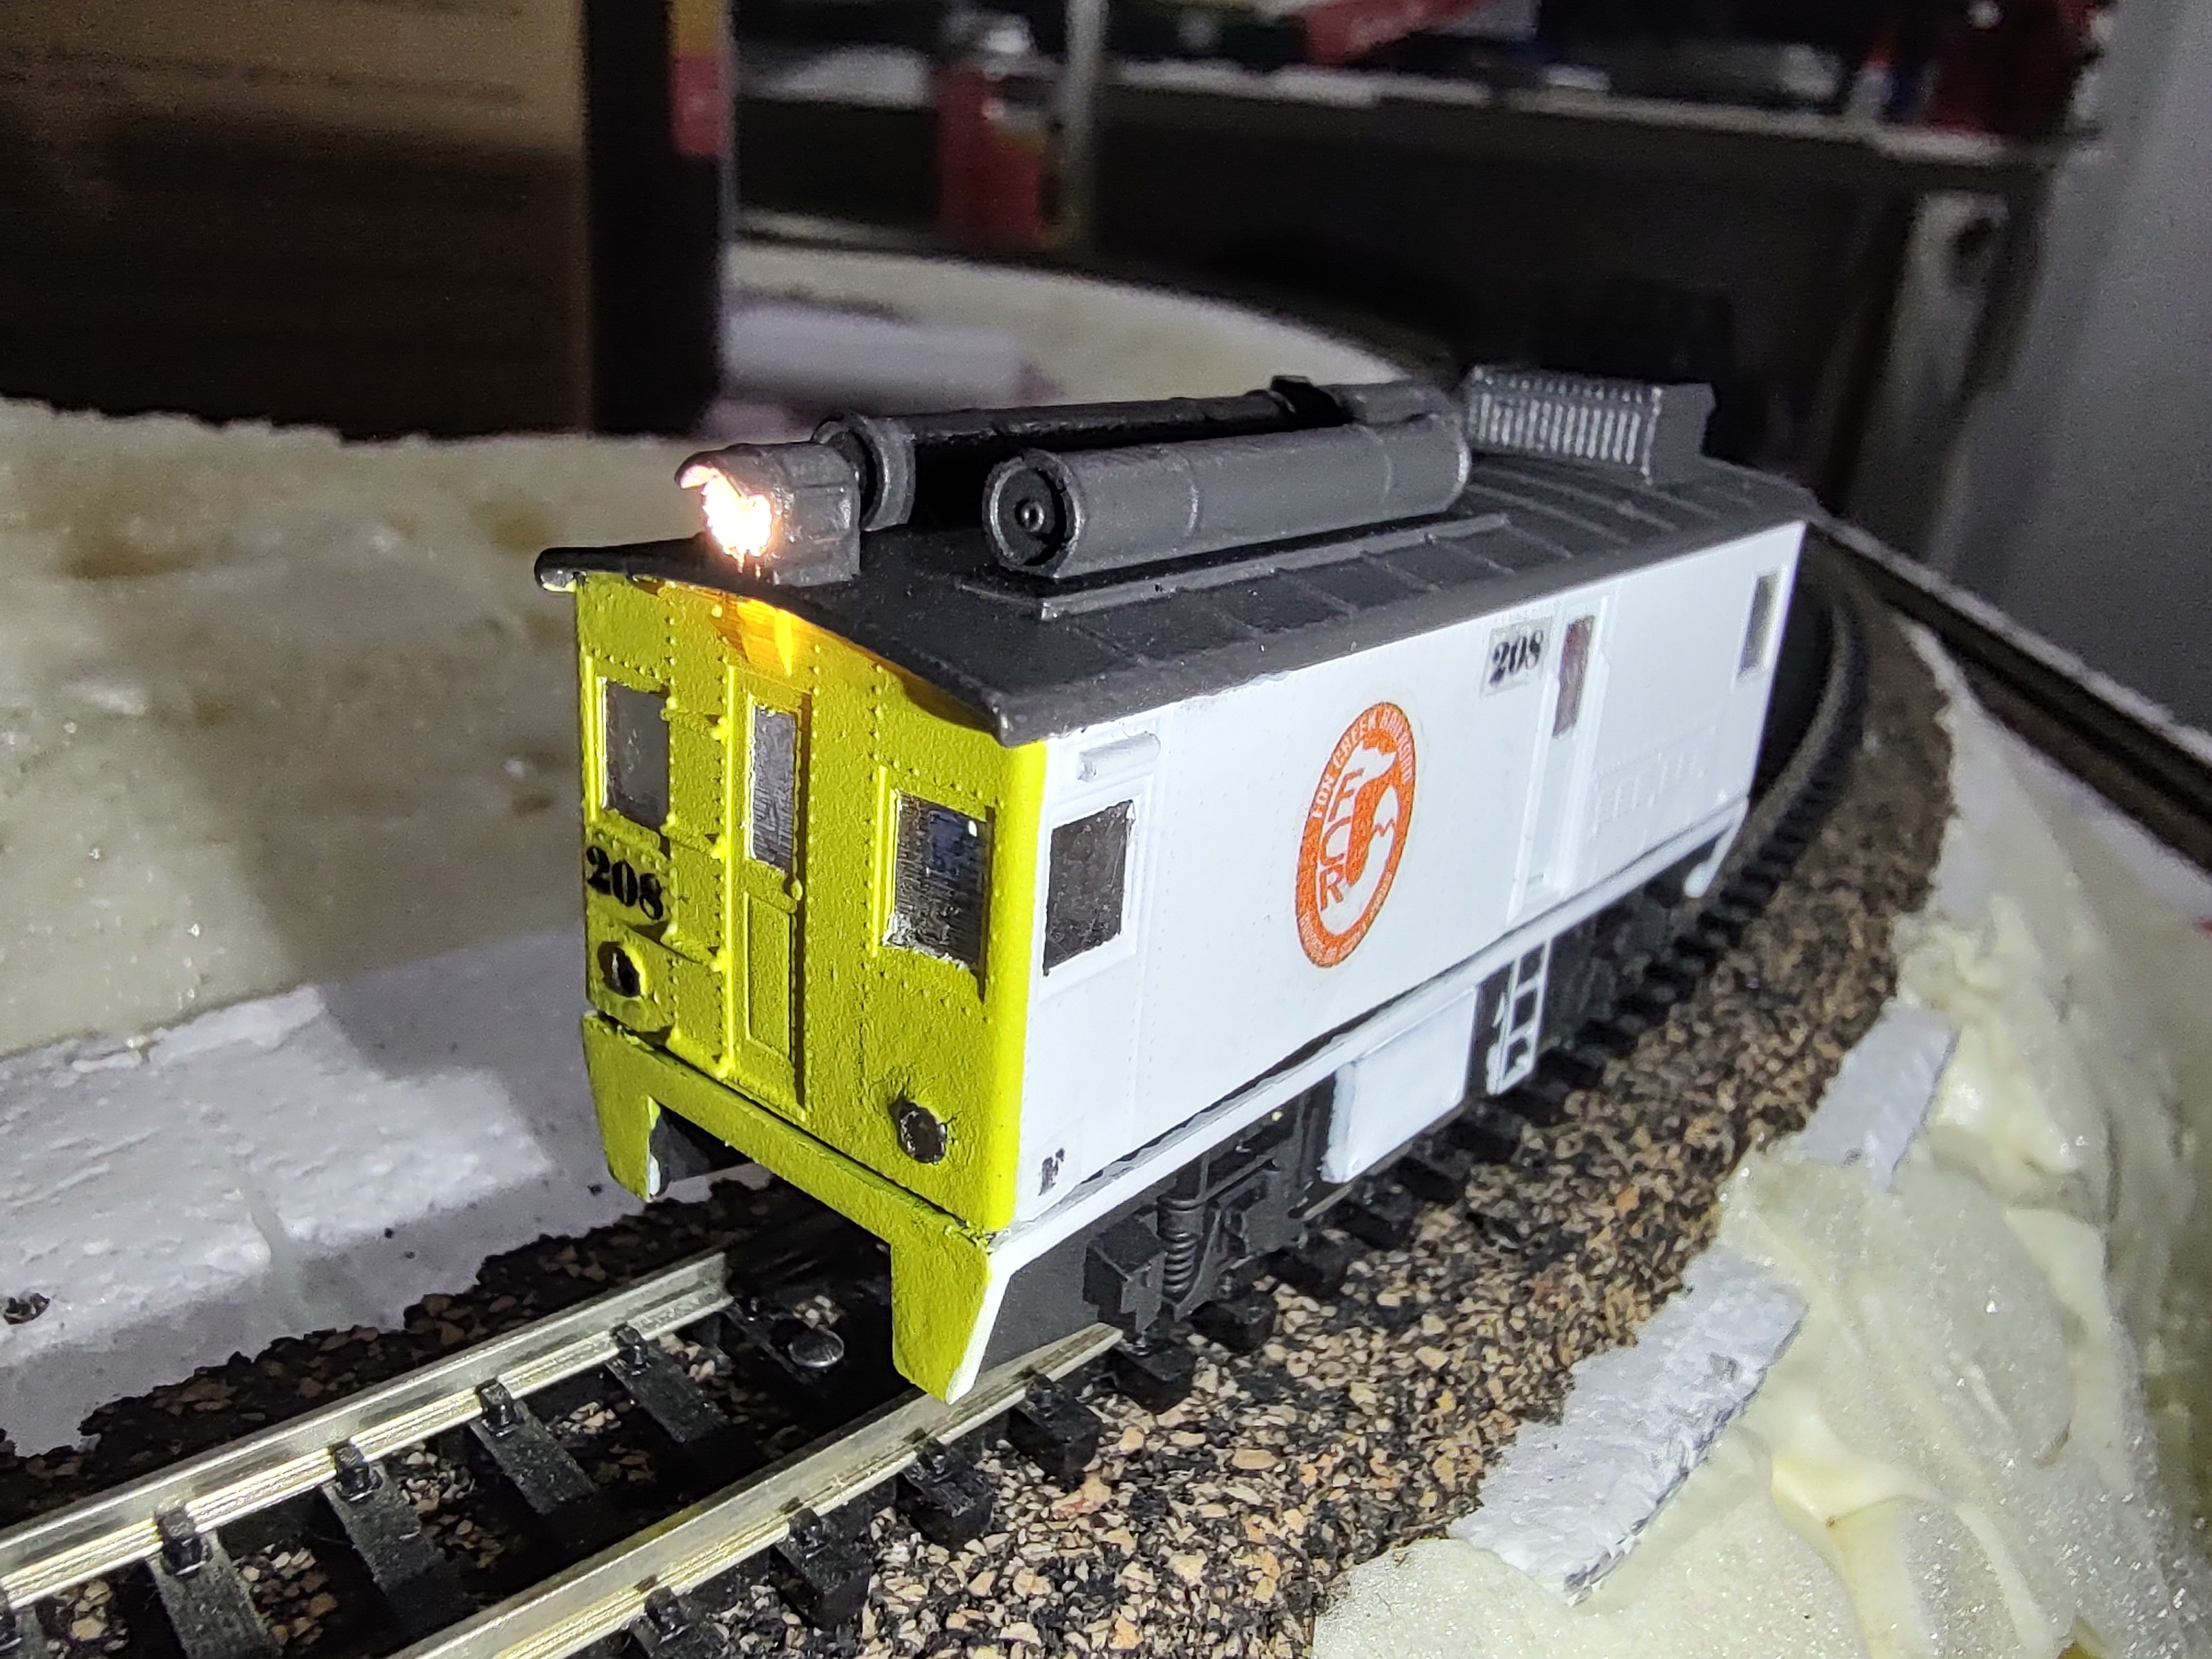
Two weeks of on and off 3D CAD, I now had the body of the horrid little engine that would pull my MoW train. File in hand, and with my brand new Elegoo Saturn 2, I soon had the shell in corporal form. It fit the included tabs of the Kato 11-109 perfectly first try! With the bleep bloops out of the way and the chassis equipped with a Digitrax DN136D, I am finally well on my to completing this build!
I printed the model in transparent resin for several reasons. First off, it was the only ABS-like non-brittle resin I had on hand, plus I am going to attempt masking off the windows instead of gluing in transparency plastic after painting. It's all an experiment, and if things go awry, the shell could always be reprinted!
At some point after I complete this locomotive, I will be sharing the .STL file for anyone who would like to attempt making one of these for themselves! Until then though, I look forward to sharing my progress here for all you fine people!


Cheers!
-Bunker
I started out where any bad decision starts, browsing Amazon at 3 in the morning, when I discovered the Kato 11-109 Chibi Totsu power unit. The 11-109 is a 2 Axle powered locomotive frame with no body. The perfect platform for the old gears to begin turning, and at the incredibly reasonable price of $26, I just had to add it to the cart. I always thought it would be cool to have an old turn of the century Boxcab in N-scale, but while you can find them, none really scratch that itch for me. Having been inspired by another 3D artist making a Long Island Boxcab over on Thingyverse, I busted out the caliper and went to work creating my masterpiece...
Two weeks of on and off 3D CAD, I now had the body of the horrid little engine that would pull my MoW train. File in hand, and with my brand new Elegoo Saturn 2, I soon had the shell in corporal form. It fit the included tabs of the Kato 11-109 perfectly first try! With the bleep bloops out of the way and the chassis equipped with a Digitrax DN136D, I am finally well on my to completing this build!
I printed the model in transparent resin for several reasons. First off, it was the only ABS-like non-brittle resin I had on hand, plus I am going to attempt masking off the windows instead of gluing in transparency plastic after painting. It's all an experiment, and if things go awry, the shell could always be reprinted!
At some point after I complete this locomotive, I will be sharing the .STL file for anyone who would like to attempt making one of these for themselves! Until then though, I look forward to sharing my progress here for all you fine people!
Cheers!
-Bunker