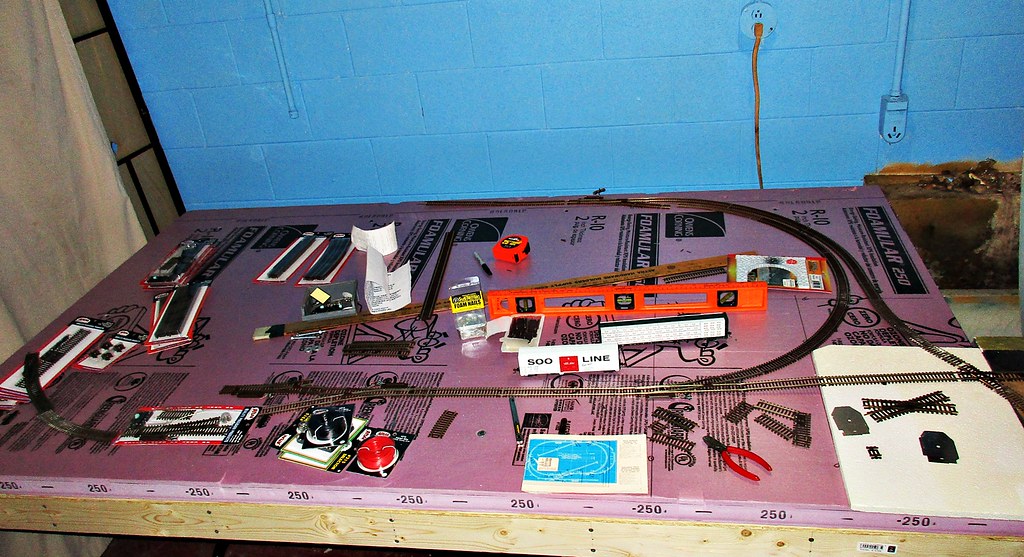
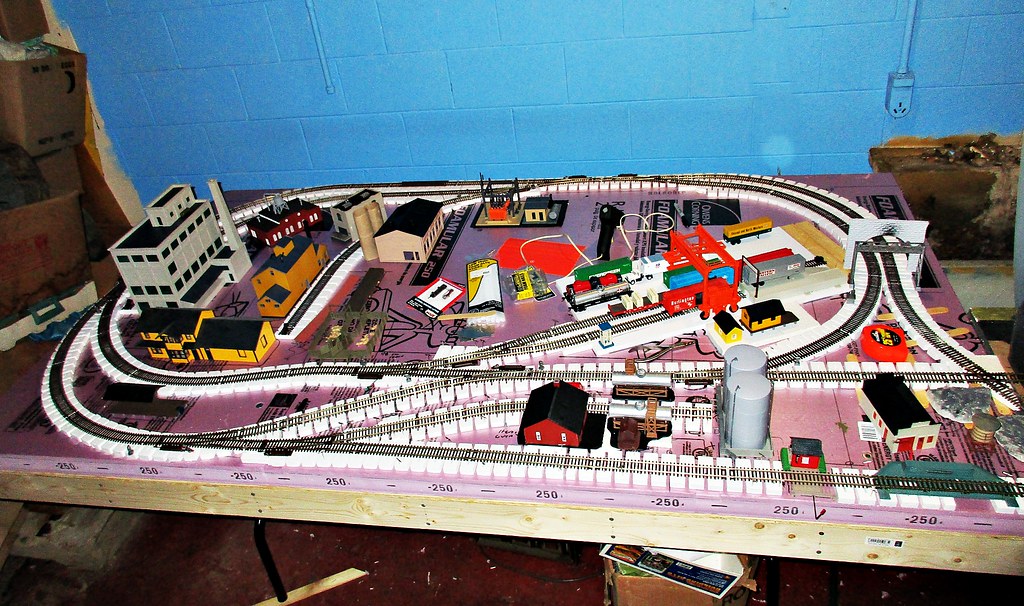
First lay of track, first run of consist ....
Okay, so I got the kinks out, and the main line run. Now to run the train and see what happens. I did this with River Pass as well. Once the track is out and "tight" so there are no gaps or kinks in the rail, it is not fastened down yet, so go slow - run your train to see how it works. As this is DCC, once the tracks are connected to the original lines, the power is there.
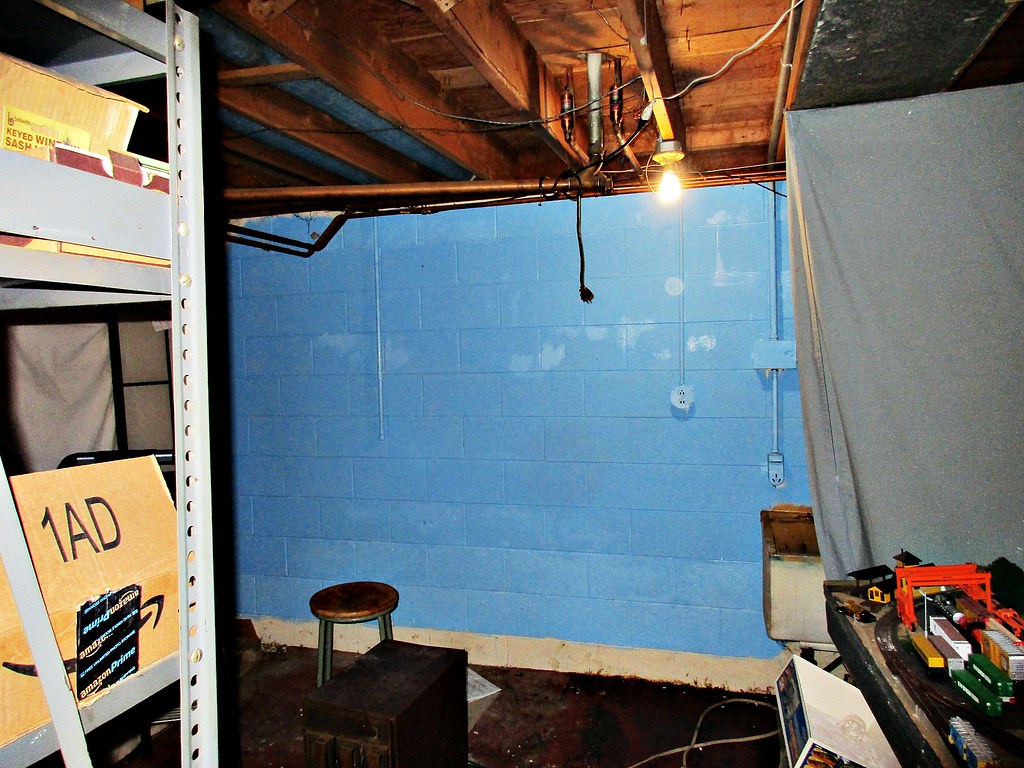
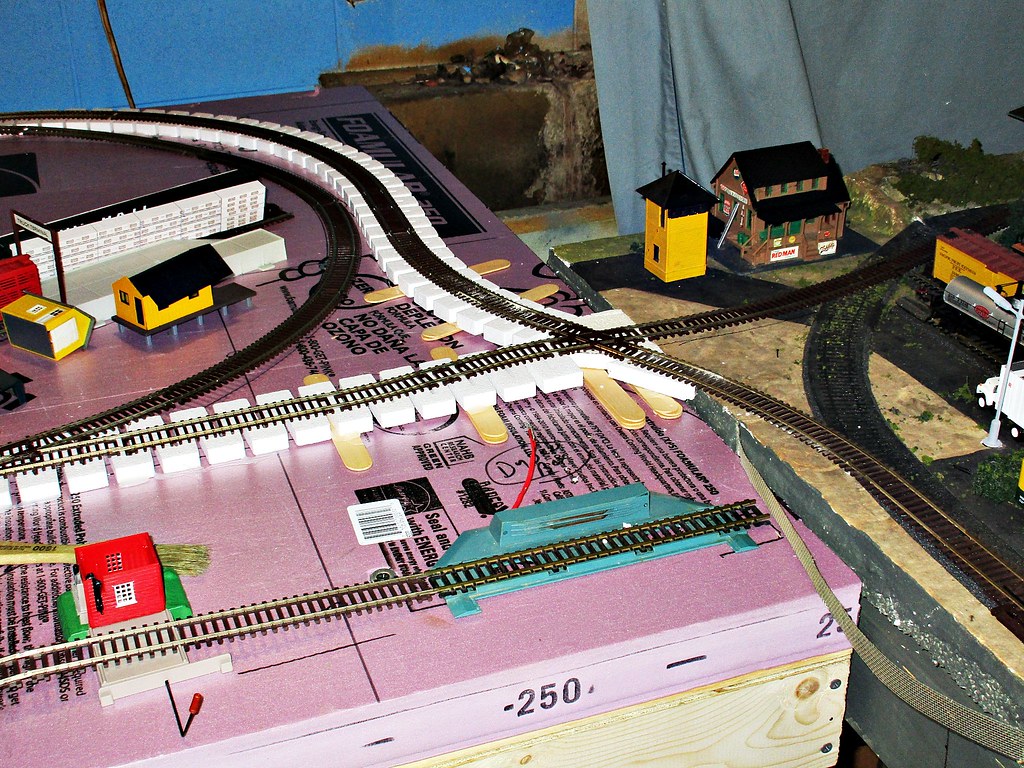
This is turning out to be like it's name sake - Kickapoo, One who wanders here then there. First it turned out that I was squashed in the back up against the wall. I needed more room back there. My big butt was tight in this area. Time for the first major change - offset the main by at least 5 inches.
This was done with a reverse curve, made from 22 inch curves, and a six inch straight. This moved the new board forward 5 inches, and I took out the 9 inch straight on the line coming over and fitted up the new space. Reverse curves should be avoided if at all possible due to the derailment problem. Here the trouble is the body mounted couplers being stretched and stressed to the max as one car swings into the curve and the other goes out. Talgo mounted couplers solve most of this problem, which is why they are on cars longer than 50 feet. This is so the things can go around a standard 36 inch curve, read that 18 inch radius. Now having said that - you can however make up short s curves out of 1/3 and 1/2 curves and join them together to make up an offset problem, where the track just won't fit in the space allowed. Just work at it and you will find that if you are within say a track width off, the reverse s trick will join up the rails.
This pike ended up with quite a few of those small reverse s couplings. It will run you will see shortly. Which is also why I say it "Wanders here and then there." ...
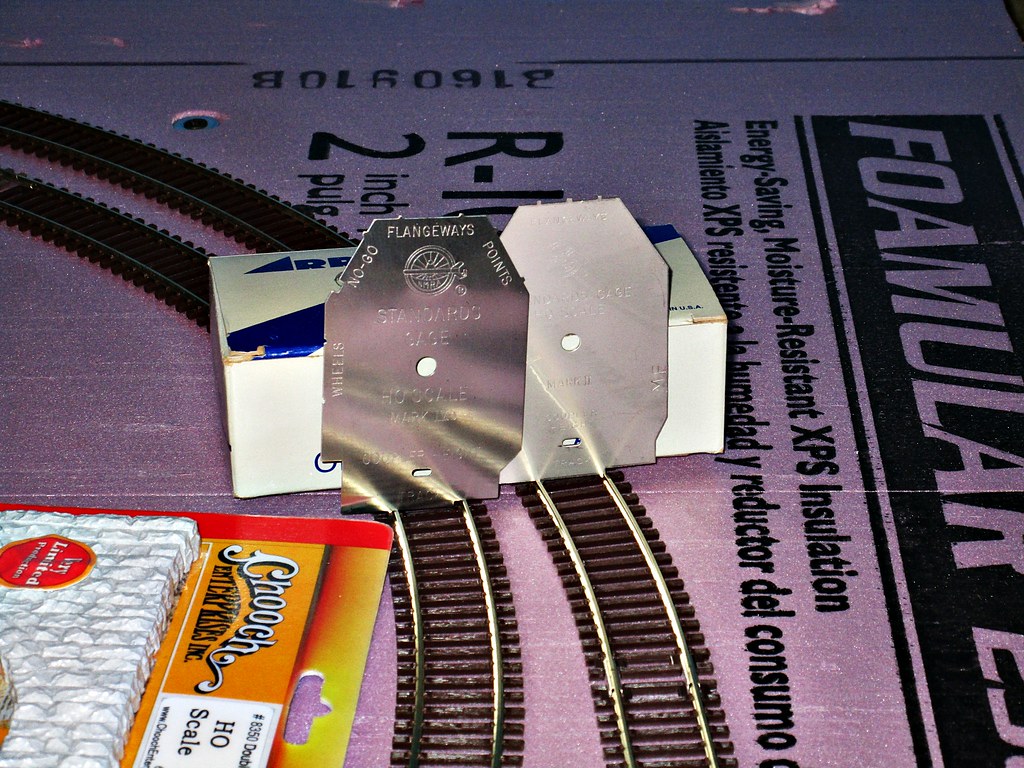
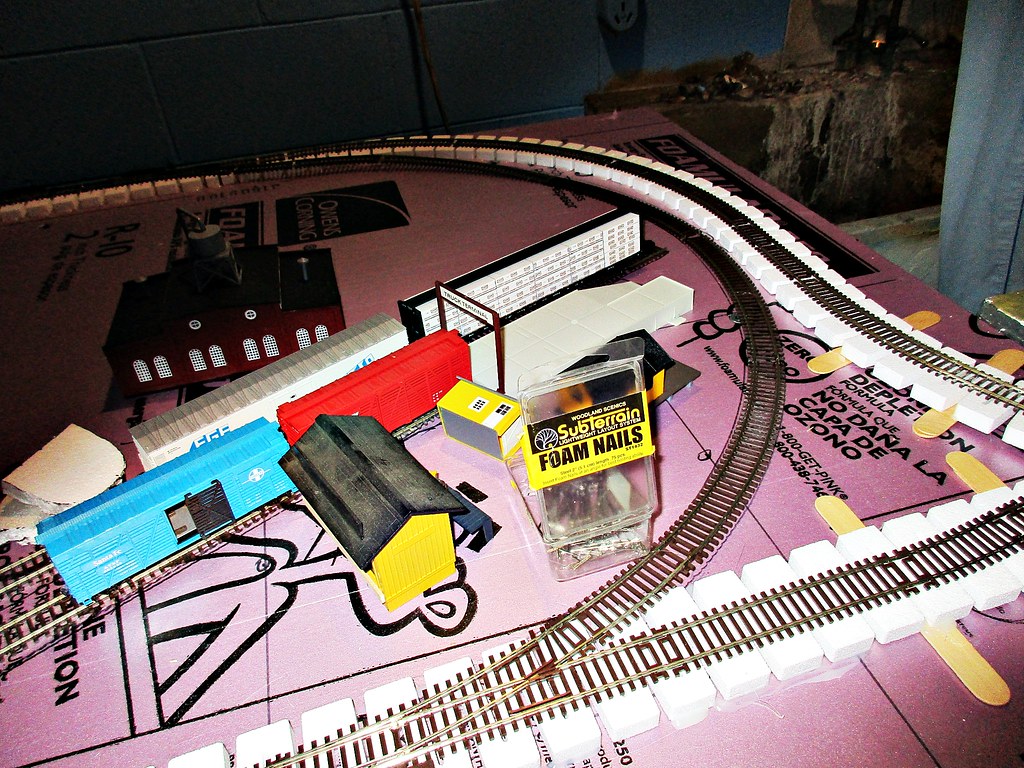
Next problem was in the actual layout and the kit as provided by Atlas. it came with 15 inch curves. Nothing except shorty card, like 40 foot and under will ever go around those. Toss those into the track back and label them for later usage in spurs or something like that. I built this out of the standard 18 inch curves, and it fits well. Yes I am close to the edge in a few places. Mostly those will have scenery behind them so it won't matter. Where it becomes a problem, a fence like I used in the yard area will cover my tail for things falling off the table.
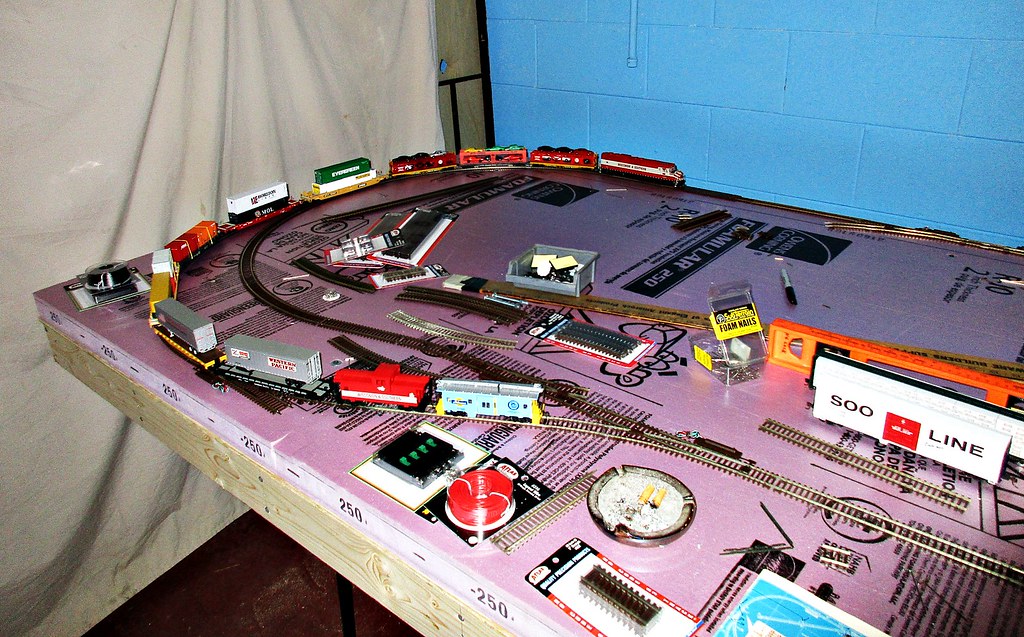
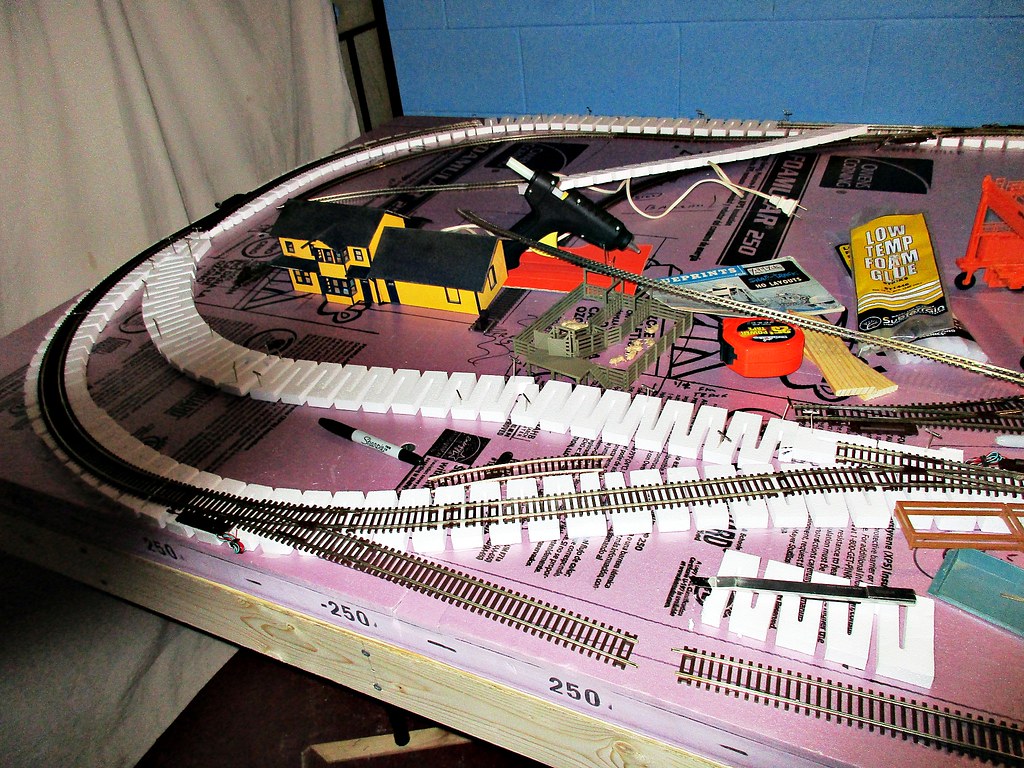
So with an afternoon free before Thanksgiving, I got the main line down, all problems worked out, kinks out, track tight and now it was time! RAILROAD! Made up racks and stacks, which is basically big cars, 65 foot Huskys at that - and got on with the show.
With bell ringing, and horns sounding the F45 slowly rolled down onto the new track. One car uncoupled due to the track height difference but other than that ...
Here we go! The new sub just had it's first train over the rails. It goes around all the reverse s sections without a problem. i ran it for a good half hour, all the way around, and thru all the cut off tracks. No problems. Fun watching it go back on to the phase one tracks and then coming out of tunnel 1 heading for the new sub, and carefully entering. I fixed the drop off problem, and the second time around it did not uncouple. WE HAVE A WINNER!!
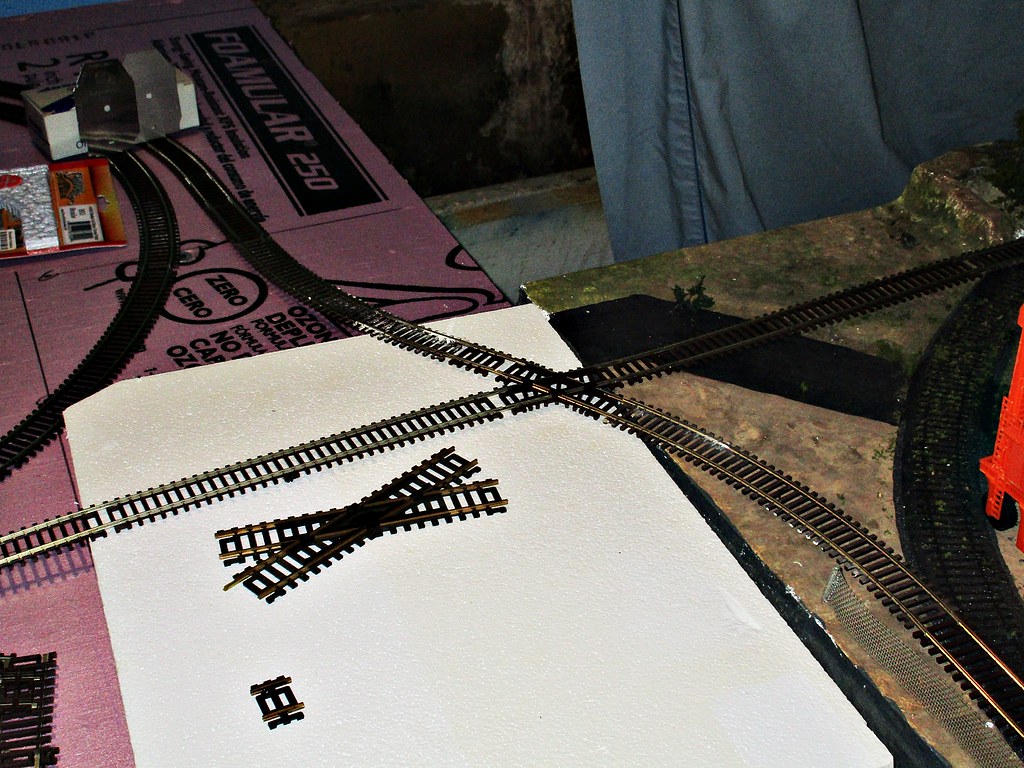
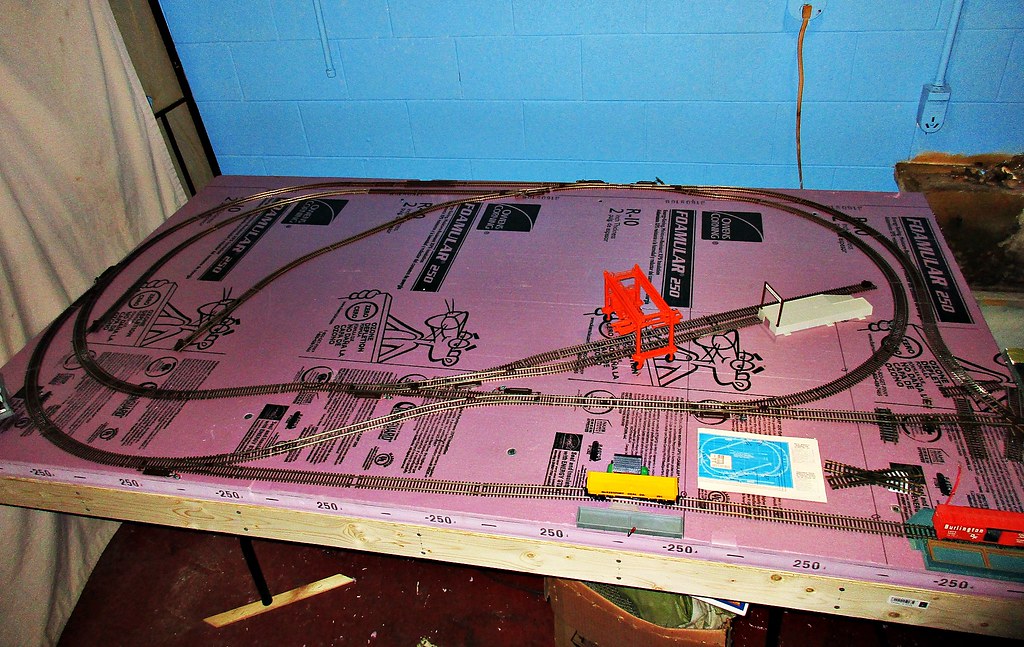
This is Dispatchers Delight MY WAY ... all 18 inch curves. # 4 switches, and lots of work to make it go.
So this is the final lay of track for the new Wilton Sub ...
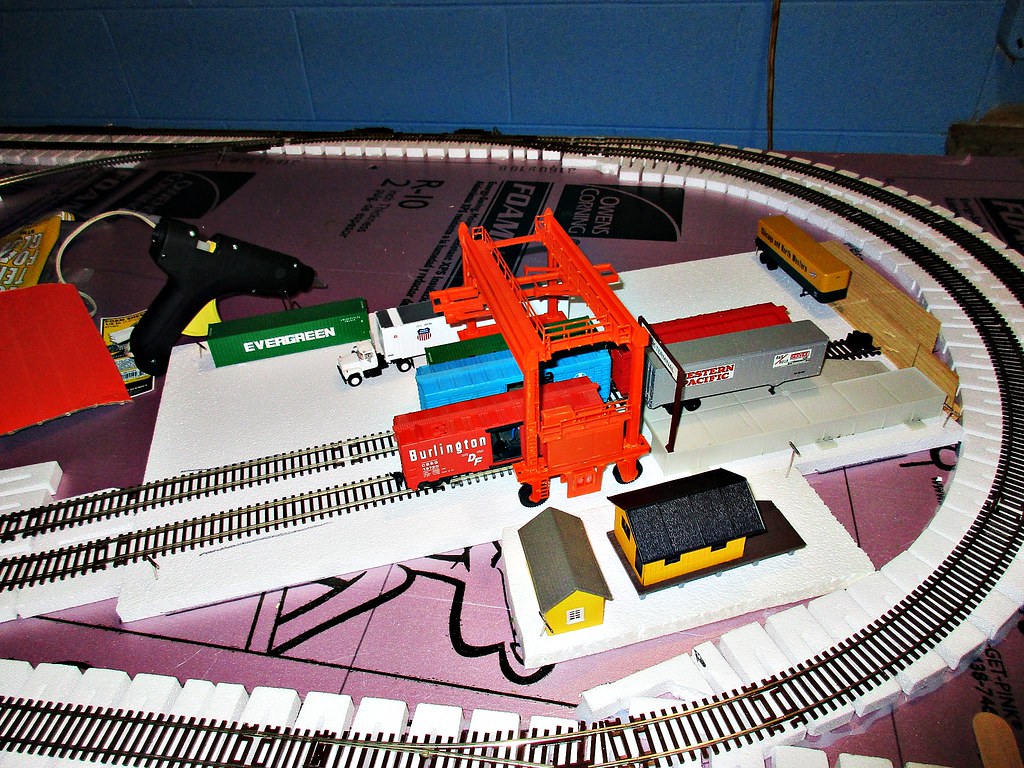
NOW you do not see my notes and build guides I worked up - so here goes. Some of the industry and track usage is shown as is where is. Two of the Tyco "action" units went into the end of spur # 1 -- the next set over is the intermodal yard as shown with the crane and the truck ramp to load trailers circus style, end to end -- that 9 inch flat in the loop after the intermodal yard is for stock unloading..... so far you with me?
Onto the back spur - note it is two spurs on one switch. the one which follows the track is the "back" of the building spur and the other one is also back but we see it more. A street will run down the middle of this area, and the building will be in between those two legs. Now what about that funny straight coming down towards the stock pen area?
That is the loading area for the Swift Meat packing plant. A stock pen served on one side and the rail siding for the outgoing meat on the other side. Here you will find my Genesis mechanical refer with sound sitting, running. Nothing like making the pike come alive with sound of the area!
So what is next?
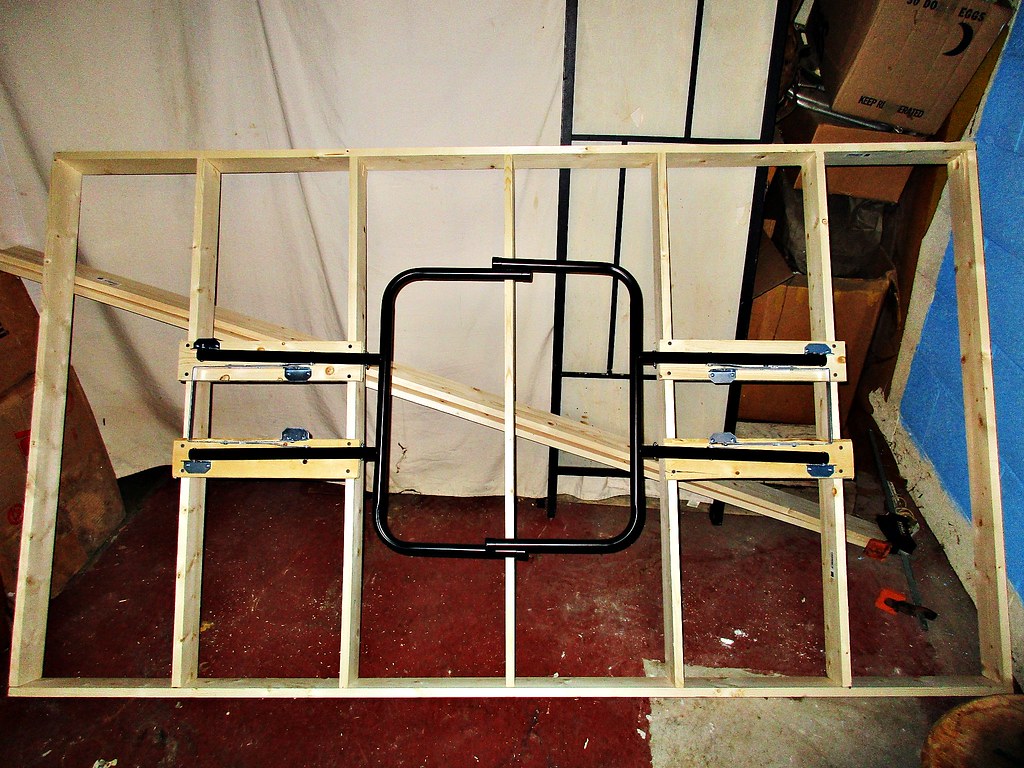
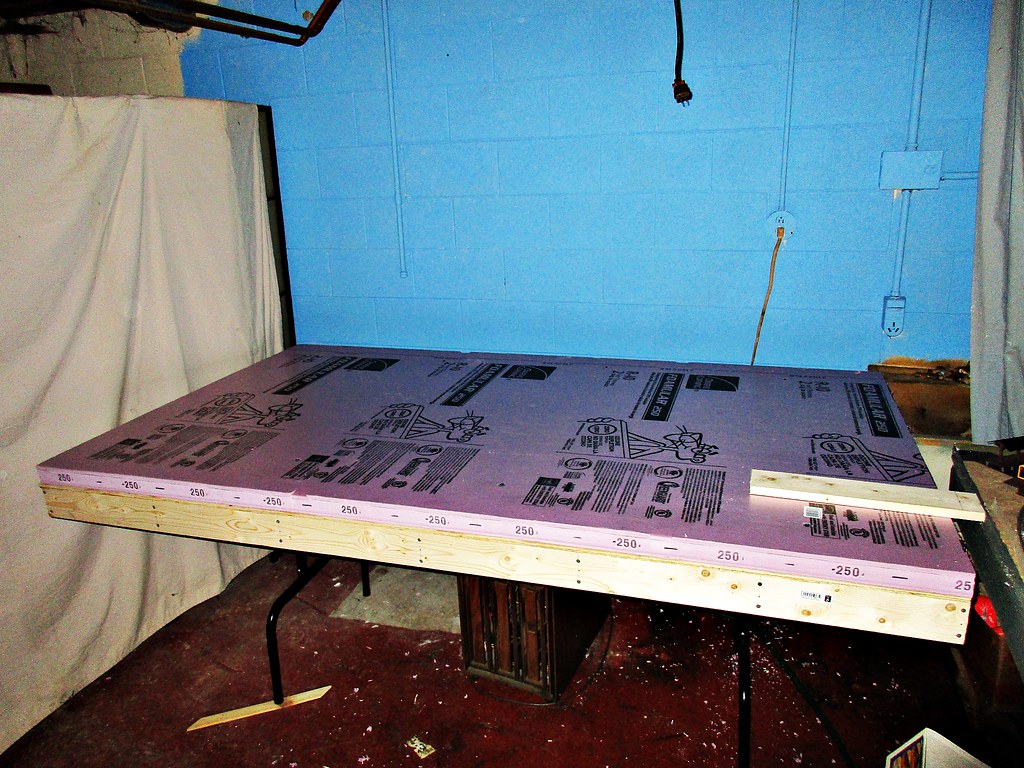
Well, for one, taking a "Sharpie pen" and outlining all the track work after one final measurement and alignment check, and outline all the track on the new board. This is where the 1/2 in Woodland Scenics risers will go. That will give us railroad ditches and make the track stand out more than a plywood central.
Next is tough - some of the buildings will be served by the rail line, so they will also have to be sitting on 1/2 riser blocks to match track height. This means after I get the track risers down, I need to have built the main structures to be served, and also outline those so I can add a foam block to where it is going to sit.
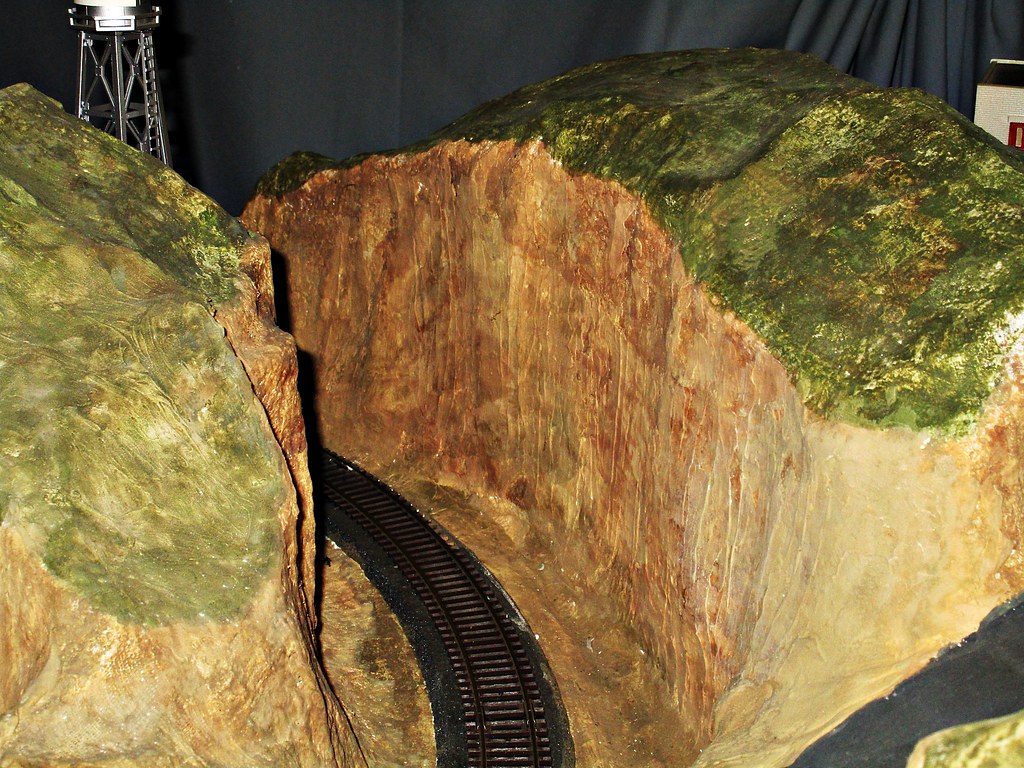
THEN?? Plaster cloth time! Cover the entire 28 square feet in the stuff and start tunnel construction. Mean while the train can run with temporarily tacks down track and we can test and revise things, I know late, but this is where before the plaster comes in we finalize the track work and make sure everything is good to go.
For the Royal Point and Western
The Aerojet
Chief "Engineer" and President