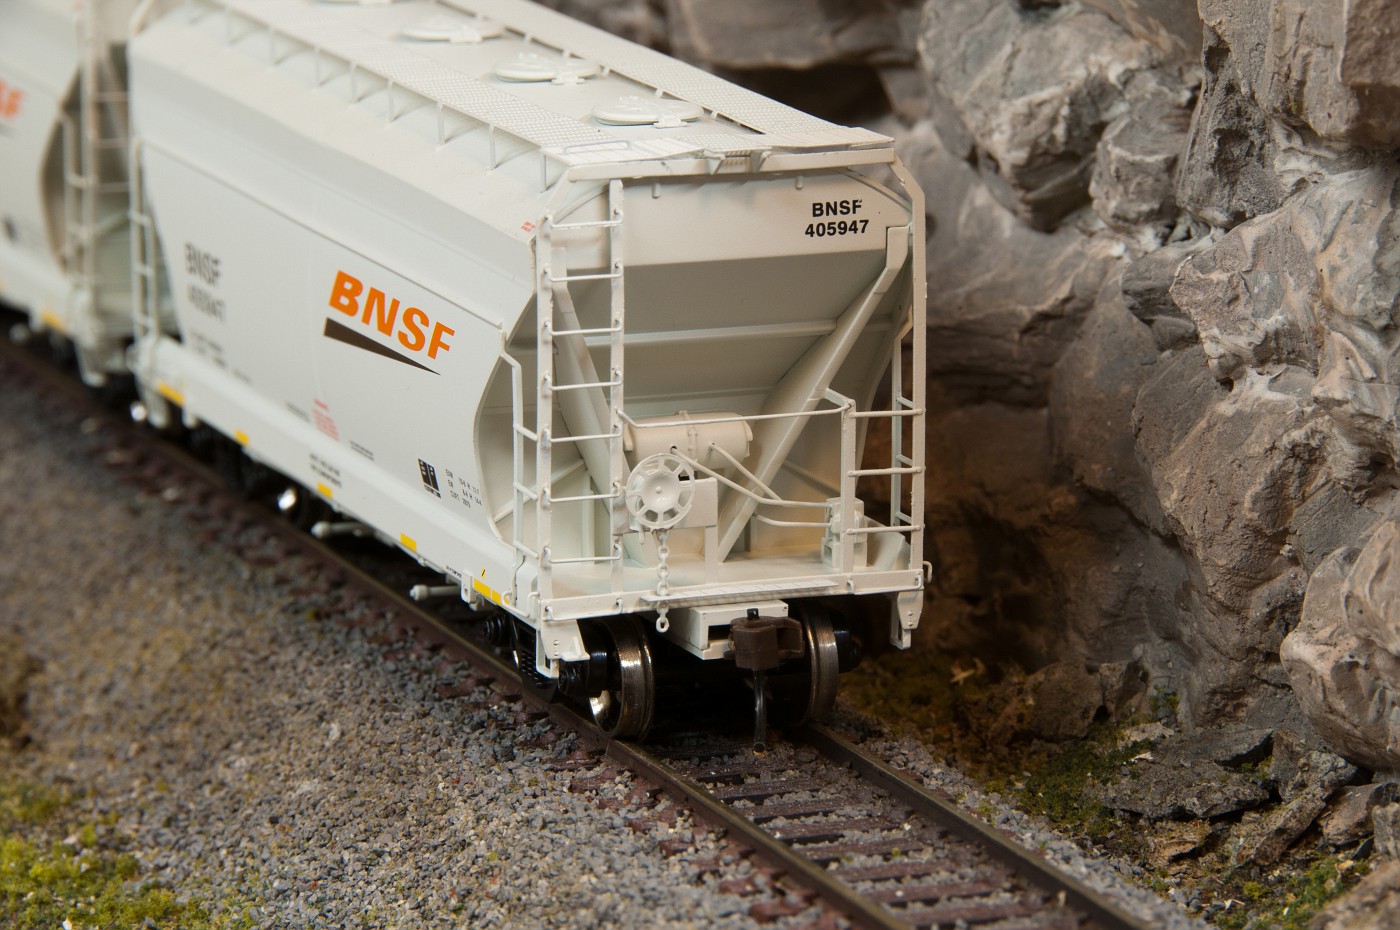
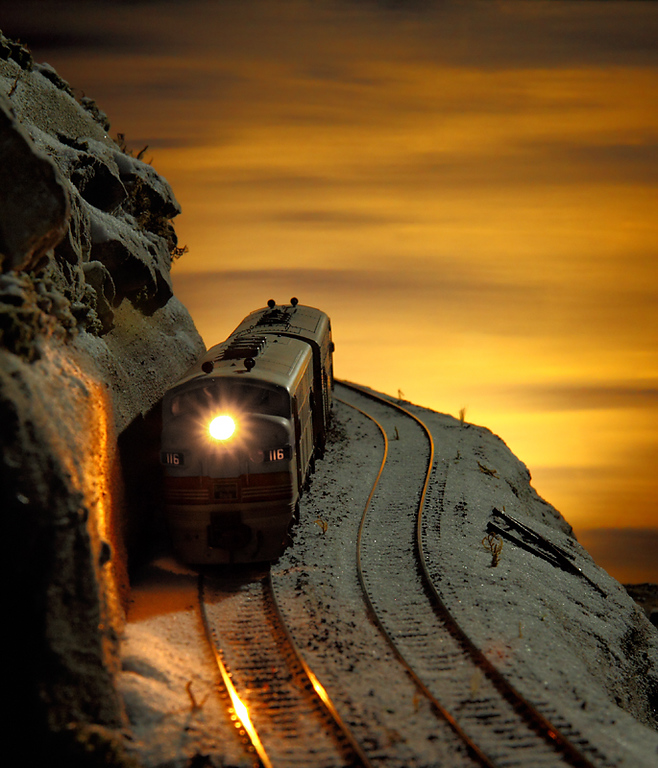
Taking pics and lighting

ModelRailroadForums.com is a free Model Railroad Discussion Forum and photo gallery. We cover all scales and sizes of model railroads. Online since 2002, it's one of the oldest and largest model railroad forums on the web. Whether you're a master model railroader or just getting started, you'll find something of interest here.


oplholik

Member
I like to take pics of my layout as I go along and I just have a small digital camera. I would like to get a decent camera, but spending money on trains doesn't leave much to spend on another camera. I know some of my problem with the picture taking is lighting, so a question for those of you whose excellent pics I see here is, I have thought of getting about three small lights from a track lighting setup and using those for more lighting just for picture taking, and mounting them on something that could be hand held. Would these lights be to harsh? The cost ought to be reasonable. What do you think, or what do you use? Thanks.
 
If you know of my photos, and if you agree that some of them are reasonably decent, I use two 8' tracks with five 50 watt GU-10 halogens in pots that can be swiveled, and unlocked and slide left or right along the tracks.

They are quite warm, and you need to be careful handling them. But their light is amazing. You get nice sharp shadows which are a problem in model photos when they are fuzzy or doubled.

If you can find a track and maybe three fixtures, the whole thing should go for about $50 (?) at a big box store. The lights, though, will add about $12 or more to the bill. I use the Phillips brand.
 
Ditto on the halogens, I use them exclusively. Since my ceiling is a bit lower than most, I’ve toasted the back of my head more than once.

For a small setup a clamp-on metal shade fixture can be used for temporary purposes. These come with a cord and metal conical-shaped shade along with a switched socket and spring-loaded clamp. Using halogens, the metal shade does get hot altho not as hot as the bulb.

http://www.homedepot.com/webapp/wcs...search-2-_-NA-_-100664505-_-N&locStoreNum=574


I'm in the same situation as you, my lighting isn't that great, and my cheap camera doesn't help. I'm getting this new camera.

The new Canon SX 130 IS has some great low light capabilities, can make a huge difference with not so great layout lighting. Canon cameras are some of the best quality cameras you can get.

These are on sale right now for $198. That's not a bad deal at all on that camera, and it even has an HD video and stereo mini-cam built in!

http://www.bestbuy.com/site/Canon+-+PowerShot+SX130+IS+12.0-Megapixel+Digital+Camera+-+Black/1218341.p?skuId=1218341&productCategoryId=pcmcat214000050002&id=1218237709263
 
Last edited by a moderator:
what has great low light capabilities is ANY camera on tripod.


2.5 secods exposure with lowest ISO to preserve color and detail

DSC_5270-vi.jpg
 
As somewhat of a photography geek, I've come to use multiple wireless flash units for most of my model railroad images. Before that I was using cheap clamp on light fixtures (about $6 at Lowe's). You know, the kind with the aluminum reflector... Sylvania daylight bulbs gave a reasonable color temperature if the camera white balance is set correctly. For those that have the capability to shoot RAW files, its the way to go because white balance adjustments can be made during post processing. Be sure and turn your built in flash "off" to prevent the cheesy "zerox" look in your photos. A tripod, low ISO and long exposures will give you the best results.

An example of incandescent "daylight" bulbs with direction provided by the mentioned clamp on fixtures.

733434663_WGmmL-L-2.jpg


Examples of multiple, wireless flash (gelled for color).

733433862_AKsmT-L.jpg


1108183431_PttL3-XL.jpg
 
Last edited by a moderator:
As somewhat of a photography geek, I've come to use multiple wireless flash units for most of my model railroad images. A tripod, low ISO and long exposures will give you the best results.

This. A stable camera is key. You can adjust your white balance and everything after a test shot or two....


This. A stable camera is key. You can adjust your white balance and everything after a test shot or two....


Yes, for a given light density incident on any subject, the aperture and dwell of the shutter are the only two variables left. If the aperture is small in order to get depth of field (increasing the focal ratio), you'll have to leave the shutter open longer if you can' increase brightness. The longer you hold open the shutter, the longer the effects of your hands trembling will have to show as a fuzzy image.

So, use bean bags, bags of ground foam, blocks of wood, or a tripod head, anything where the shutter will open and close without a lick of movement.
 
Eric, that is some quality shots. When are you going to come down
and show me how to use my new T2i? ...that is, using what I have...I'm too broke to buy any more goodies. :D
 
Eric, that is some quality shots. When are you going to come down
and show me how to use my new T2i? ...that is, using what I have...I'm too broke to buy any more goodies. :D

LGM and I were talking about calling you earlier today. I've been wanting to ride over and see you for a while now. We need to plan a photography day and shoot some serious stuff on your railroad... The T2i is quite capable of National Goegraphic level images.

We have a fellow who is planning a layout that I'd also like to bring over to see your fantastic railroad.

Shoot me a PM because I can't seem to find your phone number. :o
 
Thanks for all your replies. In reading thru the manual on my camera I see how to adjust settings for white balance, ISO, and others. So maybe with some practice I can get some decent pics out of this thing. I will be trying it out and will probably bore you all with the results :D
 
Creating better images! The key to getting the images you want is a multifacited subject.
1. Learn the various aspects of your exposure metering system in your camera;
a. There are three main types of metering and each has a specific use depending on what your shooting;
a1. Do you want an overall scene type of metering the use the Full Frame Averaging setting;
b1. Do you want to shoot a more specific area then Center weighted is the one to use;
c1 Are you trying to zero in on a particular subject to call attention to it in the photo then use Spot Metering;

Above all, learn to see light and it variances and determine what portion of your image is important to you and use that for your main exposure reading using either CW or S metering.

White balance is also important and should be set using the lighting you'll be shooting under most of the time. Your camera can usually store different WB settings such as actual Daylight/Sun light and indoor lighting if different? Use the back of a piece of White photographic paper propped up so you can focus on it and set your WB per your camera instructions.

You'll be shooting most images in Jpg mode and most certainly don't need to use anything over 6Mp and for that matter even 3.5Mp is more than sufficent for most images. Also realize that most Digital images can be sharpened once or twice to get even better clarity. Also, in the past Canon tended to produce images that were on the blue side so you'll need to learn how to correct for this in the photo editing program that came with the camera. Some photo editing programs are fairly cumbersome like Photo Shop as an example, it will do a tremendous job but is tedious to use. There are others that are a lot less time consuming.

RAW files as well as TIFF give you 100% flexability to correct any portion of an image but you'll be working with hugh files that are memory intensive for really no reason if you learn to see light and make expose corrections for the subject your shooting to begin with.

Stark contrasts usually create a real problem when trying to determine exposure. Also be careful of side lighting and even overhead lighting striking the camera lens or being reflected into it as that can cause problems in metering by giving you false results. A lens hood can be very useful but so can a large tube section like half of an Oat meal container just held around your lens to shade it from overhead florescent lights if they should cause a problem.

If you use added fill or modeling lights keep them behind and to the side of your camera.

The nice thing with digital is that if the image/s don't turn out to your liking, erase them and reshoot them making necessary corrections.

Remember too that when moving in close your depth of field is reduced considerably so you'll need to use a smaller aperture
by at least two or more fstops to compensate for this and get the depth of focus you want.

Remember, you don't a picture, you make a picture by watching a number of things that might turn up in the image and be distracting.

Have fun and enjoy your camera.


I actually realized I'd kind of gotten side tracked myself in my photo creating.


No image for some reason? There should be another image below here.
?????
Copper_Iron_Works_Distant_view_of_embankment_work_ Shrp_ Crvs_Reszd_905x603_DSCF5380.jpg


This image below was shot under an over head Florescent fixture with two different tubes in it as well as an inexpensive light hood and incandescent blub in it. An exposure of 1/4 sec at f16 an a ISO setting of 200 with the camera on a tripod. Also this image was shot at 3.5 Mp file size and further reduced to 905x603 Pixels.

Copper_Iron_Works_Scene_Esp_-_embankment_work_close-up_Shrp_Crvs_Reszd_905x603_DSCF5384.jpg
 
Last edited by a moderator:
You'll be shooting most images in Jpg mode and most certainly don't need to use anything over 6Mp and for that matter even 3.5Mp is more than sufficient for most images.
6? 3.5? how about 3.2? or 2.8? point is - all of them (made in past few years) are more then sufficient and pixel count matters very little.

Also, in the past Canon tended to produce images that were on the blue side so you'll need to learn how to correct for this in the photo editing program that came with the camera.
you are overreacting quite a bit over something that left way in past (and even then was quite arguable ).


6? 3.5? how about 3.2? or 2.8? point is - all of them (made in past few years) are more then sufficient and pixel count matters very little.


you are overreacting quite a bit over something that left way in past (and even then was quite arguable ).


Say Anton,.
Your reference to pixel count is very incorrect indeed. If you were anywhere near correct then why would all the camera manufactures be increasing the Pixel count size of their sensors?? Just a few years ago Canon for example went from 6Mp sensor to 10 and then 12, as I recall, and now the camera Rex has is 18Mp. seems just the opposite to what your saying.

I'm a former pro photographer and know many other pros like my very long time buddy who shoots with a 5D, I use a Fuji S2. You learn to use your equipment as best you can and the better Digital cameras have many correction variances to keep in mind when shoot in anything but auto mode.

Don't misunderstand, I'm not suggesting everyone run out and invest in a fancy camera as for model photography, at least for here on the forum it really isn't necessary in most all cases so sure shot with whatever you have now.

> >
Now about your comment dealing with the color correction I mentioned referring to Canon, just go to the web and type in 'Canon Color Correction', meant for Rex or others, and run down the list or articles on the subject of correcting Red/Cyan [bluish green] that even Canon has software to correct. I've been involved with photography for almost as long as I've been involved with MRRing which dates back to 1952 till now.


Affiliate Disclosure: We may receive a commision from some of the links and ads shown on this website (Learn More Here)

Back
Top