New Layout, N Scale 11' X 7'. Looking for inspiration and advice.

ModelRailroadForums.com is a free Model Railroad Discussion Forum and photo gallery. We cover all scales and sizes of model railroads. Online since 2002, it's one of the oldest and largest model railroad forums on the web. Whether you're a master model railroader or just getting started, you'll find something of interest here.


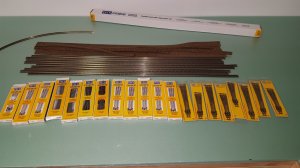
Best price I can find on the code 55 for a box of 30 3-foot sections is $149. I need 40 sections so the other 10 I need to buy at $5.50 each plus shipping.

I have since pulled the double slip out of my plans, just due to it's $60 cost.

I also need the following other pieces:

SL-394F, N Peco Finescale Code 55 SL-394F. Crossing 6.06". 10º (5) $18 each
SL-E388F, N Peco Finescale Code 55 SL-E388F. Right turnout 6.46". (conductive frog) (7) $19 each
SL-E389F, N Peco Finescale Code 55 SL-E389F. Left turnout 6.46". (conductive frog) (5) $19 each
SL-E396F, N Peco Finescale Code 55 SL-E396F. Left turnout 5.37". (conductive frog) (1) $16 each
Roadbed - $40
Track Nails - $20
Joiners - $20

That is this plan without the center yards / industries. Those require additional "small" turnouts at $16 each. So another $120 figure.

Adds up quick. :)


actual output from Anyrail materials list on the layout with the center yards, passenger station on the upper main line, and no yard on the small lower extension:

Code:
SL-394F, N Peco Finescale Code 55 SL-394F. Crossing 6.06". 10º	5
SL-E388F, N Peco Finescale Code 55 SL-E388F. Right turnout 6.46". (conductive frog)	8
SL-E389F, N Peco Finescale Code 55 SL-E389F. Left turnout 6.46". (conductive frog)	7
SL-E391F, N Peco Finescale Code 55 SL-E391F. Right turnout 4.84". (conductive frog)	1
SL-E392F, N Peco Finescale Code 55 SL-E392F. Left turnout 4.84". (conductive frog)	3

Track lengths
SL-300F, N Peco Finescale Code 55 SL-300F. Flex 36". (wood)	107.73'
 
Last edited by a moderator:


They're on my short list of vendors for my "big spend" when it comes. Want to get as much as I can from one place. Their prices are consistently low. Plus they carry some of my favorite things, the red caboose T-shank knuckle couplers that swap in for the standard rapidos! :)
 
Klein's is the only place I buy from unless I need something in a hurry like rail joiners or minor things like that. I don't think you can beat their prices for consistency or their service.
 
Would it not make scence to purchase your rail from canada with what the US dollar is worth right now?
 
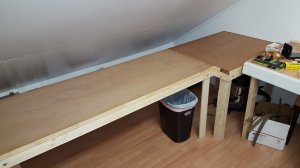
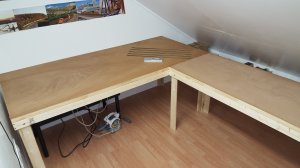
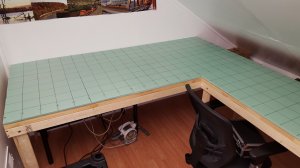
Little update. Benches are done, again went with HCD bases after considering all options. Built frames for them using 1x3's which are screwed and glued together as well as to the doors. The three sections are separate, held together with carriage bolts. Legs also carriage bolted on, so I can get the separate modules out if I ever had to (and more importantly, upstairs and into the room in the first place lol).

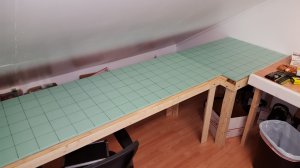
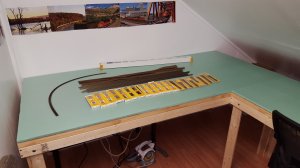
Track, cork roadbed, turnouts, 2% inclines, etc, all ordered, some has arrived already, some has not... :) Going to use 1/2" foam sheet for the initial base over all of the doors, then go from there. Used 2" sheet on the last layout, was unnecessary.

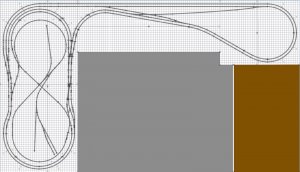
Also here's the final track plan as well. It wasn't busy enough, so I added dual reverse loops on the right side end. :)

Will post more updates as they come. Next step is to lay down the base foam and start drawing out the track center lines.

Layout_Final.jpg

layout05.jpg

layout04.jpg
 
Last edited by a moderator:
Also didn't hurt that my local Lowes was changing HCD suppliers, so everything they had left in stock I got for 20% off an already reduced price. Helped make my decision for me.
 
I really like your track plan and everything seems to be coming together very well. I know what you mean by a plan not looking busy enough - I am facing the same (mental) problem with my N Scale. Looking forward to what comes next with your build though.
 
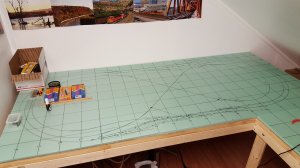
Got the initial 1/2" base foam caulked down, also drew out a 4" grid to help me with the initial track layout. Have all my track in hand, but the order I placed on modeltrainstuff for the roadbed and inclines is still processing for 3 days now, so can't really do much else until that finally ships out and gets here.

layout09.jpg

layout08.jpg

layout07.jpg

layout06.jpg


Drew out the centerlines on the main 36 x 80 section over the last couple days, made a few minor tweaks here and there. Used the actual peco turnouts and crossovers to mark up the table in the more complicated areas, and just a straightedge and a large cardboard compass everywhere else :)

So far so good.

layout14.jpg

layout15.jpg
 
Order from Klein arrived today :) :) :)

Also splurged on a WS hot wire cutter from a local shop :) I had also asked the wife to keep an eye out for a hot wire cutter in her travels shopping today, she picked up a floral foam cutter that looks basically like a soldering iron with a long, 5" or so, thin tip.

Played around with the WS cutter a bit, was fun :) works well. Havent tried the other one yet but I have plans for it.

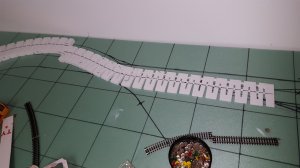
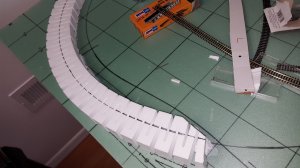
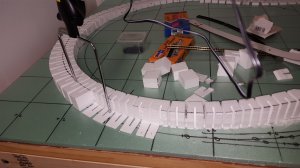
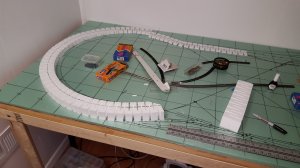
I need very narrow, like 1.25" wide or less, risers in two sections of the layout where a track needs to rise between two other ground level tracks. The WS risers / inclines are way too wide. My plan is shown here, I marked the WS inclines at 1.125", and then attached them to the layout base caulking only the narrow section that would remain. Once that dries I will attach the cork roadbed to the top of the inclines for additional strength, then use the hot wire cutter to remove the unwanted 1.375" section of the incline, basically leaving an incline just as wide as the cork. Seems like it will work out fine, but will know for sure by tomorrow night :)

That's a 2% grade from 0" to 1.75", which will be the height of the overpass across the center of the layout, then 2% back down to ground level. Looking forward to the 50% reduction in grade from the original layout.

Slow and steady :)

layout13.jpg

layout12.jpg

layout11.jpg
 
Here's how I narrowed down the inclines / risers, note that you can't do this until they are glued down to the layout, since cutting them this narrow turns them into a series of disconnected pieces, no longer a single section...


20151114_111808.jpg
 
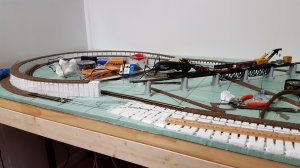
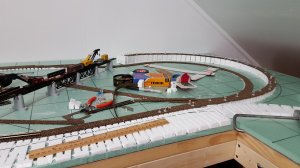
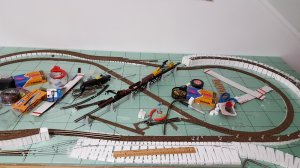
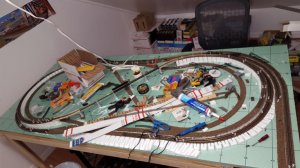
Current progress, got most of the roadbed down on the main 36 x 80 section over the weekend. Going to sand it down and start laying track this week. These pics were about 3/4 of the way through the roadbed, it's all done on this section at this point.


20151114_204956.jpg

20151114_204951.jpg

20151114_204937.jpg
 
I would think there would be a market for an N scale riser, the standard riser is wide enough for a double main in N scale with generous track spacing. I would have gladly paid a slight premium for the convenience of a 1.25" wide riser. Although, with the hot wire cutter, and some super straight cardboard strips pinned to the side of the inclines, I can cut any ratio incline I desire, as well as narrow it down using the method above, so it's not the end of the world I guess... :)


track all laid out on the first section, and started soldering in feeder wires when I realized that I had inadvertently created a reverse loop where I didn't know I had one. Anyone else see where???? :) Same layout design as my last layout, which had no reverse loops, only exception is that this one has the additional runs to the rest of the "L" shaped section....


Affiliate Disclosure: We may receive a commision from some of the links and ads shown on this website (Learn More Here)

Back
Top