My Northern Pacific Butte Montana Layout.

  • Thread starter Thread starter NP2626
  • Start date Start date
ModelRailroadForums.com is a free Model Railroad Discussion Forum and photo gallery. We cover all scales and sizes of model railroads. Online since 2002, it's one of the oldest and largest model railroad forums on the web. Whether you're a master model railroader or just getting started, you'll find something of interest here.


If any of you are interested in buying the caboose information from the NPRHA, what they sent me was a four issue set that was Winter 1987, Spring 1987, Fall 1987 and Summer 1988. The Summer 1988 has the information on Northern Pacific's steel cabooses.
 
So, right now I am finishing up some projects I want to get done while I am preparing the caboose project in my head. I am also studying the steel caboose information in the "Mainstreeter". I am fairly lucky in that both the real 1000 to 1049 and 1050 to 1099 series of cabeeses exist within 60 miles of where I live! In a small town along the main called Verndale, south of me here in Park Rapids about 45 miles, is a display caboose for the town of Verndale, MN that is one of the 1000 to 1049 tall cupola cabooses. About 12 miles east of this location, is one of the 1050 to 1099 series lower cupola cabooses on display for the town of Staples, MN. Both still have their Burlington Northern green white and yellow paint jobs. I wish the towns would pay for having them repainted in Tuscan; or, Box Car Red paint schemes, with Northern Pacific printed on them and the N.P. Monad. If you would like to see them and have Google Earth, there lat. long. are as follows: Using Street View, The Verndale Caboose is at 96*25'57.65 N 96*00'50.10W, turn and look south. The Staples caboose is as follows: Again using Street View, 46*21.17.23N 94*46'52.26W . Turn and look West. You need to start by doing a search for Verndale, MN and then for Staples, first.

I would be interested in knowing if you can locate the cabooses from the street level view.

 
Last edited by a moderator:
I like your assortment of NP cabooses. I really don't concentrate as much on the NP cabooses as they don't show up very often as my railroad only connects to the NP. I guess I should get one or two more. Now that I finally have a new Walthers catalog I can look for a good NP caboose kit. You were talking about old blue box cabooses. Here's one that I painted for my friends railroad. Unfortunately, he passed away before we completed his layout.

. IMAG0911.jpg
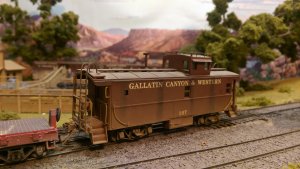
Covered a few windows, added some handrails on the roof and installed leaf springs into Kadee sprung trucks. In my freeland world, the LV bought out the Gallatin Canyon & Western and haven't repainted it yet.


I have made similar changes to trucks to turn them into caboose trucks. Caboose trucks generally had leaf springs as opposed to coil spring (at least on the N.P., anyway). All I did was make small tabs to stick into the spring pockets so that it looked like there where leaf springs instead of coils and used the glue to cover any coil spring detail. This worked, however. i think most Northern Pacific cabooses had Andrews trucks with leaf springs. These are commercially available from Walthers and are Walthers Proto HO 920-2032 Andrews Caboose Trucks, pair $7.49 from ModelTrainStuff.
 
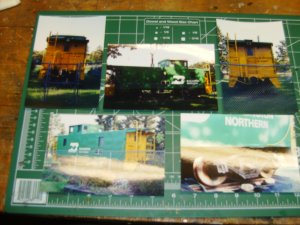
Didn't realize I had so many messages that weren't deleted. You should be good to go. Here are the three paint schemes that you could use in 1953.

IMAG0916.jpg
 
HPIM7494.jpgHPIM7496.jpg

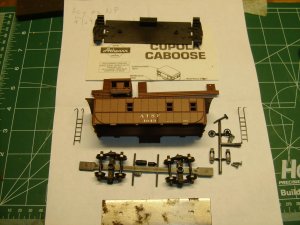
I've gotten a start on the conversion of an Athearn Blue Box Caboose Kit. Here are all the parts laid out for inspection along with Athearn's Instruction sheet. The trucks are Bettendorf Caboose trucks with leaf springs. Looking at photos from my NPRHA's Mainstreeter on the steel cabooses, these trucks look to be correct.
 
Last edited by a moderator:
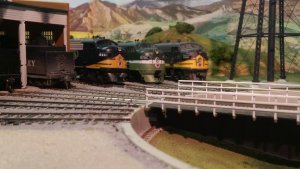
The freight unit on the right I painted and detailed. It started as an undecorated Athearn blue box kit. The unit was remotored with a can motor and constant lighting was installed. It's over 25 years old. The Lowey unit is an Athearn Genisis and the one oh the left in the pine tree scheme is an Atlas unit.
 
HPIM7497.jpgHPIM7502.jpg

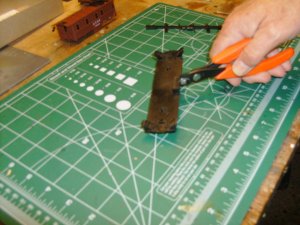
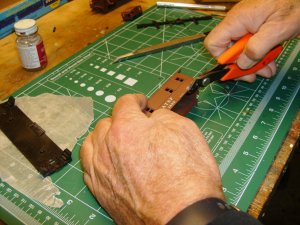
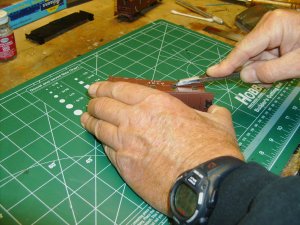
In the first photo I am preparing to remove the tool box from the underside of the floor, Northern Pacific must have carried all there tools and what-not inside the caboose. I guess adding another 6 feet to the length of the caboose the conductor and brakemen felt they would have all kinds of room inside.

The second photo shows me cutting off the tabs and tool box front from the body of the caboose. To the left (sitting on a piece of wax paper you can see that I cut up the tool box to fill in the floor and filling in the hole made by cutting off the tool box. I will use Squadron Signals putty to fill places needing filling.
 
Last edited by a moderator:


HPIM7500.jpg

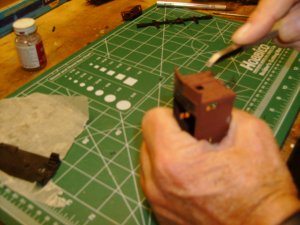
Here I am shaving off rivets and other details from one of the ends of the caboose. I'm using a Micro-Mark tool called a Plastic Modelers Chisel Item #82709. This tool allows me to get into all the nooks and Crannies and remove all sorts of molded on details. It is great for removing molded on grabs and such. (Sorry about the focus, however, there will be more of these types of photos, coming).
 
Last edited by a moderator:
HPIM7505.jpgHPIM7506.jpg

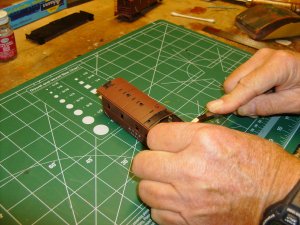
Photo #1. I am removing details from the roof that will not be used in my conversion in this photo. What is being removed is the cat walks that abut the cupola cross wise across the roof on the Athearn Model.

In photo #2 I am removing rivet and panels lines on the sides of the body of the caboose.
 
HPIM7507.jpgHPIM7508.jpg

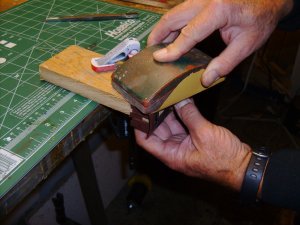
In photo #1 above, I am getting very aggressive with detail and paint removal on one side of the caboose, the sanding block has 80 grit paper on it. It doesn't take long to remove the details, level everything up and remove the paint with this course of sand paper. I'm using a block of wood clamped to my work bench as an anvil to back-up the car while doing this work.


Photo 2 shows that I have flipped the caboose over and am using my plastic modelers chisel to remove details. The basic task is to remove as much detail as possible and smooth things over; but, leave everything fairly rough. Then I will fill the windows that need filling and open up new windows where they need to go, then I will cut the roof and move the cupola forward to where it need to be for my N.P. Caboose. If you have one of these Athearn Cabooses, look at the side of the body and you will see that there are many levels to the steel sheeting Athearn molded into their kit.

Don't get me wrong, Ii think the Athearn Kit makes a great caboose, just maybe prototype specific to the ATSF. It's also great caboose to bash into an N.P. Caboose.
 
Last edited by a moderator:
HPIM7509.jpg

Here are photos I took of a 1049-1100 series Northern Pacific Caboose that is on display at Staples, MN. Of course it is done up in BN colors however, the N.P. heritage is clear, at least to me, anyway. I never noticed the glare from my florescent lights, until I just now posted these photos. Oh well!
 
HPIM7510.jpgHPIM7511.jpg

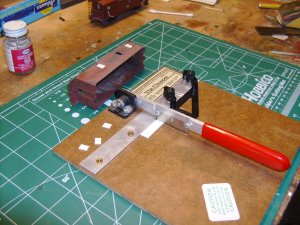
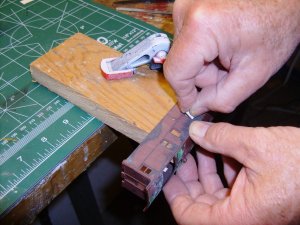
In photo #1, I'm using my NWSL CHOPPER to cut out filler pieces for the windows on the Athearn Caboose. I cut them slightly over-sized, so I needed to sand them to a tight fit.

In photo #2, I'm test fitting a window into its location on the caboose. There are two windows on the Athearn caboose that are close enough to the positions I need them on for the N.P. caboose. One is located on the right side of the caboose, forward, if we consider the front of the caboose to be the end farthest from the cupola. The other is on the other side, just forward of the cupola. So, I will have to add three windows to the caboose, two the size of the windows I've left and one small one forward on the left side that would be a window for the caboose's bathroom.
 
HPIM7512.jpgHPIM7513.jpg

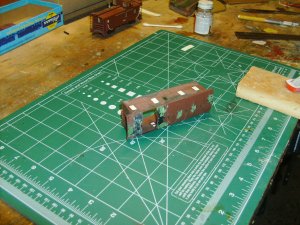
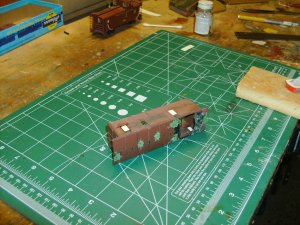
Photo # 1 shows the filled windows on the left side and photo two shows the filled windows on the right side. Both photos show my 1000 to 1049 series tall cupola steel caboose just to the left of center at the top of the photos.
 
In the photos I have provided of the Caboose on display in Staples Minnesota, when they refurbished this caboose previous to placing on display, notice the angle that the chimney cap was positioned. I've only seen the cap placed so that it is perpendicular to the direction the caboose will be traveling. The photo (the one in the upper right side) shows the cap installed so that it aligns with the direction of travel. It's my opinion this is wrong. However, I can't say whether this would make a difference as far as it's function is concerned. I'd like to suggest to the city of Staples that the next time the caboose needs paint that they consider painting it in Northern Pacific Livery, as that is who built the caboose.
 
Last edited by a moderator:
HPIM7518.jpgHPIM7521.jpgHPIM7520.jpg

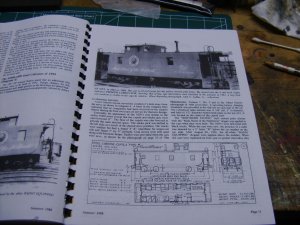
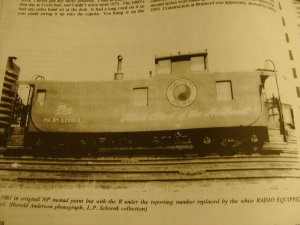
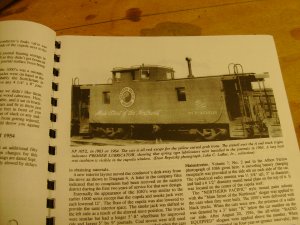
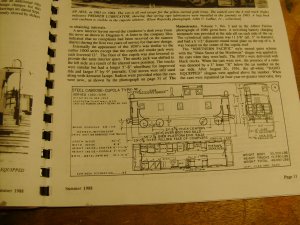
Here are two photos from the Mainstreeter on the 1049 to 1100 series caboose I am in the process of kit bashing. Notice that these photos show a working caboose and that the chimney is shown turned perpendicular to the direction of travel. The third photo shows the drawings supplied with the article in the Mainstreeter. The resolution is almost readable.
 
Last edited by a moderator:
HPIM7515.jpgHPIM7517.jpg

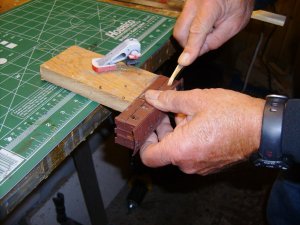
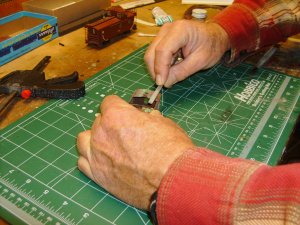
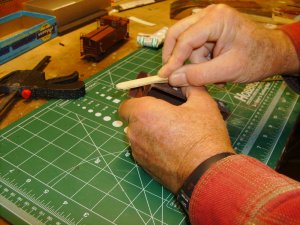
In photo #1 I have filled the holes for positioning the old cat walks on the Santa Fe style caboose and am filing off some of the Squadron Signals Green Putty. The hole in the roof is still where the cupola for the Santa Fe caboose was located. I use 80 grit paper glued to Popsicle Sticks to quickly remove the green putty, then switch to the file shown to get a smoother finish.

Photo #2 shows me rounding off the corners of the caboose's main body. I see that this photo caught that the sand paper was getting ready to fall of the stick. I had used wood glue and that didn't work, I switched to contact cement and the paper is staying put, this time.


That caboose is really coming along. Like that you have good photos to work with. NP cabooses were a bit different compared to other railroads and it's nice that you are capturing the look. Waiting for more updates.


Affiliate Disclosure: We may receive a commision from some of the links and ads shown on this website (Learn More Here)

Back
Top