PMW
Well-Known Member
Yes after I get a piece of plastic on thereCould you convert it to a gravel or grass roof instead? Maybe an alternative idea?


Yes after I get a piece of plastic on thereCould you convert it to a gravel or grass roof instead? Maybe an alternative idea?


Good idea to me.Good idea, bad idea?

I like this idea too! Both ideas but I think I'll have better luck with the parchment paper for a template. Didn't think of that!2 ideas , How about you get a piece of paper or parchment paper and leaving what you already have as a roof on there ( or not ) and trace out for a perfect pattern and then transfer it to a cornflakes card stock, cut to fit and add scraps of wood to brace ( obviously the old roof would need to be removed for brace space. Once the roof is cut to size tint some black paint down to close to dark grey and paint and while wet sift on some baseball diamond sand , let dry and shake off any excess and repeat if necessary.
2nd idea mix some black tinted to a tar colour and mix with white glue ( basicly you’re making a fsm pitch concoction) and go around the edges and then paint the entire roof using the first idea method and redo the perimeter pitch.
Thank you. When I first read the first 6 words I thought you meant that I'm even worse than a beginner. I would have accepted that tooI think “beginner” is an understatement… nice work!


I think that's pretty good, definitely a well used freight car.I've been trying to learn about weathering cars. Unfortunately I don't have an air brush but I see some who tackle the project without one so I've been trying to practice on some "junk" cars (if they weren't junk before they are now). This is the first attempt I was willing to share even though I hope to get better.
Note: To anyone who can make out the simple "spray can" graffiti and takes offense I apologize and please know causing offense was not my intention. It's realistic and in person it's less than an easter egg. If this explanation is unsatisfactory to anyone I invite them to DM me.
View attachment 172464
Thanks, Smudge. I model relatively modern times and figured a 50' boxcar seemed like something that might have been around for a while so I went for heavy weathering.I think that's pretty good, definitely a well used freight car.
Weathering is a learning journey…don’t despair it’s ok,I've been trying to learn about weathering cars. Unfortunately I don't have an air brush but I see some who tackle the project without one so I've been trying to practice on some "junk" cars (if they weren't junk before they are now
Note: To anyone who can make out the simple "spray can" graffiti and takes offense I apologize and please know causing offense was not my intention. It's realistic and in person it's less than an easter egg. If this explanation is unsatisfactory to anyone I invite them to DM me.
View attachment 172464


Thank you for the compliment. I really am not skilled, believe meI am new on this forum, so far your layout looks great ,I wish to have your skill. I still try to make a track plan and nothing . I model N scale and I got space for 6 X 12 feet.
 . Almost everything on the my layout I've done multiple times and still have so many things to improve on!
) or maybe buy a scenic backdrop?
. Almost everything on the my layout I've done multiple times and still have so many things to improve on!
) or maybe buy a scenic backdrop?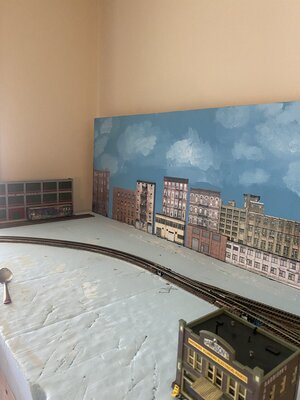

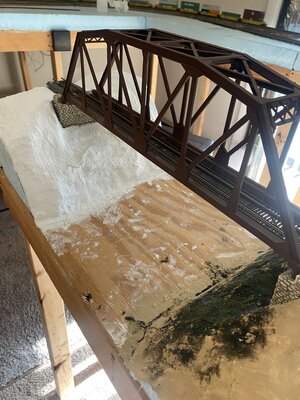
Thanks, Mike! "Majestic" might be a bit heavy handed but we'll see how it turns out togetherLooking good! That bridge scene is going to be majestic!
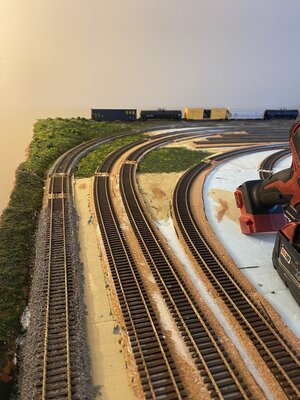
It's crazy to me that you call this a beginner layout! It looks so good! Keep up the good work. I can't wait to see where this thing goes!
.
Just checked out your build. I'm impressed! As a "college kid" that means almost by definition that space is limited (we all wish we had more space by the wayIt's crazy to me that you call this a beginner layout! It looks so good! Keep up the good work. I can't wait to see where this thing goes!
) but I like your creativity!
No, I agree amazing work for a "beginner"Thanks, Mike! "Majestic" might be a bit heavy handed but we'll see how it turns out together