
You are using an out of date browser. It may not display this or other websites correctly.
You should upgrade or use an alternative browser.
You should upgrade or use an alternative browser.
Turtle Field Layout
- Thread starter bubule
- Start date
ModelRailroadForums.com is a free Model Railroad Discussion Forum and photo gallery. We cover all scales and sizes of model railroads. Online since 2002, it's one of the oldest and largest model railroad forums on the web. Whether you're a master model railroader or just getting started, you'll find something of interest here.


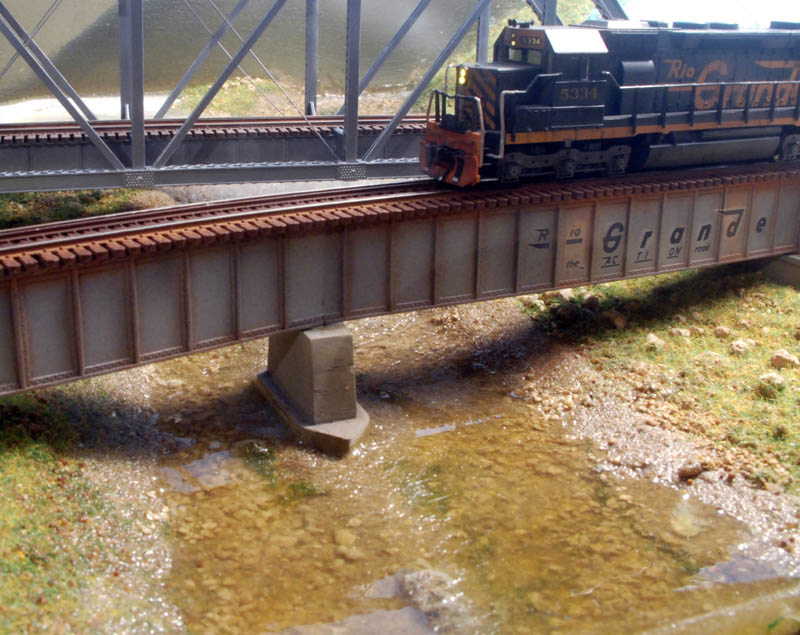
Really dig the Rio Grande car. Nice work on it.


Affiliate Disclosure: We may receive a commision from some of the links and ads shown on this website (Learn More Here)
Charles Smiley
cspmovies
I thought it was HO scale at first. Very well done.
engineerdylan
New Member
wow dude that layout rocks!i collect ho and am tring to start a club for it to.
vato loco
Just a Foolish Saint!

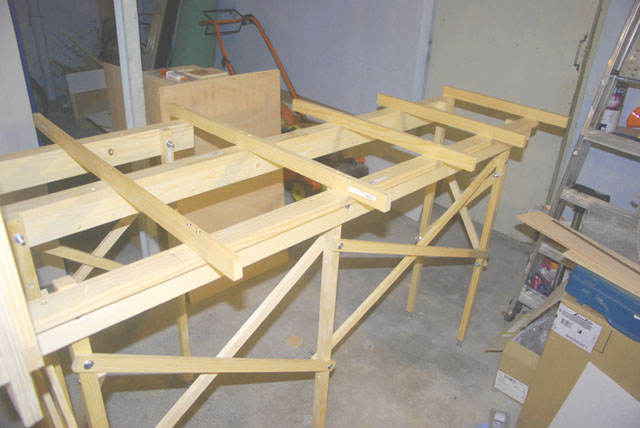
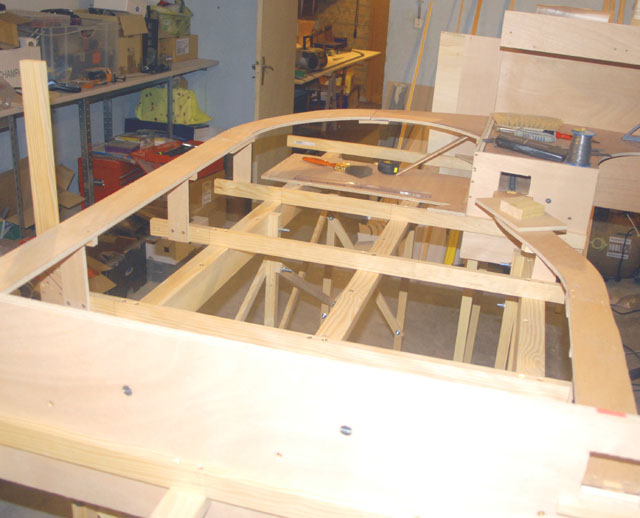
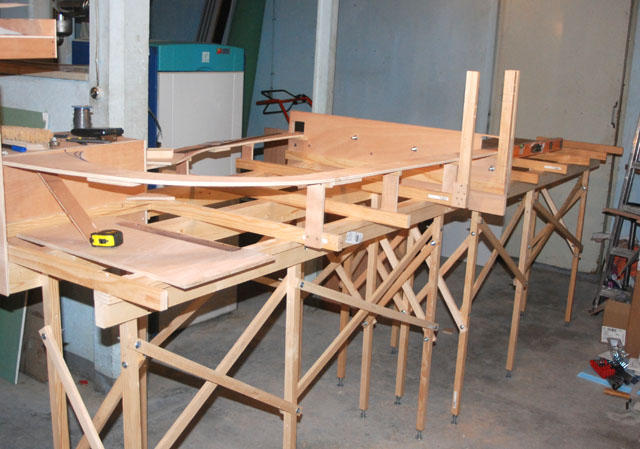
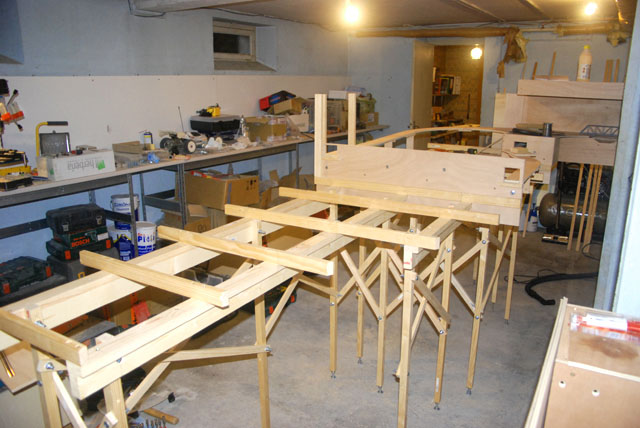
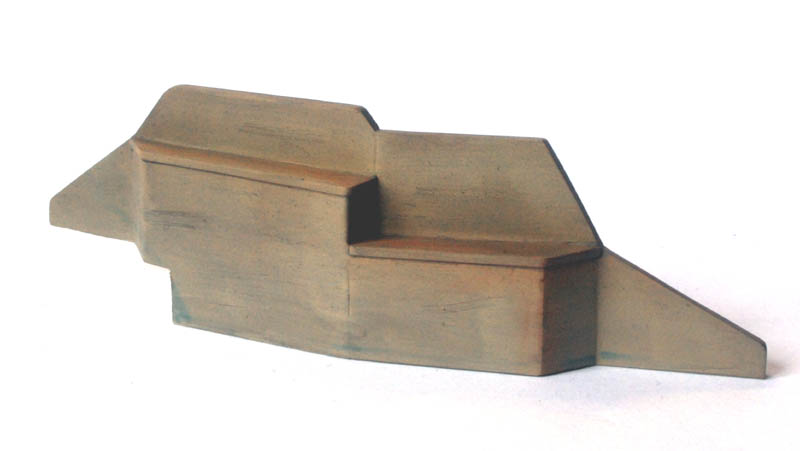
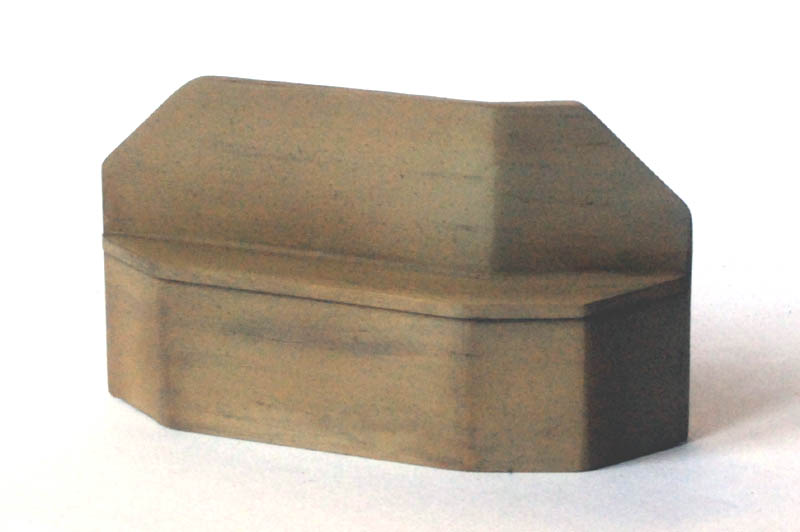
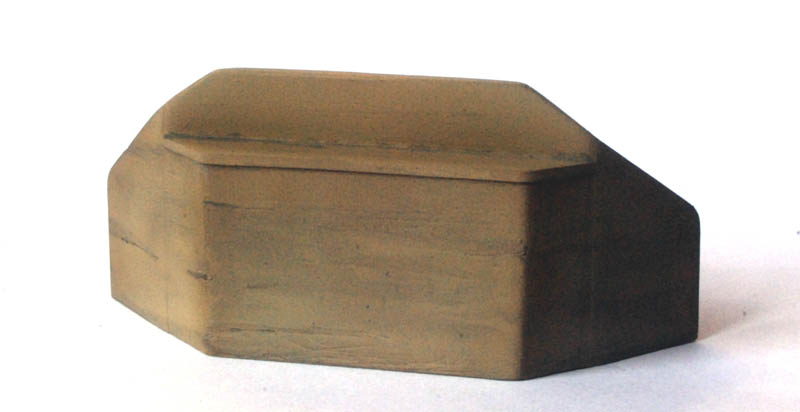
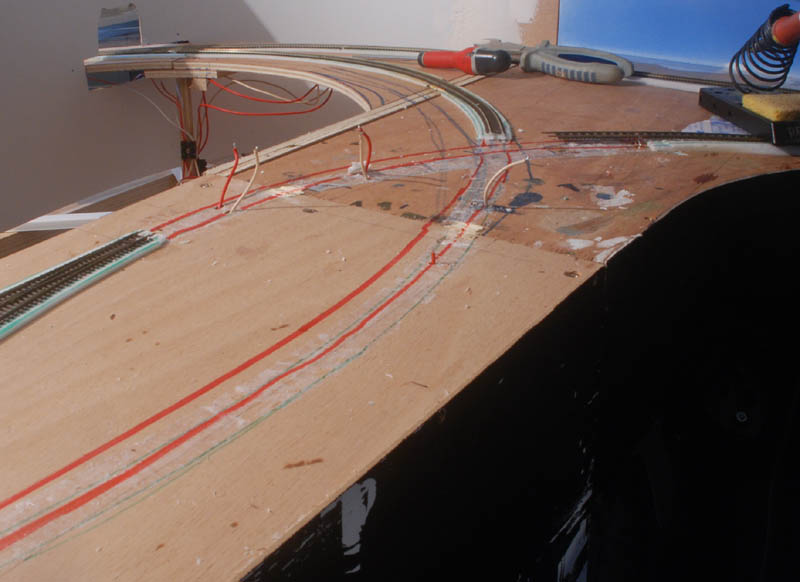
Some views of the new part of the layout :
The benchwork is a little bit complex, so it will take lot of time to complete.
And video of the test of the Bachmann RS3 locomotive. A little noisy put run smooth. Not very good for tractive effort : slide with 7 cars in 3% grade & 15' curves.
http://www.youtube.com/watch?v=pdZGCx2q2pE&feature=channel_video_title
Hello all !!
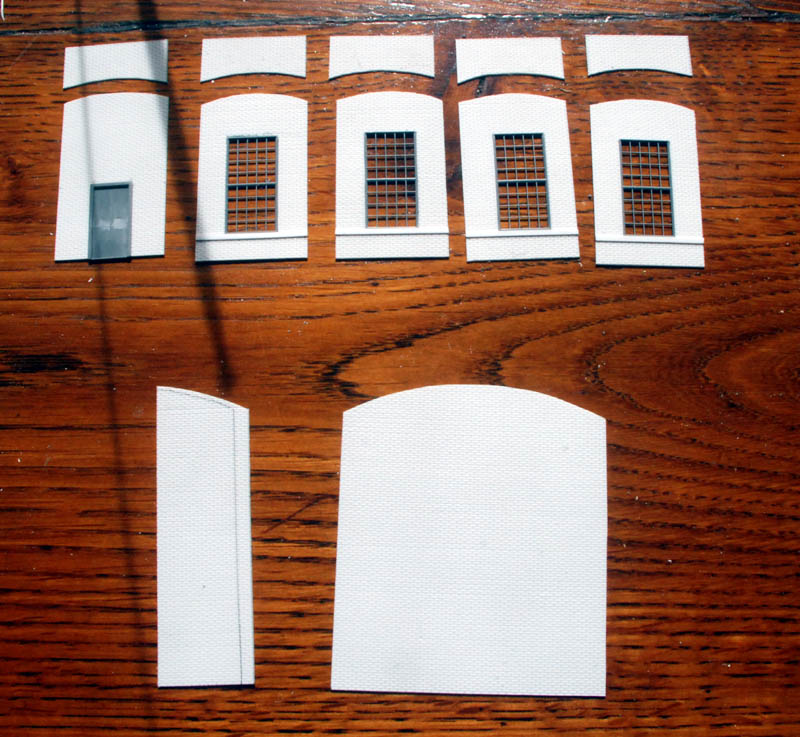
Here is a all new building !! It is a full scratchbuilt plant. I have cutted it to fit to the backdrop. Bricks sheets are from N scale architect et windows from grant line.
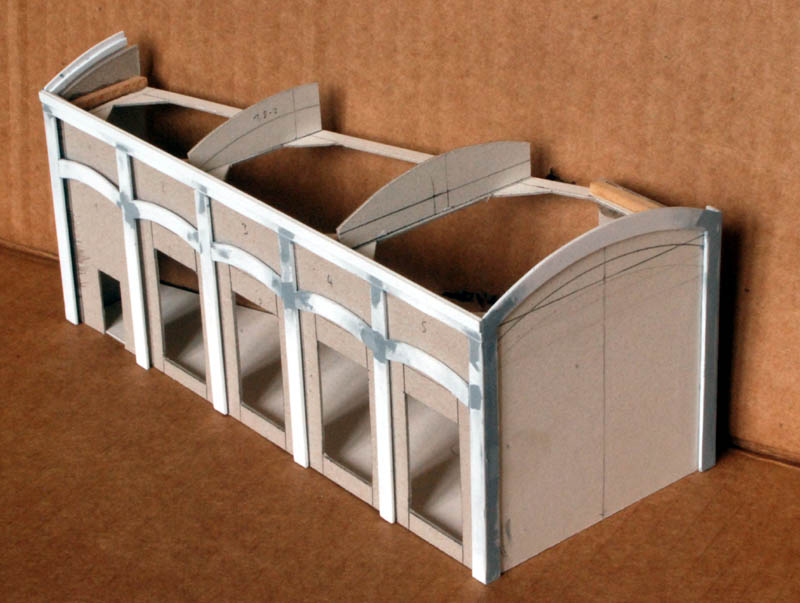
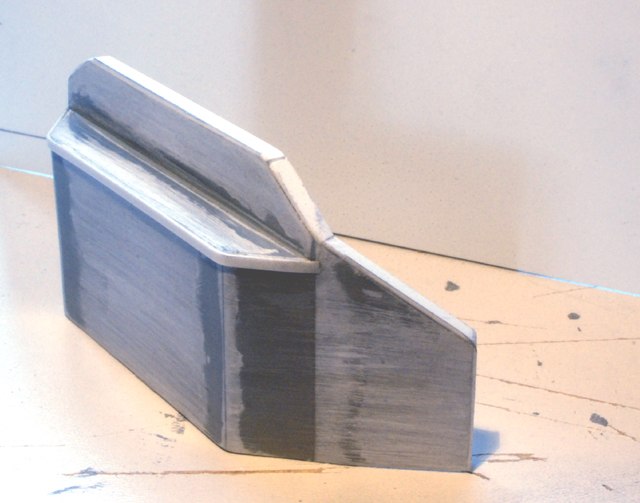
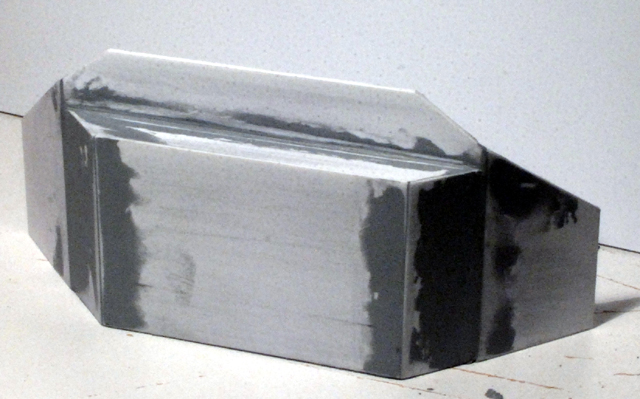
Structure is cardboard made et concrete poles are made with evergreen :
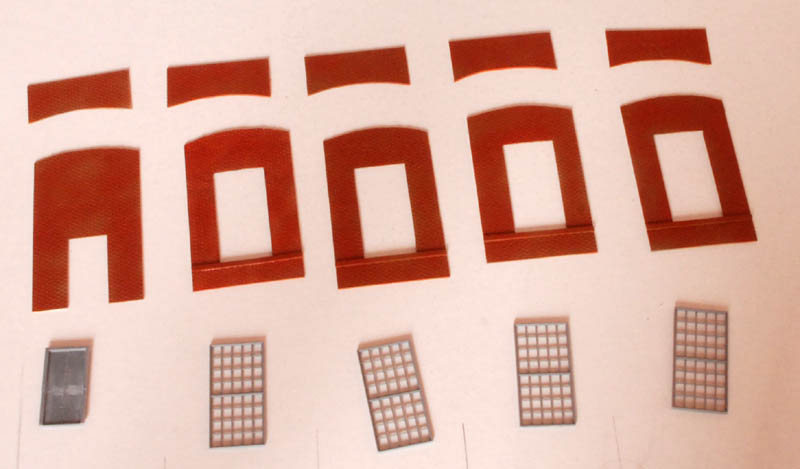
Painting with airbrush and tamiya acrylics for the bick works, poles are painted with tetsor "aged concrete" :
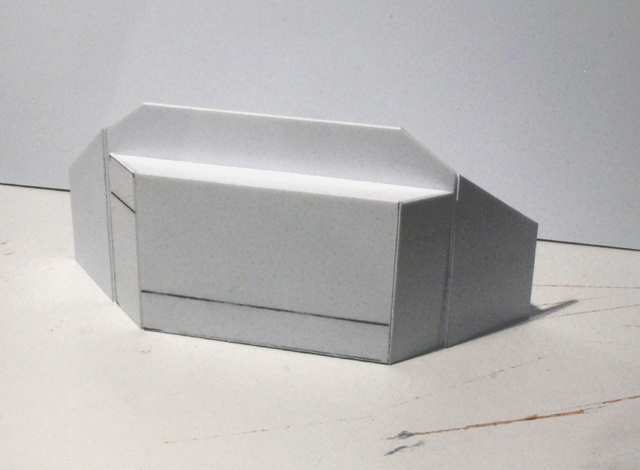
putting togever :
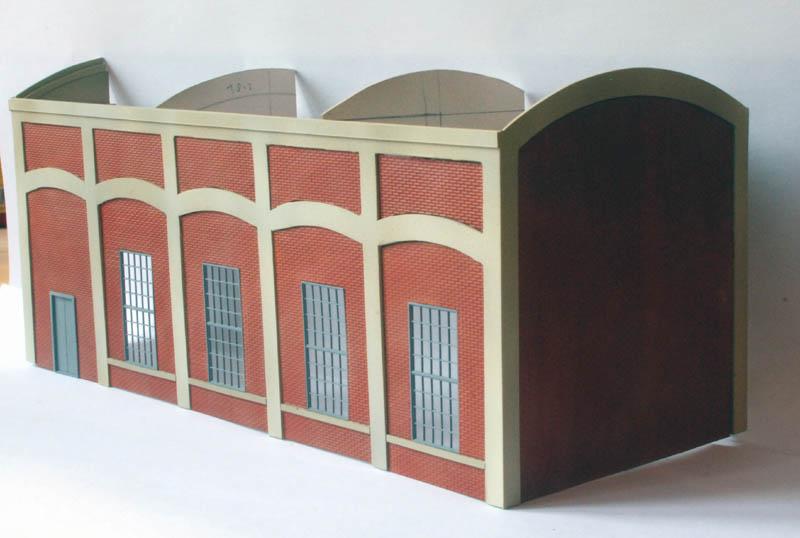

The roof is from plasticard 0.4mm thick to be bended easily .


To be continued . . .
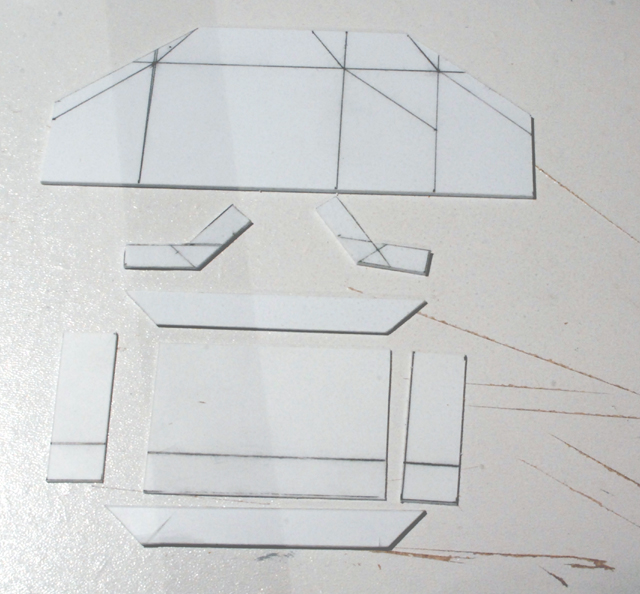
Here is a all new building !! It is a full scratchbuilt plant. I have cutted it to fit to the backdrop. Bricks sheets are from N scale architect et windows from grant line.
Structure is cardboard made et concrete poles are made with evergreen :
Painting with airbrush and tamiya acrylics for the bick works, poles are painted with tetsor "aged concrete" :
putting togever :


The roof is from plasticard 0.4mm thick to be bended easily .


To be continued . . .
P
Photogdad
Guest
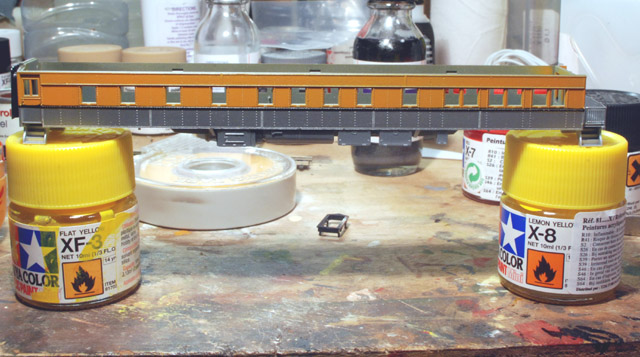
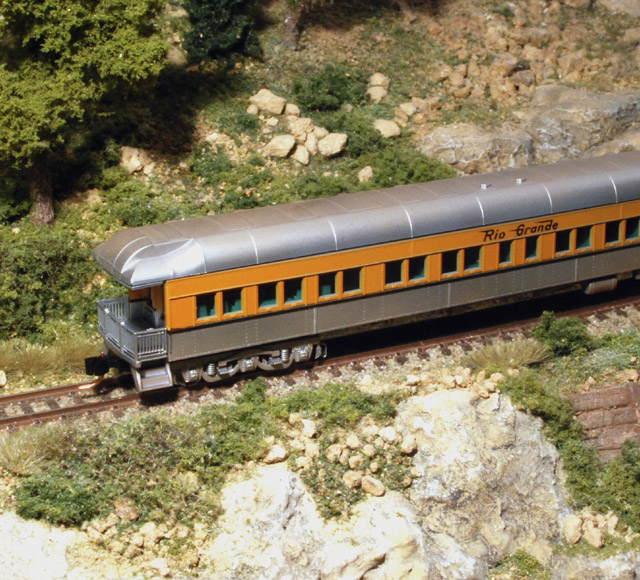
Some work on rolling stock : Painting an heavyweigth in Rio Grande paint scheme :
Aluminium paint is from Alclad II.
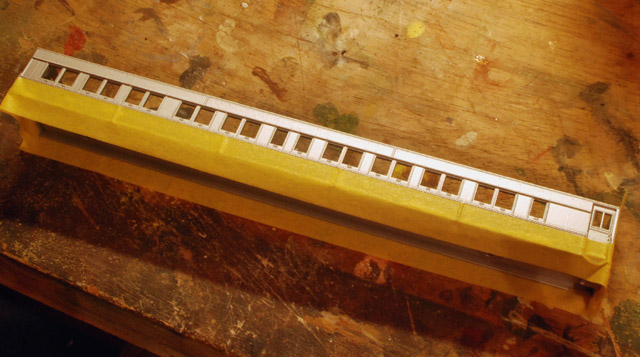
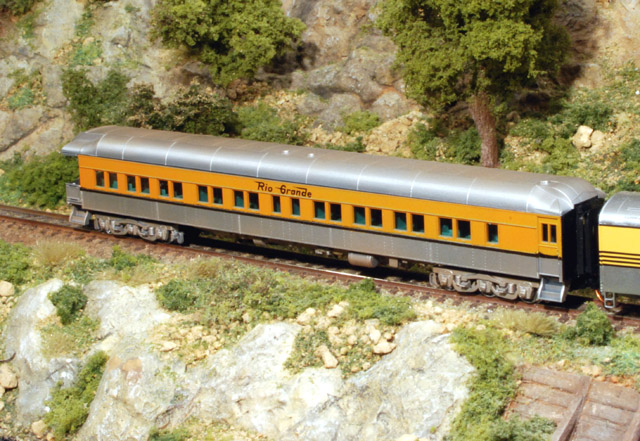
Really dig the Rio Grande car. Nice work on it.
Hello All,
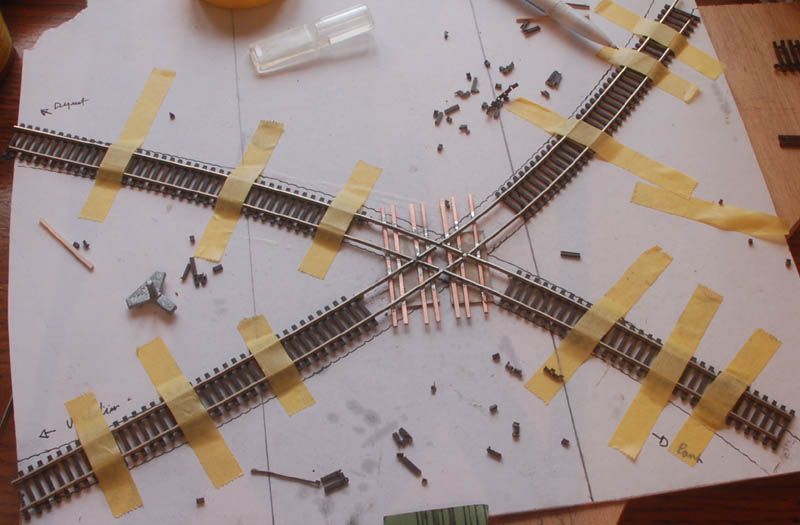
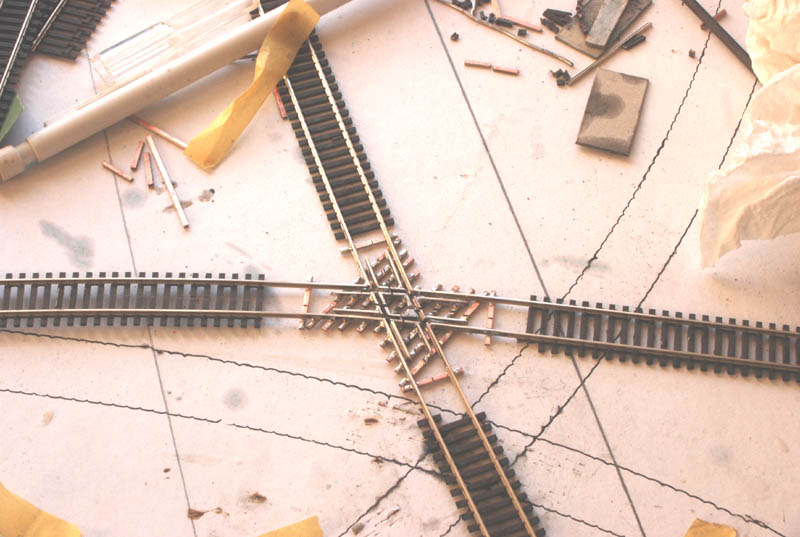
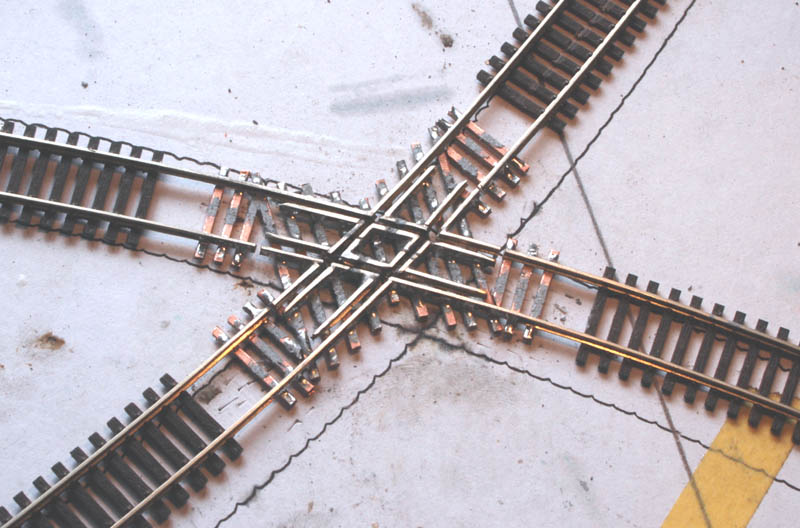
I have on my extension a diamont crossing witch was not so smooth to run. The problem was that the atlas Straith 60° crossing was not the best way to give the right curve :

So i have made a complete revamping of the track of this area:
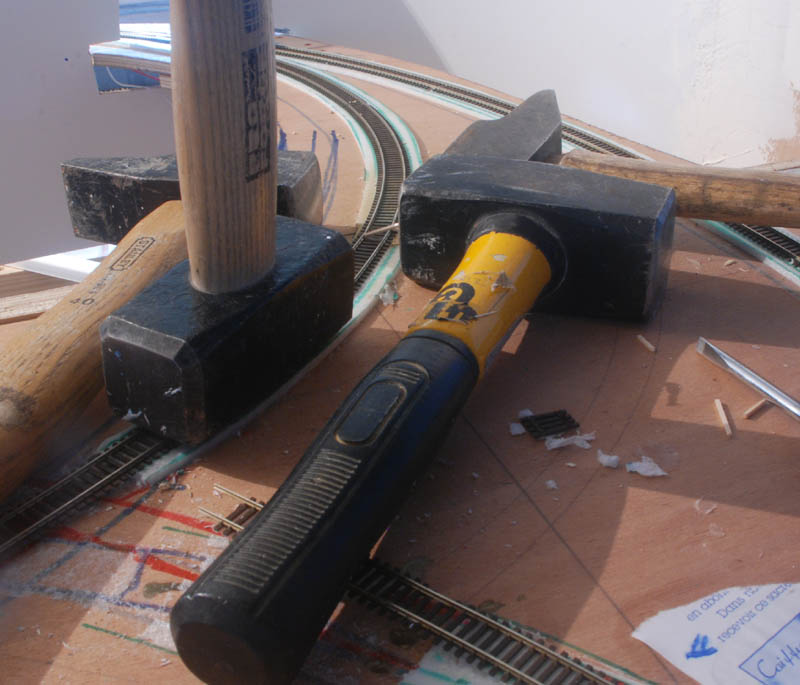
The hart of the project was to built a diamond crossing in double-curve with the correct 52° that i need :
Very hard to do in N scale 4 days of hard job 8 hours per day ...

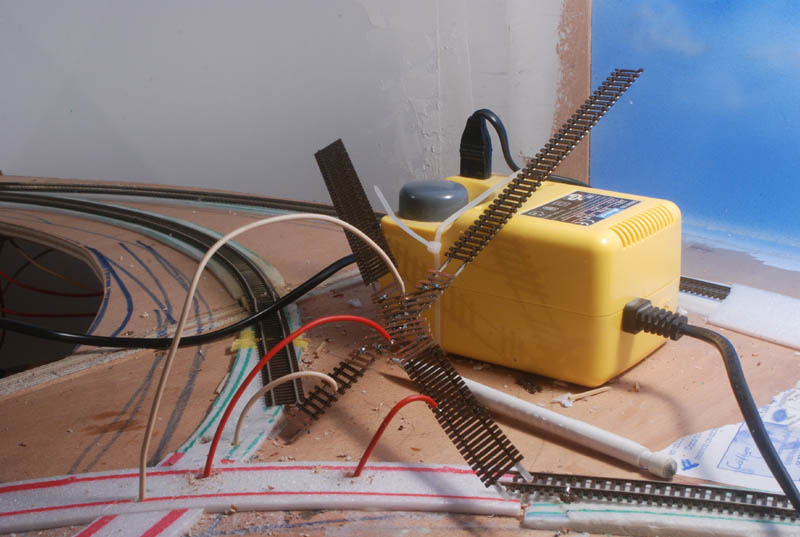
Here is the test video of new tracks, it was lot of work but i think it look better now :
[YOUTUBE]Te6POB2B69w[/YOUTUBE]
I have on my extension a diamont crossing witch was not so smooth to run. The problem was that the atlas Straith 60° crossing was not the best way to give the right curve :
So i have made a complete revamping of the track of this area:
The hart of the project was to built a diamond crossing in double-curve with the correct 52° that i need :
Very hard to do in N scale 4 days of hard job 8 hours per day ...
Here is the test video of new tracks, it was lot of work but i think it look better now :
[YOUTUBE]Te6POB2B69w[/YOUTUBE]
rustyfawcett
New Member
What was the resistor that you use. I am guessing that you had used leds for lighting. what kind of leds and resistors did you use. also the power supply
rustyfawcett
New Member
No I want to use led in my buildings and have no idea how to wire them. I have a normal ho train pack for powering and I don't know what to buy to do this . like what kind of led, resistors. I got some tonight and burned the resistor and led out. had it wired on ther + side and didn't work. please help
rustyfawcett
New Member
Ho yes, i understand now !! It is standard 3 or 5 mm yellow pannel LED. On my layout power is provided by a 24 Volts industrial power supply. So i use 1K ohms resistor. If you use standard 14 V from a power pack, better is to use a 640 Ohm resitor.
The law is U=RI
U tension in volts
R resistance in ohms
I current in amps.
So if you want to have the R value, you use this law : R=U/I
I is the current dropped by the Led (Cf data sheet of the component you have chosen) ,
U the tension provided by the power pack.
You bring the nearest upper resistor value you will find in electronic store.
For pannel LED (20mA) 1/2 Watt power is enouth.
If you chose Hight luminosity LED (droping 30mA to 50mA) better is to purchase 1 Watt power.
Never use 1/4 watt !! Too Hot
For polarity it is very simple : if it's work polarity is ok. If don't work polarity need to be inverted.
Resistor is mounted in serial, one resitor on each LED.
My two cent's ...
Last edited by a moderator:
Affiliate Disclosure: We may receive a commision from some of the links and ads shown on this website (Learn More Here)