
You are using an out of date browser. It may not display this or other websites correctly.
You should upgrade or use an alternative browser.
You should upgrade or use an alternative browser.
The M-K & Eastern RR
- Thread starter Graff
- Start date
ModelRailroadForums.com is a free Model Railroad Discussion Forum and photo gallery. We cover all scales and sizes of model railroads. Online since 2002, it's one of the oldest and largest model railroad forums on the web. Whether you're a master model railroader or just getting started, you'll find something of interest here.


CHET - You can draw stick figures?
One up on me!


")
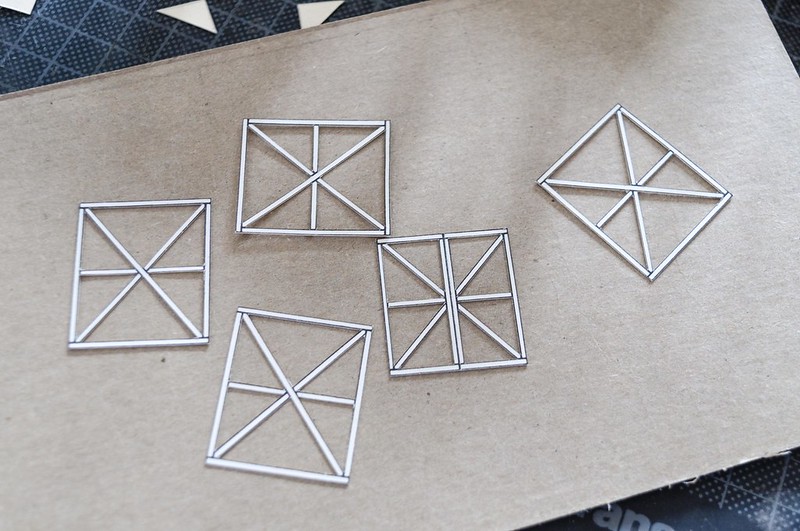
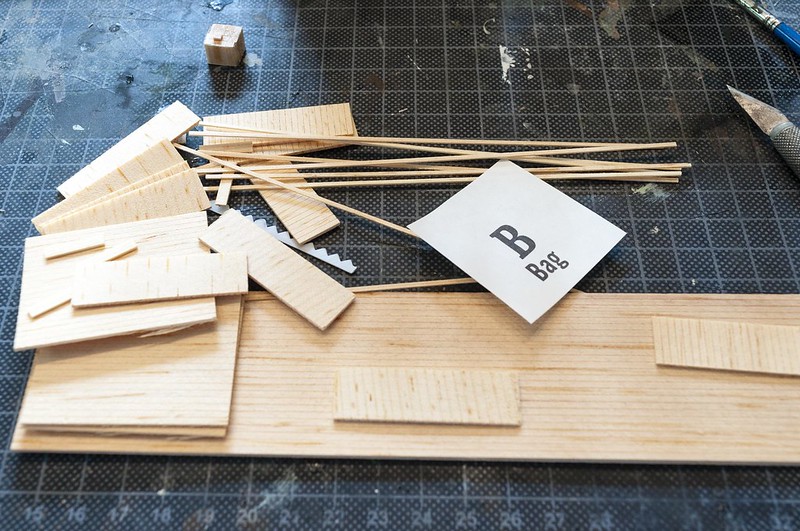
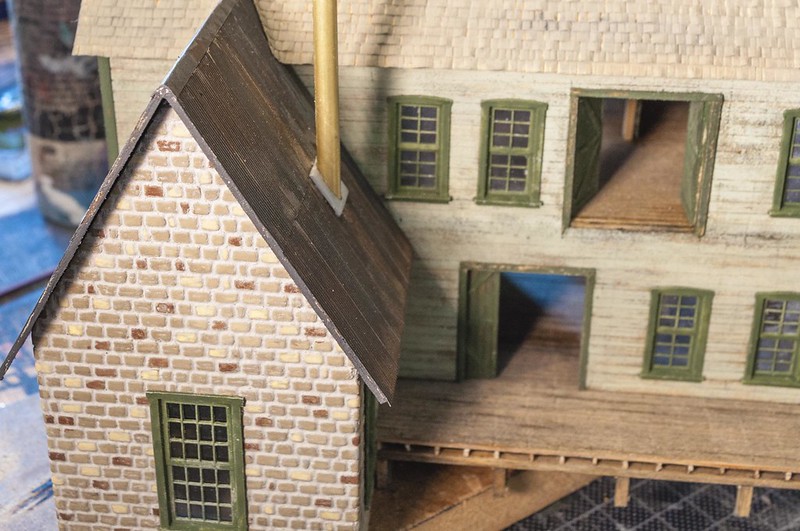
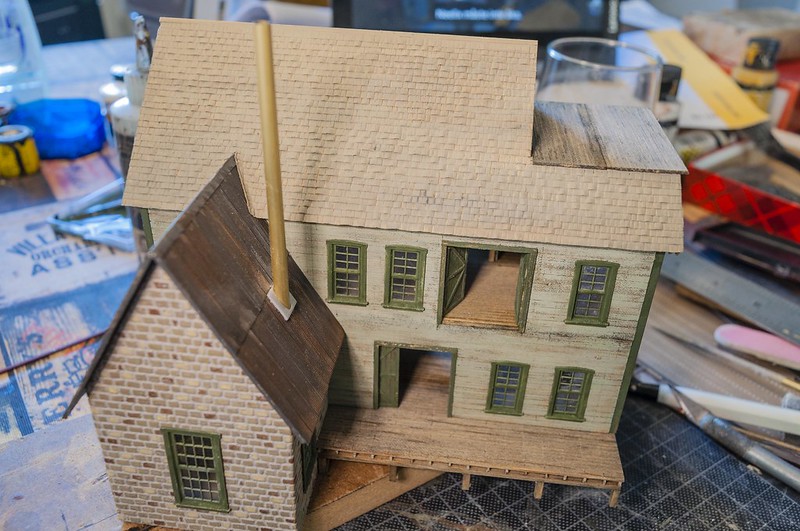
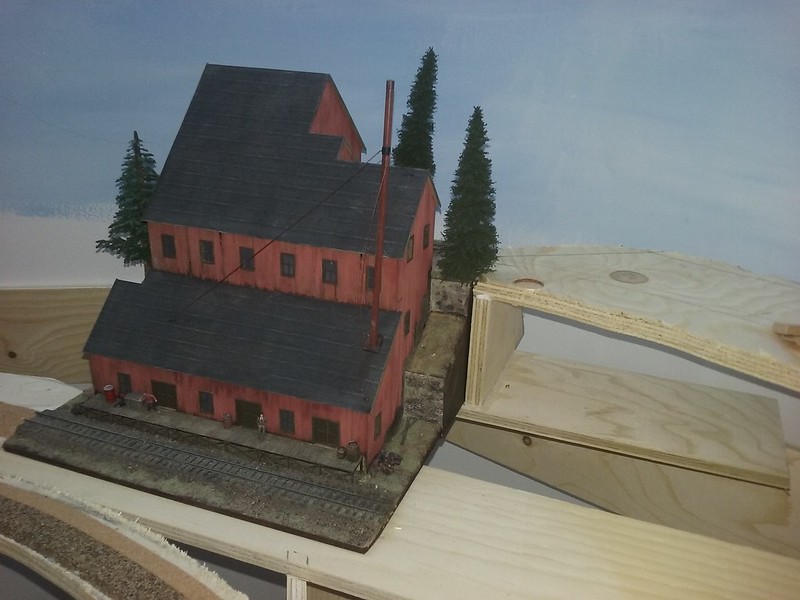
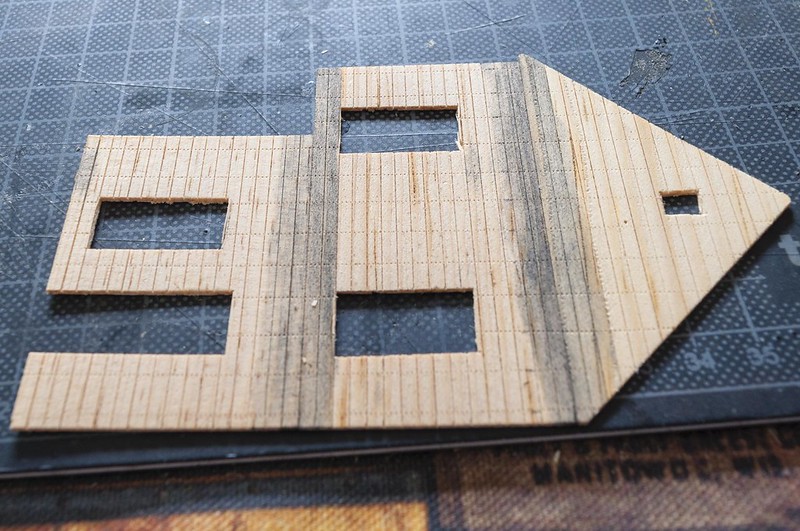
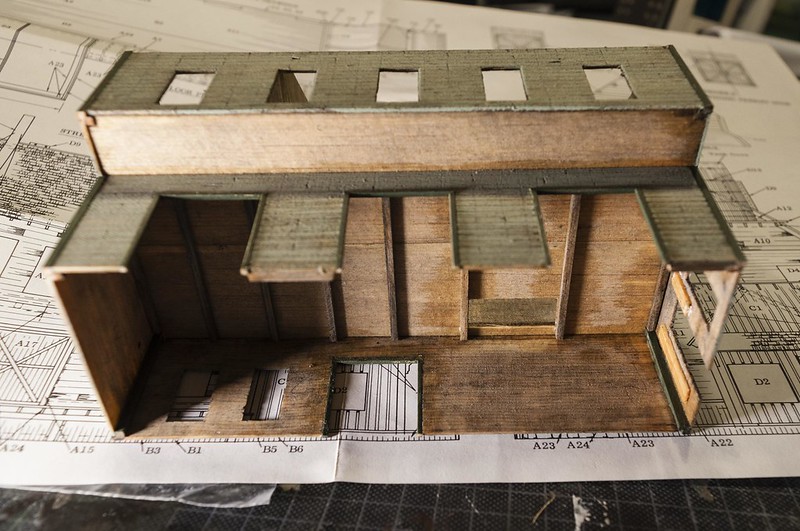
Some more construction pics of the brewery.
The door frames cut out from cardboard:
The painted doors:

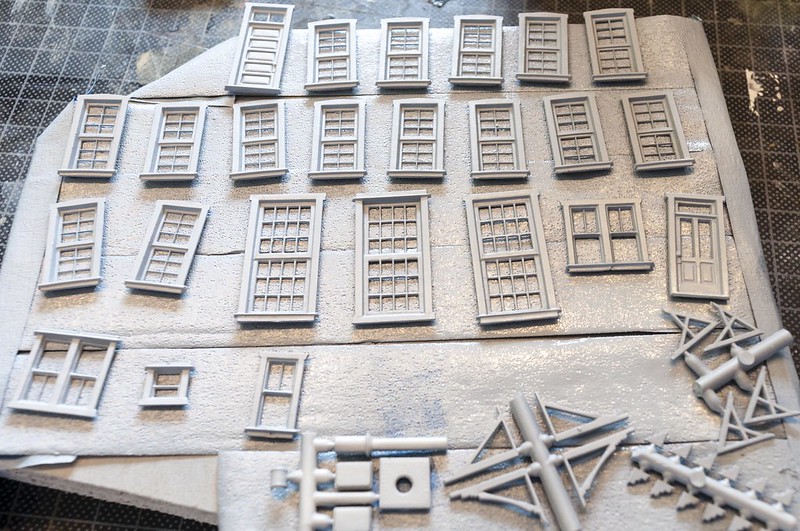
Primed windows:
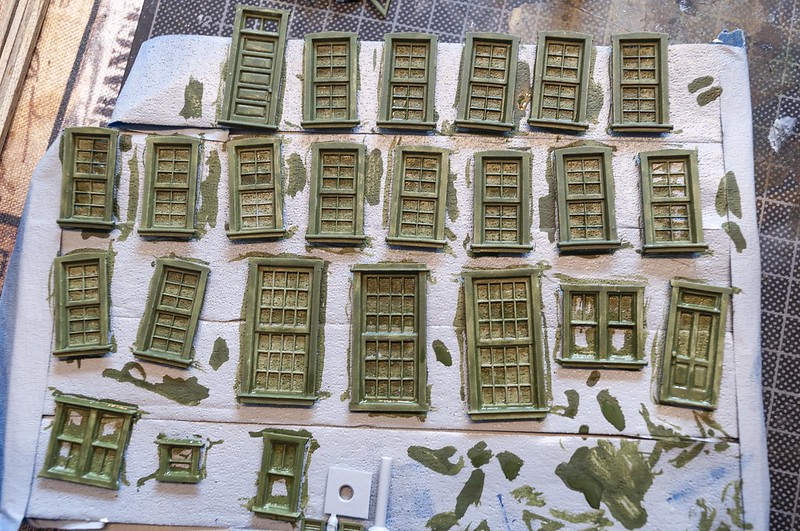
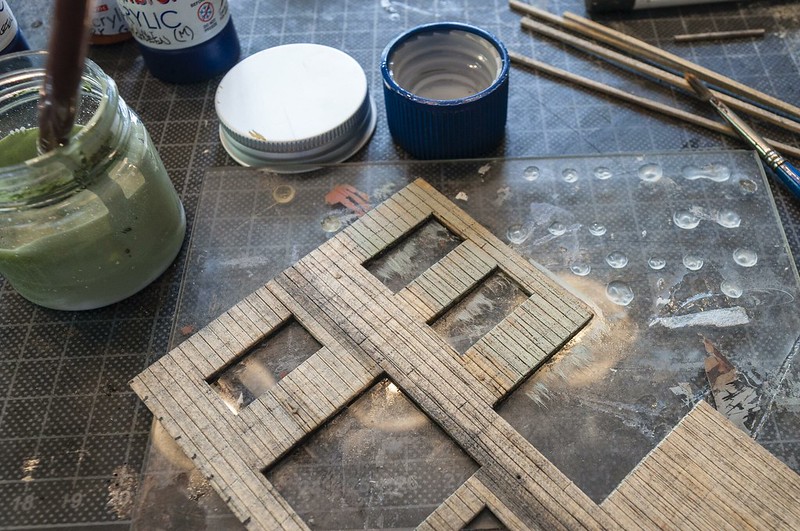
Painted windows with green acrylics:
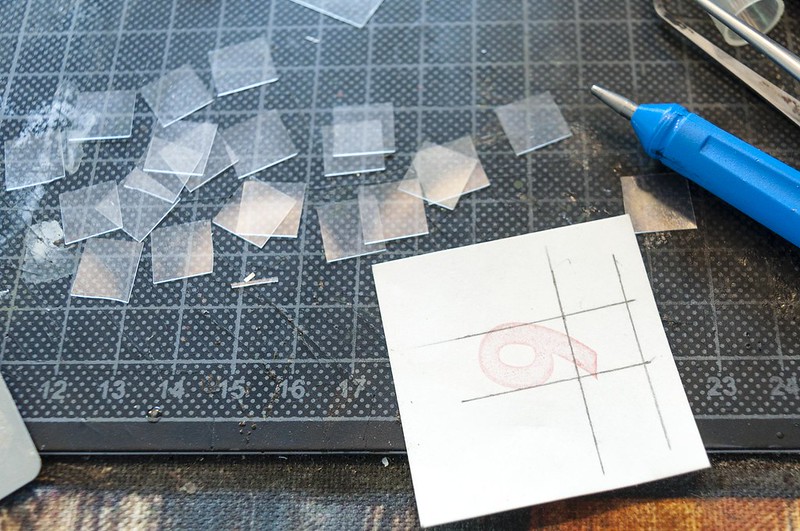
Real glass cut to size with a diamond scribe:
The buildings foundation:

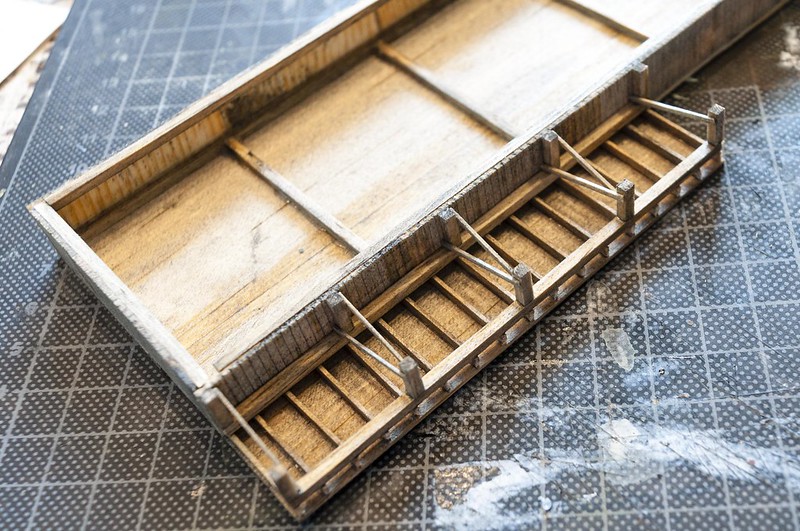
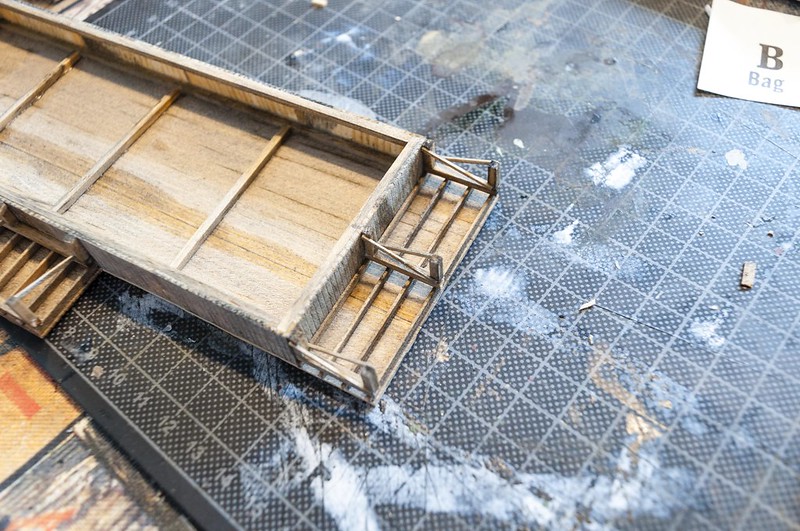
Loading docks:
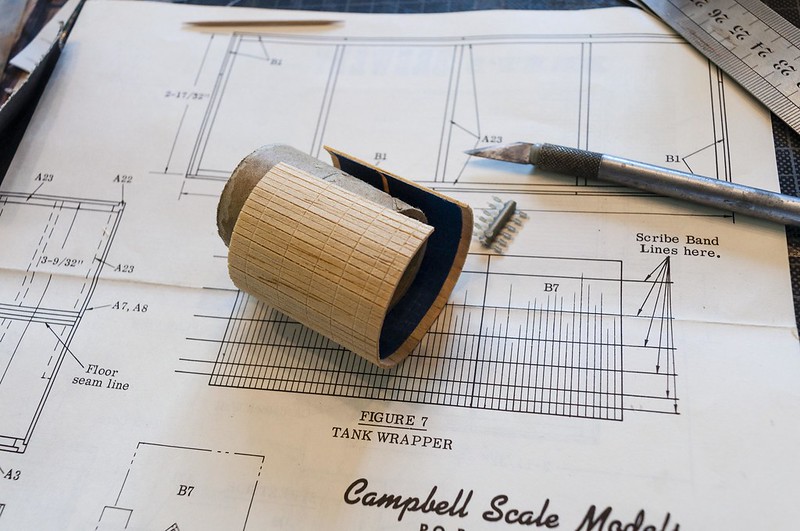
The water tank:
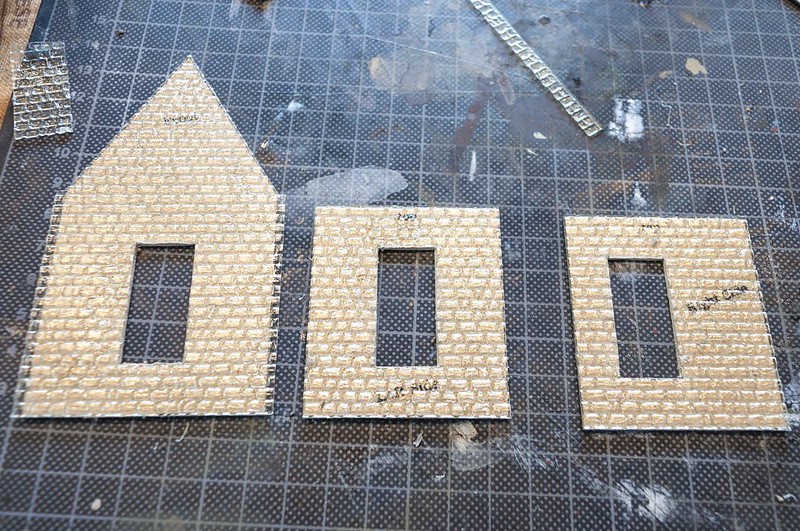
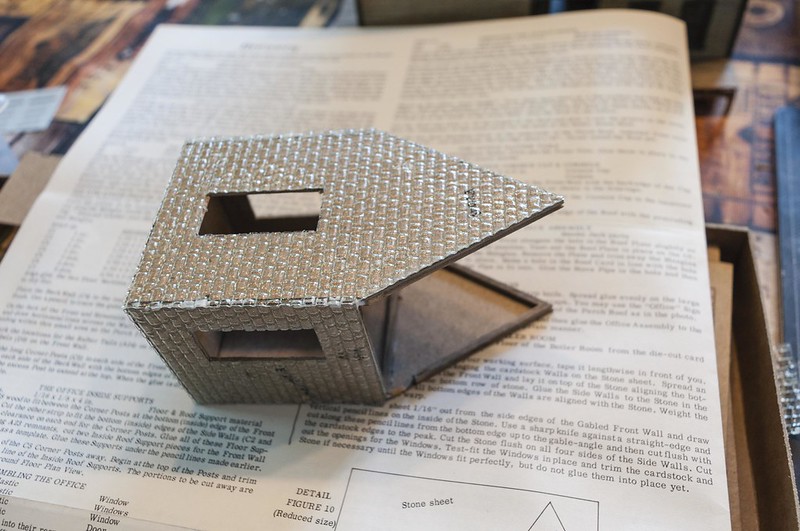
The boiler house with the PVC stone sheet that is glued with contact cement:
I used Tamiya putty on the corners:
Painted:
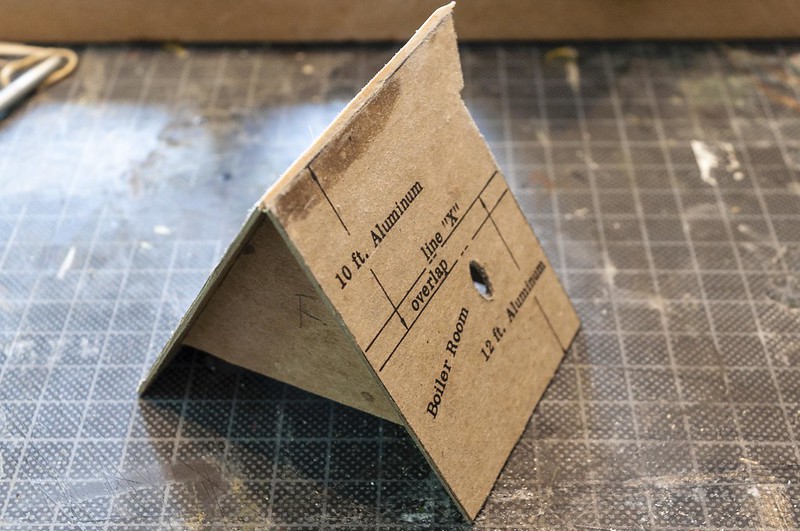
Roof with cardboard frames to make it removable:
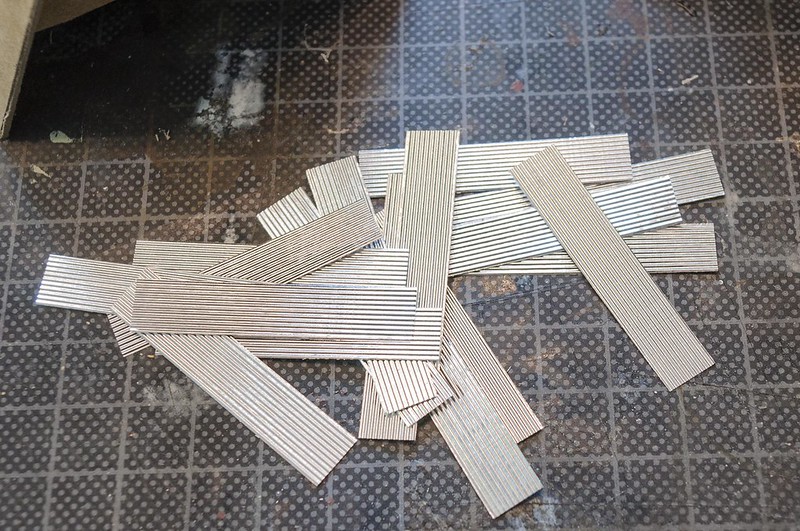
Corrugated sheet cut to size:
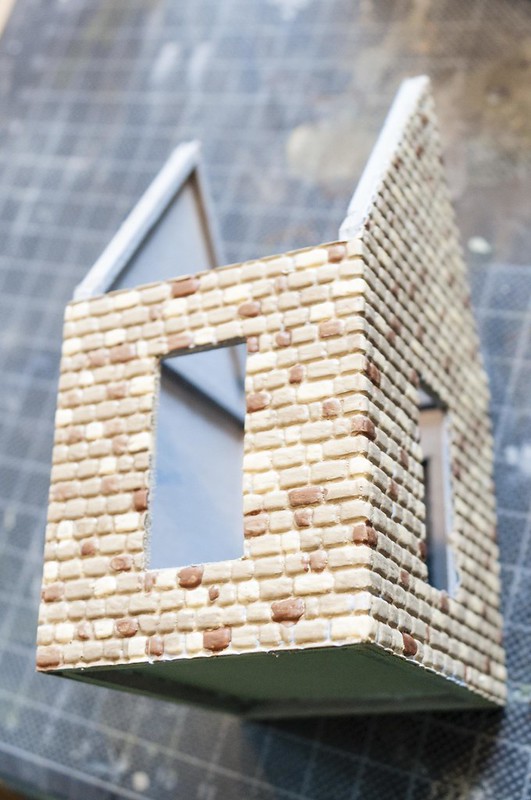
Mortar made with pulverized clay mixed with PVA and water and then wiped away from the top of the stones:
Getting there:

Affiliate Disclosure: We may receive a commision from some of the links and ads shown on this website (Learn More Here)
Really like you construction methods!
Graff
Airbrush artist
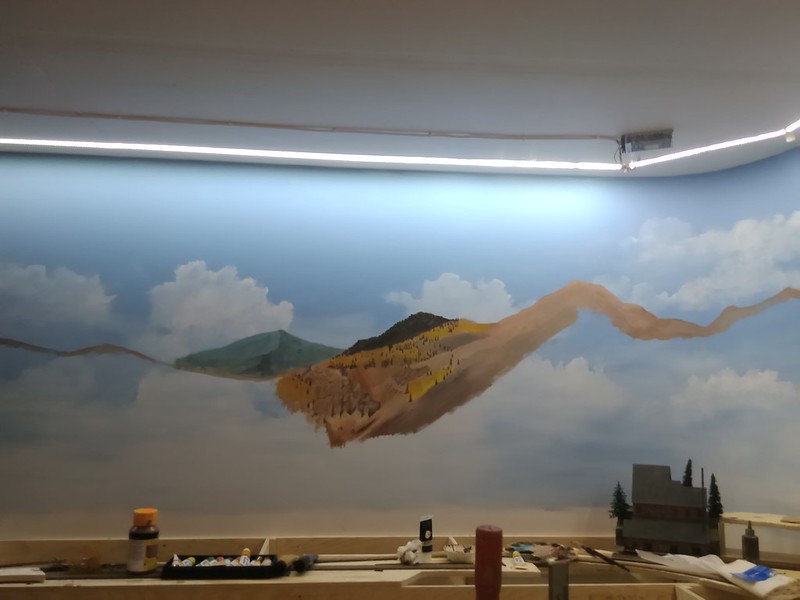
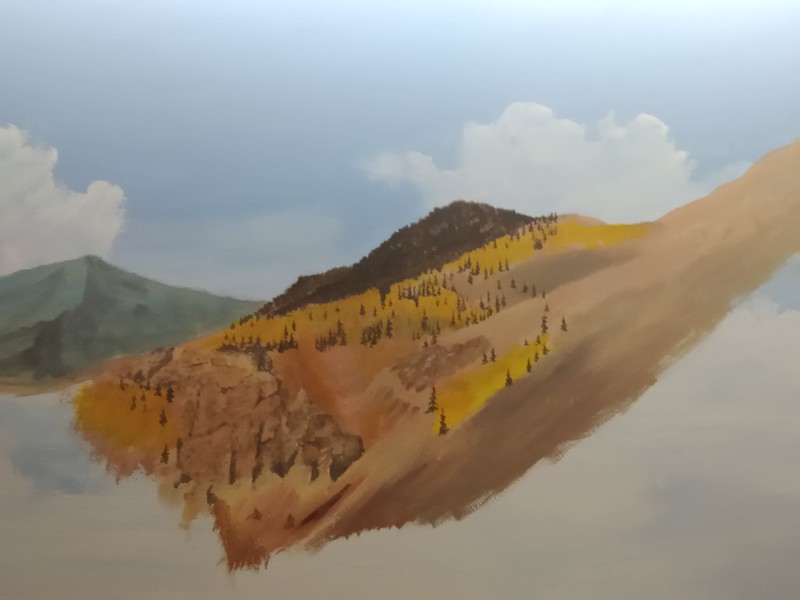
I've started the work on the landscape painting on the backdrop.
To make a representation of the Colorado rockies isn't as easy as it sounds....
You want them to be tall and imposing, and have the color variations of the real thing.
On top of that I have to find a level of detail that I'm satisfied with.
I use regular artist acrylics for the painting.

To make a representation of the Colorado rockies isn't as easy as it sounds....
You want them to be tall and imposing, and have the color variations of the real thing.
On top of that I have to find a level of detail that I'm satisfied with.
I use regular artist acrylics for the painting.
That's some really nice work. I wish I had the talent. I am lucky to draw stick figures. Well done.
CHET - You can draw stick figures?
One up on me!

KB02
Well-Known Member
Don't know if I'm brave enough for a three-way stub (Nice job on that, by the way!!), but you're right. Once you get into building these, it is kind of fun. I find I have some trouble keeping the point secured. They keep popping off. Maybe it's the cheap PCB I have been using?
Graff
Airbrush artist
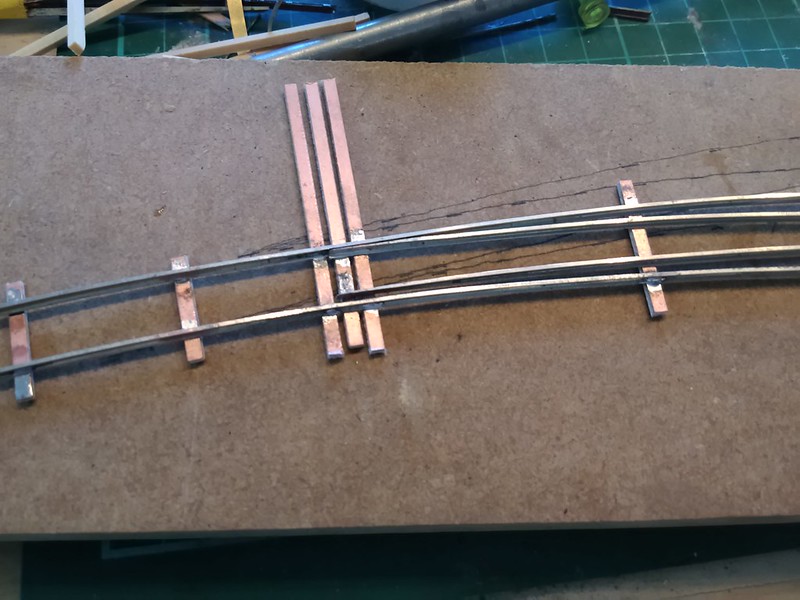
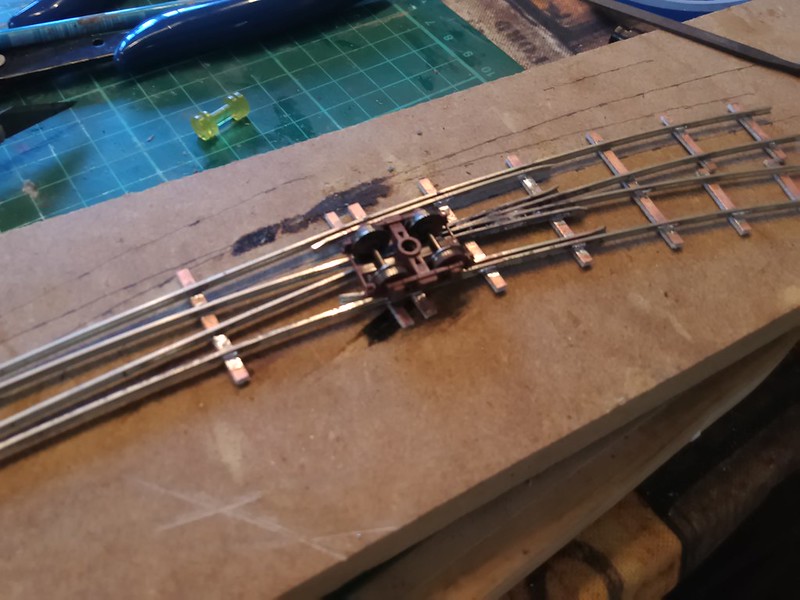
Made a bit more on my three-way stub turnout in HOn3. One drawbar is made, now it's two more to hold the track gauge to make as well. It's a little tricky to make them because the rails must be able to move individually. I soldered micro track spikes to hold the rails in place.
Graff
Airbrush artist
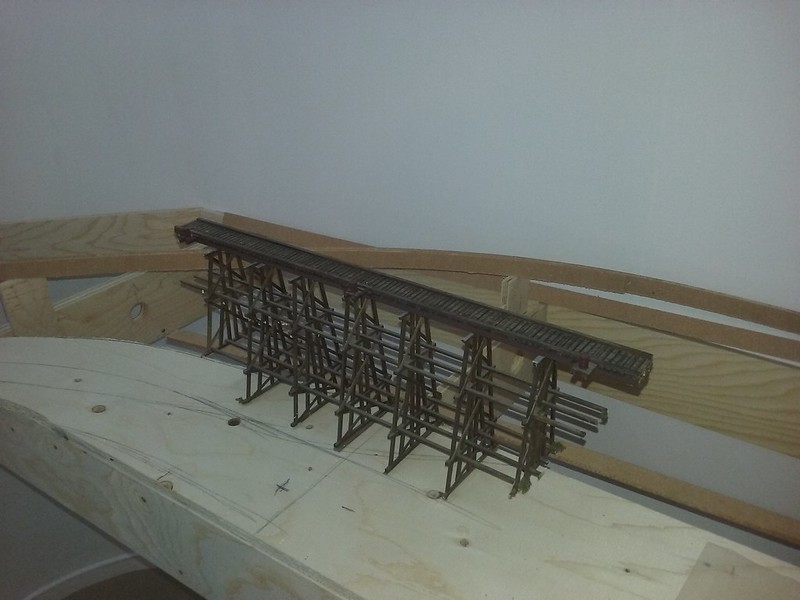
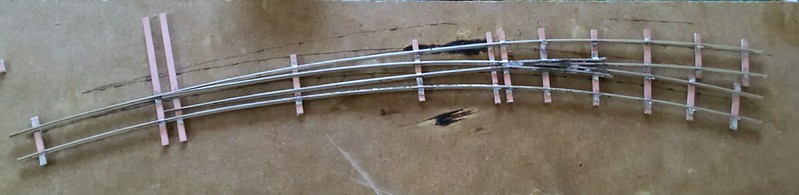
I built a curved turnout today.
HOn3 with Code 70 rails. 28" and 22" radiuses.
What's left to do is to make the cuts for the live frog and to clean the flangeways from solder.I build my turnouts to the narrow specs that Railway engineering promotes. I use their roller gauges and to check with the MNRA gauge, you use the flange end instead of the track end.
montanan
Whiskey Merchant
Nice job on the turnout.  I hand laid a number of them when I started my layout. They are time consuming, but make a lot of difference being able to have custom turnouts and getting track to go where you want it to instead of having to use manufactured turnouts. Keep the photos coming.
Graff
Airbrush artist
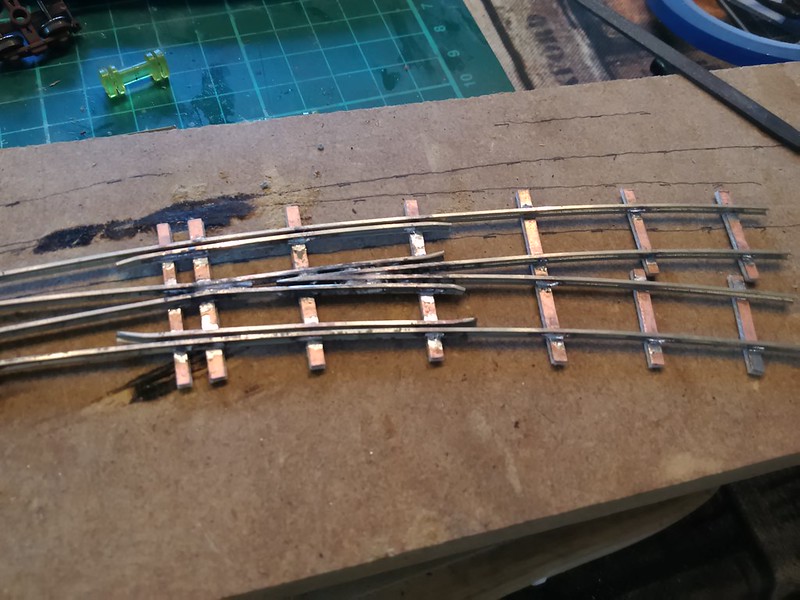
Built a # 6 left-hand turnout in HOn3 with 26" radius.
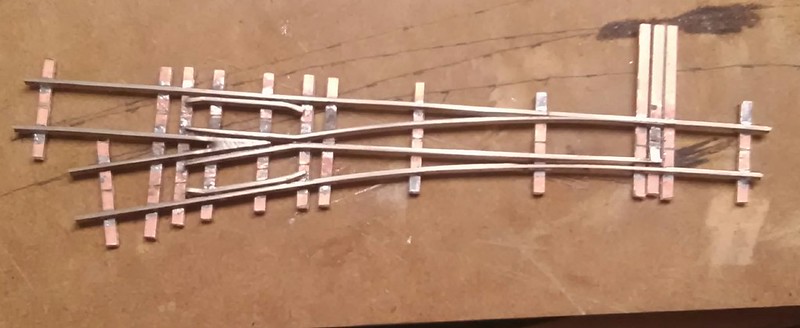
They are starting to go together easy now. This one took not more than an hour to make.
I use a drawn template to get the radius right. Otherwise it's just a matter of using the NMRA gauge and Railway Engineering roller gauges.
The frog area has a narrower gauge to make the rolling stock roll better through the frog.
I use the flangeway gauge to get it right.
Veeerrry nice work!
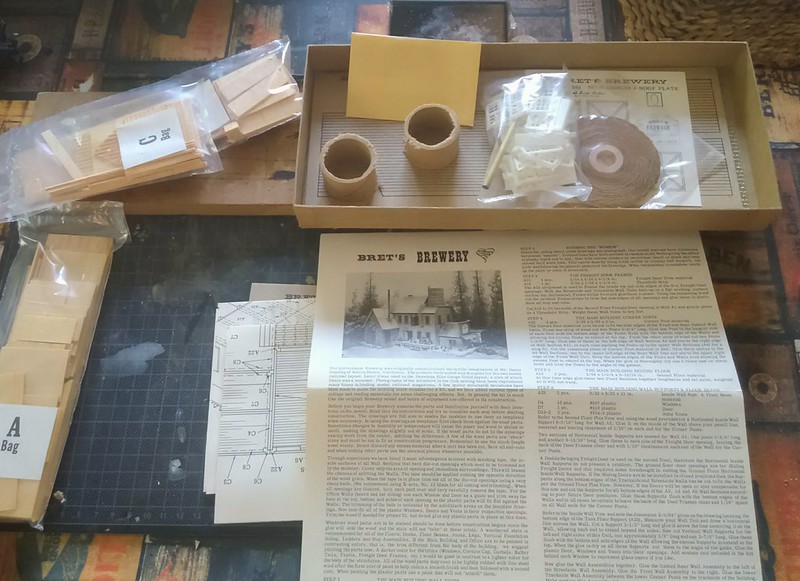
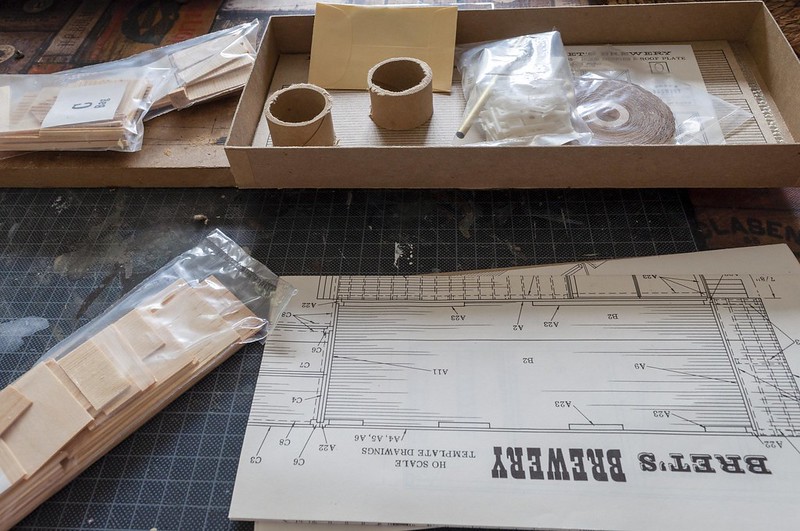

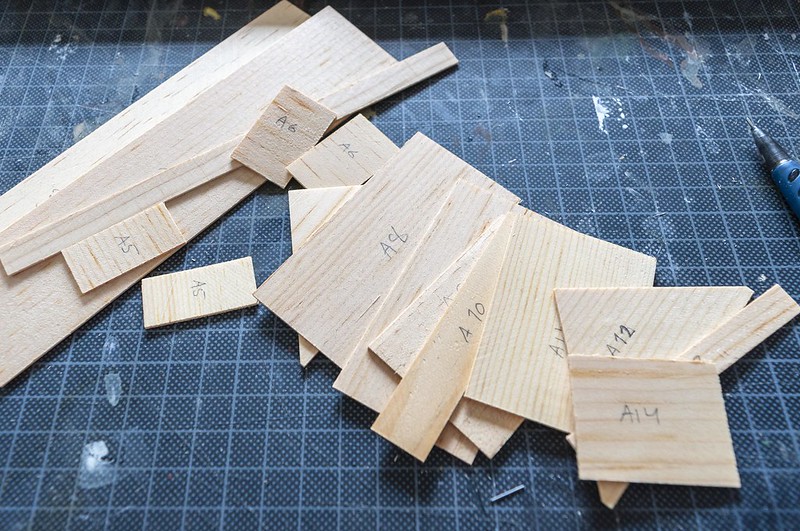

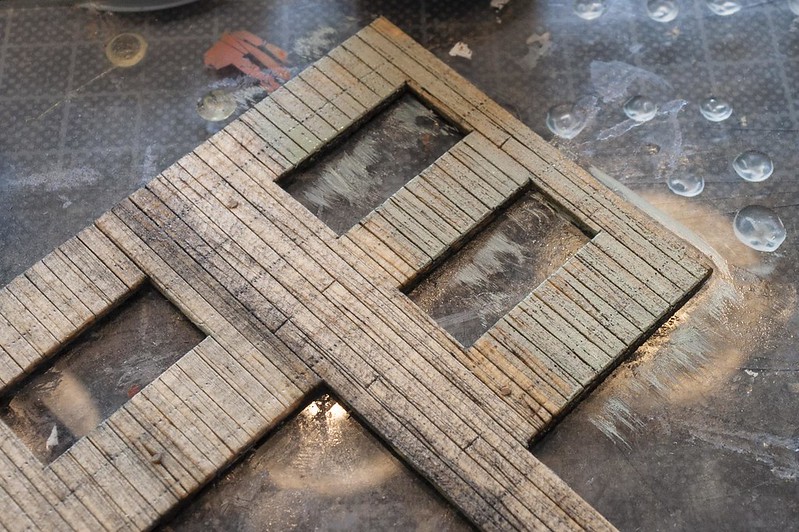
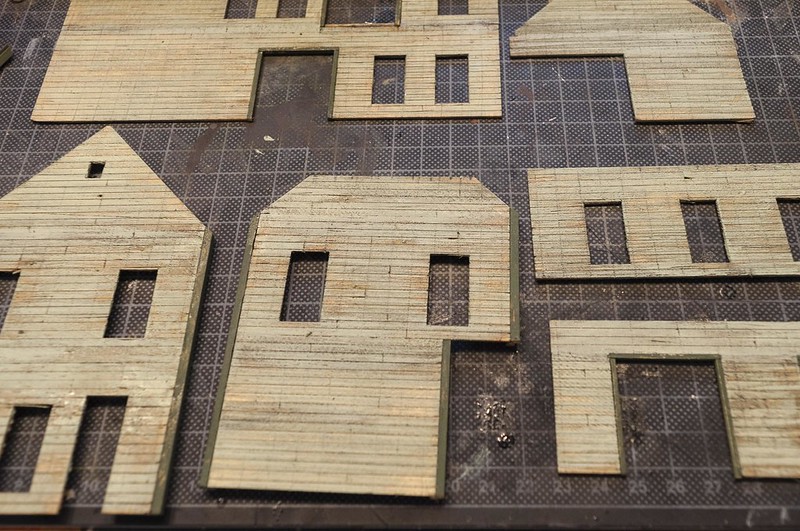
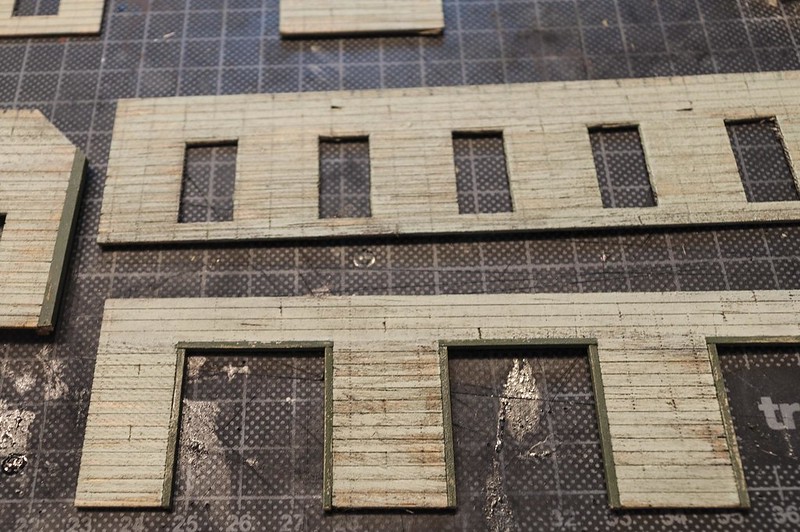
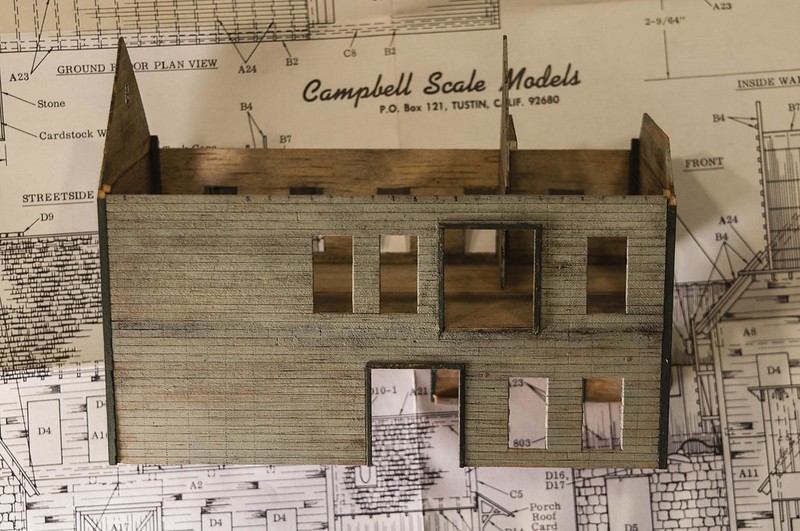
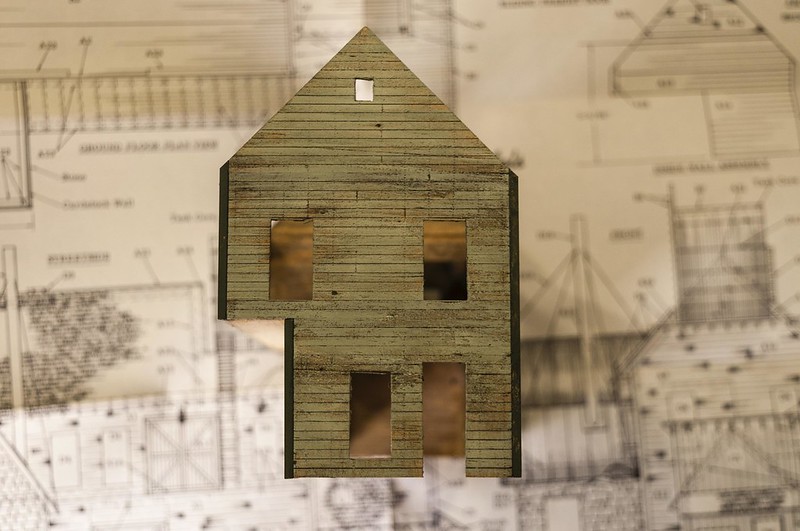
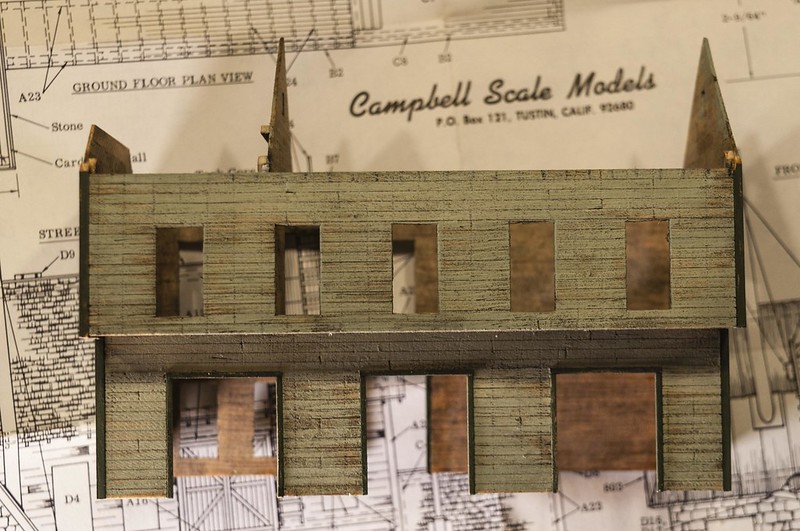
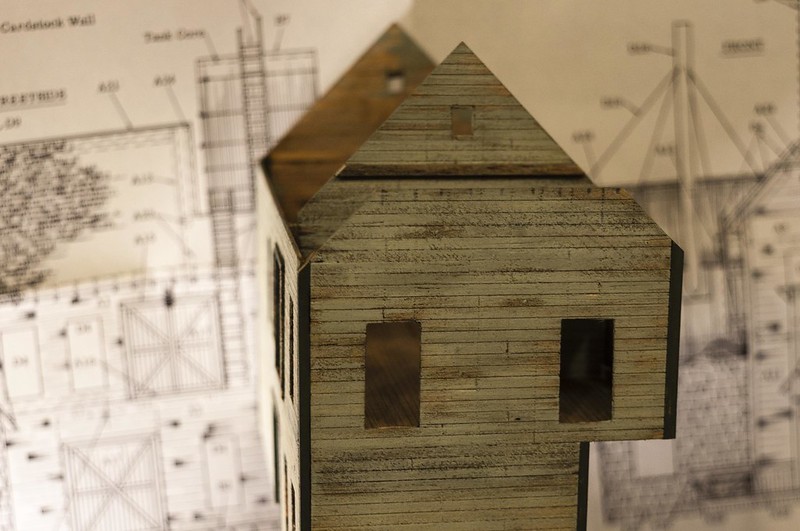
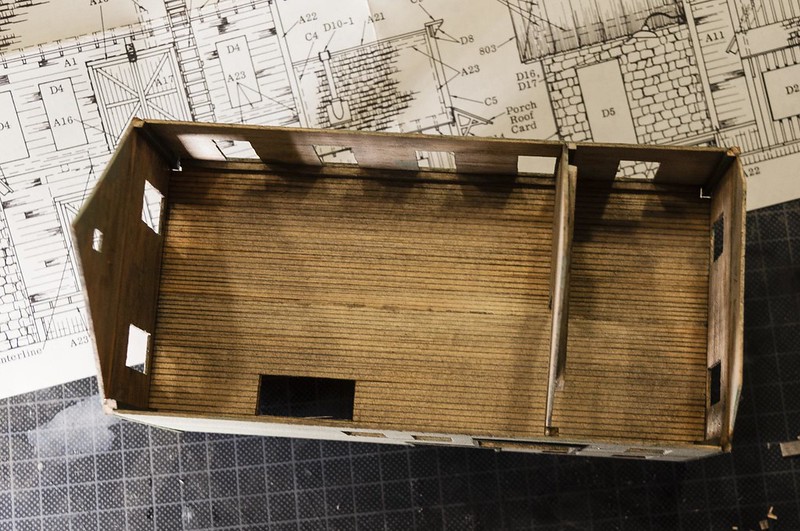
Old tech real wood kit. You can't beat them for looks!
Doing a great job there!
Doing a great job there!
Graff
Airbrush artist
Thanks!Old tech real wood kit. You can't beat them for looks!
Doing a great job there!
Some more construction pics of the brewery.
The door frames cut out from cardboard:
The painted doors:
Primed windows:
Painted windows with green acrylics:
Real glass cut to size with a diamond scribe:
The buildings foundation:
Loading docks:
The water tank:
The boiler house with the PVC stone sheet that is glued with contact cement:
I used Tamiya putty on the corners:
Painted:
Roof with cardboard frames to make it removable:
Corrugated sheet cut to size:
Mortar made with pulverized clay mixed with PVA and water and then wiped away from the top of the stones:
Getting there:
Beautiful work, SIR!
Need clarification please - What is PVA? in the mortar mix?
What material is the tin? and how did you finish it?
Thanks!
Need clarification please - What is PVA? in the mortar mix?
What material is the tin? and how did you finish it?
Thanks!
Affiliate Disclosure: We may receive a commision from some of the links and ads shown on this website (Learn More Here)