The greenbrier logging and coal co


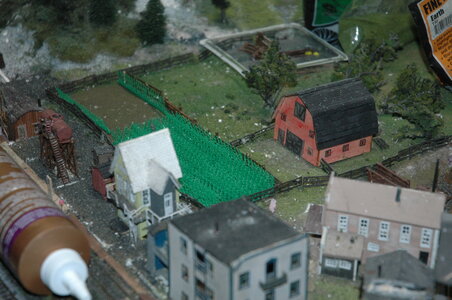
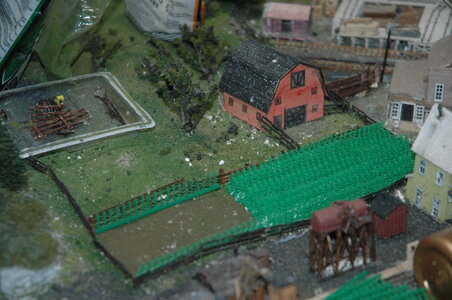
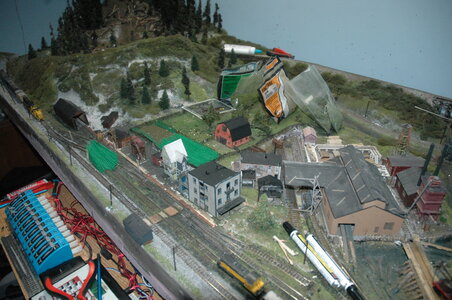
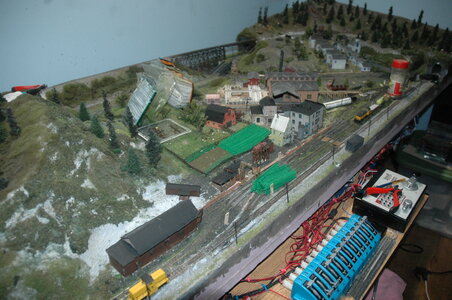
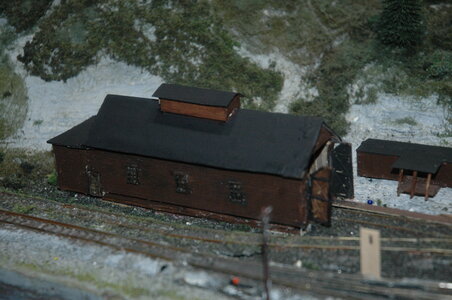
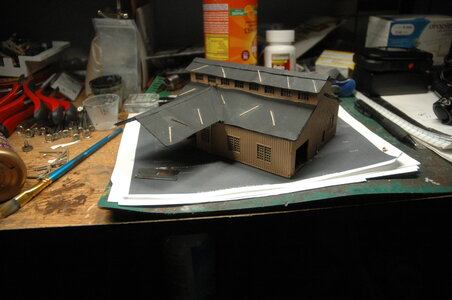
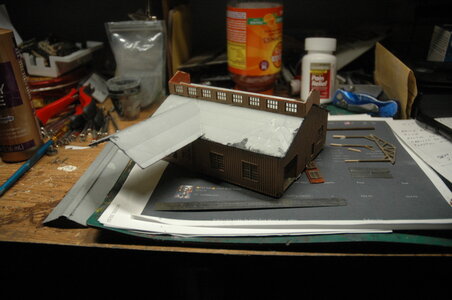
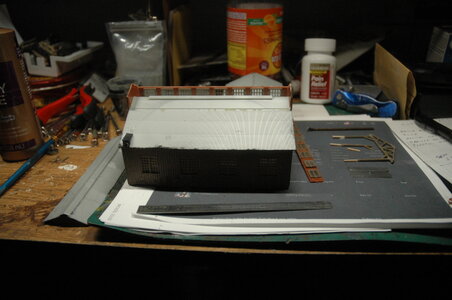
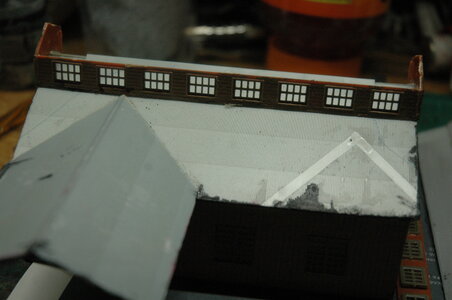
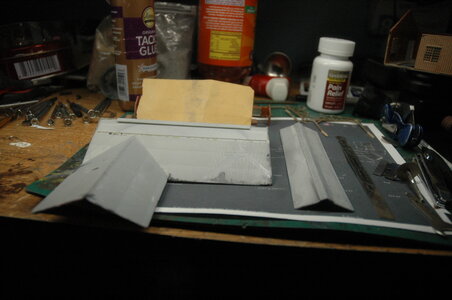
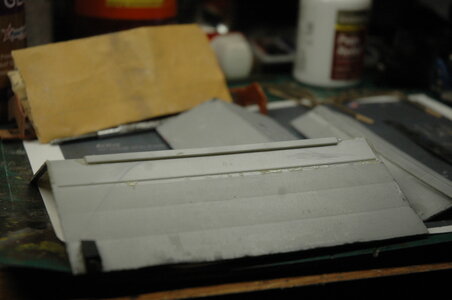
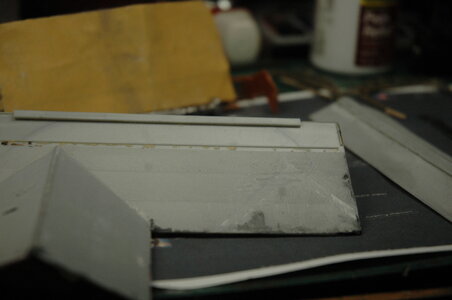
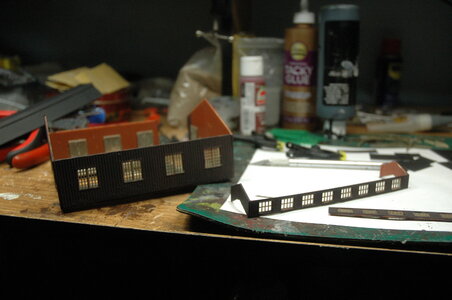
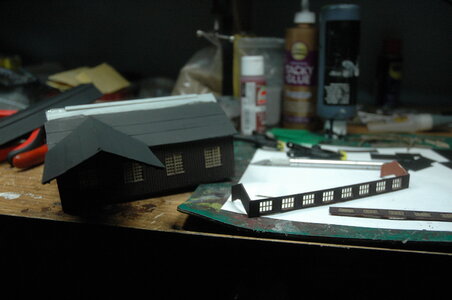
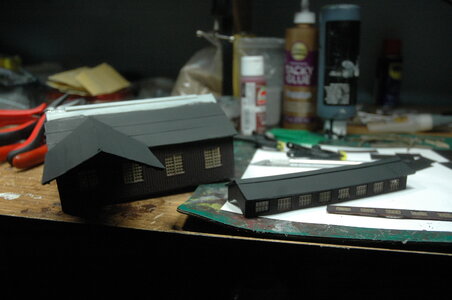
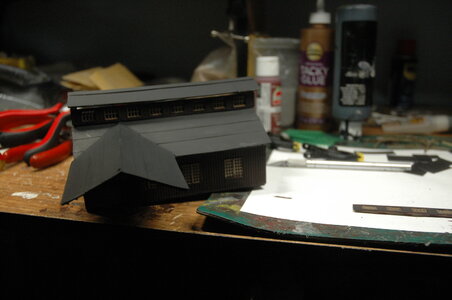
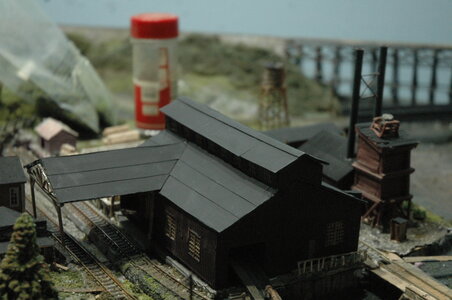
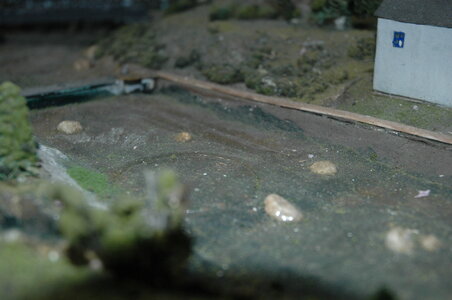
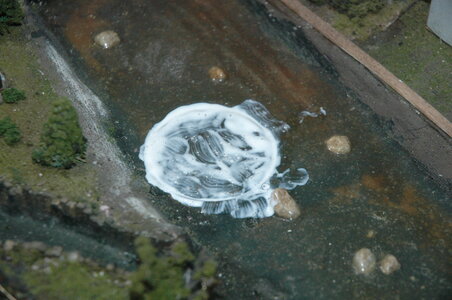
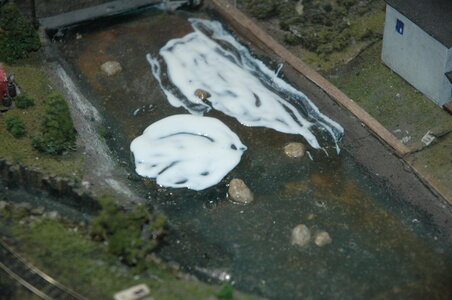
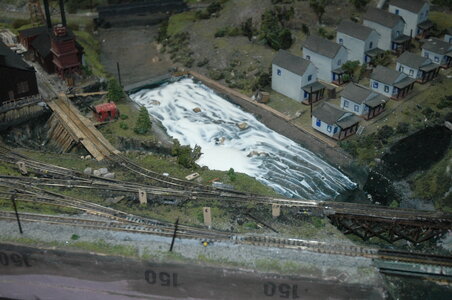
Well, i got my air compressor out along with the shop vac and started removing the white dust from the trees and building roofs. Found some operspray on a couple of roofs so i will break out the black roof paint and fix that. I got my next row of corn planted. Its drying right now so maybe tomorrow i can plant the third row and call it done. I have some for the houses to have they can have small gardens in there backyard. Have a couple of shots of that so laters all
 

Attachments

  • DSC_3373.JPG
    DSC_3373.JPG
    858.8 KB · Views: 49
  • DSC_3371.JPG
    DSC_3371.JPG
    745 KB · Views: 55
I have been really busy today. I was doing some cleaning with air and vacuum and i found overspray and cleaned it up and touched up the roofs and it looks so much better. Shots below, smoke
 

Attachments

  • DSC_3374.JPG
    DSC_3374.JPG
    744.9 KB · Views: 55
  • DSC_3375.JPG
    DSC_3375.JPG
    743.3 KB · Views: 51
I really need my new glasses. In that second shot is a blob of paint on the wall above the roof. Never noticed it till I had the picture up full screen. It is and will be fixed! Thanks for the likes! Have work on the sawmill being done and am going to be taking a couple of shots when i have it finished.
 
i ran out of supplys so i can wait till i go to the neighborhood hobby lobby. so far it is looking ok but its showing its age. I might have to replace it. Not sure with what kit. not a lot of different sawmill kits out there. This kit is over 10 years old. Have to wait and see what i can find. shot below.
 

Attachments

  • DSC_3388.JPG
    DSC_3388.JPG
    695.8 KB · Views: 52
i ran out of supplys so i can wait till i go to the neighborhood hobby lobby. so far it is looking ok but its showing its age. I might have to replace it. Not sure with what kit. not a lot of different sawmill kits out there. This kit is over 10 years old. Have to wait and see what i can find. shot below.
If you can take off the roof and make a new one I think you are good to go. All I can notice is a little warping there.

I worked over several of my buildings over the years and have never regretted it.

Dave LASM
 
I am thinking about trying that myself. I have some balsa wood from another project , (can't remember what now). I need to get a couple of other things for it and i should be good to go.I think i have enough balsa sheeting to do that so i make a trip to my hobby lobby and good to rebuild. I just don't want it to buckle on the roof again. I tried Aleenes tacky glue on it. I watered it down a bit to use a needle to put glue underneigh the paper roofing. that didn't work so its a case of needing a new roof. Don't know why this building is the only one that didn't like the Aleenes glue. I use it for anything wood or paper. The weird part is that in a couple of places on the roof it actually made things worse. But i will give it a good try and see how much luck i get. Wathers still sales that kit but i don't need all the other stuff in the kit. and i don't want to really have to build it all again. tthanks for the pep talk Dave
 
I am thinking about trying that myself. I have some balsa wood from another project , (can't remember what now). I need to get a couple of other things for it and i should be good to go.I think i have enough balsa sheeting to do that so i make a trip to my hobby lobby and good to rebuild. I just don't want it to buckle on the roof again. I tried Aleenes tacky glue on it. I watered it down a bit to use a needle to put glue underneigh the paper roofing. that didn't work so its a case of needing a new roof. Don't know why this building is the only one that didn't like the Aleenes glue. I use it for anything wood or paper. The weird part is that in a couple of places on the roof it actually made things worse. But i will give it a good try and see how much luck i get. Wathers still sales that kit but i don't need all the other stuff in the kit. and i don't want to really have to build it all again. tthanks for the pep talk Dave
I use cardboard from cereal boxes for most of my sheathing. I spray both sides with primer first. The backside, I make rigid with super glueing on a couple rigid strips, for HO I use wood strips.

So, first I cut the cereal box to a larger size than I need. Then, paint both sides. next, cut to size. Then I glue a couple rigid strips on the backside, taking account for the overhang so the strips do not screw up my walls. I also put wood strips along the edges of the roof, not sure if this will work in N scale, but maybe a narrow styrene strip, this helps keep things rigid as well. This last step is maybe not necessary.

It is key to use a brand new exacto blade or razor blade to cut the cardboard. I think I usually use the "shiny" or printed side towards the roofing material (out)

This is a cheap way to go and I have buildings many years old of this construction!

Dave LASM
 
I got it almost tore out. The roof is striped off and the old plastic roof is bare. I sanded the back side of the wall that goes next to the train track from the logging camp. paint is coming off real easy. I am gonna repaint it as well. Do it right, right? i had something rattleing in the roof area and i got the top roof off and several of the window glass were all loose. The plastic glue must not be that good Mr Testor!! shots below, smoke
 

Attachments

  • DSC_3390.JPG
    DSC_3390.JPG
    693.5 KB · Views: 55
  • DSC_3389.JPG
    DSC_3389.JPG
    672.6 KB · Views: 51
I got as close to the roof as i could get to show the markings and why i chose to use paper on it. I think i will be using a glue stick that is made by Elmers. someone said that they use it on there buildings where paper and plastic come together. A gentleman by the name of Country Joe said that is what he uses and works well. I was going to use Gorilla glue then and is like "super glue" but just different name. its a bit thicker than regular super glue and fills voids better. I will use that for the walls. I am planning to paint the building to match the boiler house and drying kiln. its a dark red brick. Can't remember why i switched the paint color back when i built it. Anyway this is a update. Gonna wait till payday to get things. My Birthday cost me some as i got some things i wanted or needed and Deb went out and got something too. Anyway its about one week till payday so i can wait till then. I can mix the paint and paint the walls and window sills. So for now thats it. Shots below, Smoke
 

Attachments

  • DSC_3392.JPG
    DSC_3392.JPG
    686.8 KB · Views: 46
  • DSC_3392.JPG
    DSC_3392.JPG
    686.8 KB · Views: 42
Smoke -

I have experience with the Elmers glue stick and found them to be something of a kindegarten device, designed to keep the mess to a minimum. I thought the glue got brittle over time. Your original suggestion of the Gorilla brand super glue (dries clear) is what I would have used.

Maybe you already do this but I put a drop on a piece of paper then use a toothpick to apply to my surface and spread it out so its not a thick gob. I also use some sandpaper to rough up the styrene. You probably employ these techniques but for the benefit of other readers I hope it doesn't sound like I am talking down, since you are a very talented modeler!

I am looking forward to this re-work project completion!

Dave LASM
 
I will when i get back to it again. I went out for my birthday and someone gave me a present of a head cold. I don't remember asking for one and if i knew who gave it to me i would give it back!! The dr gave me meds and its making me sleepy all the time. It feels a bit better today but not sure if i am ready to get back on the layout yet. I am getting tired of bed rest. Laters
 
been sanding as i can and getting the old glues off. I don't feel great yet but trying to do something. I got the roof ready and the walls ready so next is painting the walls. Have to wait as with this cold i can't airbrush. shots of it below, Smoke
 

Attachments

  • DSC_3394.JPG
    DSC_3394.JPG
    638.7 KB · Views: 42
  • DSC_3395.JPG
    DSC_3395.JPG
    586.2 KB · Views: 45
  • DSC_3396.JPG
    DSC_3396.JPG
    599.7 KB · Views: 48
Got to work on the new roof I used the Elmers glue stick and it sucked that paper right down and is holding it perfect. The Gorilla glue is perfect for the plastic. I will have the roof done by tomorrow and will post a couple then. I have a couple of the work so far. I really like it! Shots below, Smoke
 

Attachments

  • DSC_3397.JPG
    DSC_3397.JPG
    769.7 KB · Views: 40
  • DSC_3398.JPG
    DSC_3398.JPG
    619.1 KB · Views: 36
I ended up painting the roof as some of that grey was showing through the seams of the paper. It really came out good!! Thanks for the help. It really came out better than i thought it would. Have to wait for the Gorilla glue to dry before i put it back on the layout. Shots below, Smoke
 

Attachments

  • DSC_3399.JPG
    DSC_3399.JPG
    641 KB · Views: 44
  • DSC_3400.JPG
    DSC_3400.JPG
    679.8 KB · Views: 37
  • DSC_3401.JPG
    DSC_3401.JPG
    653.6 KB · Views: 38
  • DSC_3402.JPG
    DSC_3402.JPG
    663 KB · Views: 39
  • DSC_3403.JPG
    DSC_3403.JPG
    626.5 KB · Views: 42
The Gorilla glue really messed up the model. It ran!!! All over the place. I sanded the outside walls and started over with something else. When i used to make rockets i used something called Jet. It was perfect for paper to cardboard to plastic and metal as well. I can't find it around here but Hobby Lobby sales it in there brand called Extreme Power. I went and got the thin, medium and thick along with accelerator. it took me 20 minutes to do what i had been trying to do for the last couple of days. Its a ca type of glue but it works!! I have the sawmill back on the layout and looks good!! I got a ebay gift card for my birthday so i went to Model Tech and ordered two sets of sawmen cutting a tree down. Shots below. Smoke
 

Attachments

  • DSC_3408.JPG
    DSC_3408.JPG
    809.4 KB · Views: 40
  • s-l1600.jpg
    s-l1600.jpg
    45.9 KB · Views: 41
My next project is the river, two creeks and the moat at the sawmill. Grass and dust have gathered in the moat area and i plan to try and get it out with a toothbrush and vacuum. The river has a mark on it where i had a can of compressed air on it. It sank into the river and i have a ring where the can was. Gonna try and fill the circle and then if that don't remove the mark i can try paint and another coat of Mod Podge and hope it covers it up. I kinda left things where they were when i started feeling bad and then the heat of summer and well, its repair time now. Shots below, Smoke
 

Attachments

  • DSC_3411.JPG
    DSC_3411.JPG
    649.8 KB · Views: 41
  • DSC_3412.JPG
    DSC_3412.JPG
    847.6 KB · Views: 38
Got it cleaned up and three coats of the area where the can was sitting on the river. I used a toothbrush to clean off the water so the dust would disappear. I put a thin coat of Mod Podge to bring out the shine of the water. and some nice ripple effects to boot. One of my friends said he saw somewhere that they used a acrylic coating to take the sticky off the surface and keep the dust from sticking on the river surface. Not sure about that. Anyway shots below. i have the one creek and the river from the Dam down recoated. Shots below, Smoke
 

Attachments

  • DSC_3413.JPG
    DSC_3413.JPG
    842.8 KB · Views: 36
  • DSC_3415.JPG
    DSC_3415.JPG
    813.9 KB · Views: 34
  • DSC_3416.JPG
    DSC_3416.JPG
    763.3 KB · Views: 36
talking with other rr fans i found that this would protect and make it easier to keep clean. Liquitex acrylic gloss medium. I ordered it from Hobby Lobby as they didn't have it here at the store. I get this river the way i need it and will give it a coat or two of the acrylic to it.


Back
Top