D&J RailRoad
Professor of HO
The D&J Railroad -- Building a Large MR From Scratch
I started this thread in the Introduction section, but decided it really should be over here. I hope you can follow along as I start this major project from a blank basement setting to a fully sceniced model railroad with a southwestern look and UP/BNSF motive power.
This is the start of a large basement layout that I have been promising to myself for some time now. The previous D&J Railroad was a full perimeter basement layout with 2 1/2 scale miles of double track mainline and 14 industries. It had its beginnings in 1984 using left over lumber from the construction of my house back then. It's final configuration was controlled with Digitrax and included a 40' end to end staging yard. The previous layout was built in sections over an 18 year time frame. No detailed plan was ever really put together other than a rough idea of where I wanted track to run and scenery to spring up. I tore it down in 2005 to remodel the basement then to sell the house. The housing market fell apart shortly after that and my hobby sat in boxes and bins until I attempted to start a new layout in late 2008. In March 2009 my wife died and I again tore out what I had started.
I am in a new house now with over 2000 square feet of basement that will be totally dedicated to the new D&J Railroad. The first thing I have to do is put up stud framing to support drywall.
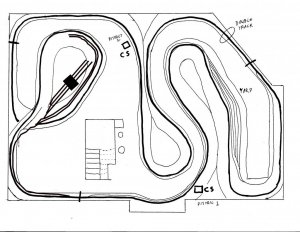
This picture is a layout of the basement showing the stairwell and utilities in the center of the basement. The circles are 8', 10' and 15' in diameter.
Another picture is in post #10 of this thread showing the approximate location of the peninsulas and the benchwork plan for around the walls.
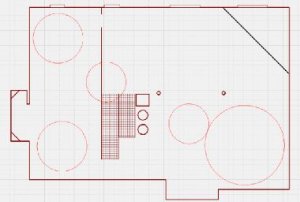
The triangle shape in the upper right will be a small utility room with the walk out sliding door on the top wall line. The dimensions of the basement are 35' x55' and it will be totally model railroad.
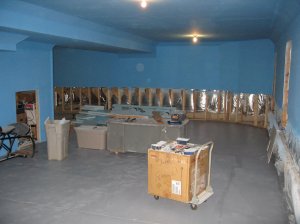
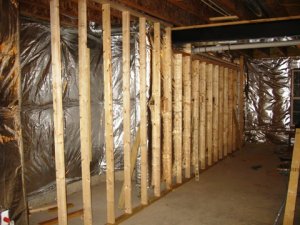
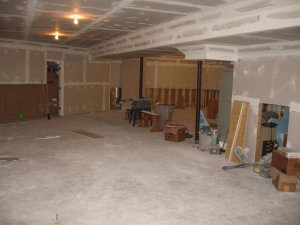
This is the first stud framing to be completed along the left wall in the diagram. The size of the room in the picture is deceiving because of the 8 1/2 foot ceiling. The height of the ceiling makes the room look smaller.
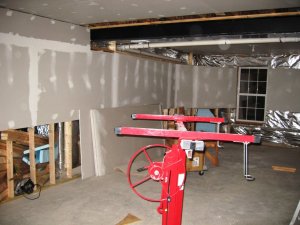
Put some more wall studs up. This extends around and half way up the right side of the basement drawing. This is about 100' of wall so far.
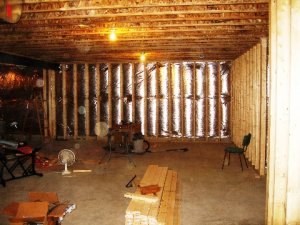
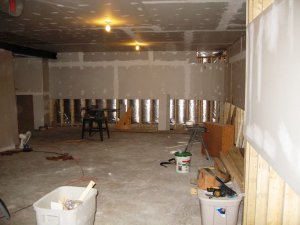
22 Oct 11: Loaded 51 sheets of 1/2" drywall into the basement. Still mulling over track plan for the center part of the basement.
26 Oct 11: The stud framing is completed and I have put up the drywall around the utility room on the top right of the basement layout.
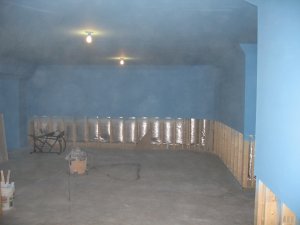
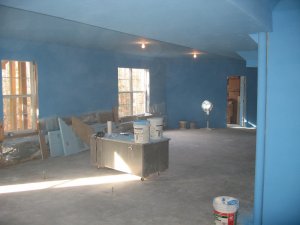
14 Nov 11: A lot of the drywall is up now. Getting down to the tedious parts of enclosing the pipes, center steel I beam, air ducts and rounding the corners of the room. I can do the painting with an air gun because there is no carpeting in the basement to be concerned about. First coat will be a sandable primer so I can do the final smoothing. After that, the scenery background sky color will be applied by air gun and brush for a graduated sky color from horizon to a sky blue ceiling.
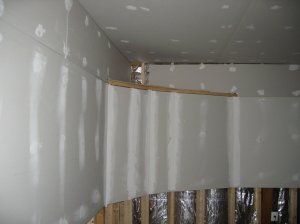
This is one of the rounded corners. With the larger radii of the planned corner curves, it would be virtually impossible to reach all the way into the corner to do scenery or whatever else without crawling onto the bench. It also provides a smoother transition from one wall to another for the background.
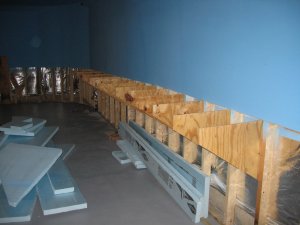
Keeping in mind, the bottom half of the wall will be concealed by the benchwork skirting, thus no need to put drywall there but I can store stuff under the benchwork behind the skirting.
28 Nov 11 Finishing up with cutting drywall. Now just spreading the mud and tape.
Benchwork can't be to far off now.
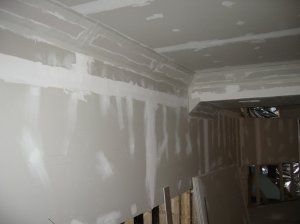
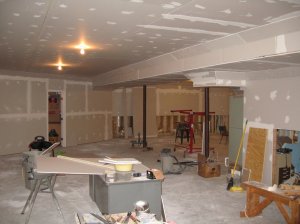
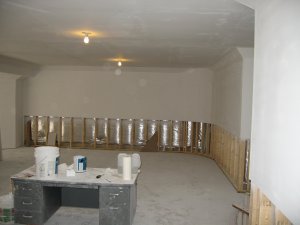
2 Jan 2012 - Most of the sanding is done now. Just a few touch up places with mud and then a layer of primer paint.
I started this thread in the Introduction section, but decided it really should be over here. I hope you can follow along as I start this major project from a blank basement setting to a fully sceniced model railroad with a southwestern look and UP/BNSF motive power.
This is the start of a large basement layout that I have been promising to myself for some time now. The previous D&J Railroad was a full perimeter basement layout with 2 1/2 scale miles of double track mainline and 14 industries. It had its beginnings in 1984 using left over lumber from the construction of my house back then. It's final configuration was controlled with Digitrax and included a 40' end to end staging yard. The previous layout was built in sections over an 18 year time frame. No detailed plan was ever really put together other than a rough idea of where I wanted track to run and scenery to spring up. I tore it down in 2005 to remodel the basement then to sell the house. The housing market fell apart shortly after that and my hobby sat in boxes and bins until I attempted to start a new layout in late 2008. In March 2009 my wife died and I again tore out what I had started.
I am in a new house now with over 2000 square feet of basement that will be totally dedicated to the new D&J Railroad. The first thing I have to do is put up stud framing to support drywall.
This picture is a layout of the basement showing the stairwell and utilities in the center of the basement. The circles are 8', 10' and 15' in diameter.
Another picture is in post #10 of this thread showing the approximate location of the peninsulas and the benchwork plan for around the walls.

The triangle shape in the upper right will be a small utility room with the walk out sliding door on the top wall line. The dimensions of the basement are 35' x55' and it will be totally model railroad.
This is the first stud framing to be completed along the left wall in the diagram. The size of the room in the picture is deceiving because of the 8 1/2 foot ceiling. The height of the ceiling makes the room look smaller.


Put some more wall studs up. This extends around and half way up the right side of the basement drawing. This is about 100' of wall so far.


22 Oct 11: Loaded 51 sheets of 1/2" drywall into the basement. Still mulling over track plan for the center part of the basement.
26 Oct 11: The stud framing is completed and I have put up the drywall around the utility room on the top right of the basement layout.
14 Nov 11: A lot of the drywall is up now. Getting down to the tedious parts of enclosing the pipes, center steel I beam, air ducts and rounding the corners of the room. I can do the painting with an air gun because there is no carpeting in the basement to be concerned about. First coat will be a sandable primer so I can do the final smoothing. After that, the scenery background sky color will be applied by air gun and brush for a graduated sky color from horizon to a sky blue ceiling.

This is one of the rounded corners. With the larger radii of the planned corner curves, it would be virtually impossible to reach all the way into the corner to do scenery or whatever else without crawling onto the bench. It also provides a smoother transition from one wall to another for the background.
Keeping in mind, the bottom half of the wall will be concealed by the benchwork skirting, thus no need to put drywall there but I can store stuff under the benchwork behind the skirting.
28 Nov 11 Finishing up with cutting drywall. Now just spreading the mud and tape.
Benchwork can't be to far off now.


2 Jan 2012 - Most of the sanding is done now. Just a few touch up places with mud and then a layer of primer paint.

Attachments
Last edited by a moderator:

