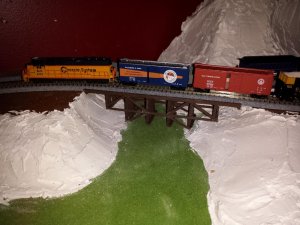
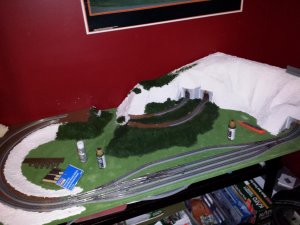
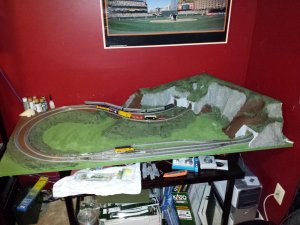
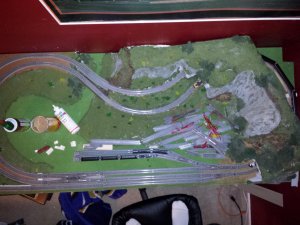
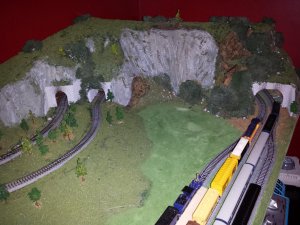
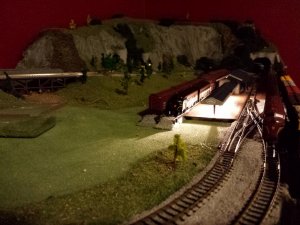
My N Scale Layout. Not modeling anything specific. A layout from my imagination.


Skipjacks

Member
I have been working on this since January. The layout and terrain flow only from my imagination. I'm not trying to recreate anything specific.

The layout is 4 feet about about 2 and a half feet.

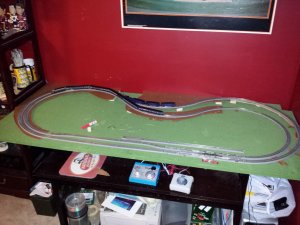
This is the original track layout.
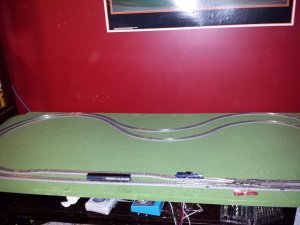
IMG_20140105_141432.jpg

Then the leveling of the track for terrain building started.
IMG_20140105_165156.jpg

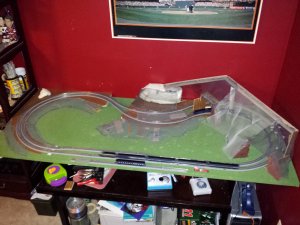
Once the track was in place at the right levels the moutnains began to take shape around everything. First the wire frame.
IMG_20140108_000303.jpg

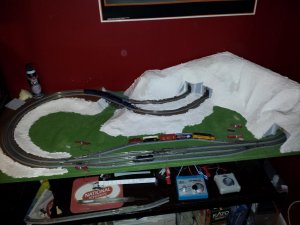
Then the plaster. I used wall spackle over a metal windwo screen skeleton because that's the way my dad did it in the 50's and the way he taught me when I was a kid. It's just always worked for me.
IMG_20140117_001124.jpg
 
Last edited by a moderator:
Getting the trackwork across my bridge perfect so it was a smooth transition that didnm't jump the trains off the rails took about a hundred redos.

IMG_20140117_002825.jpg

Once the basic mountain shapes were formed it was time for coloring.

IMG_20140118_222451.jpg

Painting took suprisingly forever to get teh base colors down.

IMG_20140122_003206.jpg
 
After some track layout changes to add a real siding and to give room for the station I planned on, the track layoutt looked like this.

IMG_20140303_223130.jpg


With most of the terrain done, aside from a lot of detail work, this is what it looks like

IMG_20140220_003834.jpg

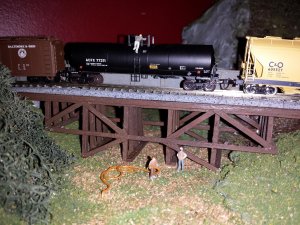
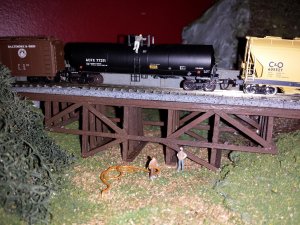
The tressel bridge was designed to fit that gap. But I had been binge watching Breaking Bad while putting this layout together. So I couldn't help but to recreate one of the best episodes from the series.

IMG_20140305_235858.jpg
 
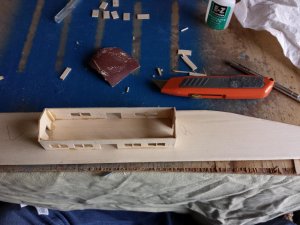
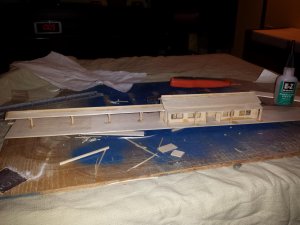
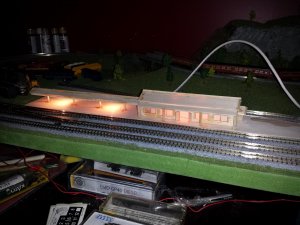
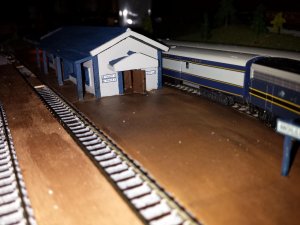
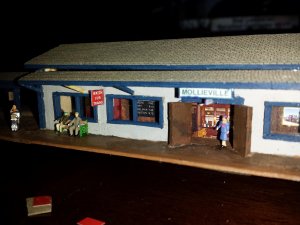
Finally it was time for my passenger station. I looked and looked but never found one I liked. So I decided to build my own.

IMG_20140309_150825.jpg

This is with all the walls put up.
IMG_20140309_221004.jpg

A test of the lighting and the fit on the layout before painting.
IMG_20140311_001622.jpgIMG_20140311_001408.jpg
 
Last edited by a moderator:
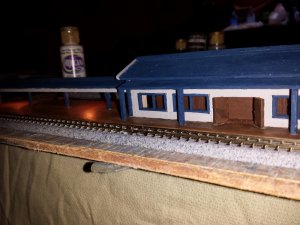
And then a coat of paint to give it life. (It's N Scale, so it looks much bette rin person because you can't see all the painting errors.)

IMG_20140315_234637.jpg

IMG_20140319_225838.jpg

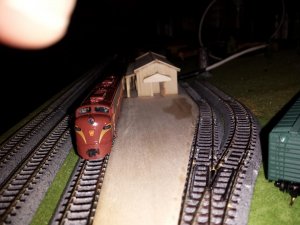
With the lights going at night. I call it Mollieville Station after my daughter's name.
IMG_20140327_001529.jpg
 
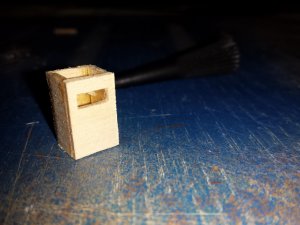
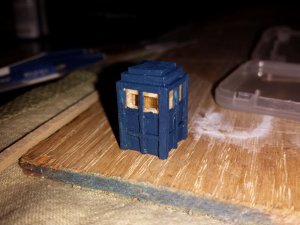
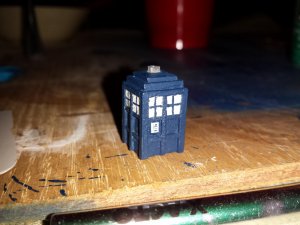
And just for fun I thought I'd put my extra blue paint from the train station to good use. So I built something else......

IMG_20140323_162023.jpg

IMG_20140323_225041.jpg

IMG_20140324_220125.jpg

IMG_20140324_225729.jpg

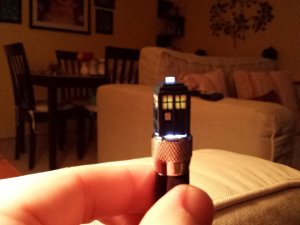
I know it looks tiny, but it's much bigger on the inside! (If you know what this is, you are probably laughing right now. If you have no idea what this is, I can't explain it to you in 1 post.)

I have been looking for a control module that can dim and un-dim an LED inside the TARDIS to make it look like it's landing constantly. I just haven't gotten around to buying one and finishing the lighting of it yet. I'm going to have it sitting randomly somewhere on my layout.
 
I still have plenty more to do on this layout. I just finished the ballast stones. (That only took a month! And my god those things go everywhere, don't they?!)

I've added a ton of trees I don't have pictures of yet.

My next task is to put the small mountain lake at the foot of the mountains with the tunnels. I've never worked with a water scene before so that should be interesting.

I also need people for the station. I've added some tiny benches to the platform but it all just looks empty without people standing around it.
 
Looks like Camden Yards (Baltimore Orioles) judging by the scoreboard and building in center/right field.


Sent from my iPhone using Tapatalk
 
Looks like Camden Yards (Baltimore Orioles) judging by the scoreboard and building in center/right field.


Sent from my iPhone using Tapatalk

You got it!

That red wall behind the layout has to go eventually. It kills the whole mood of the layout. But the background is dead last on my list of things to do...mainly because I'm not any good at backgrounds. haha
 
Great work on such a small layout. Love the train station and tardis.

The small layout is kind of limiting. But it's what I've got room for right now. I want to do a layout that is this wide the whole length of my basement, but I share this room with my kid's playroom righ tnow. I do have this layout designed to put those curves on the left side out and extend the straightaways when the time comes to expland thought.
 
You got it!

That red wall behind the layout has to go eventually. It kills the whole mood of the layout. But the background is dead last on my list of things to do...mainly because I'm not any good at backgrounds. haha

You could always paint the wall and lower the picture and you'll have a baseball stadium for a background! [emoji6]


Sent from my iPhone using Tapatalk
 
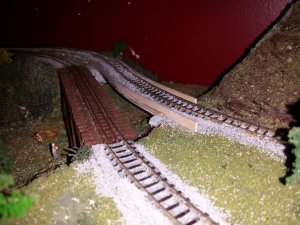
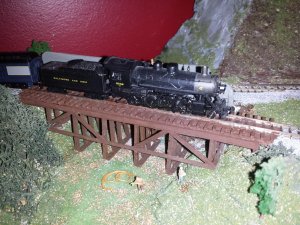
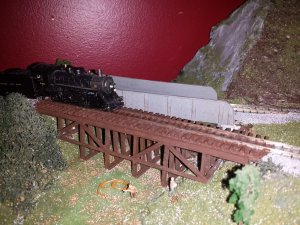
I updated the wooden bridge on my layout.

I was always happy with the support beams, but the roadbed never looked quite right as I had Kato Unitrack running across it and the ballast stones on top of a wooden bridge just wasn't right. Not that it was never done that way....but I didn't like it.

It looked like this...
IMG_20140305_235858.jpg

I stuck with the Unitrack as it would have been a pain in the rump to switch to regular track for that section.

I painted the Kato plastic ballast brown. Then extended the cross ties on either side using tiny strips of bass wood, so it looked like the top of the bridge was cross ties all the way across with the rails spiked directly to the bridge.

Then I took the rails off of a section of flex-track and laid them down between the tracks to create guard rails that you see on wooden trestles. (Thank you, JB Kleins! They had a 1 foot section of broken flex track in their junk pile that they sold me for 25 cents! Perfect for what I needed! That's the advantage of being 1 mile from the store.)

Then I painted the guard rails brown to 'rust' them, since they wouldn't get polished by train wheels running over them.

And here is the result. All in all I'm very happy with how this bridge turned out. (The guard rails are only in the first picture.) It all looks much better in person because I am a crappy photographer.

IMG_20141231_120350.jpgIMG_20141229_102225.jpgIMG_20141229_102204.jpg

I'm working on replacing the steel bridge on the next track over now. (You can see in one of the above pics it's remove and has an unfinished new bridge in it's place.) That one just never looked right either. It was always too big for that spot and the scale was all wrong.
 
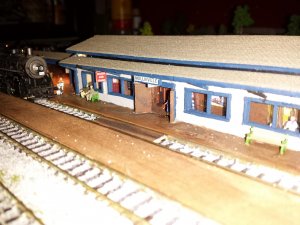
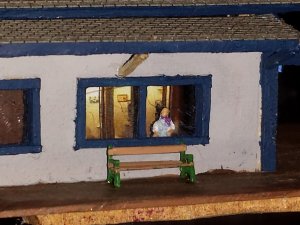
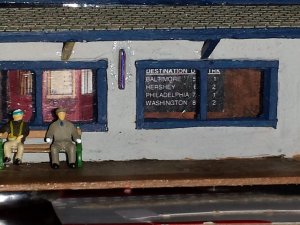
I also recently upgraded my station after seeing another structure on here that someone else built. After seeing someone else's work I just had to have shingles on my roof.

You can see what I started with in the early posts of this thread.

So I added shingles. Those take FOREVER. They are really easy but man they take a long time. These are the little strips of sticker paper laser cut into shingles. One tiny tow at a time.

I also added people and a lot of signage to the station. Things like "Watch for Trains" and "Tickets Inside". Stuff like that that you'd see at any train station platform.

On the inside I added images to give it more depth than it actually has. So now if you look through the windows you'll see a ticket booth, a schedule board, phone booths, and a framed picture of an old time steam engine (Seemed like something you might see hanging in a train station)

Up close the tiny pictures I got from Google and shrank look really pixelated. But from more than a foot away they look pretty good.

The ticket booth on the left window is actually 3D. It was a flat image of a contoured ticket booth, so I put a peice of wood behind the center section and folded the sides back to make it 3D in real life. If it was outside the station it probably wouldn't look right. But when viewed threw the windows, it looks great.

IMG_20141208_232215.jpgIMG_20141206_005112.jpgIMG_20141206_005022.jpgIMG_20141206_004604.jpg


Back
Top