2 steps forward, 1 step back
There are times when my progress appears to follow this pace. Case in point, a few days ago I glued up my new plywood reinforcing panels into my metal frame, and left them sit overnight for the bond to fully develop.
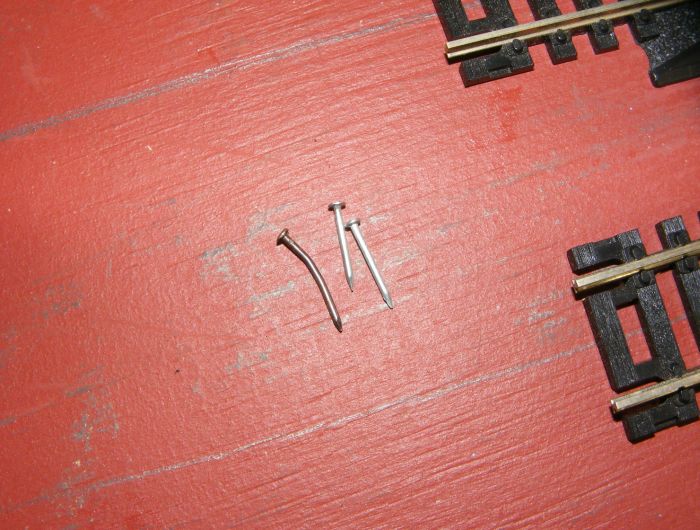
Turns out I used the wrong glue. I used my trusty old TiteBond ll. It may be great on wood, but not on smooth alum metal. It cracked right off. I had to clean all those pieces up, and resort to polyurethane glue. I also decided to speed things up by adding mechanical fastenings concurrently. So I had to do a whole detail measuring project AGAIN.
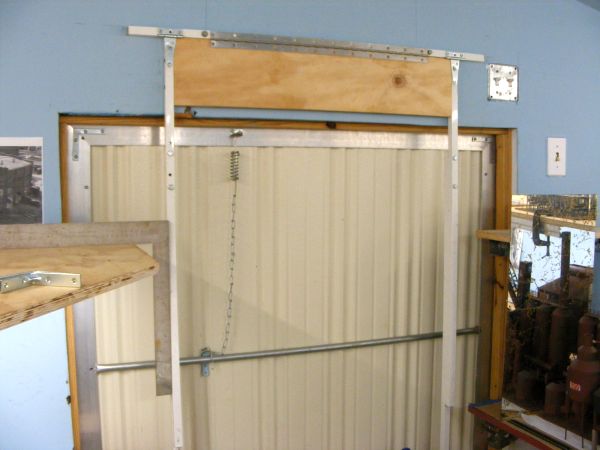
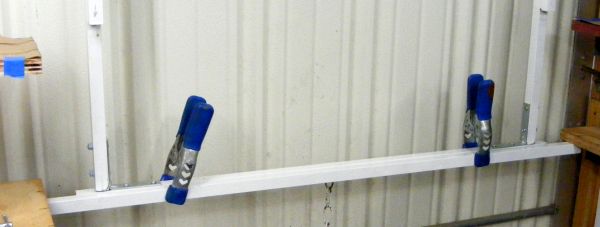
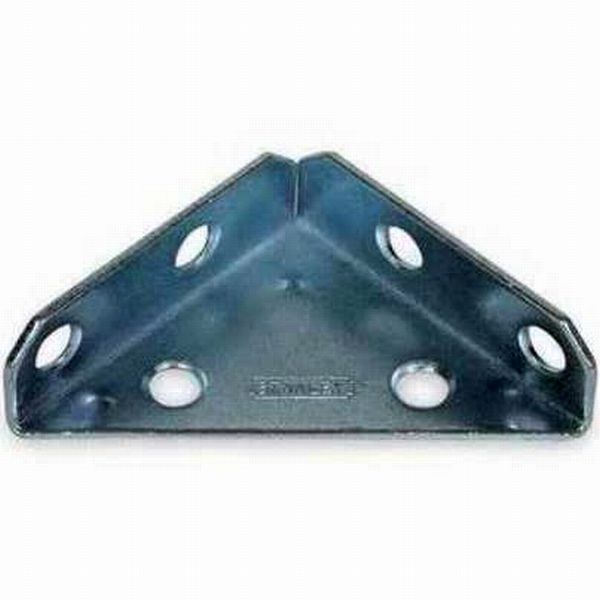
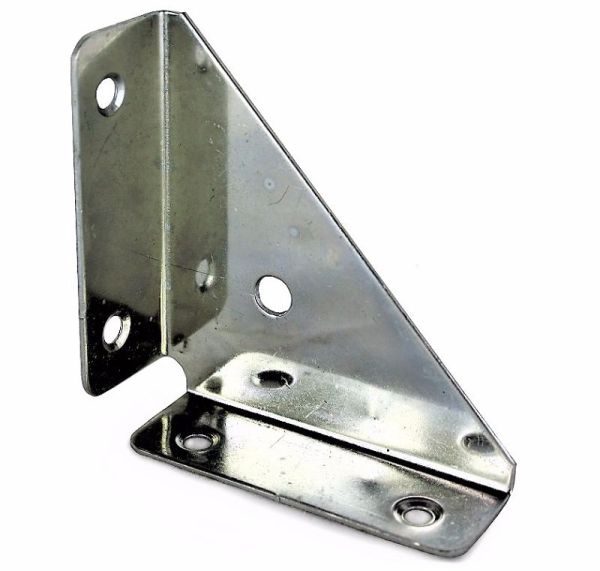
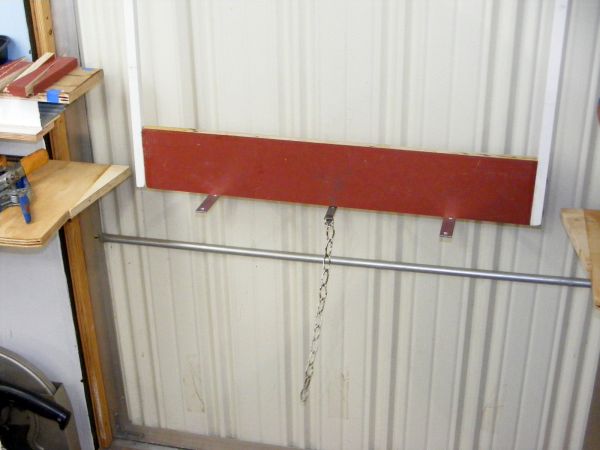
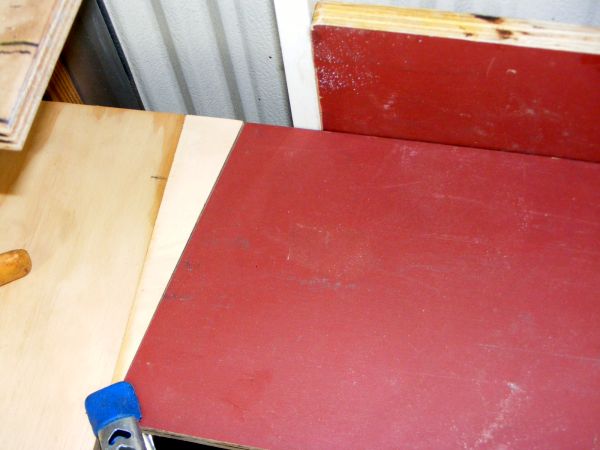
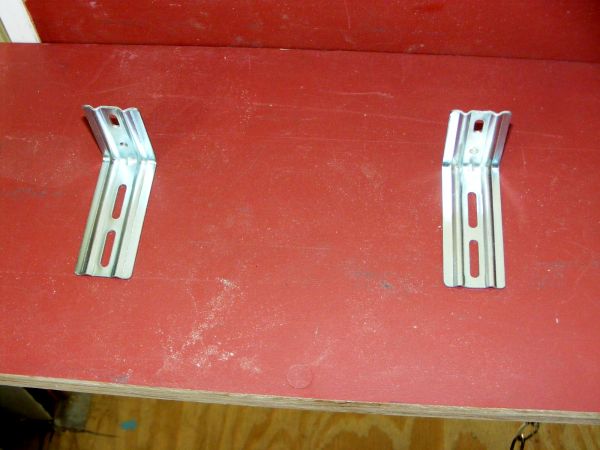
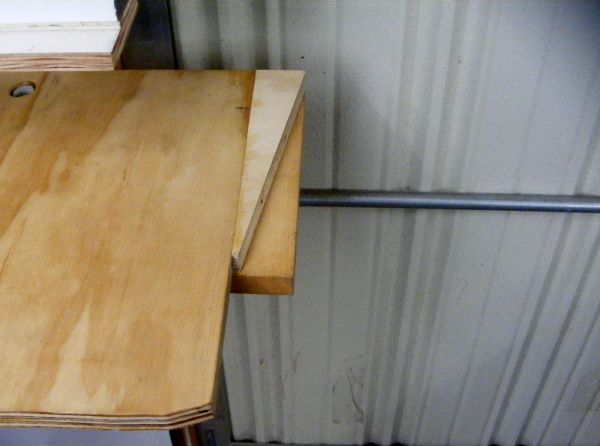
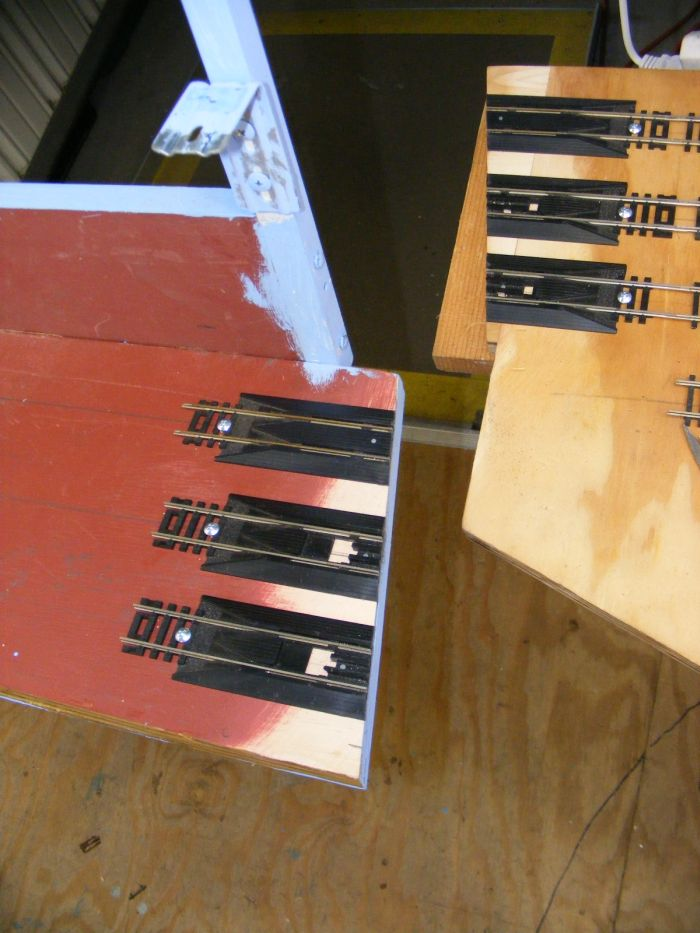
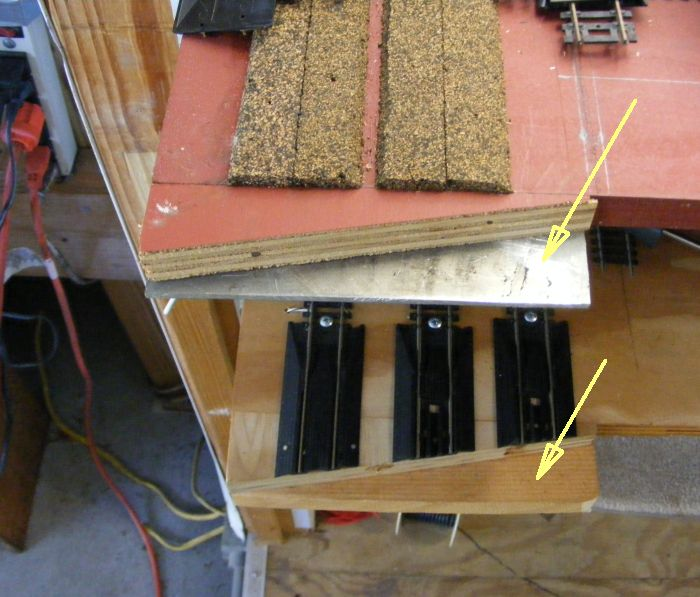
Here is that frame structure with the lower 'squareness plate' glued and screwed in place. I also purchased a couple of 4” brackets that will support the lower staging deck 'bridge'.
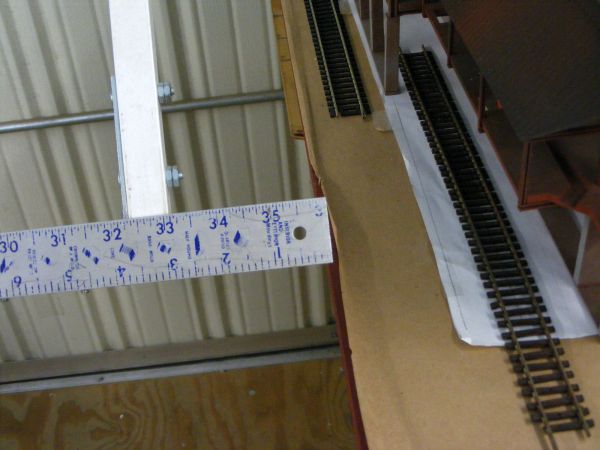
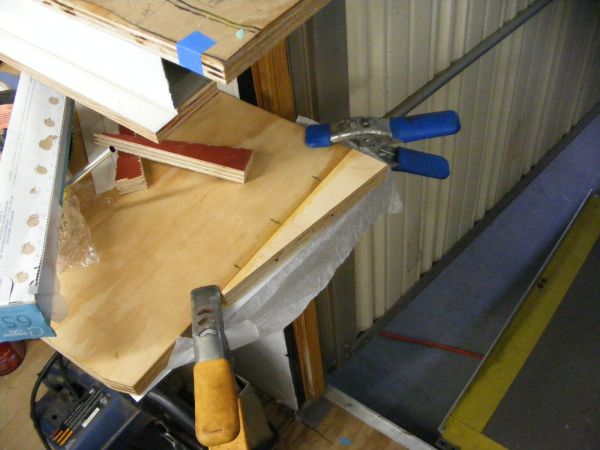
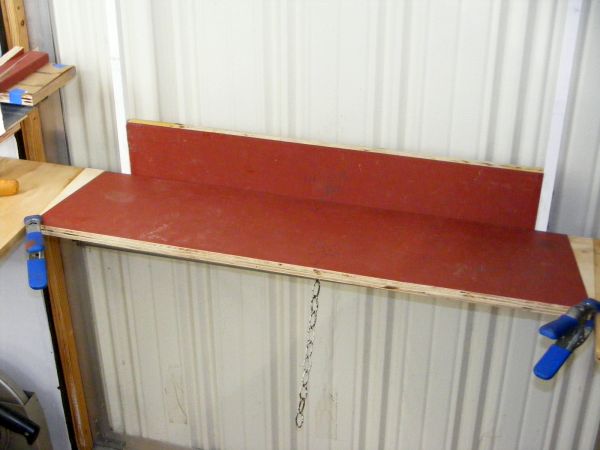
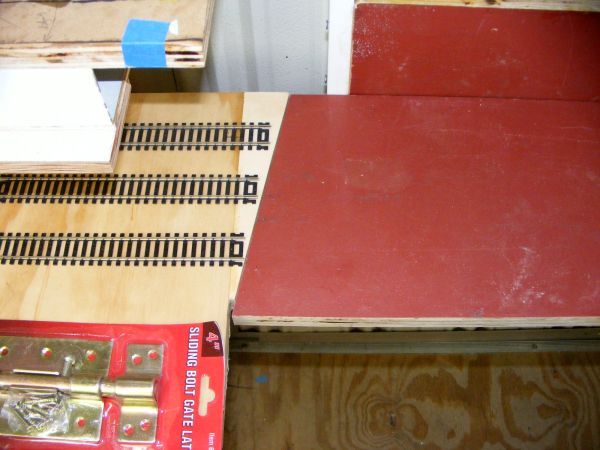
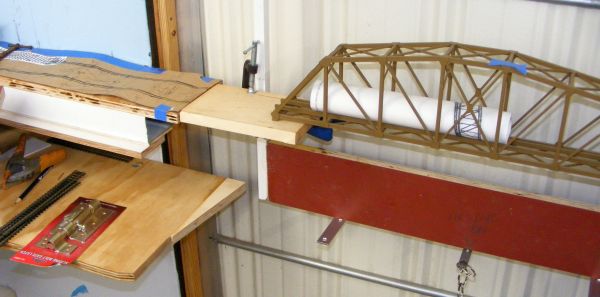
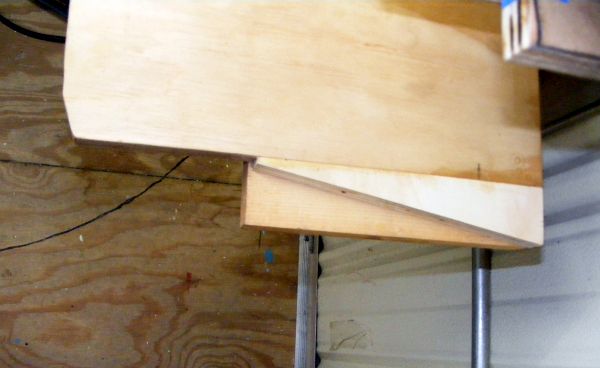
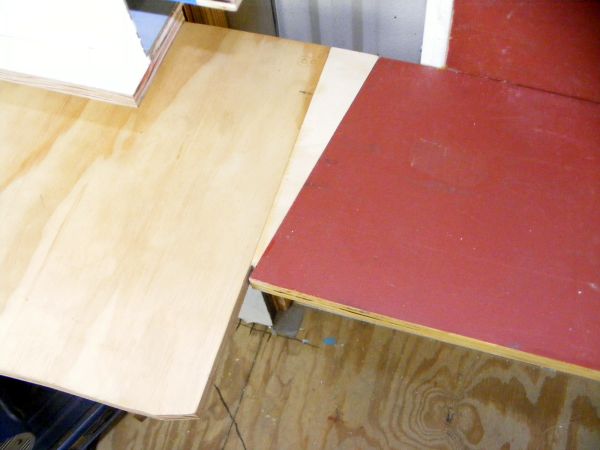
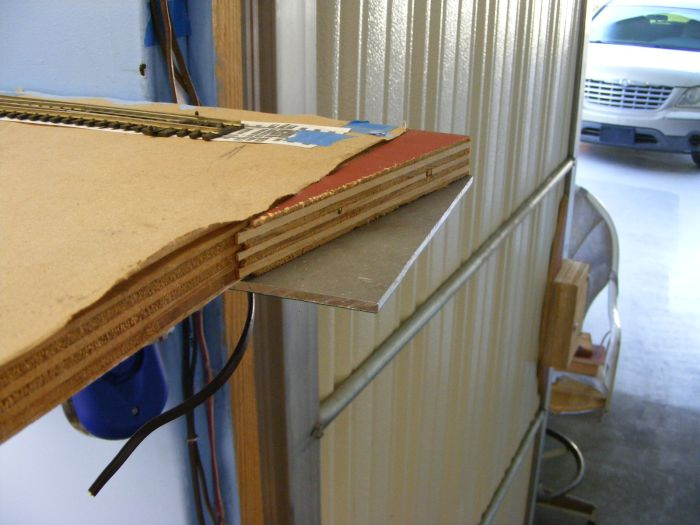
Then here is the staging deck placed onto those brackets
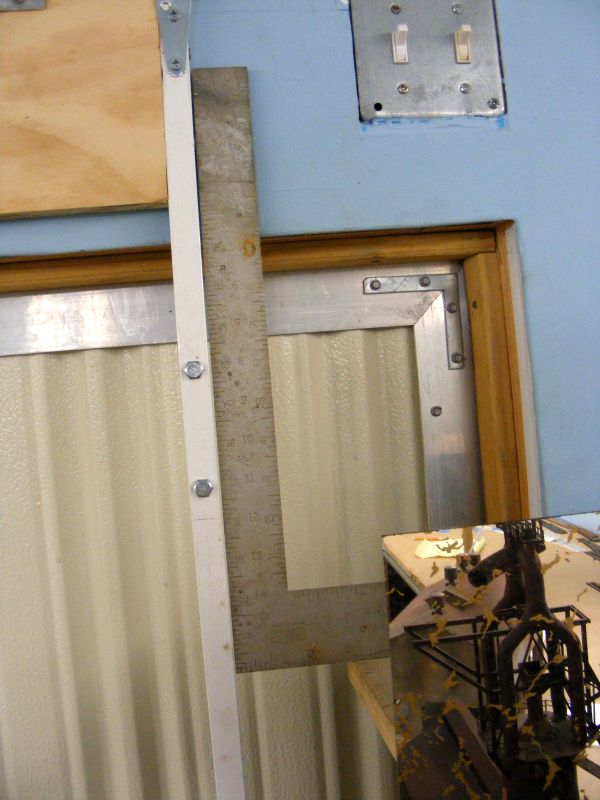
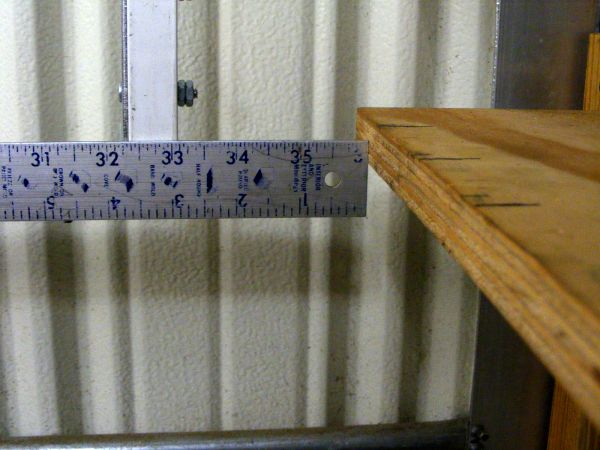
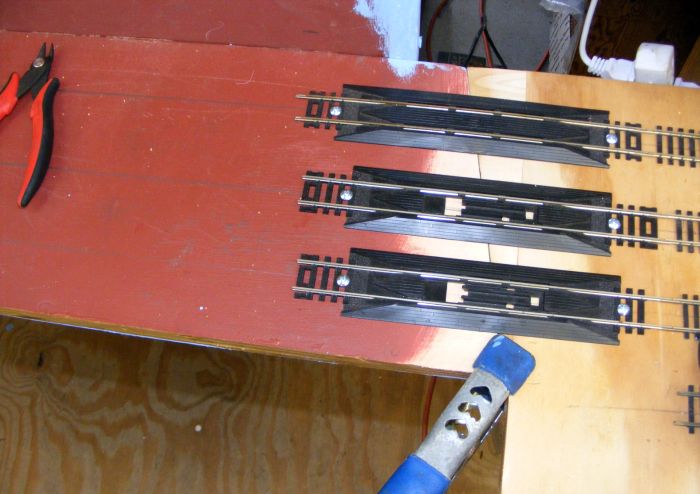
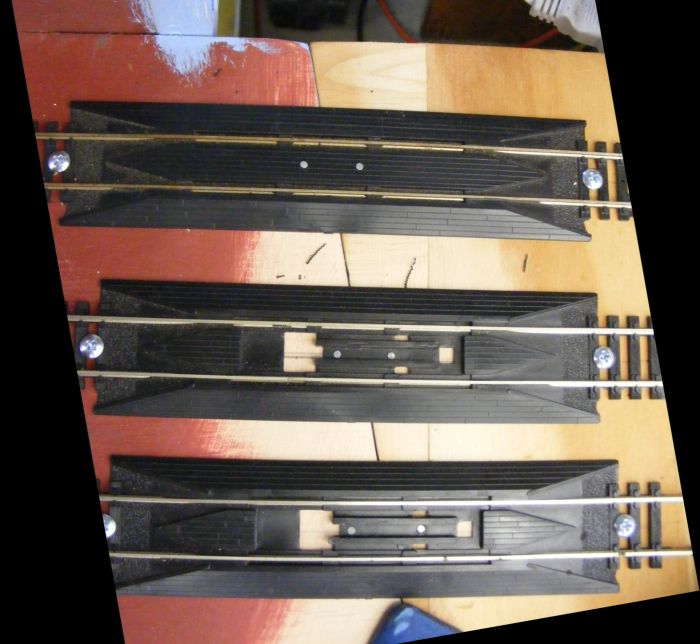
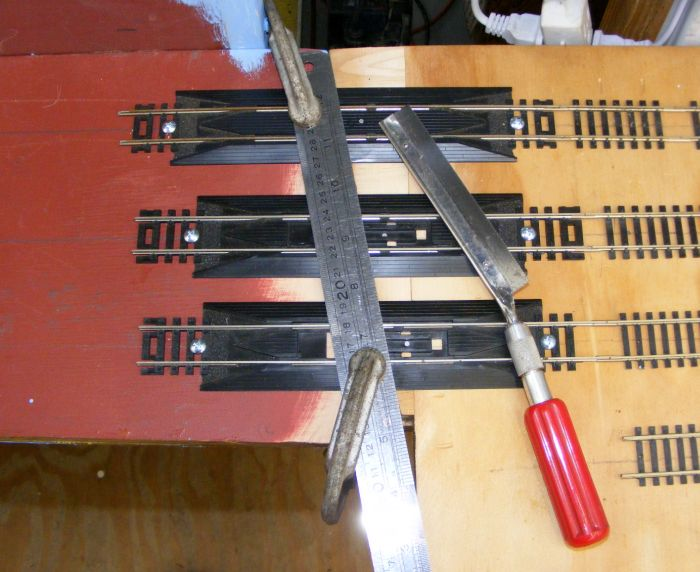
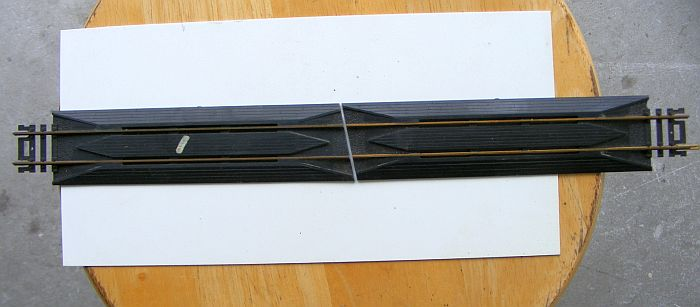
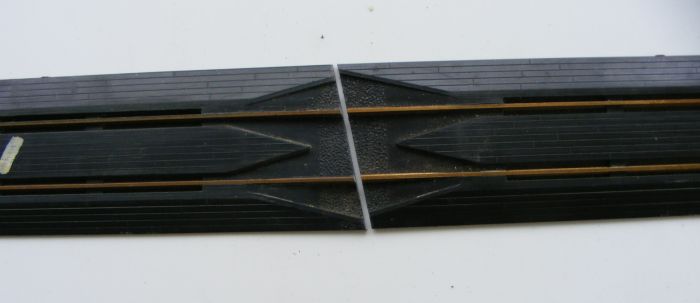
Notice my particular good close fit with the angled butt blocks. The tracks shown in those last photos are just representative as to approx location of the 3 staging crossing tracks. In reality I will eventually lay flex track across that deck and joints, and use a razor saw to cut the angles in place.
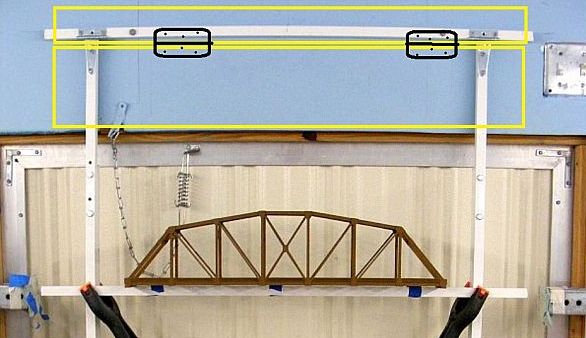
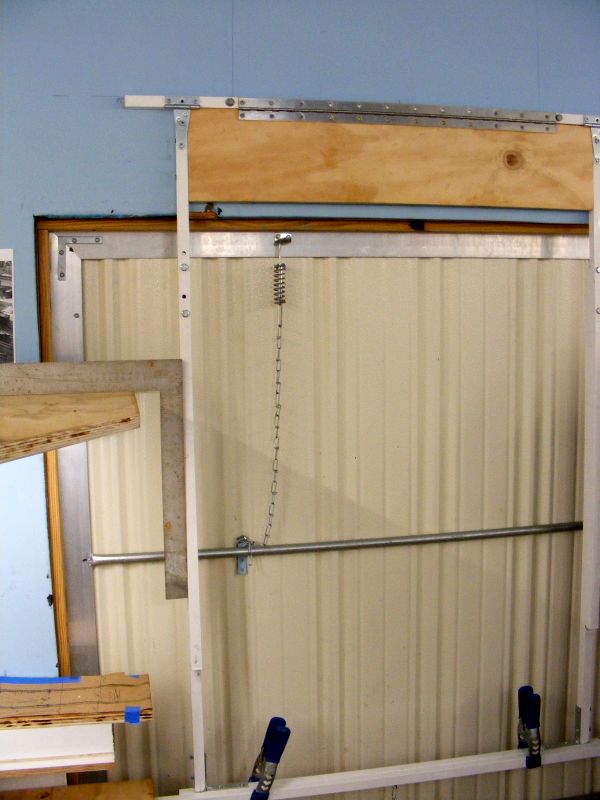
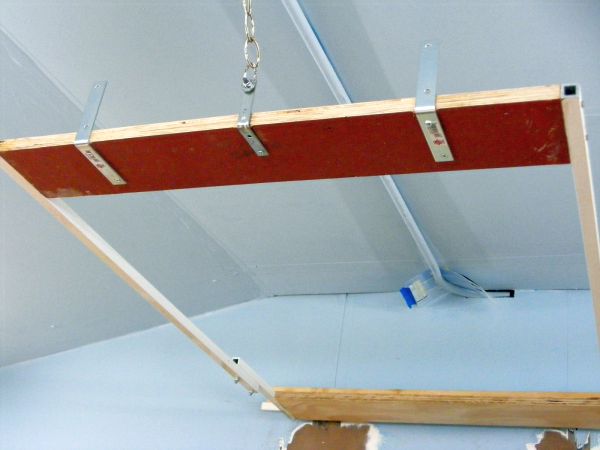
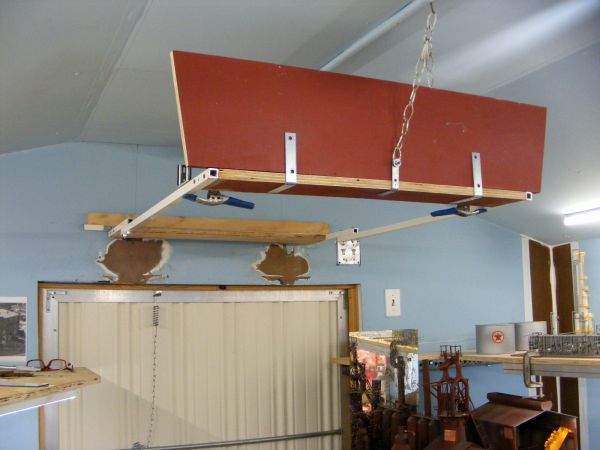
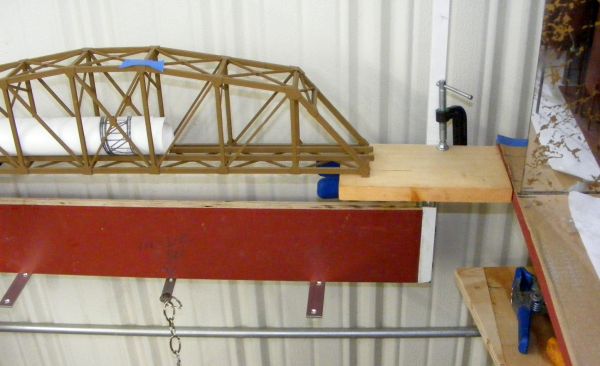
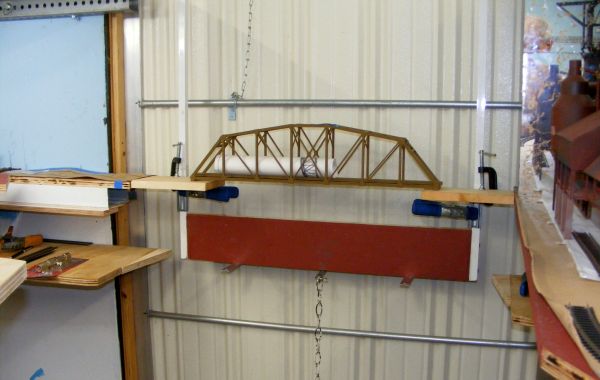
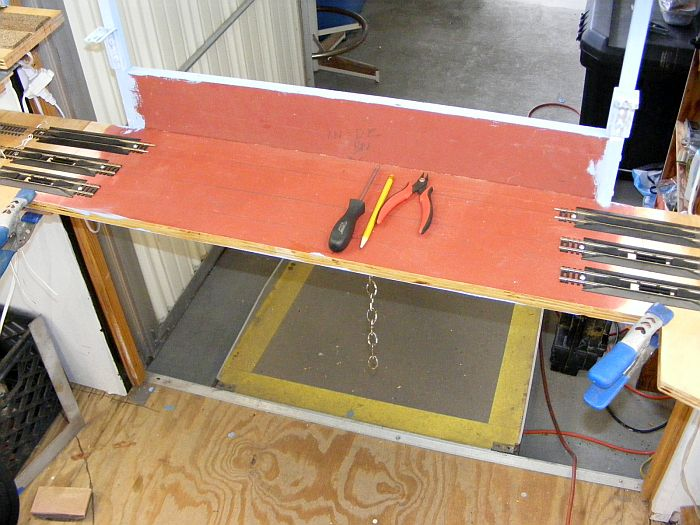
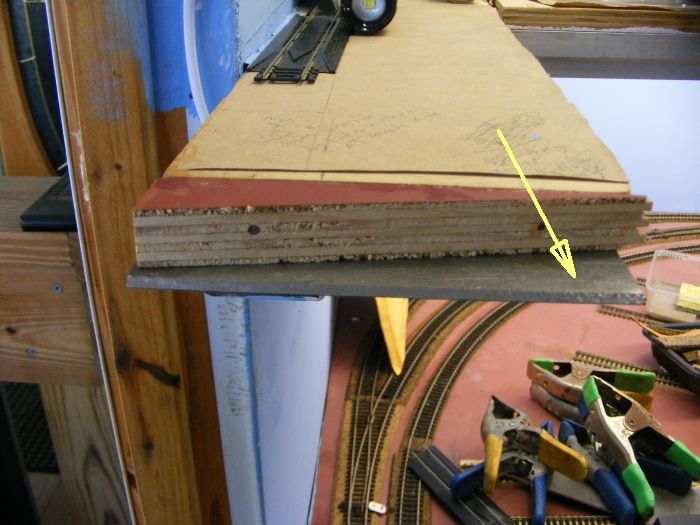
Here is that swing-up structure raised up to the ceiling
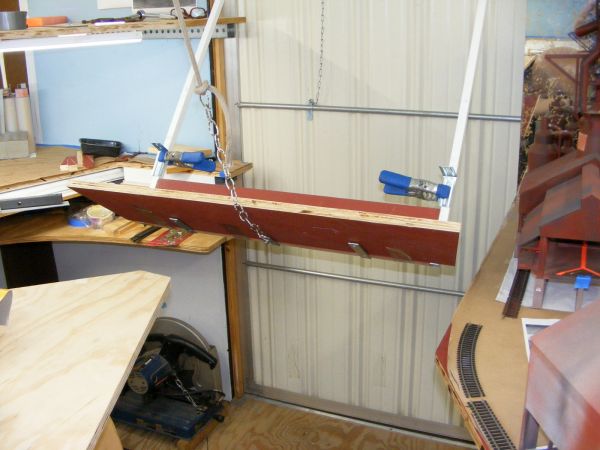
...and that structure partially the way up,...clearing the tip of the peninsula....
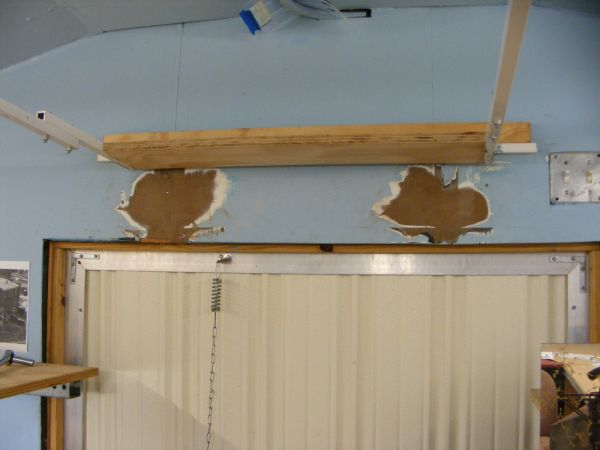
You might have noticed those two 'blobs' on the wall that the frame structure is bolted to …
Turns out I had to some extra sanding of the masonite seams/tape in those 2 areas to get a really flush surface for the structure to sit against while remaining in a straight down/vertical attitude.
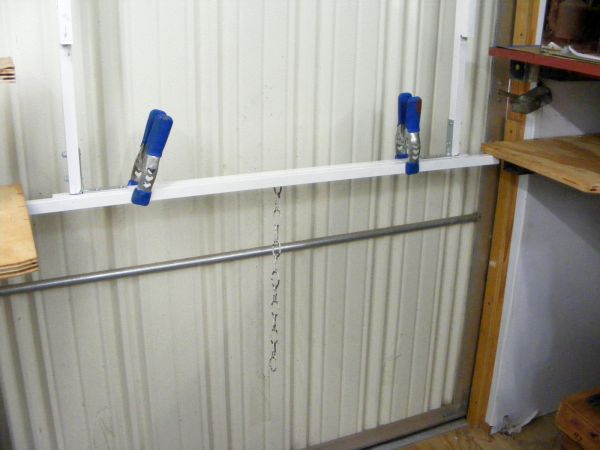
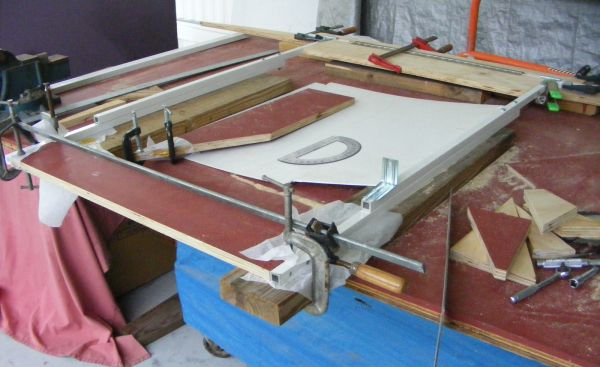
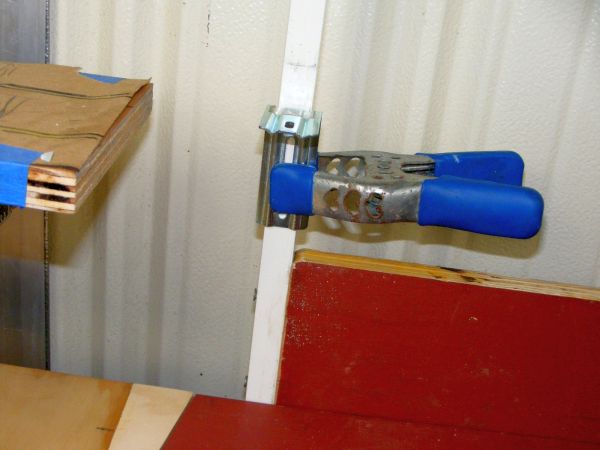
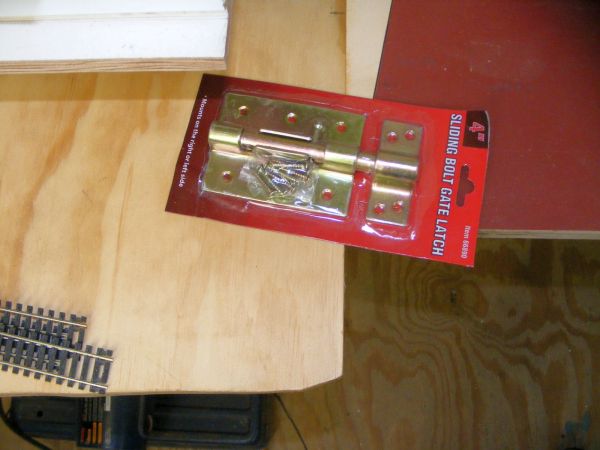
Its my intention to utilize 2 sliding rod hasp like this one to 'lock' the lower deck in place. I intend to mount those on the underside of that deck piece at either side. And I am thinking I want to mount them at an angle as I have laid them out there.
I have found that MANY of these type sliding hasp are NOT built to very close tolerances, so I have gone looking for better ones, and/or a way to modify this large one to fit my desires.