
bklynman01
Active Member
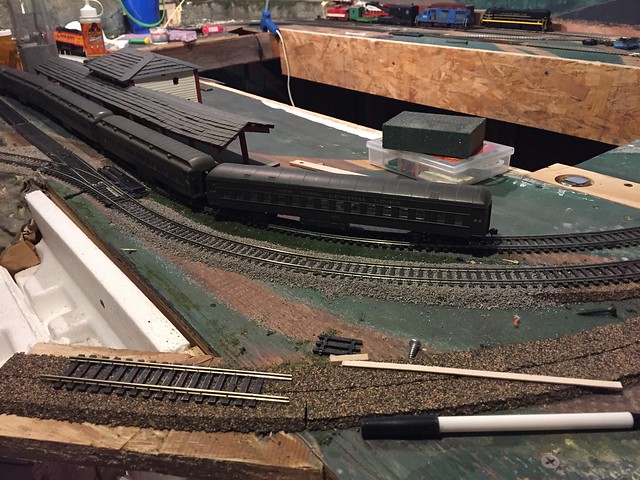
I have a section of track that goes into a tunnel where there's some hidden staging. The mainline that heads into the tunnel is on cork roadbed. Here's my idea...
The hidden staging can be built "off-site" and then simply put in place. Since it's hidden, there's no need to worry about aesthetic details so I want to try and remove the cost of cork (to save only a couple bucks, but it adds up). Before I can move forward with that, I'll need a good way to bring the mainline down to the surface in a smooth fashion.
Has anyone done this in the past? How did it go? What tools and method did you use to shave/cut the cork?
Thanks!
 The benefit is that the transition will happen in a hidden area so the strange shape of the roadbed won't be too noticeable.