
You are using an out of date browser. It may not display this or other websites correctly.
You should upgrade or use an alternative browser.
You should upgrade or use an alternative browser.
HO Scale Apartment Layout
- Thread starter CaptSuperCow
- Start date
TheGloriousTachikoma
Member
Byron
Don't really need a "drill track" just to switch the "20" R" industry. The lead to the industries on the left should be able to handle a switcher & a couple of cars. Use that track to cross load between cars for that top industry.
The idea though is to be able to leave that industry alone. In the vein of being realistic, if there was enough cause to build a switchback, there would be a dedicated drill track unless there was no possible way.
The idea though is to be able to leave that industry alone.
Exactly. Trying to avoid the (mostly) unprototypical situation of moving cars out of one industry to switch an unrelated industry.
wright2626
Member
depending on what the industry on the left side in the center is, one of the tracks between the two industries could be taken out.
But model RRers just have to HAVE one. LOL
I don't see why, but to each his or her own.
depending on what the industry on the left side in the center is, one of the tracks between the two industries could be taken out.
I don't see why, but I guess one could.
CaptSuperCow
Member
This thread is turning into a real barn burner... that aside I really like the comments you've all been posting. It seems that there is a dichotomy between what we enjoy in model railroading. Between what is realistic and what is just fun to operate even if not realistic. I see the merit in both and honestly I think I'll have to have a little of both in my layout as I have to compromise to fit my current situation. One day I'll have a house with a basement where I can create fully dedicated and realistic operation; but until then, I'll take what I can get! 
Also in regards to kits, I like what you're saying, and I've done a bit of armor modeling before, and like Wright said, I would usually pick up two of a kit in order to create exactly what I was going for.
Also in regards to kits, I like what you're saying, and I've done a bit of armor modeling before, and like Wright said, I would usually pick up two of a kit in order to create exactly what I was going for.
Beachbum
Member
It seems that there is a dichotomy between what we enjoy in model railroading. Between what is realistic and what is just fun to operate even if not realistic. I see the merit in both ...
Well, there you have it. It's YOUR railroad - you can do whatever pleases you.
And if your tastes change, salvage what you can and build another one.
wright2626
Member
the drill track could be used to switch out the switchback, but also one of the industries on the left side. if i were either one of those industries i would also be upset if i had to stop loading/unloading cars so that the other industry could be worked. ultimately, no matter how well you plan, you will not know for sure until you actually see the layout coming together.
CaptSuperCow
Member
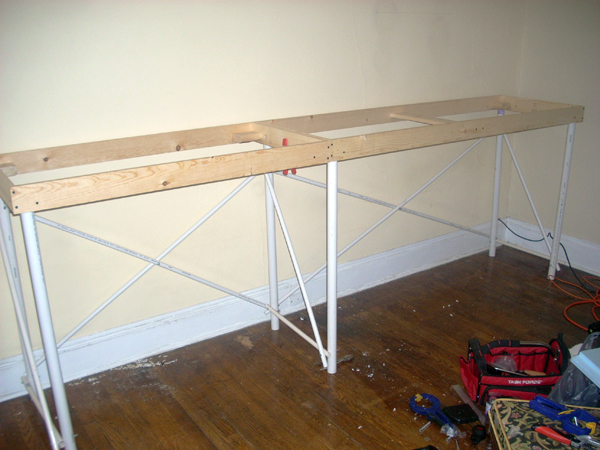
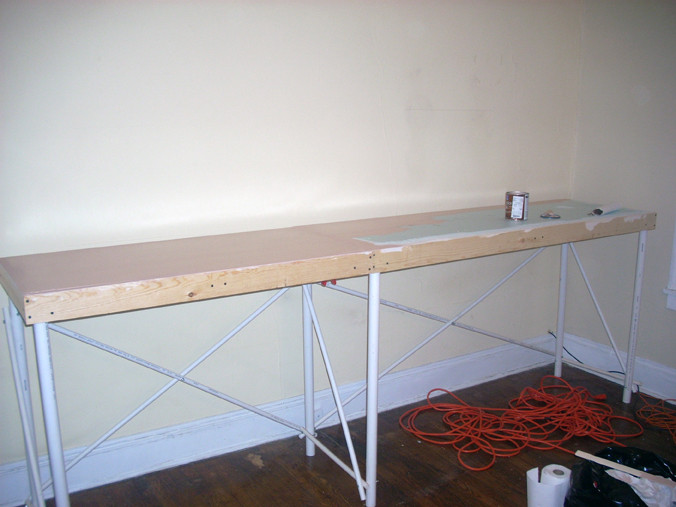
Speaking of the layout coming together, it's hard to build a layout without benchwork! I made a major milestone tonight in finishing the modular frames:
The connection allows for two units to be joined with only one leg brace:
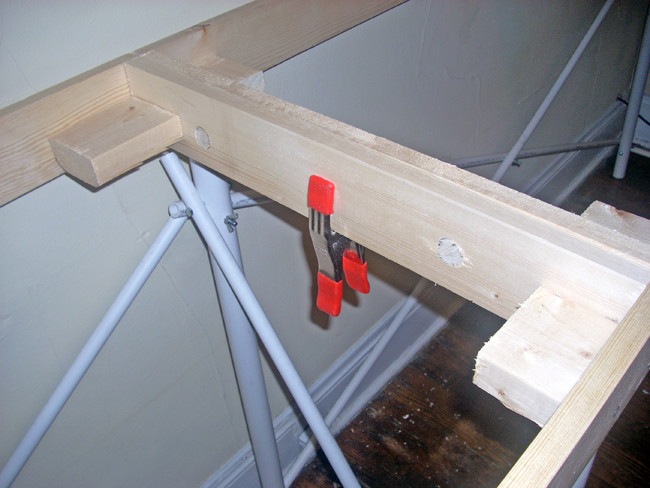
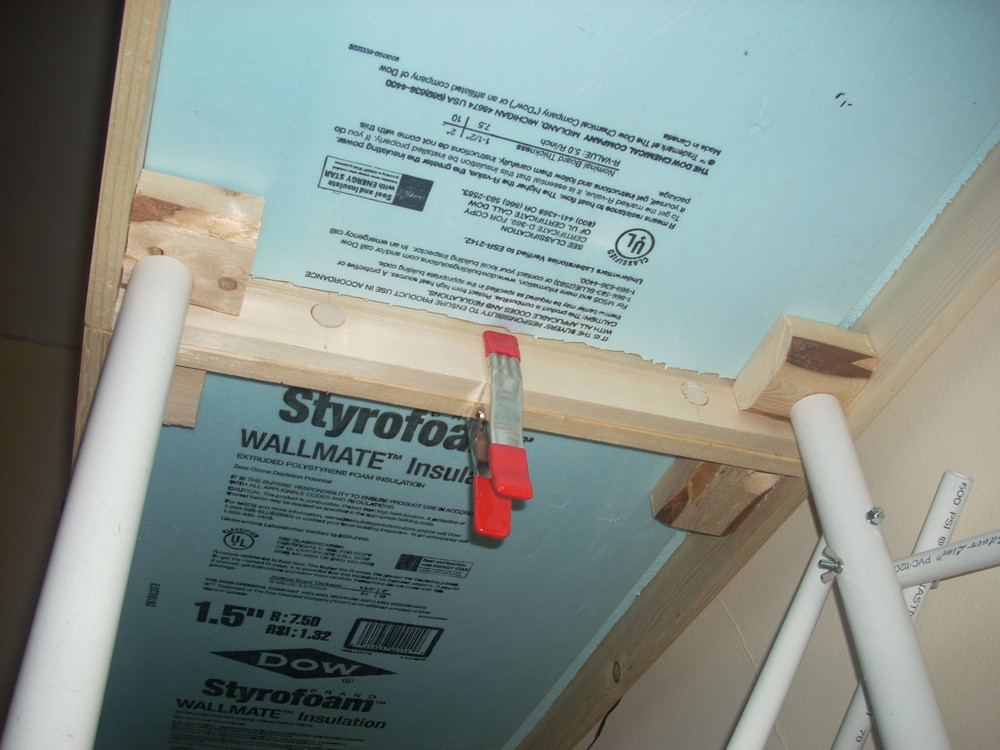
Sorry about the flash, crappy lighting as of yet. And I have 1 1/2" foam to fit into the frame slot which will act as the base for the layout! Now to finalize the layout enough to order the first module of track!
The connection allows for two units to be joined with only one leg brace:
Sorry about the flash, crappy lighting as of yet. And I have 1 1/2" foam to fit into the frame slot which will act as the base for the layout! Now to finalize the layout enough to order the first module of track!
TheGloriousTachikoma
Member
While you have it clamped together, drill some holes for snug-fit dowel pins for alignment. Another two holes for the anchoring bolts. when you lay track, drive some nails into the wood just deep enough to make contact with the undersides of the rails. (this is with the sections bolted together). Solder the rails to the nails in the wood, and you end-up having perfect alignment without rail joiners or short sections of track to bridge the gap.
Here's two variations of the 2'x10' plan w/o the rivers as most RRs also avoid those like the plague especially a 4 track one! That comment come from having worked w/ RR civil engineers on one project for 14 years. Plus there's no switcback & it gives more space for industries. The 2nd plan shows the interchange track parallel to the yard lead. That track could also be a "staging tray" w/ cars to avoid having to handle the cars so much.
Last edited by a moderator:
CaptSuperCow
Member
I've ordered up the track I need for the first section at least. I've also been building up my wiring equipment in preparation. But to answer beachbum's questions about the attachment with the legs, I've got a smaller diameter pipe glued within the leg itself. Said short pipe section fits into a same diameter hole within the corner blocks of the frame. That way the leg is held in place by the small bit; while the weight of the table rests directly on the larger diameter leg. Simple and easy to take apart.
The clamp is a permanent part of the frame, just to keep the two sections together nice and tight while the dowels keep it aligned.
My next step is to figure out how to nicely put a base coat on the foam. How do you paint foam? I know you can't use spraypaint as it will cause the foam to bubble up. Should I coat it in gesso first like a canvas?
TheGloriousTachikoma
Member
SupahCau, normal latex house paint works fine. Just get some *flat* in a beige-ish-tan color and brush it down.
CaptSuperCow
Member
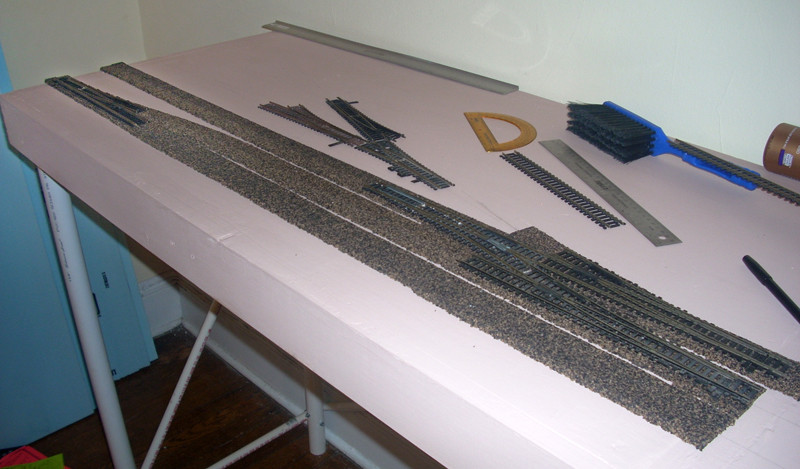
More progress!
Glued in the foam and puttying the edges to get a clean surface:
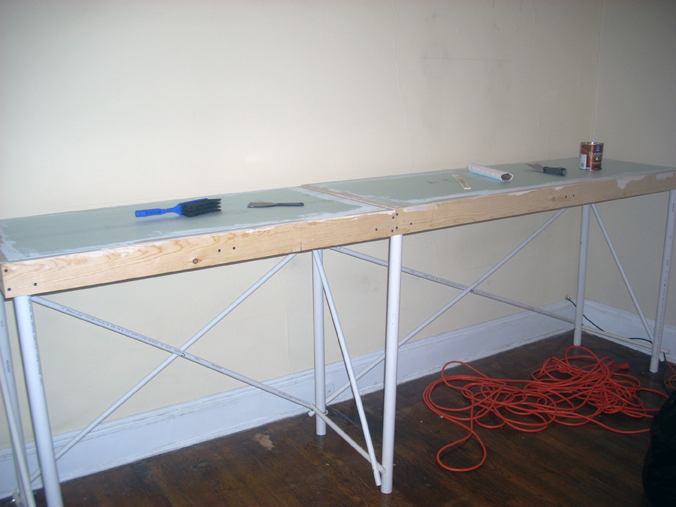
Painting the base coat:
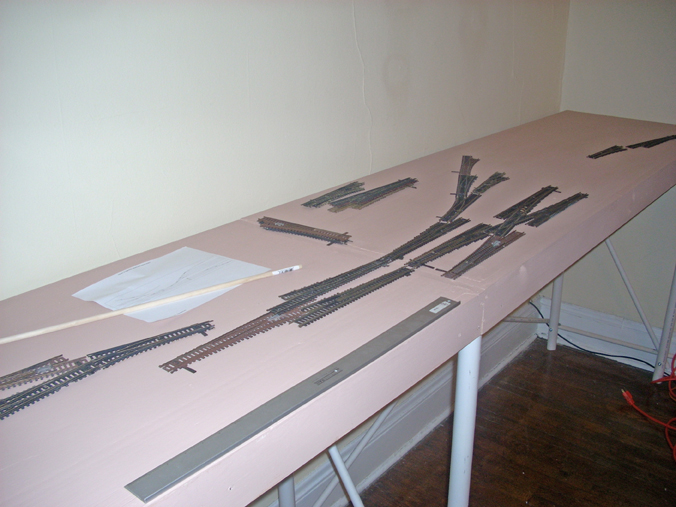
Got the switches in the mail!!!
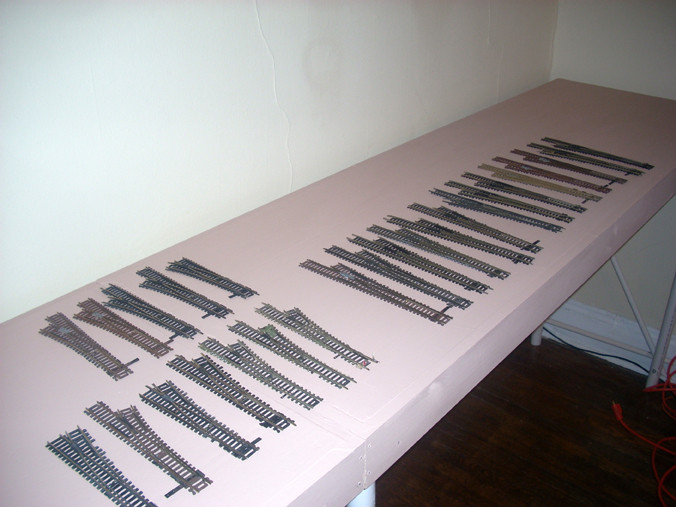
And preliminary laying them out:
Now I need to get some flex track and straight sections to fill the rest of the layout; hopefully we'll start finalizing some of the sections soon.
Glued in the foam and puttying the edges to get a clean surface:
Painting the base coat:
Got the switches in the mail!!!
And preliminary laying them out:
Now I need to get some flex track and straight sections to fill the rest of the layout; hopefully we'll start finalizing some of the sections soon.
TheGloriousTachikoma
Member
More progress!
Glued in the foam and puttying the edges to get a clean surface:
Painting the base coat:
Got the switches in the mail!!!
And preliminary laying them out:
Now I need to get some flex track and straight sections to fill the rest of the layout; hopefully we'll start finalizing some of the sections soon.
WOAAAAAOW! Where did that double x-over come from?
CaptSuperCow
Member
Well, I went to a train show today and was able to get quite a haul. I picked up the flex track I needed, some straight parts and a few boxcars as well!
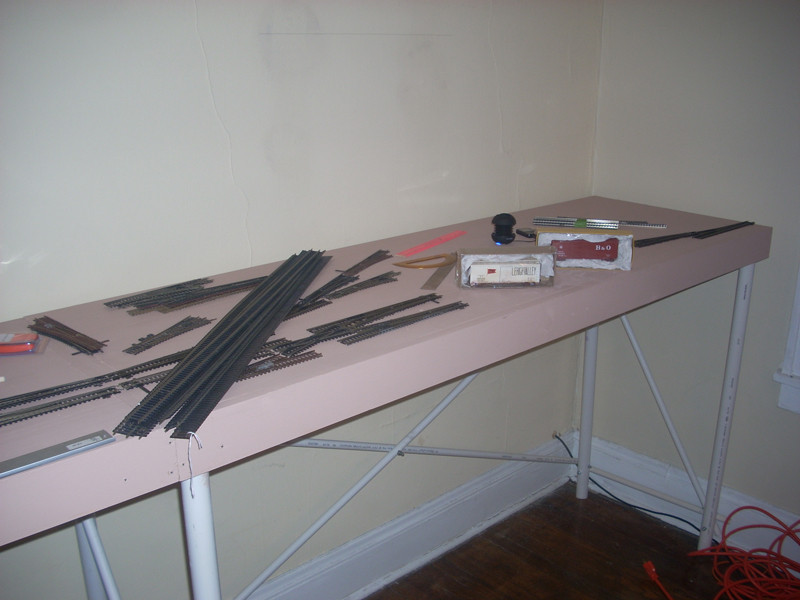
And now I've gotten into laying down the first trackbed! I was blazing through thus far, but ran out of cork before long; but I've laid down all the cork for the first module and begun cutting the track and switches for the layout.
Now I need a metal file to clean up the rail cuts and a 1/2" drill bit for the switch machines!
