DaveInTheHat
Active Member
A little background on how this idea came about....
Whenever I'm building a diorama or anything else for that matter, I keep a small box on my bench to put "stuff" in. Things like leftover pieces of wood, metal, plastic, painted paper, leftover parts or anything else that I think I might use later. Once and a while I use some. When I'm finished with the project the little box gets dumped into a bigger box that I keep on a shelf with the other junk that I've been hording.
Along with this stuff I have a box of leftover kit parts and HO scale junk. Some of it I've sorted through and picked out what I can use and have it stored in empty prescription bottles. (finally found a good use for them). Then I have this other box of "stuff". It's full of things that I've found over the years. Pieces "stuff" or odd things that I think I might be able to use for something. My wife has developed a keen eye for "stuff" that she thinks I could use and usually just puts it on my workbench. Some of it is really odd that I never would probably never use. But, for the most part she leaves me with some really good "stuff" and I have used a lot of it in my dioramas.
So, I was looking for some stuff that I could use for "junk" to put behind "Tuxedo Dave's Chainsaw Sharpening" and I started wondering what I'm going to do with all this really weird "stuff". If I threw it all out I probably wouldn't even miss it. Am I the only one that does this?
Then I was at work and I found a piece of MDF 3/4" thick, about 5 inches wide and 4 feet long in the scrap bin. The idea hit me. I'm going to build a boardwalk and use up a whole mess of this weird crap that I've been saving.
I figure just about anything goes on a boardwalk. Actually, the stranger the better. I'll be able to use up a lot of the odd pieces of wood that I've been saving too.
My plan is to build the boardwalk in two, 2 foot sections to make it easier to work with. Once the base is finished I can start adding stores. Since I'm only going to be building store fronts they should be fairly quick to build. I'll be able to make these one at a time to take a little break from bigger projects. I'm looking forward to getting started on something. The first store is going to be French Fries. I have a list with about 50 ideas on it.
Here's what I've built so far....
I glued down some foam with wood glue
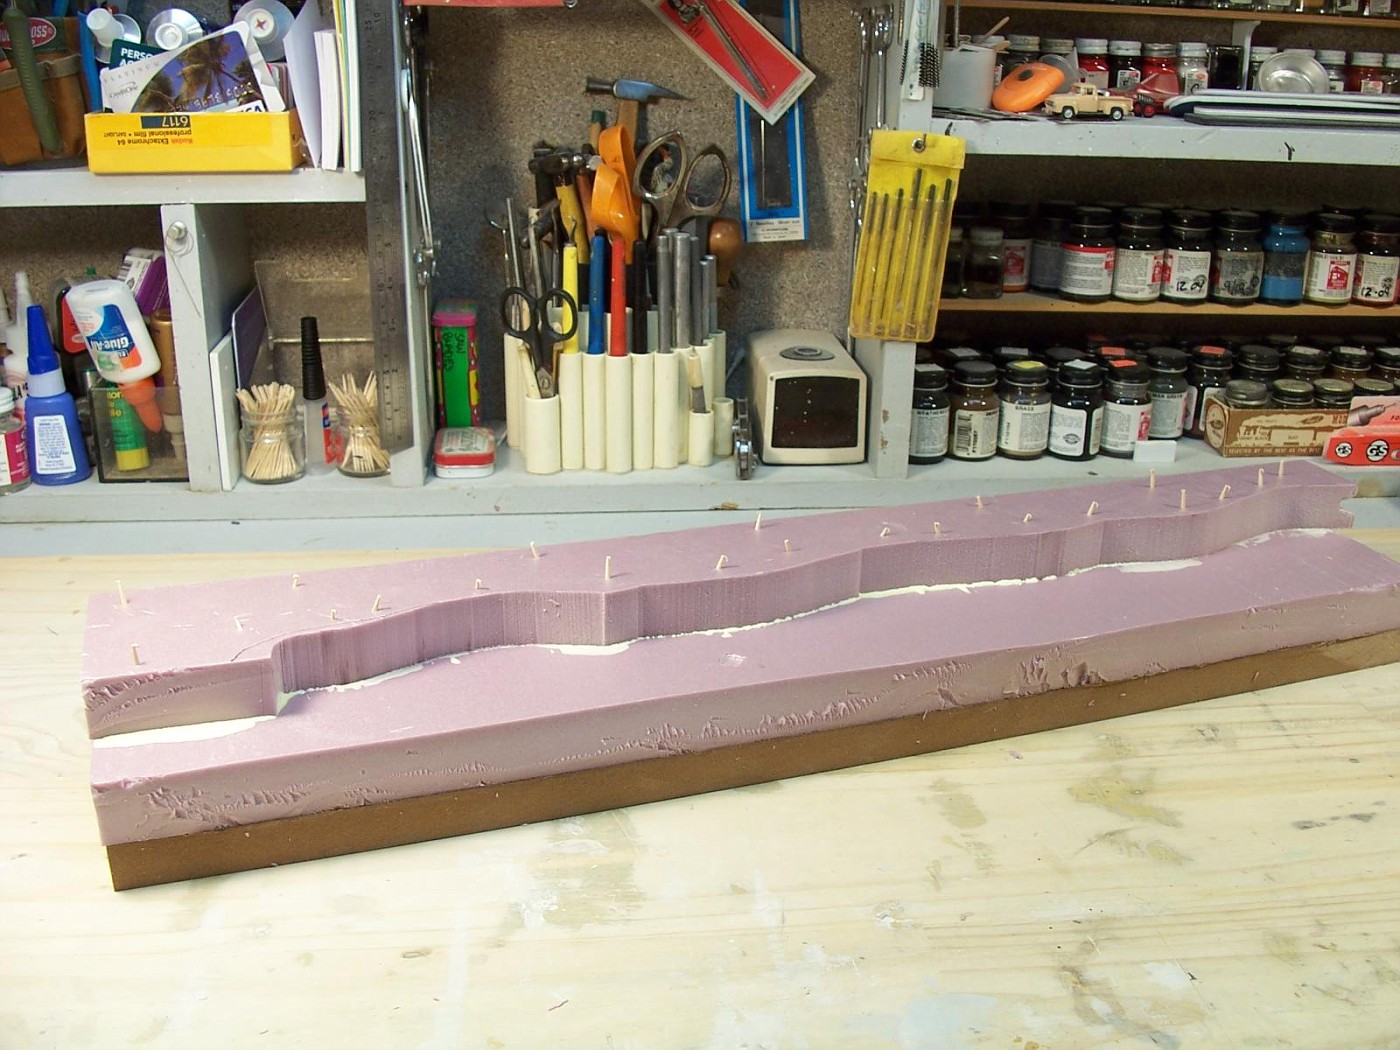
I chopped at it with a utility knife and some really course sandpaper from a floor sanding belt. I tried to carve some rocks out of the foam and gave it a coat of latex paint.

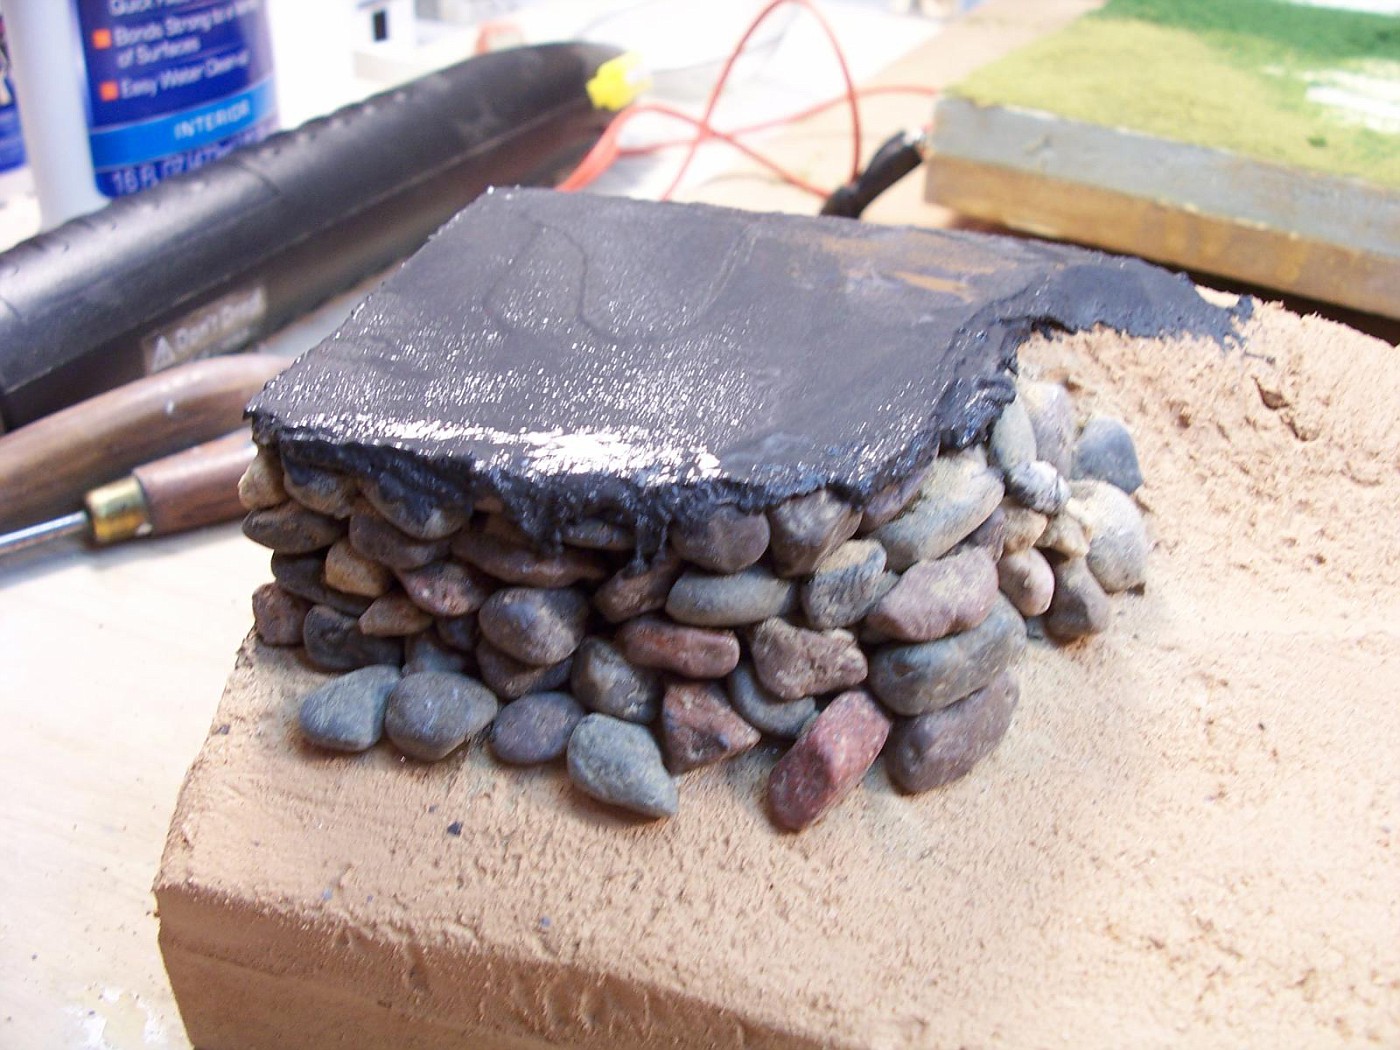
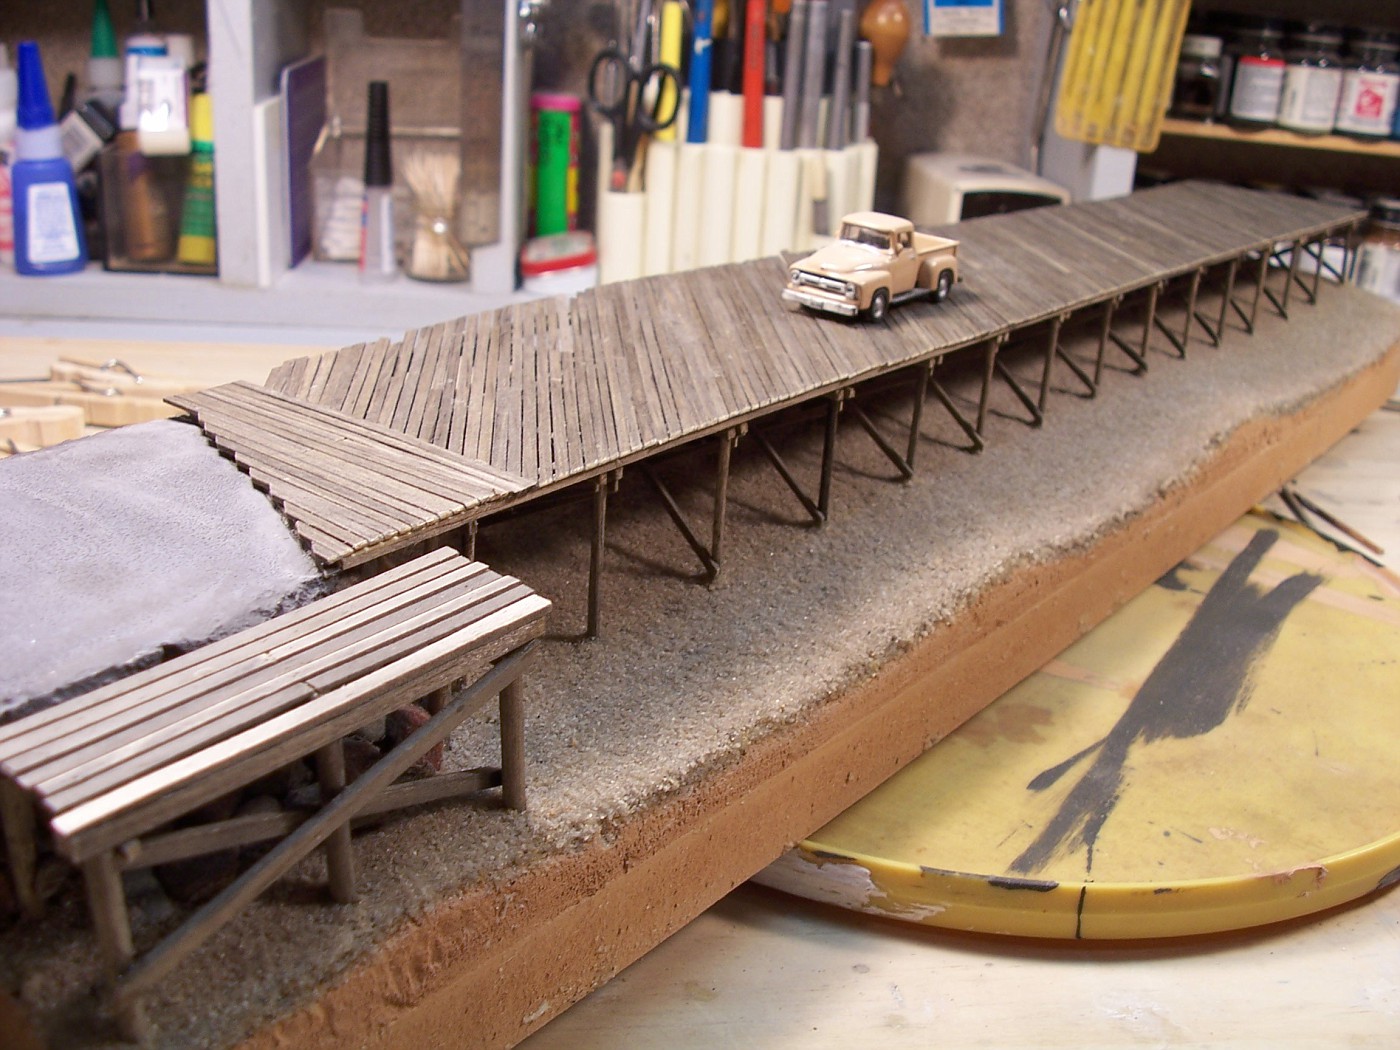
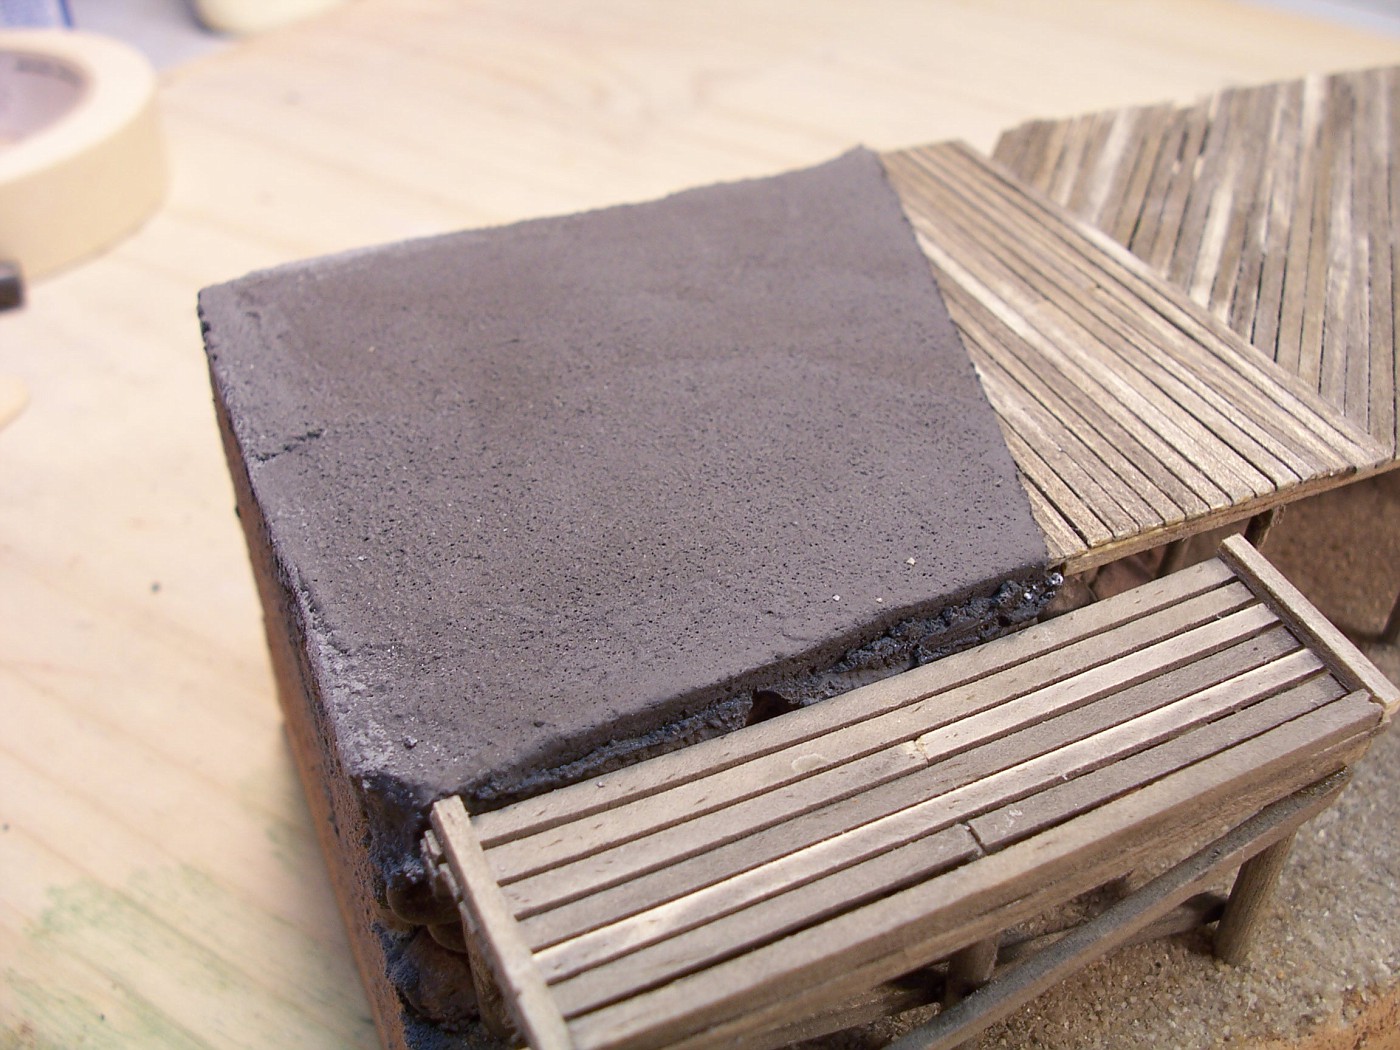
The rocks I tried to carve didn't look like rocks so I used super glue and stuck on some real rocks and added a section of black top. This will be the beginning of the boardwalk.
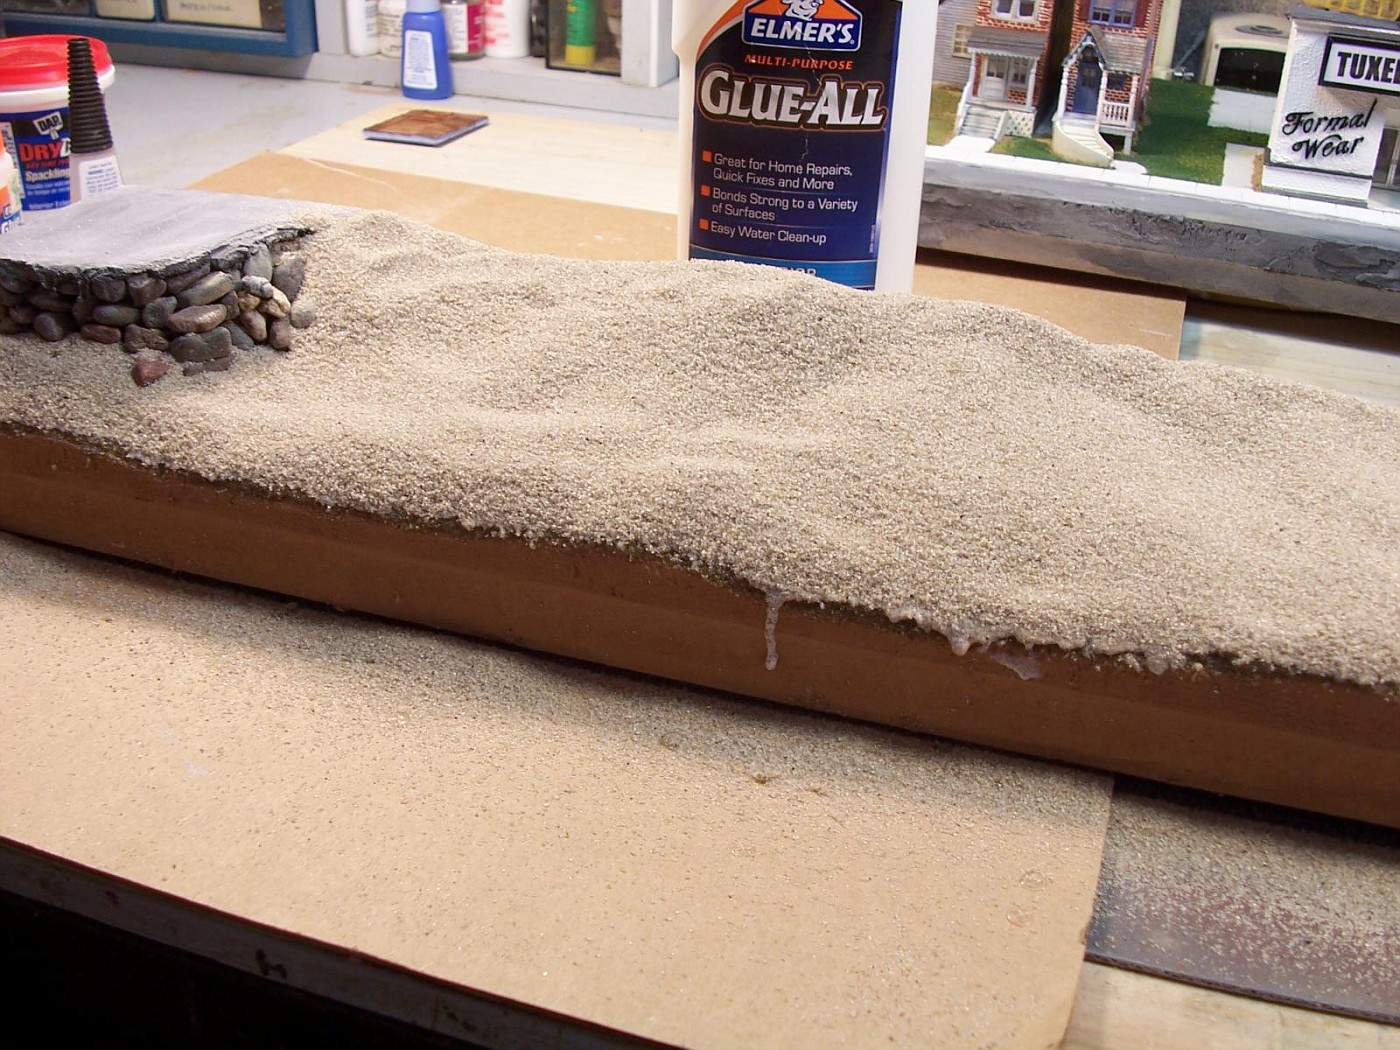
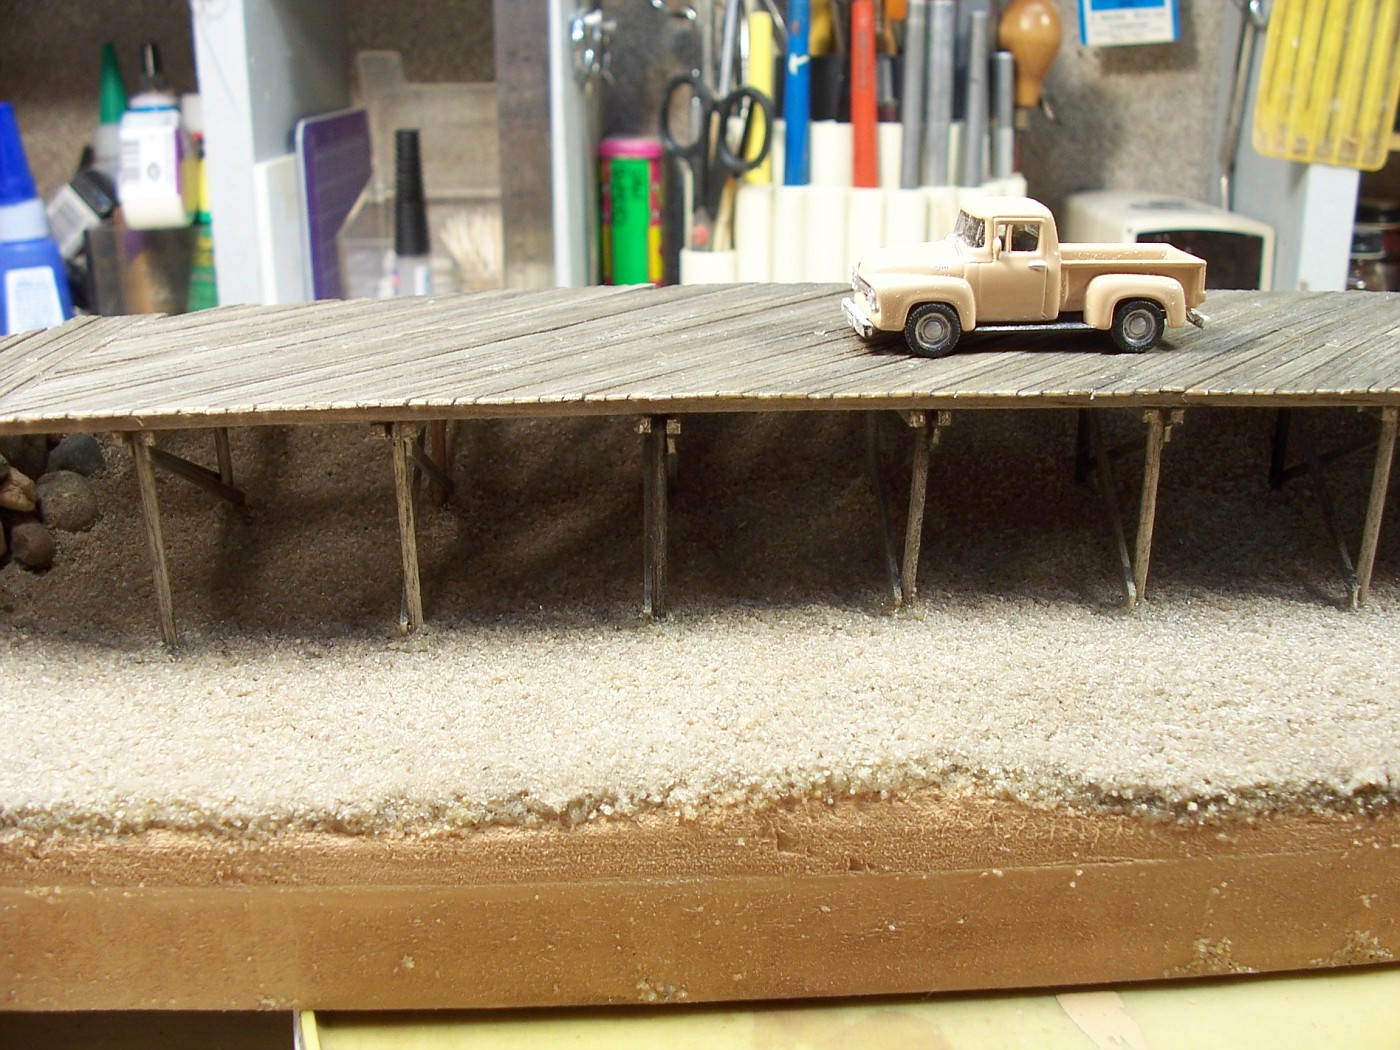
A coat of thinned out Elmer's Glue and some genuine sand from the Atlantic Ocean.
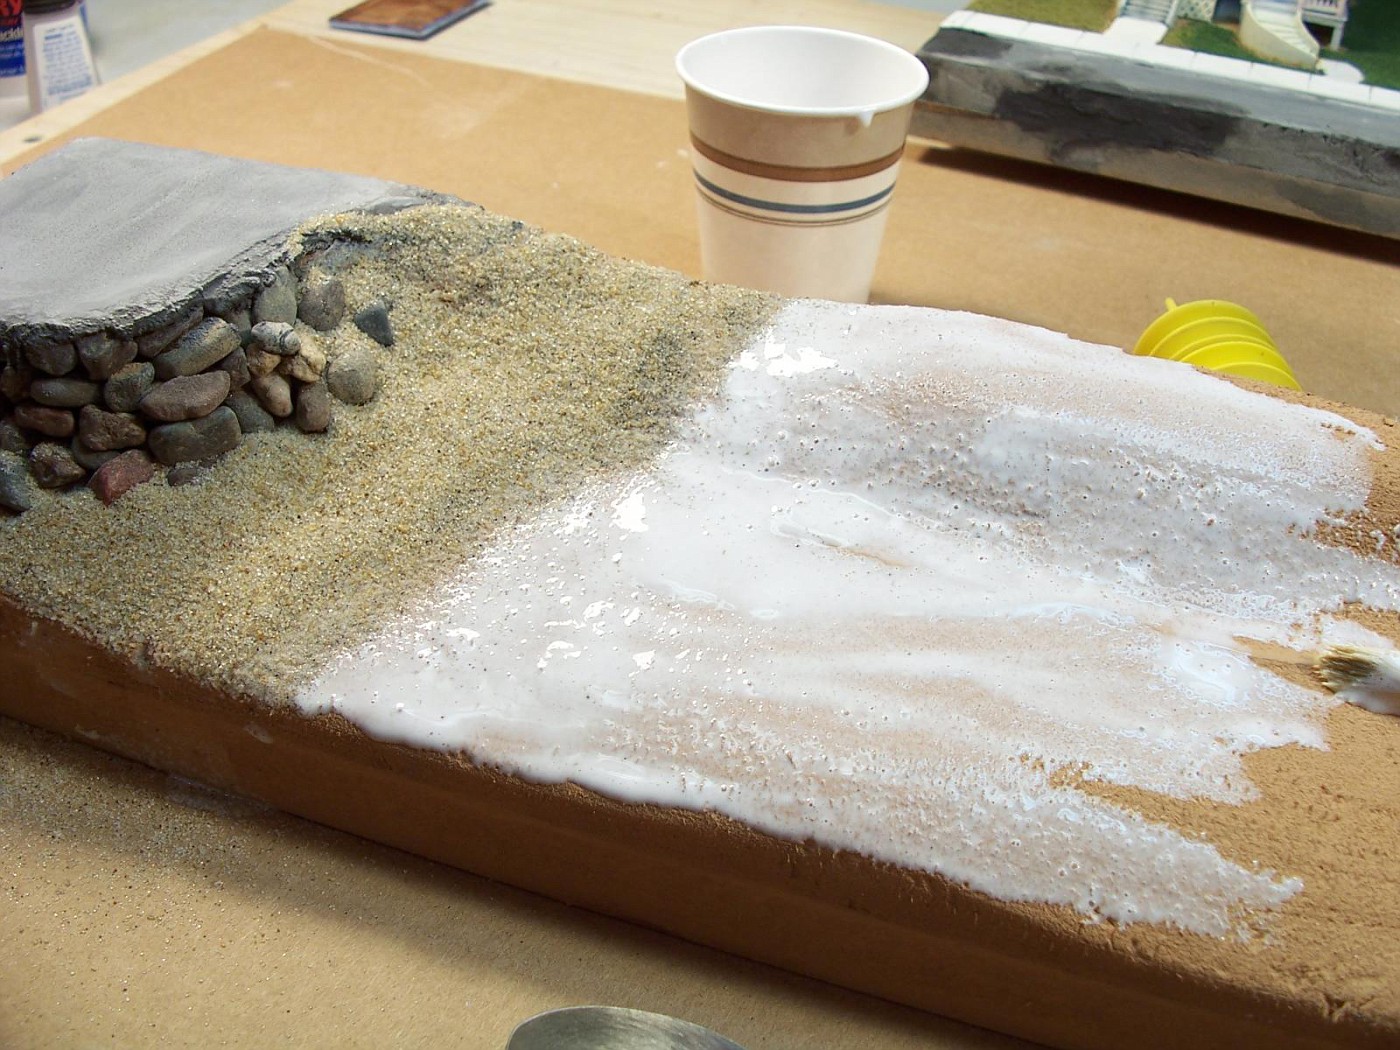
It took a couple layers of sand to get it to look right. I ended up using the glue straight from the bottle and dumping on a lot of sand and letting it sit overnight.
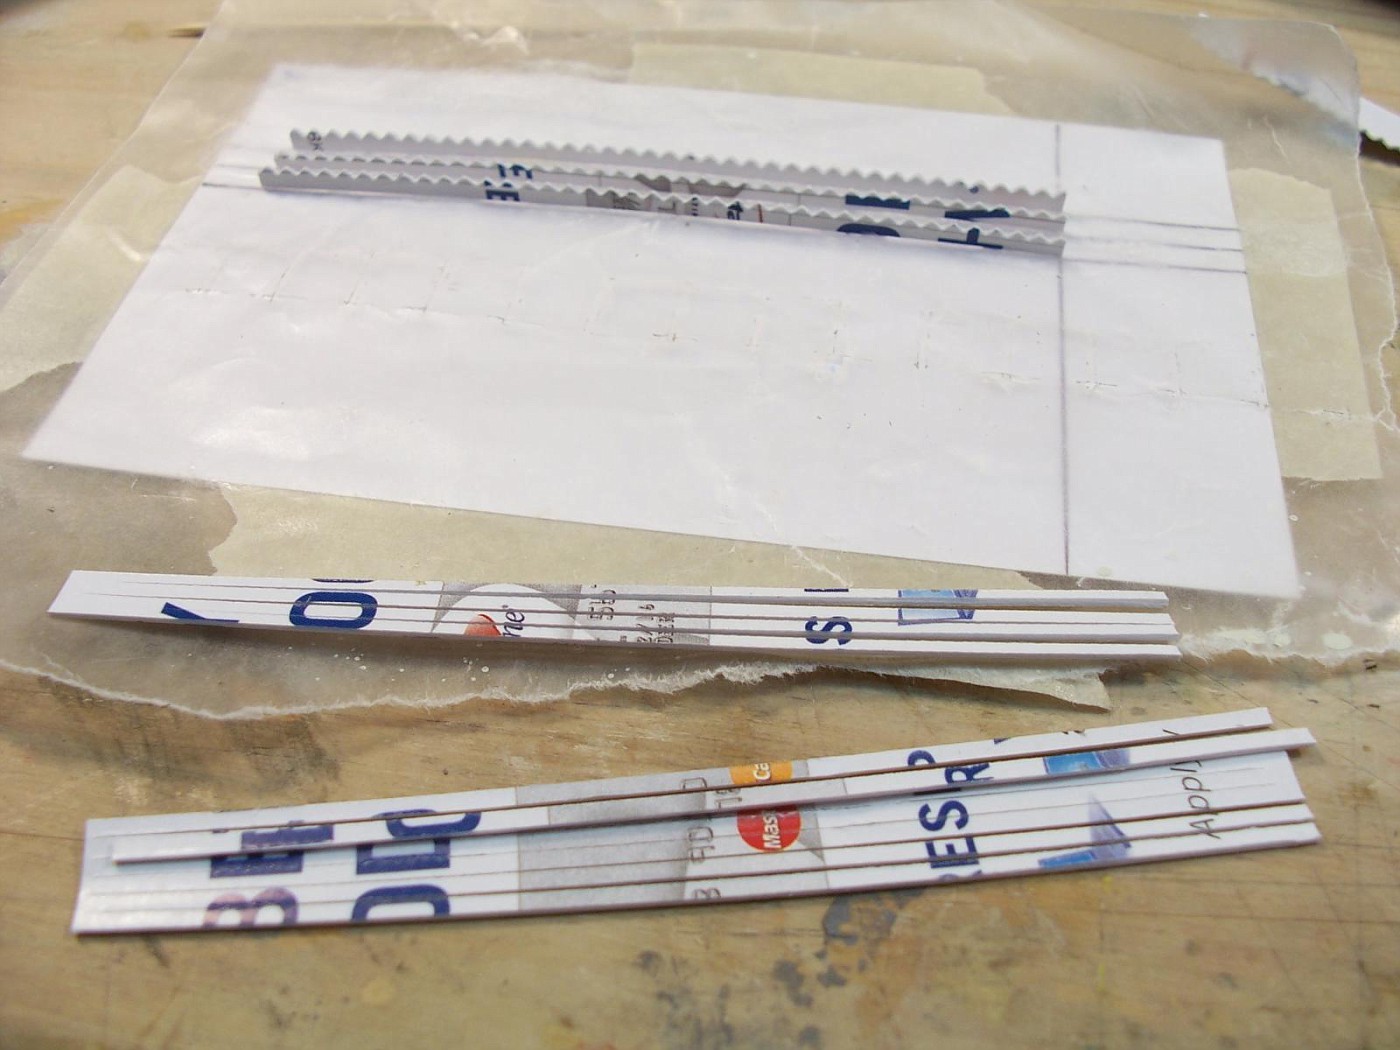
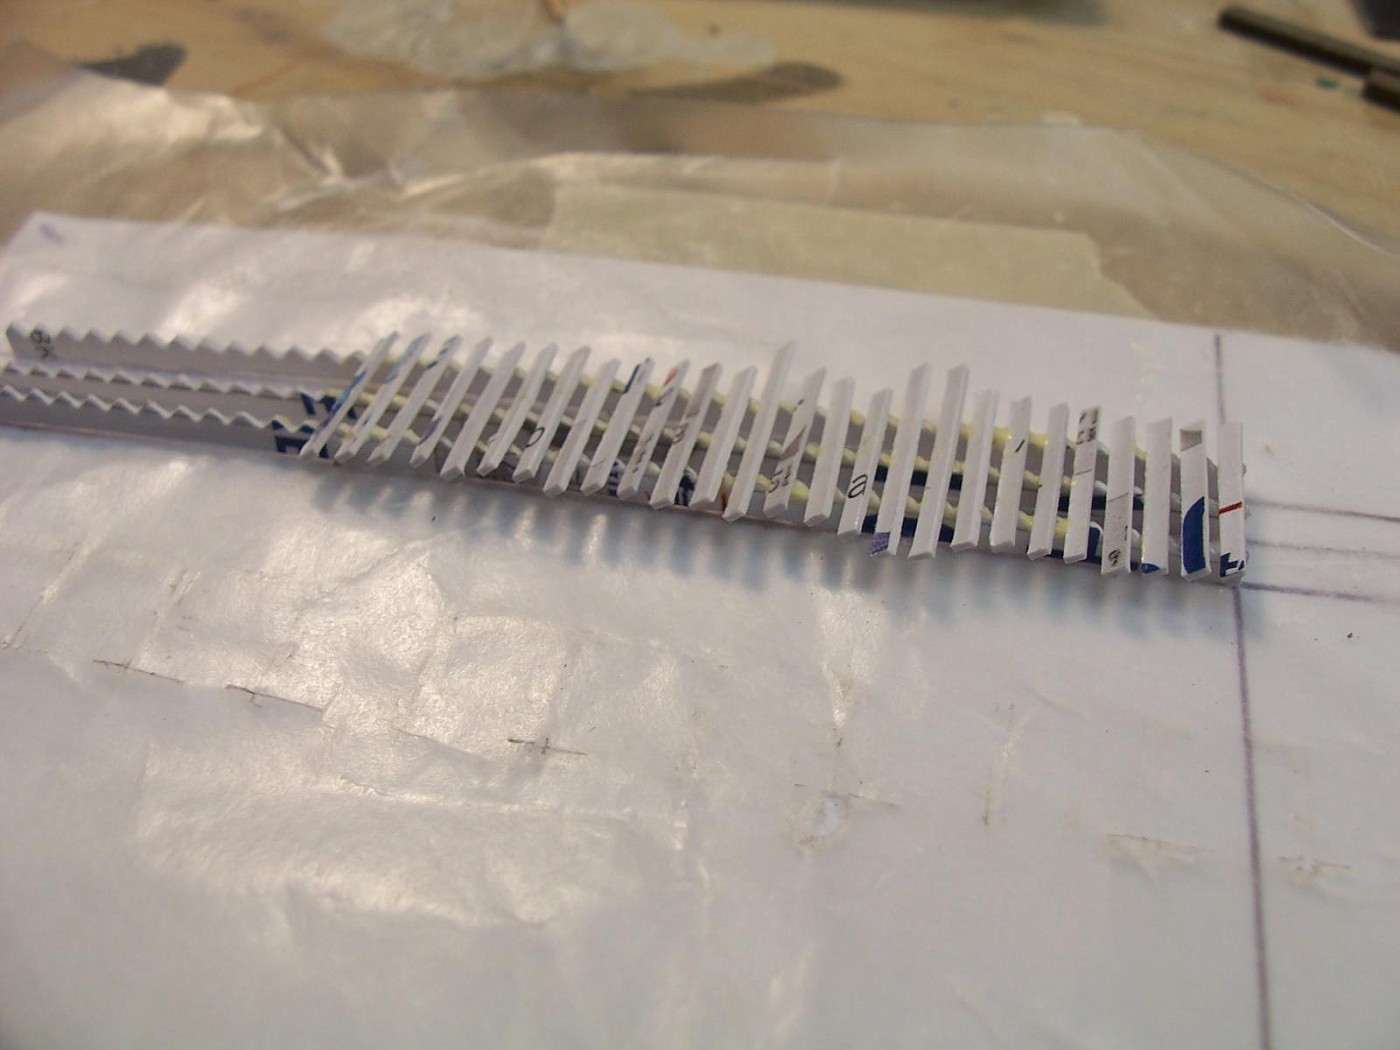
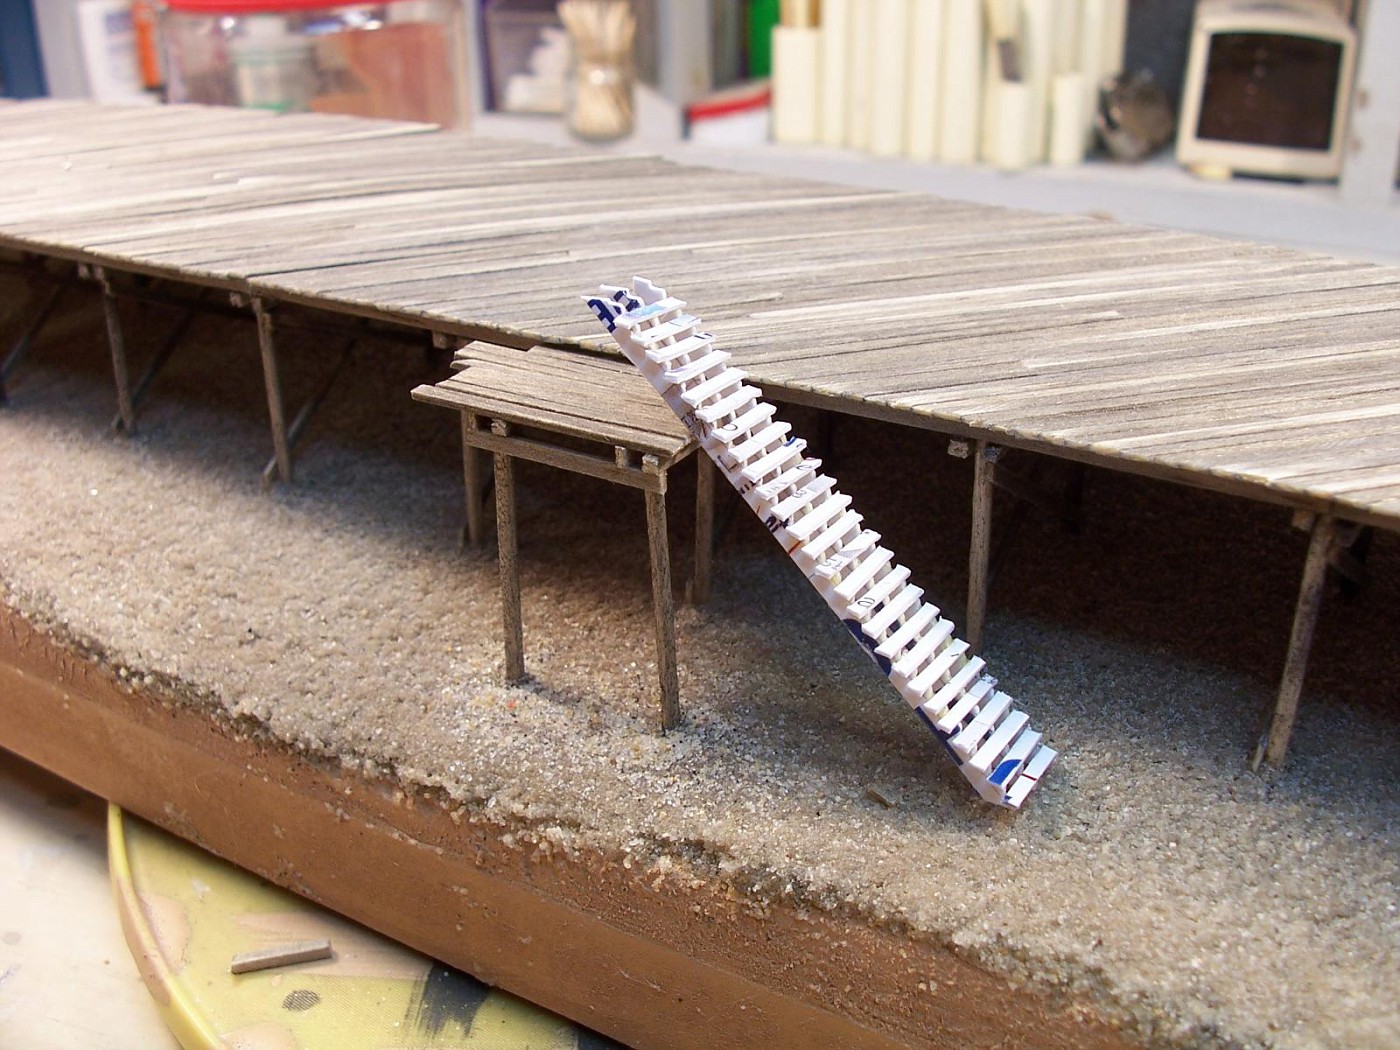
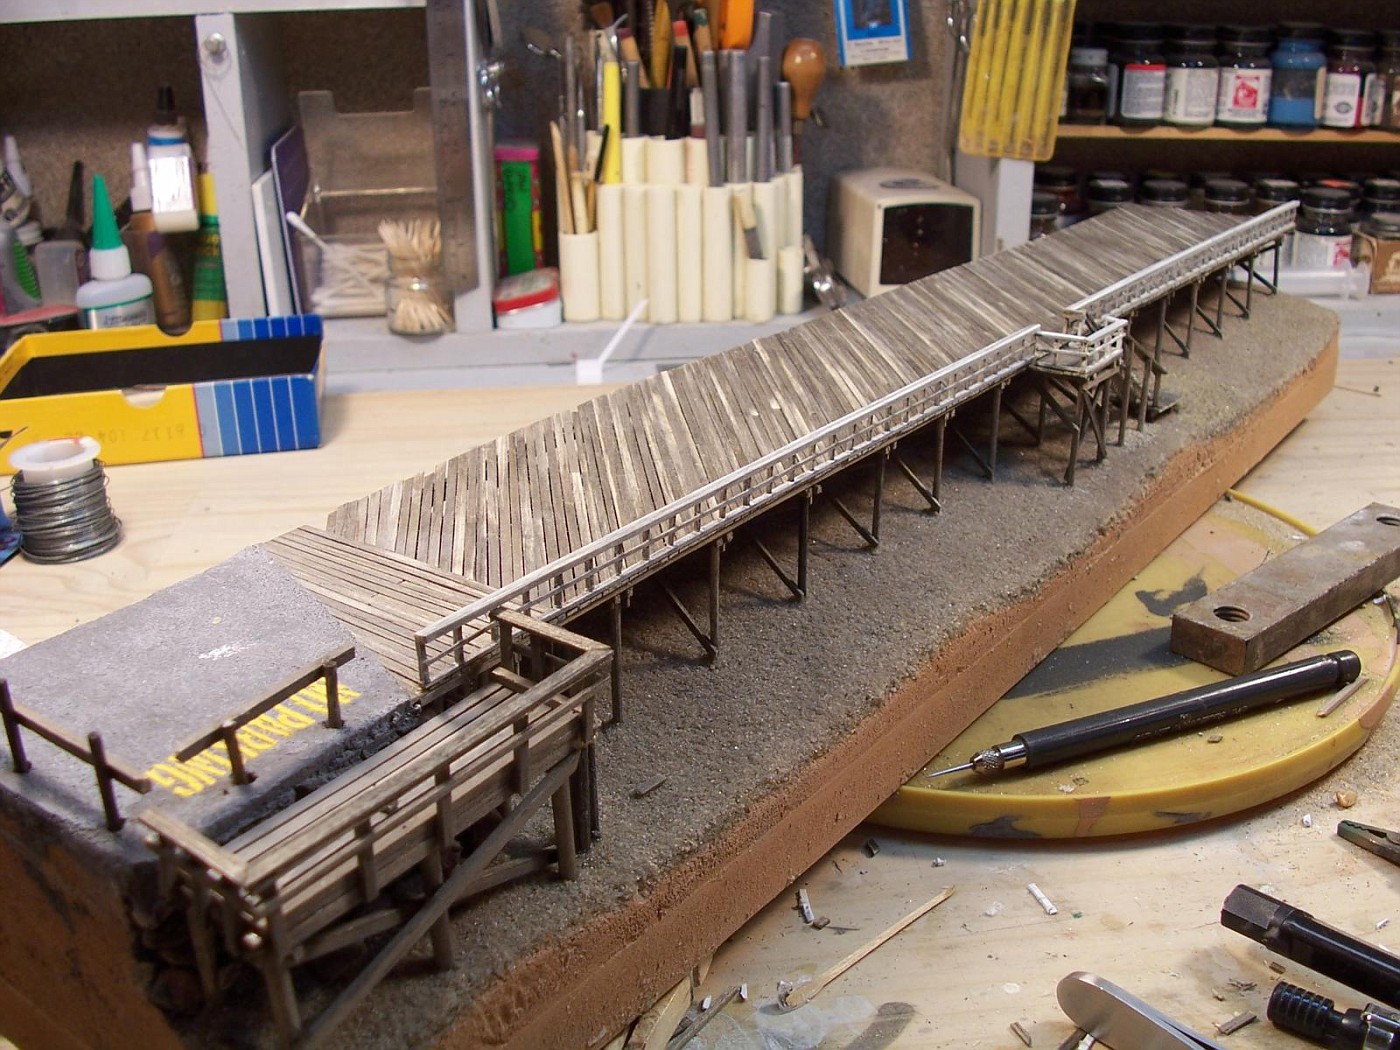
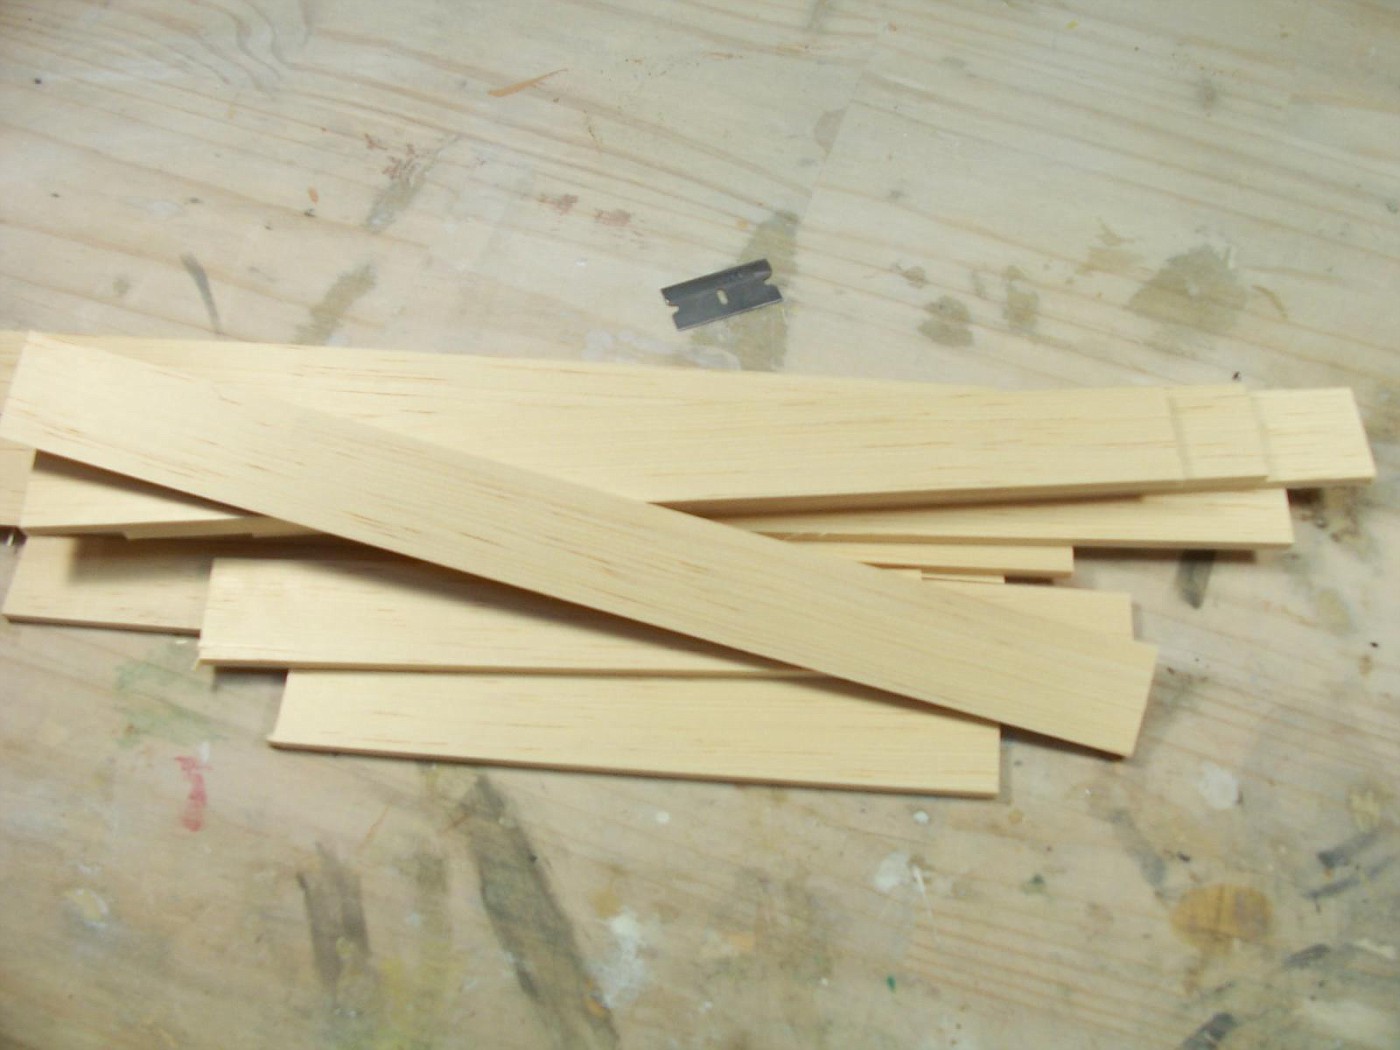
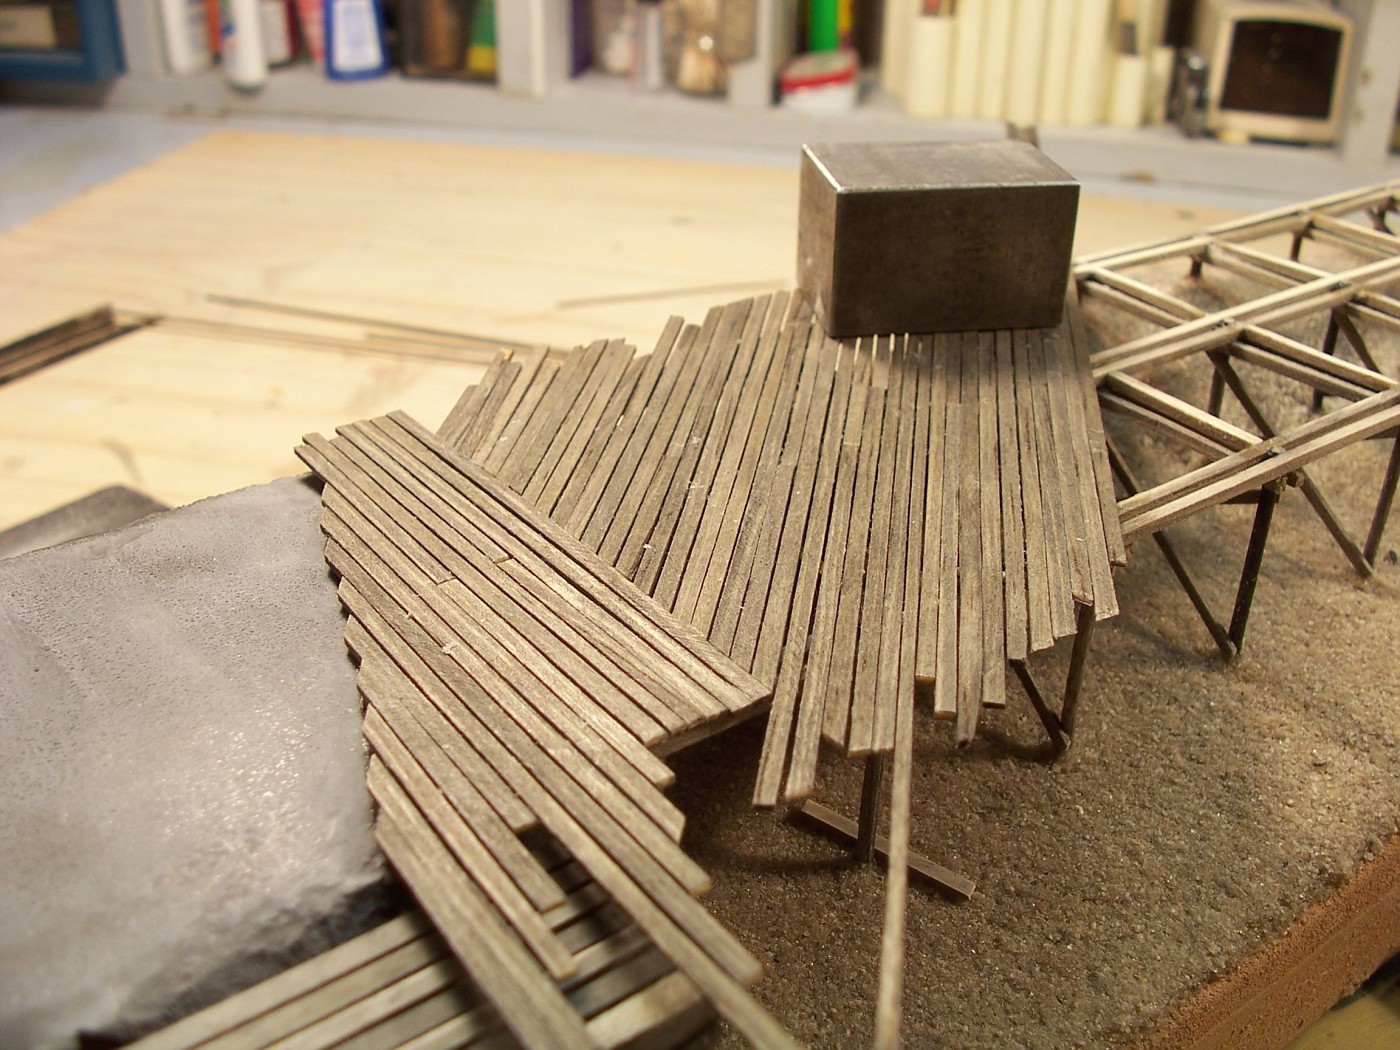
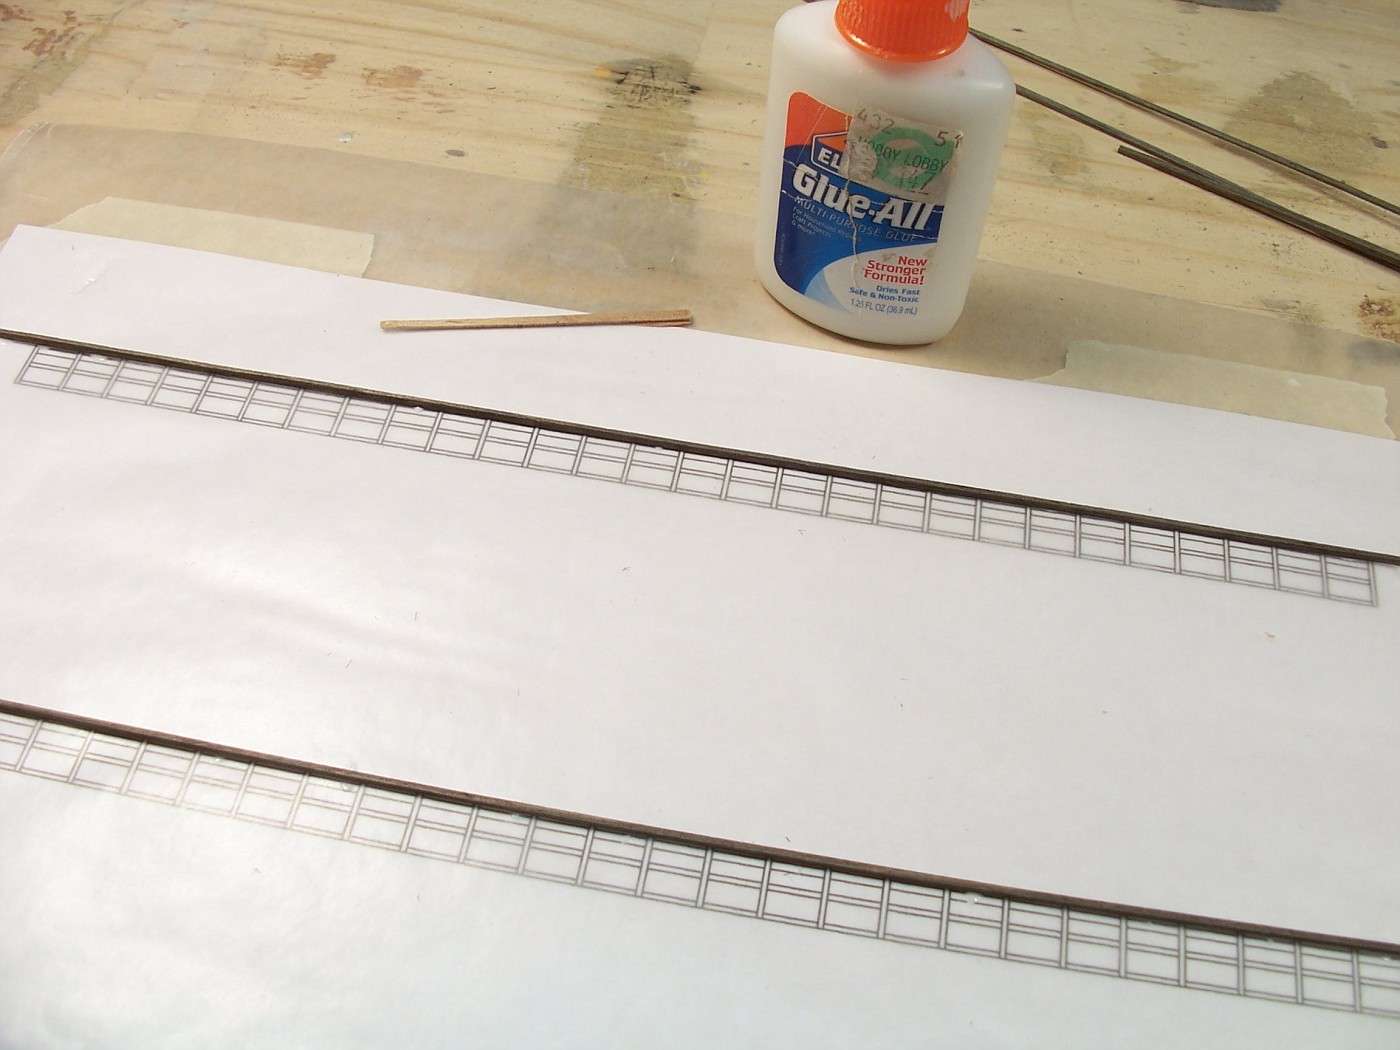
I got some pieces of lattice and cut up a whole bunch of wood. I did the best I could to keep the wood that I'm going to use for the decking the same thickness.
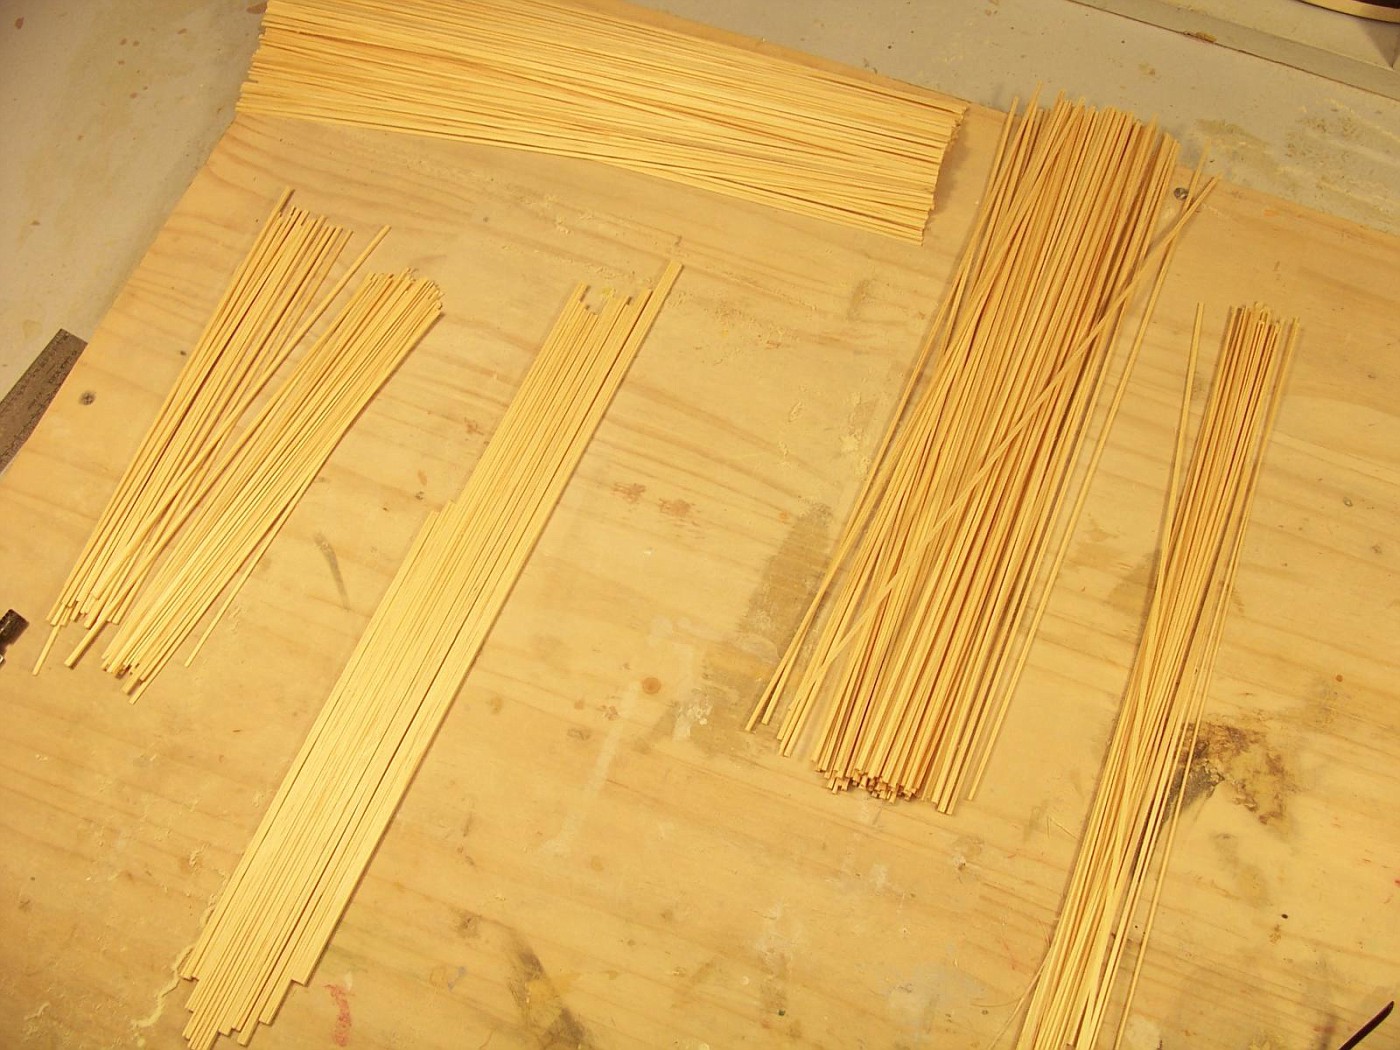
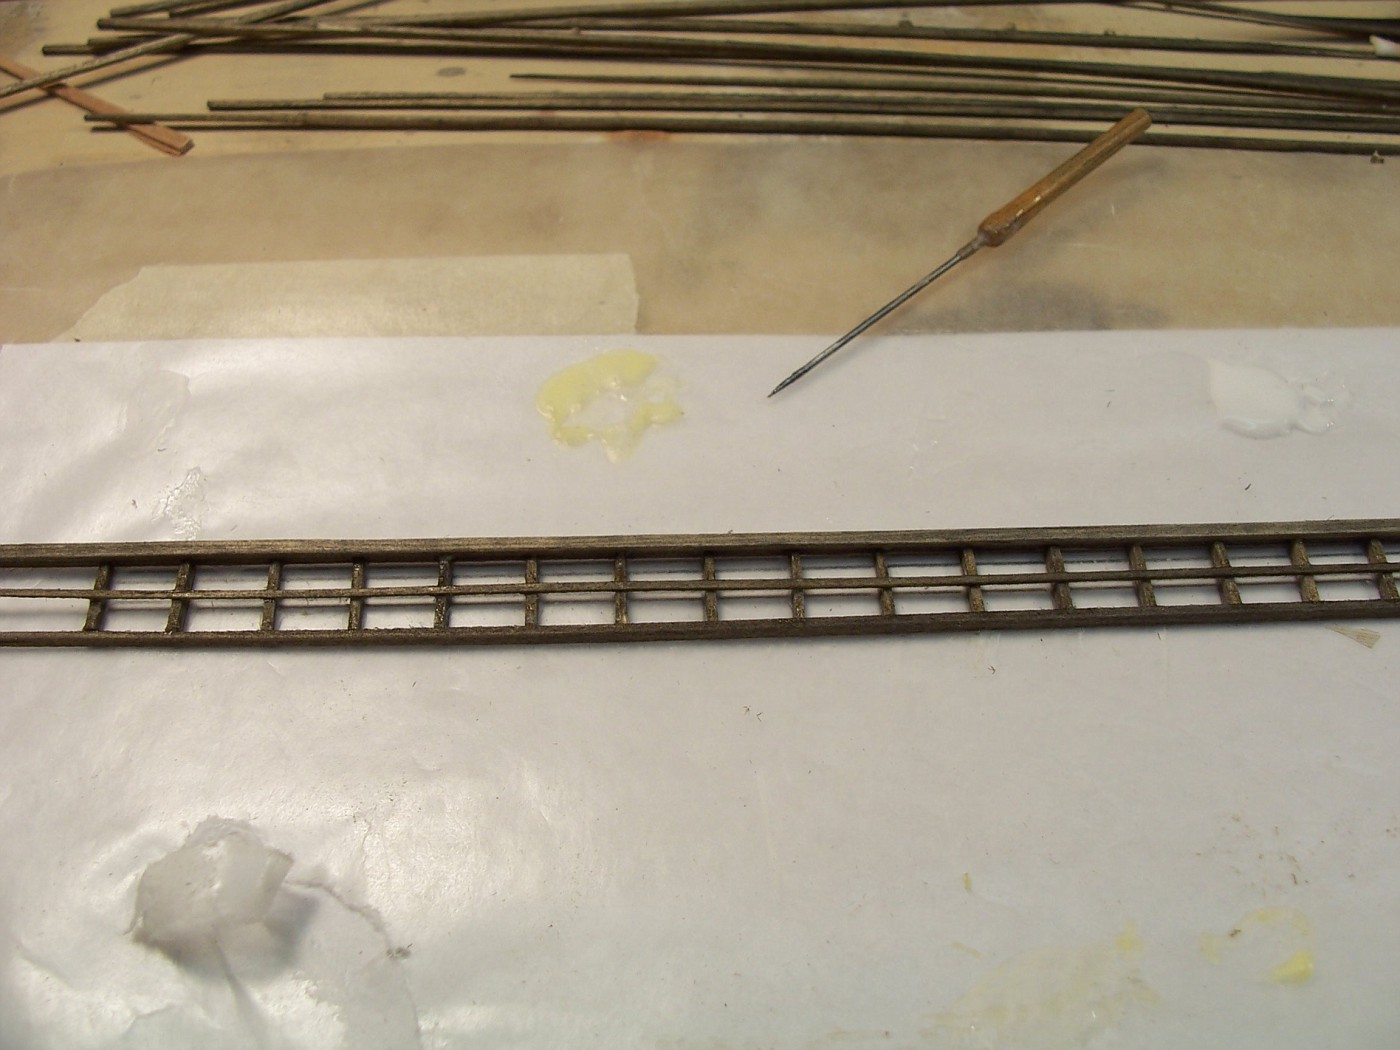
A quick trip through a pan of ink and alcohol got the wood a decent color of gray.

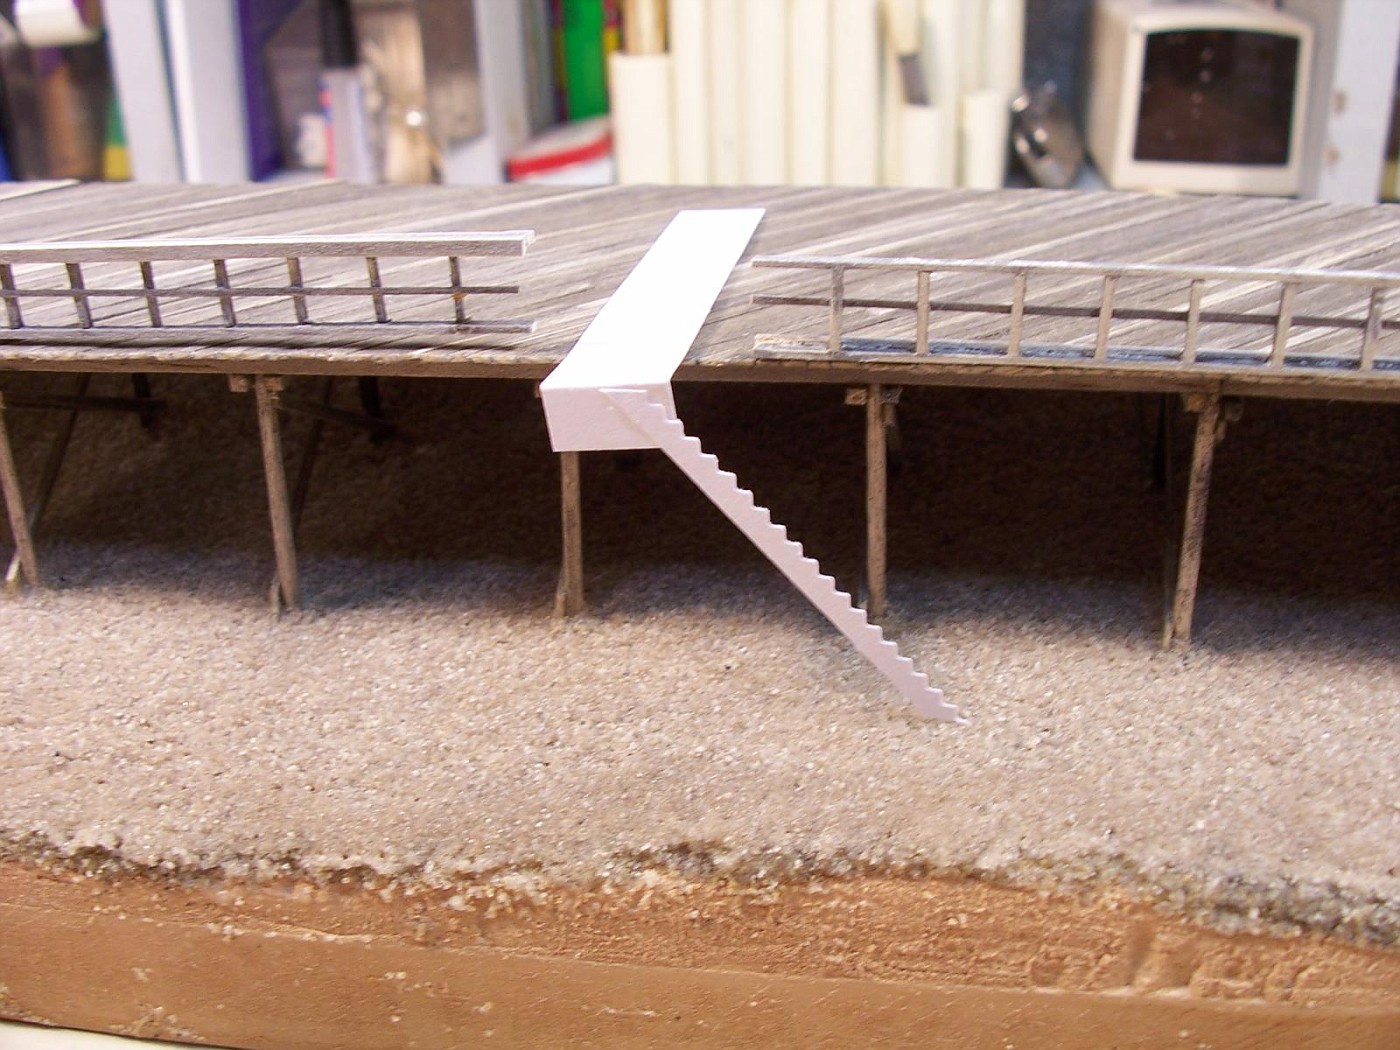
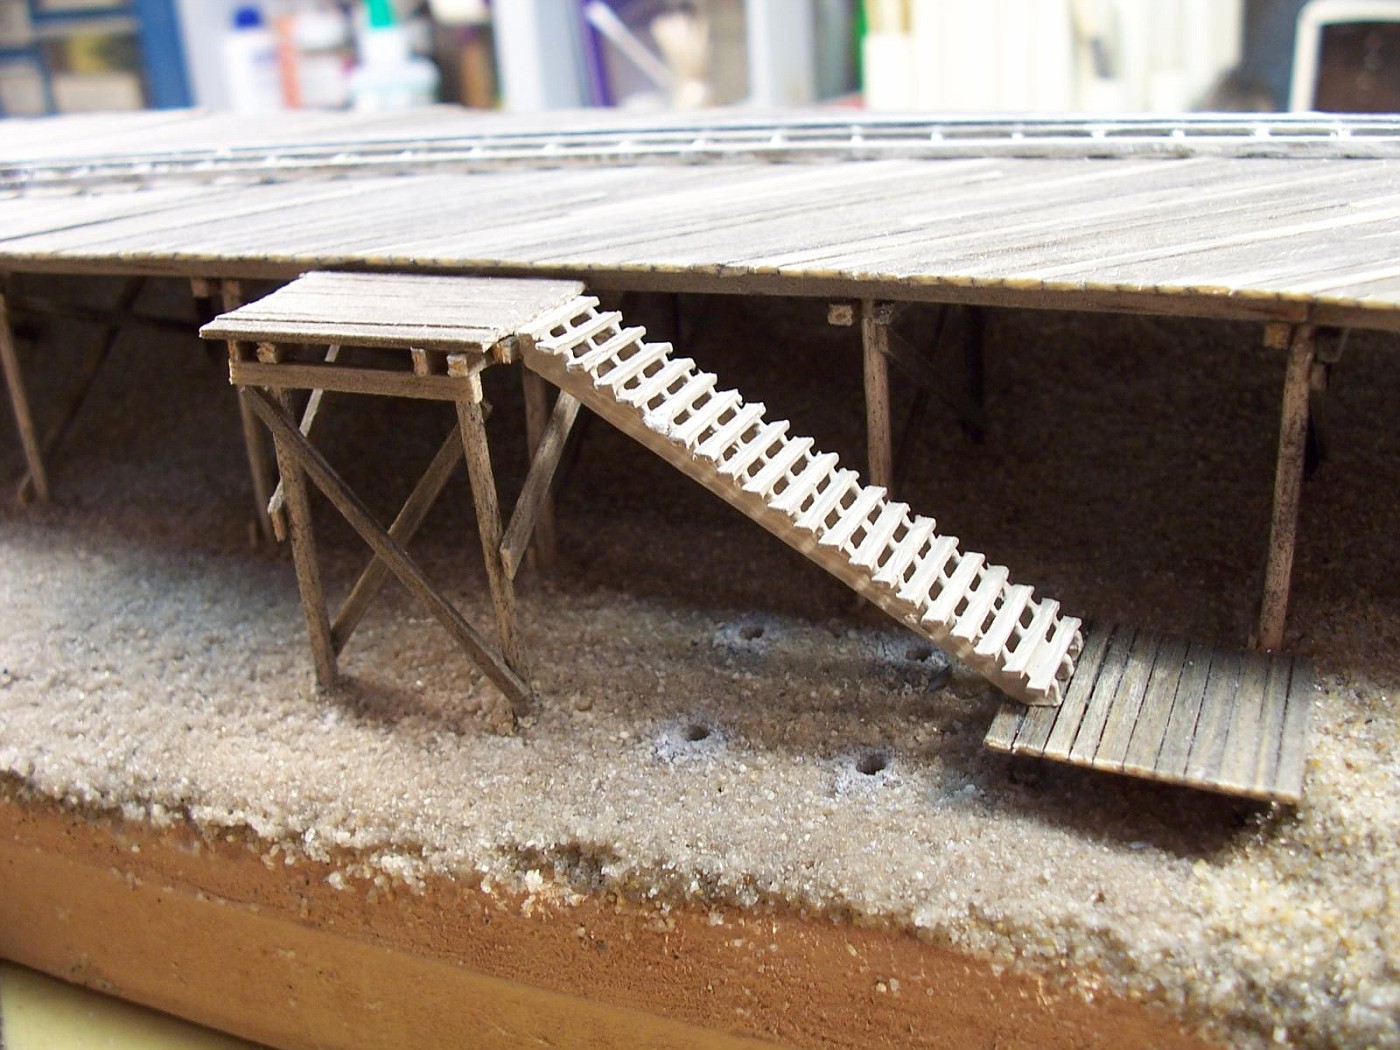
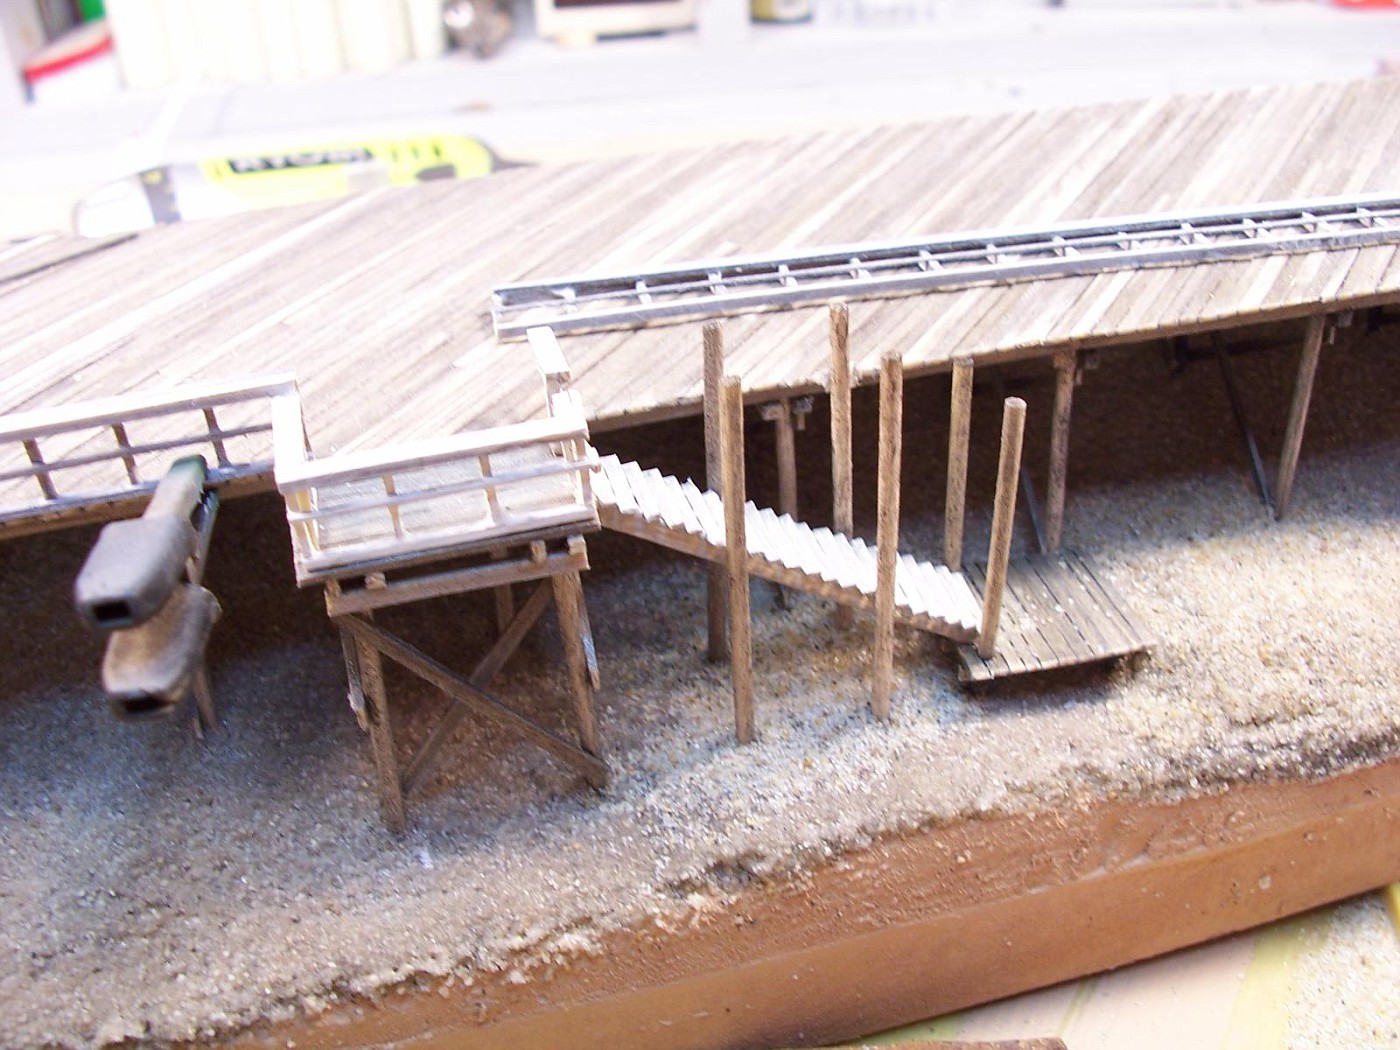
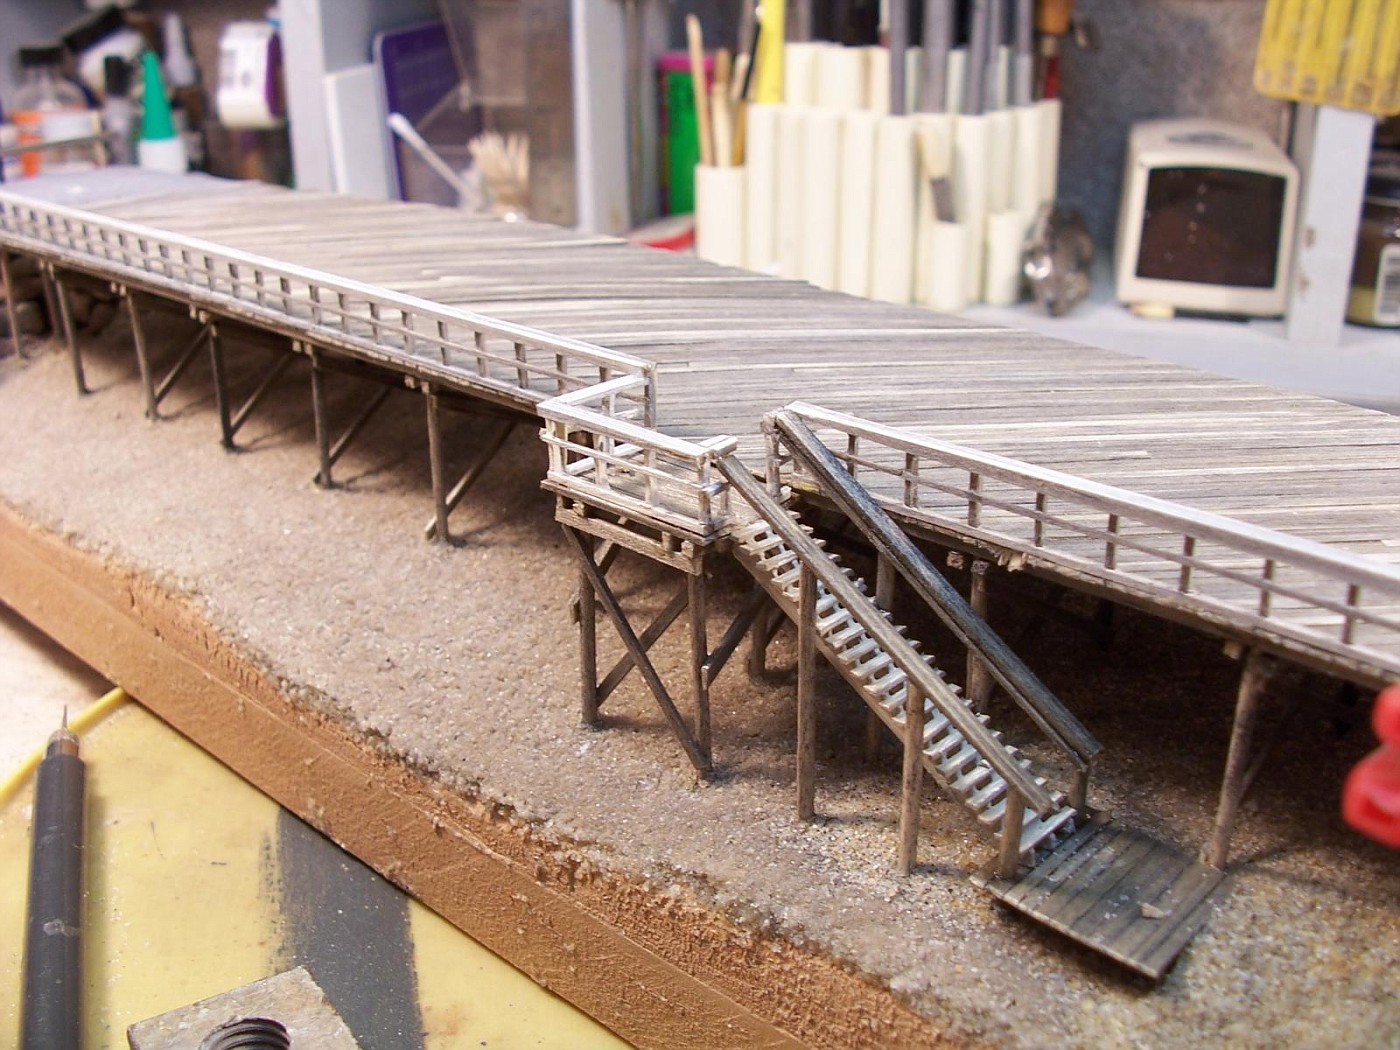
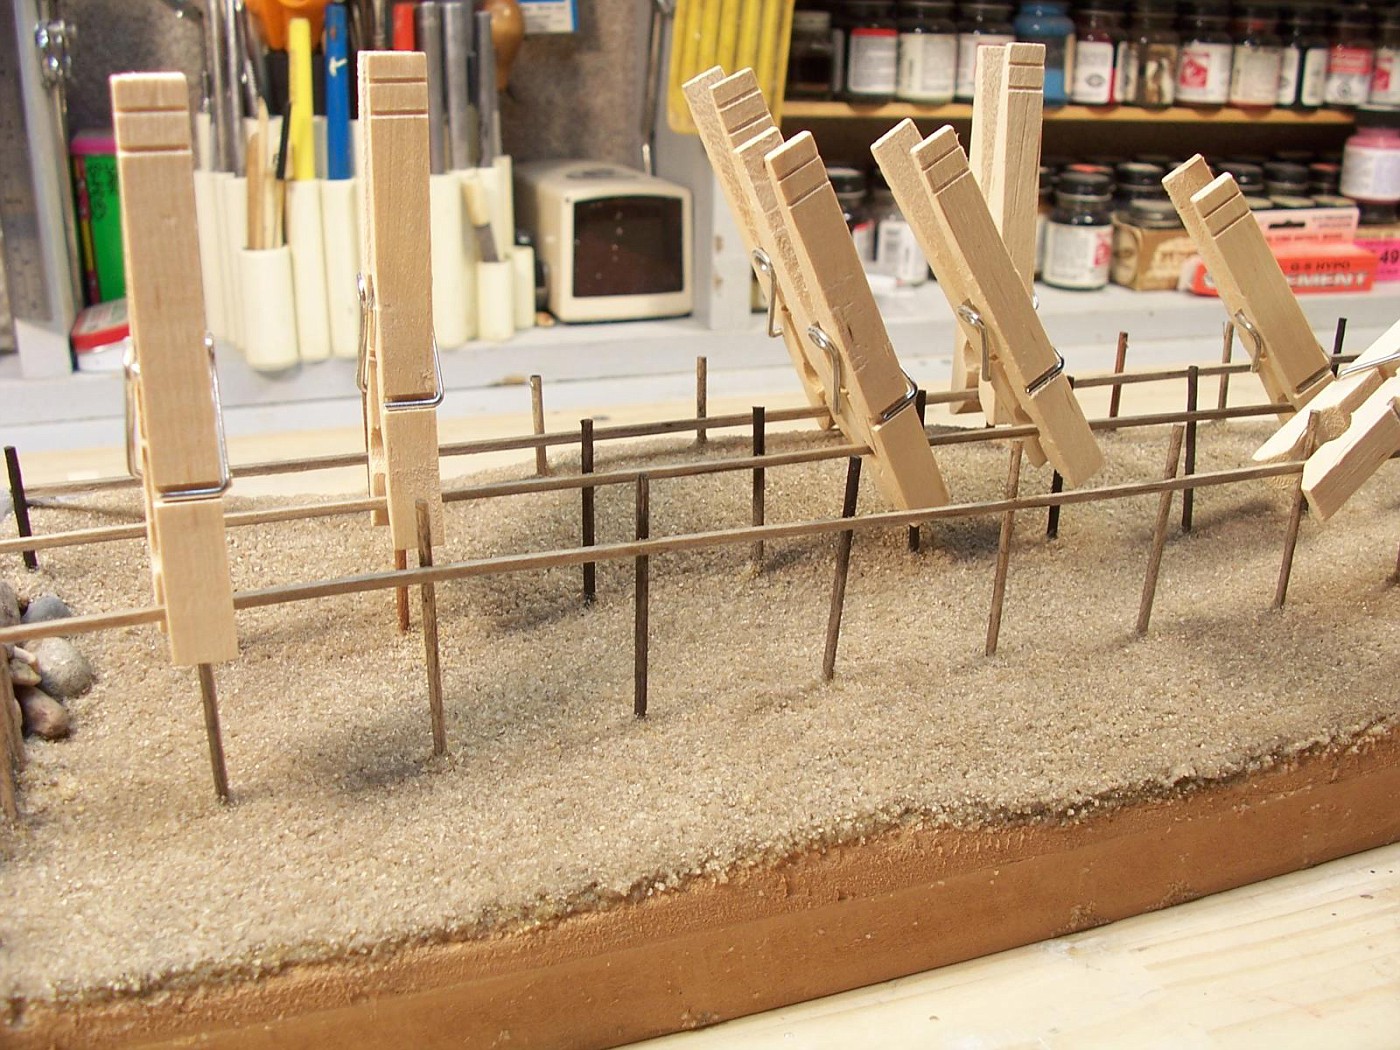
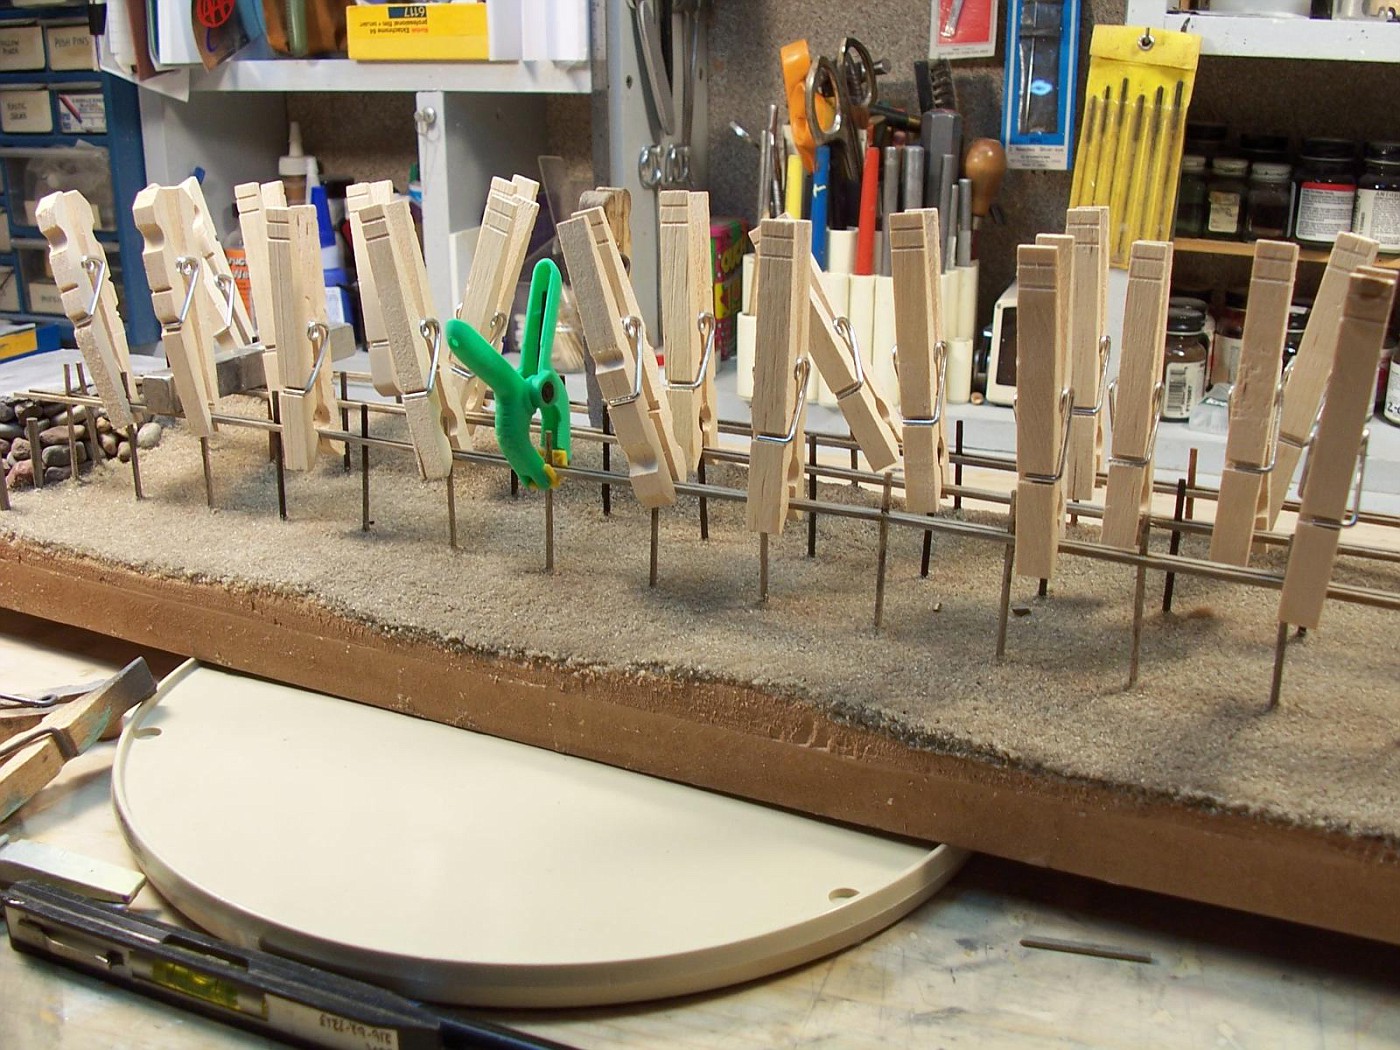
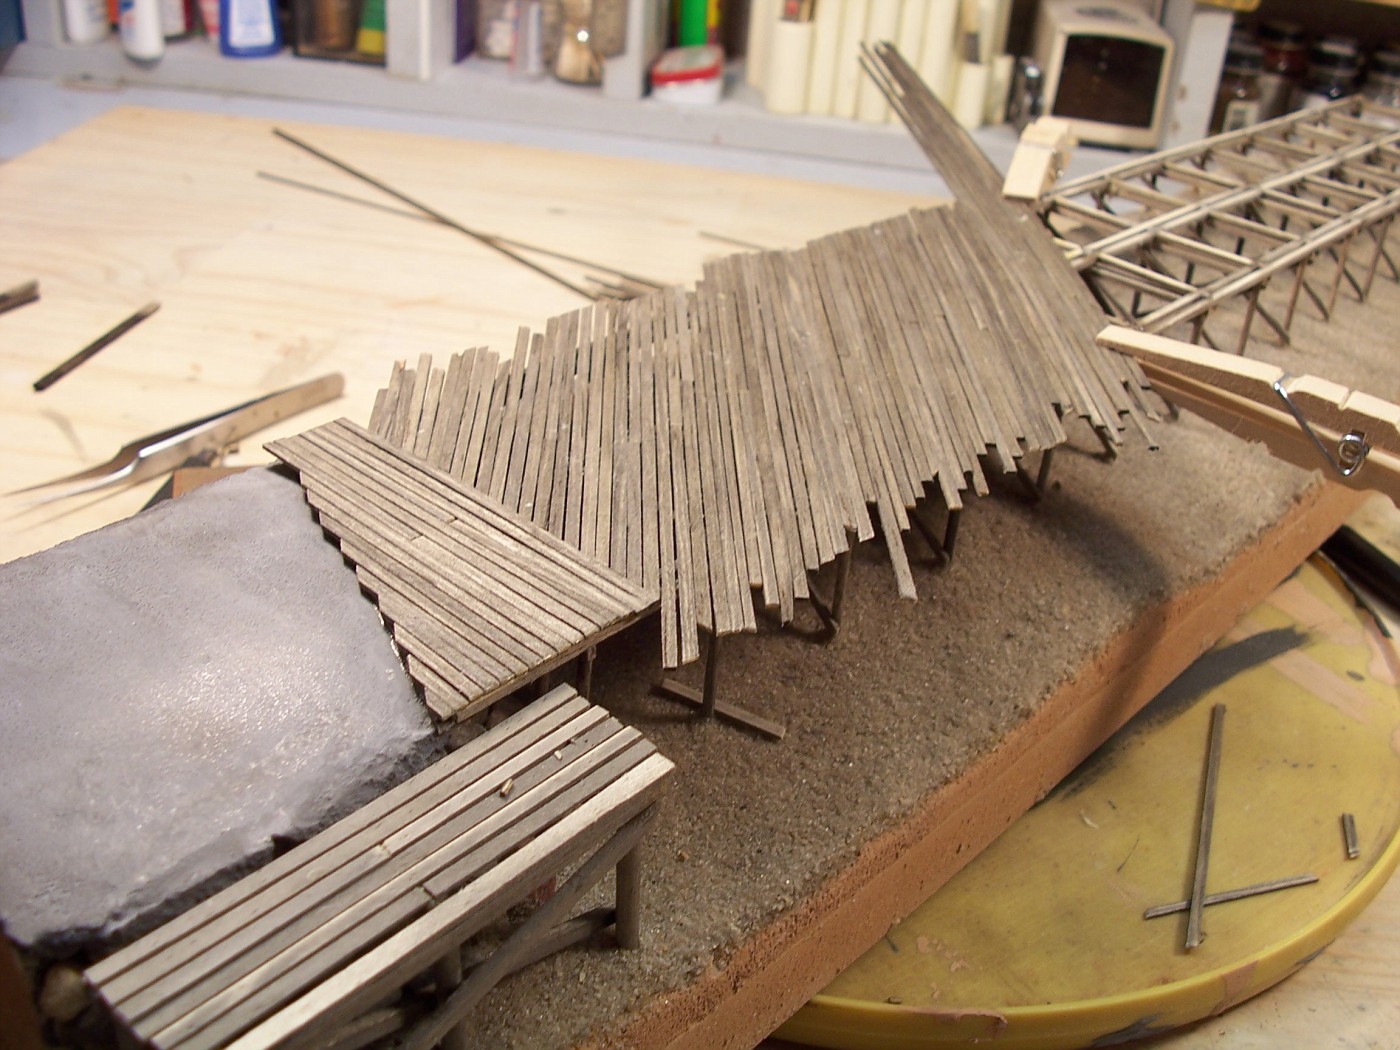
I got the pilings laid out on a scale 10 foot square grid.

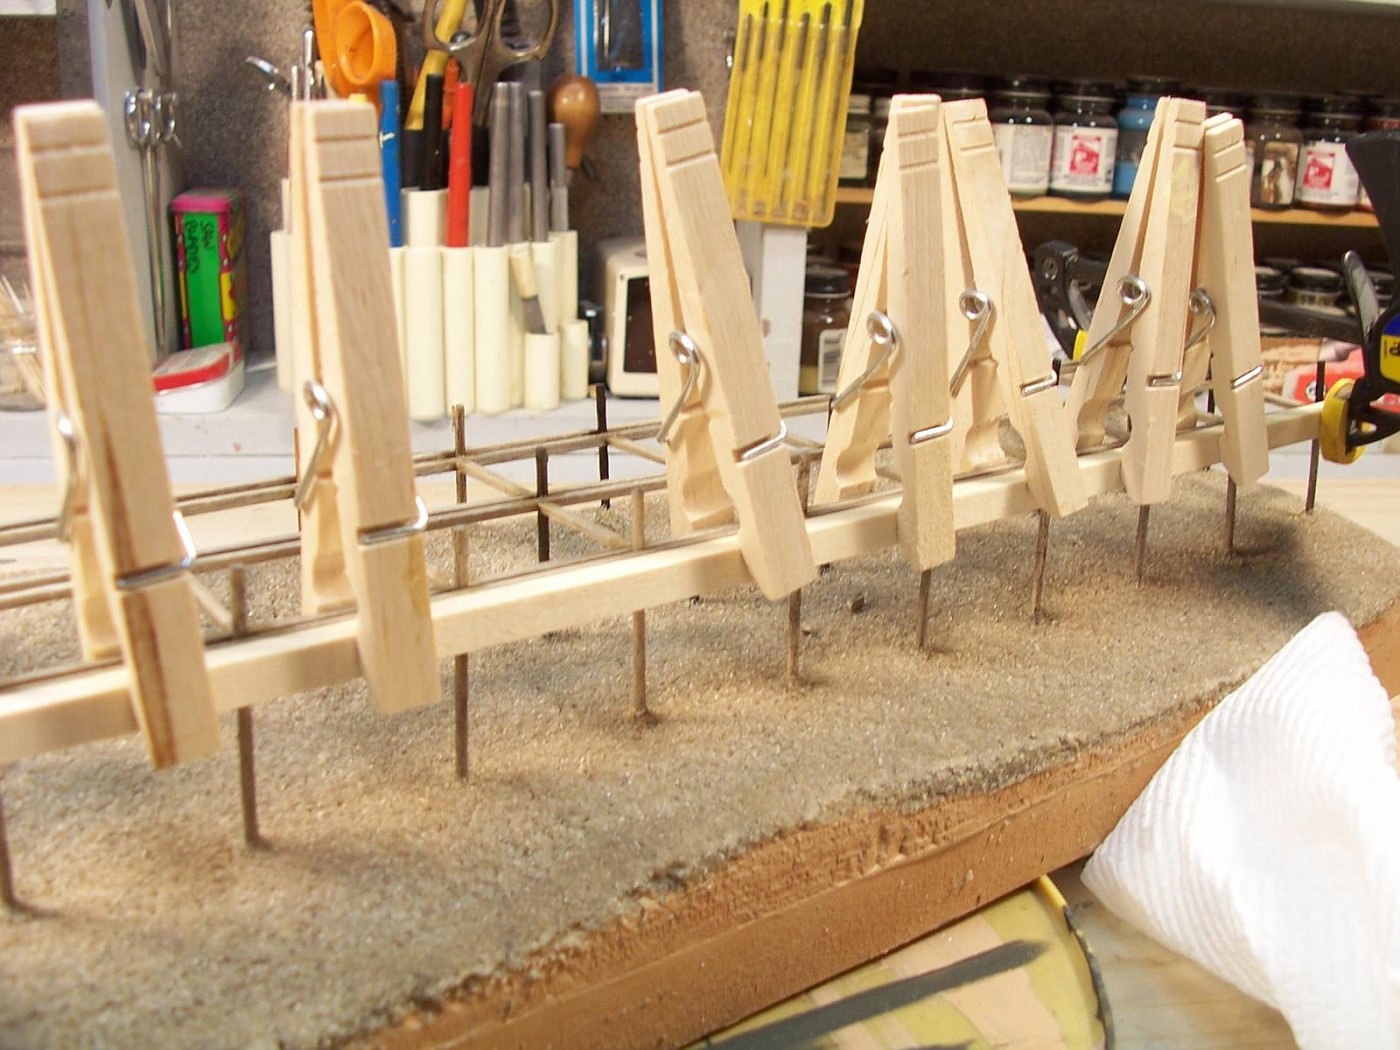
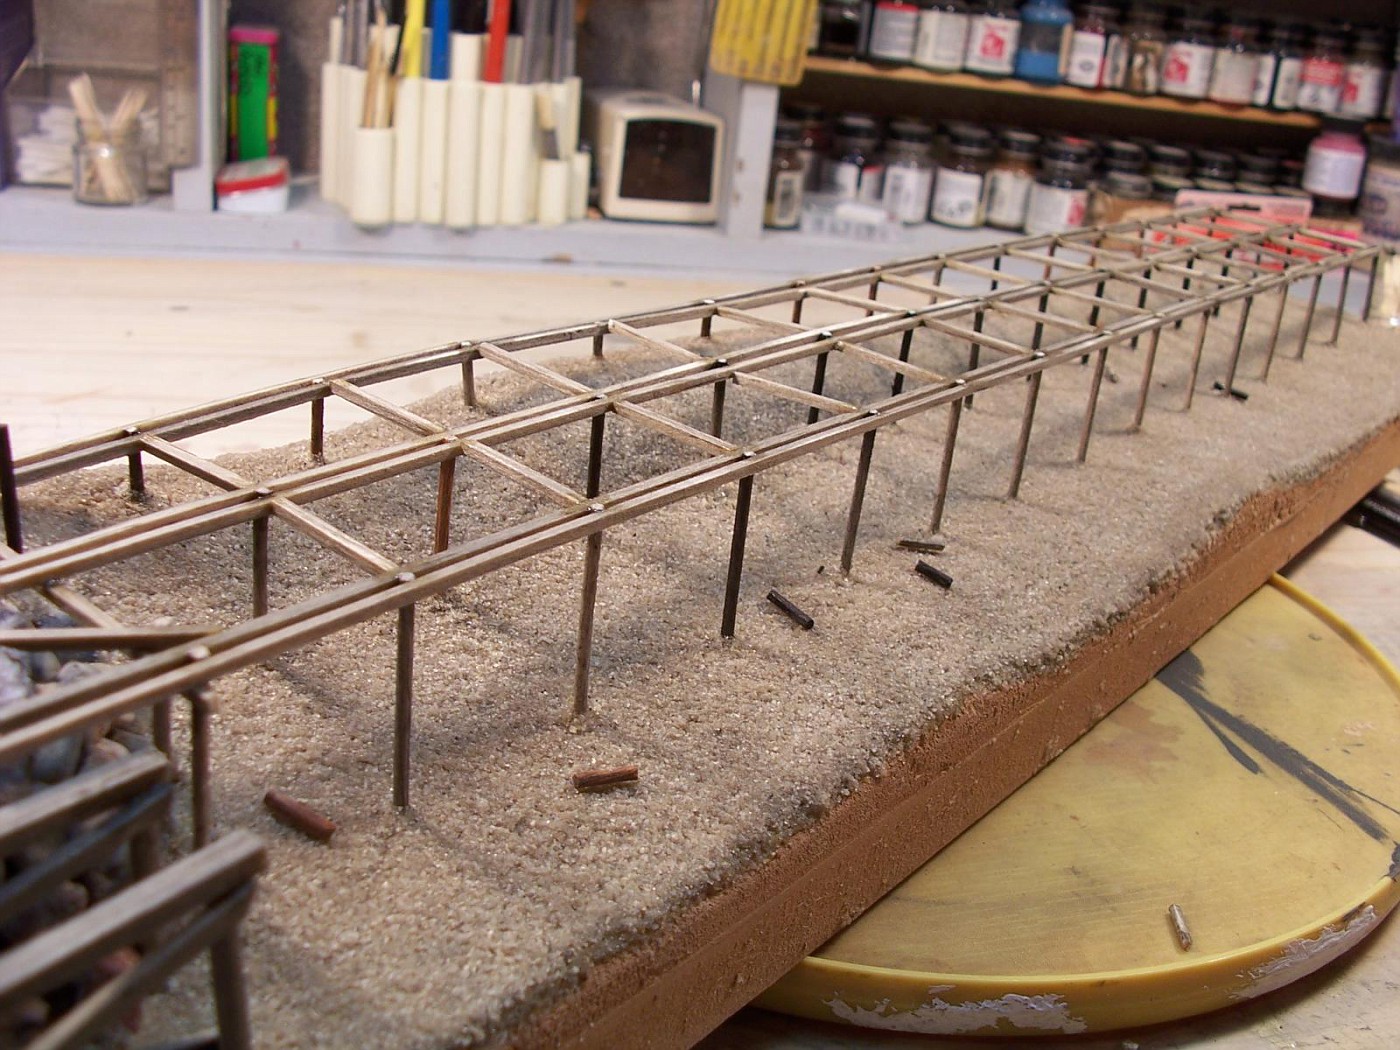
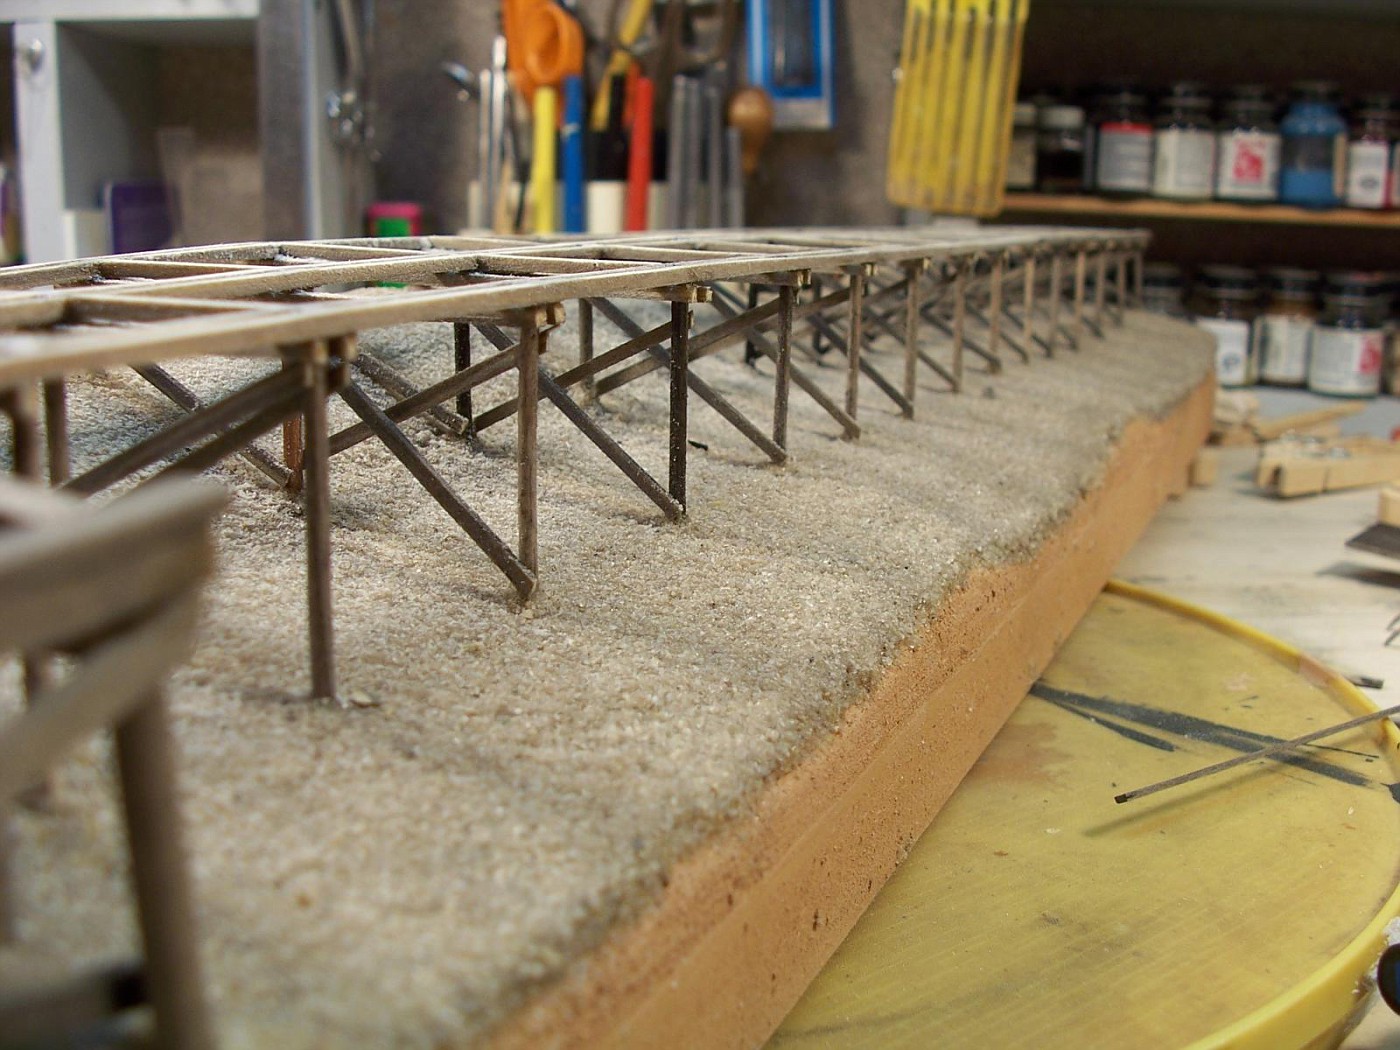
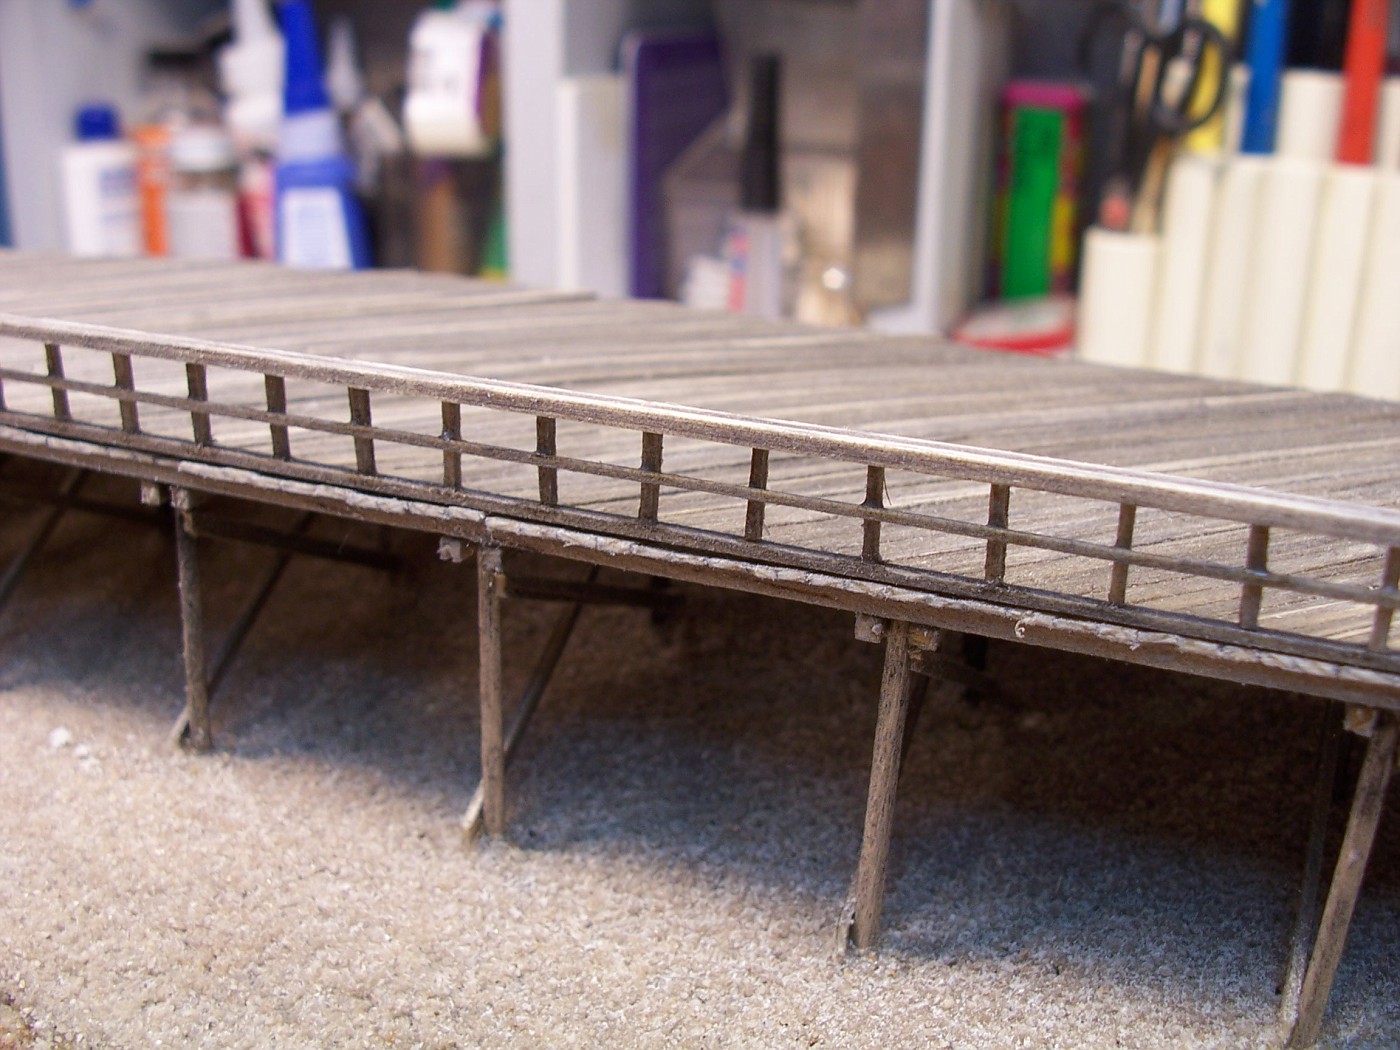
Now I can add bracing and get the beams in place for the decking. I think that is going to be the hardest part of the whole thing. Gluing down about 1500 pieces for the deck is going to get boring.
Whenever I'm building a diorama or anything else for that matter, I keep a small box on my bench to put "stuff" in. Things like leftover pieces of wood, metal, plastic, painted paper, leftover parts or anything else that I think I might use later. Once and a while I use some. When I'm finished with the project the little box gets dumped into a bigger box that I keep on a shelf with the other junk that I've been hording.
Along with this stuff I have a box of leftover kit parts and HO scale junk. Some of it I've sorted through and picked out what I can use and have it stored in empty prescription bottles. (finally found a good use for them). Then I have this other box of "stuff". It's full of things that I've found over the years. Pieces "stuff" or odd things that I think I might be able to use for something. My wife has developed a keen eye for "stuff" that she thinks I could use and usually just puts it on my workbench. Some of it is really odd that I never would probably never use. But, for the most part she leaves me with some really good "stuff" and I have used a lot of it in my dioramas.
So, I was looking for some stuff that I could use for "junk" to put behind "Tuxedo Dave's Chainsaw Sharpening" and I started wondering what I'm going to do with all this really weird "stuff". If I threw it all out I probably wouldn't even miss it. Am I the only one that does this?
Then I was at work and I found a piece of MDF 3/4" thick, about 5 inches wide and 4 feet long in the scrap bin. The idea hit me. I'm going to build a boardwalk and use up a whole mess of this weird crap that I've been saving.
I figure just about anything goes on a boardwalk. Actually, the stranger the better. I'll be able to use up a lot of the odd pieces of wood that I've been saving too.
My plan is to build the boardwalk in two, 2 foot sections to make it easier to work with. Once the base is finished I can start adding stores. Since I'm only going to be building store fronts they should be fairly quick to build. I'll be able to make these one at a time to take a little break from bigger projects. I'm looking forward to getting started on something. The first store is going to be French Fries. I have a list with about 50 ideas on it.
Here's what I've built so far....
I glued down some foam with wood glue
I chopped at it with a utility knife and some really course sandpaper from a floor sanding belt. I tried to carve some rocks out of the foam and gave it a coat of latex paint.
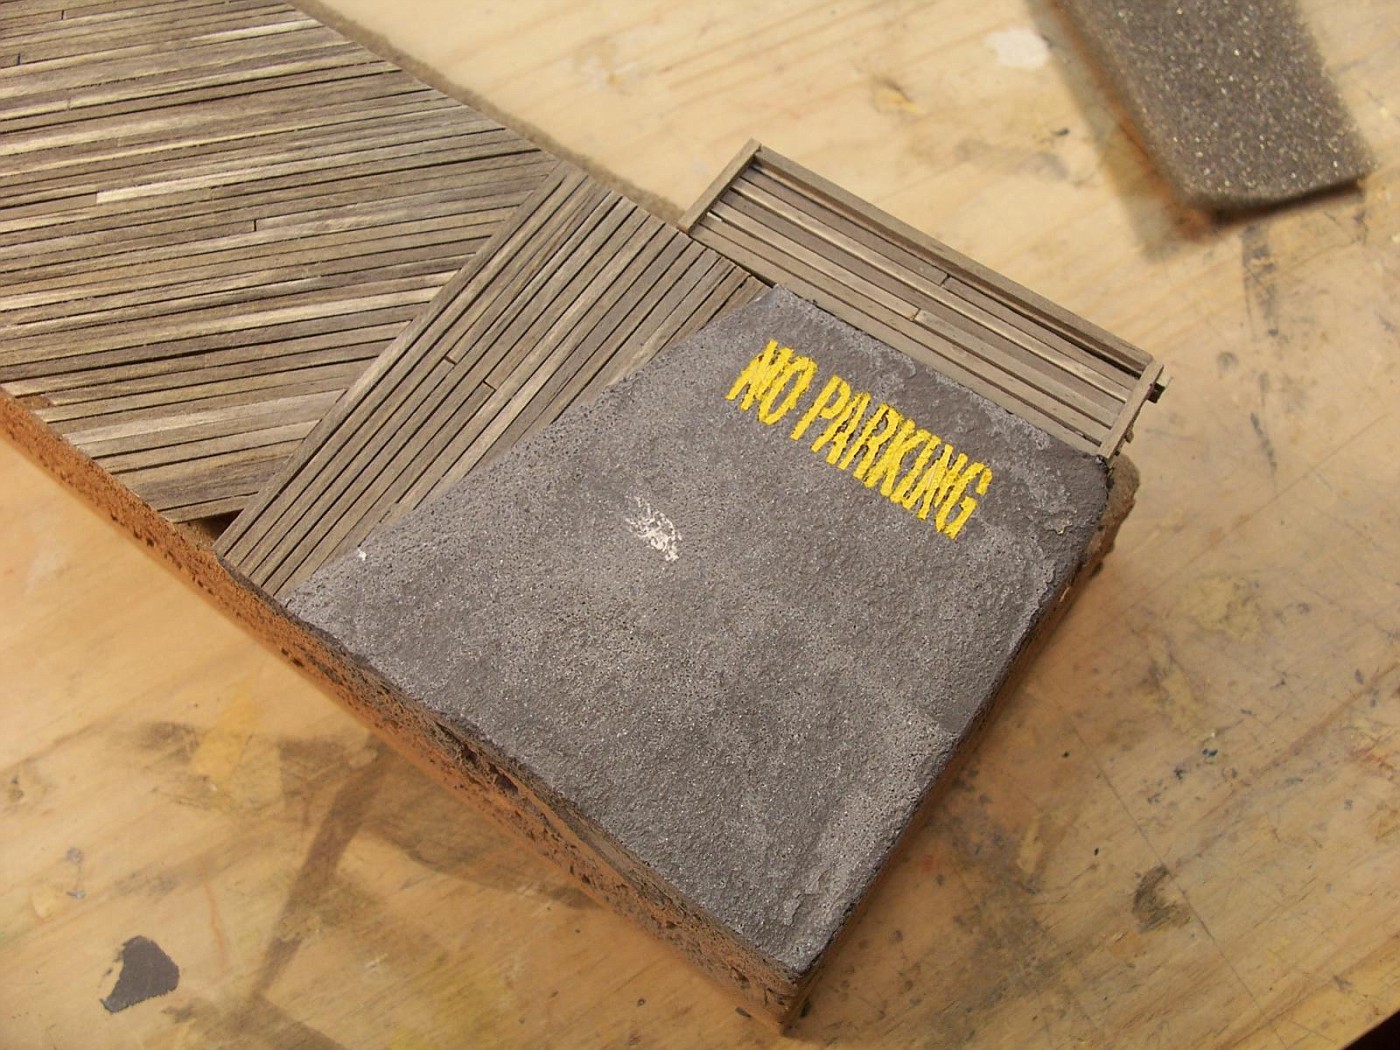
The rocks I tried to carve didn't look like rocks so I used super glue and stuck on some real rocks and added a section of black top. This will be the beginning of the boardwalk.
A coat of thinned out Elmer's Glue and some genuine sand from the Atlantic Ocean.
It took a couple layers of sand to get it to look right. I ended up using the glue straight from the bottle and dumping on a lot of sand and letting it sit overnight.
I got some pieces of lattice and cut up a whole bunch of wood. I did the best I could to keep the wood that I'm going to use for the decking the same thickness.
A quick trip through a pan of ink and alcohol got the wood a decent color of gray.
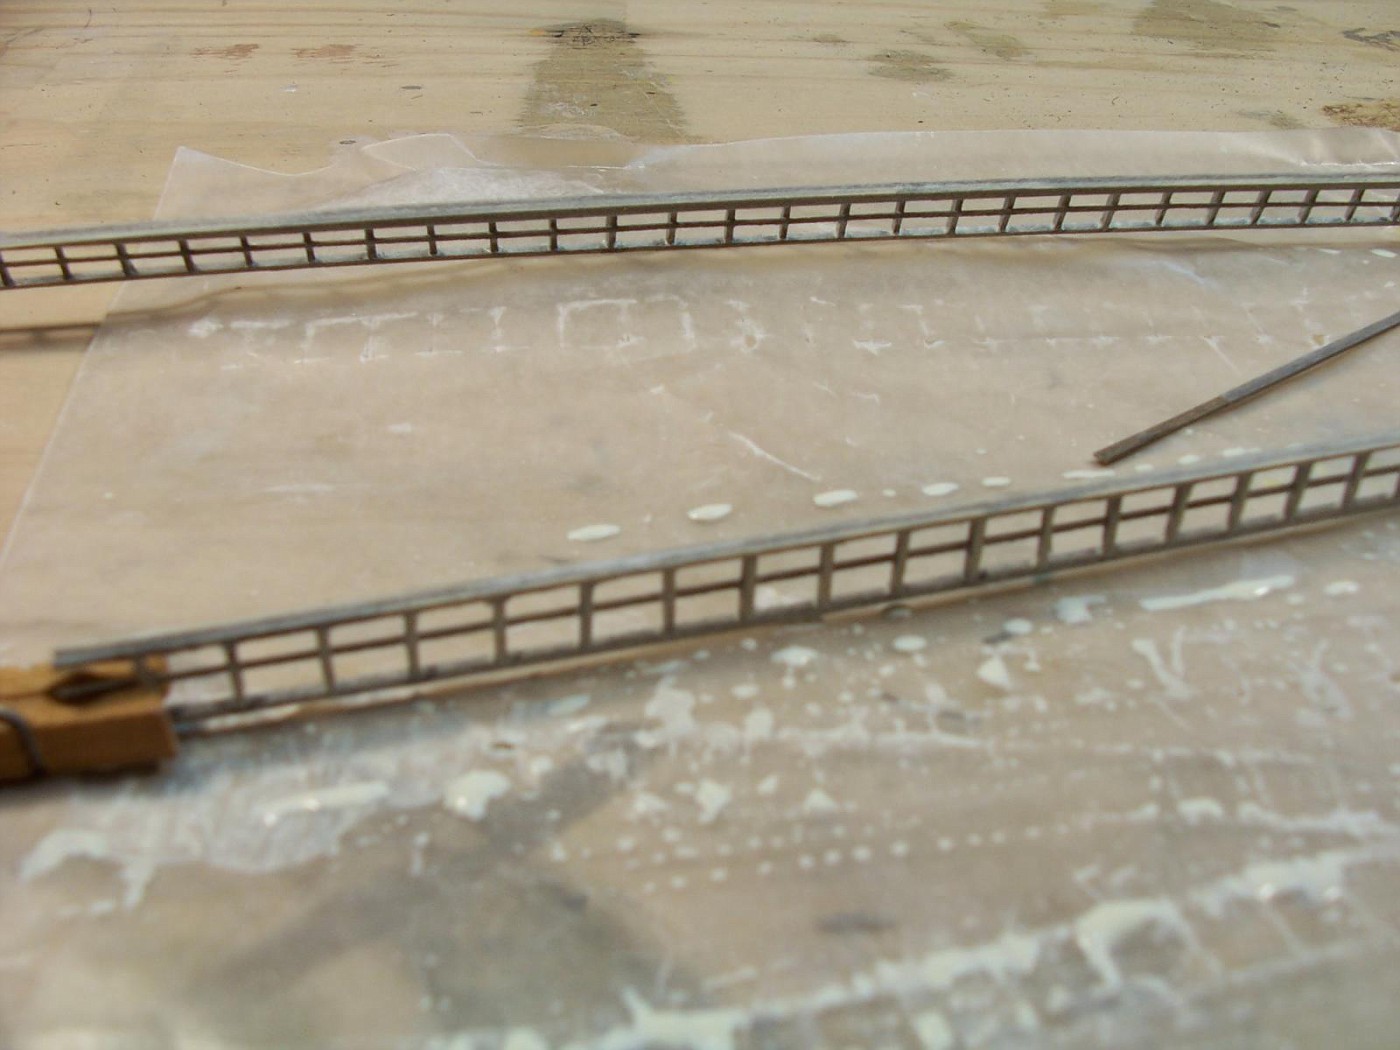
I got the pilings laid out on a scale 10 foot square grid.
Now I can add bracing and get the beams in place for the decking. I think that is going to be the hardest part of the whole thing. Gluing down about 1500 pieces for the deck is going to get boring.


") great stuff, Mr. In-The-Hat....
great stuff, Mr. In-The-Hat....