Clifton & Woodville Build Thread


Hey gang, so after a year of insanity... New job, new house, etc... The layout is officially under construction. I'll post updates and info here, and those interested are welcome to read/comment.

Today, I'll post three things, reflecting three days of activity. Then quicker more focused updates as progress occurs. Love to hear your feedback, thanks in advance.

Day 1: Room Prep & Layout Planning

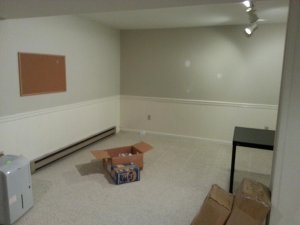
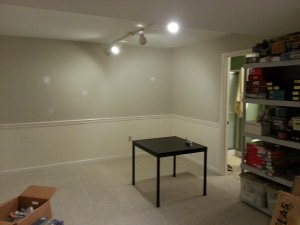
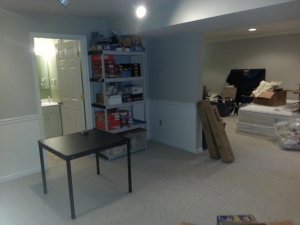
On Friday, I cleared out the train room (photos attached). I re-measured and good thing I did... I was a foot off on one key measurement. Reworked the layout plan to reflect that.

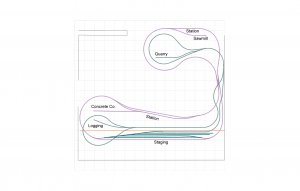
The layout plan is for the "Clifton & Woodville" branch of the PRR. Mostly to accommodate the huge amount of PRR motive power and rolling stock I own. The quick version is that Clifton is (shock!) a town below a set of bluffs, defined by its concrete factory. Woodville is on the same line, defined by its sawmill, which drives the local economy. Woodville is the 'end' of a PRR branch line along which Clifton also sits. Trains come and go from 'the big town' (probably Harrisburg) represented by staging.

Driving the plan on a practical basis:

  1. I really prefer passenger operations and equipment
  2. But my second love is geared locos, ore cars and log cars...
  3. I am generally a lone wolf vis-a-vis the home layout.]
  4. Operationally, I like a good bit of "roundy round" just letting the trains run, with some "staging out and back" ops and sometimes driving trains from the mining/logging areas to their respective industries for delivery.
  5. I've had three layouts in the past couple decades, two of which never got past "plywood central" and only one of which I did any scenicking on at all. Currently part of the driver is something more manageable...

So here's the plan... quick guide: Purple is main-level, main-line. Green is upper level (not another deck, just elevated). Staging area is at the bottom and the orange line is a backdrop concealing staging.

Look for a couple more posts on the train room and the first stages of benchwork.
9.jpg
 
Day two: Clearing out the room.

Had to move out a king-sized bed, various boxes, etc. But finally got it done.

"the rules" (at least to preserve marital harmony...)

1) The rather nice chair rail and wainscoat cannot be harmed. The layout must be "free standing" with no big holes/fixtures on the walls
2) Access to the bathroom (doorway on the left side of layout graphic) must be preserved

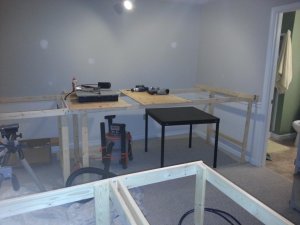
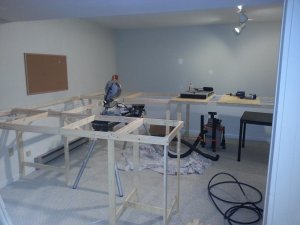
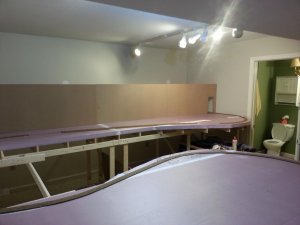
So here's the room "ready to go"...

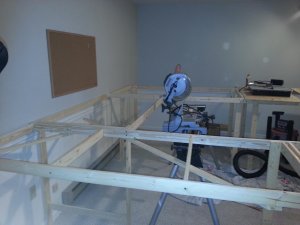
20140907_145712.jpg20140907_145719.jpg20140907_145732.jpg
 
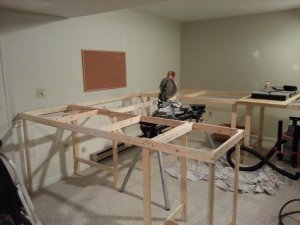
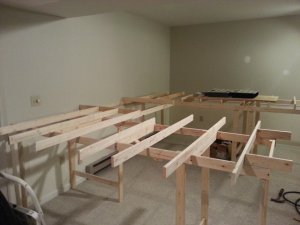
Day 3: Initial Benchwork

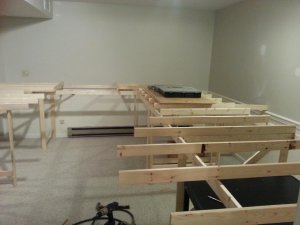
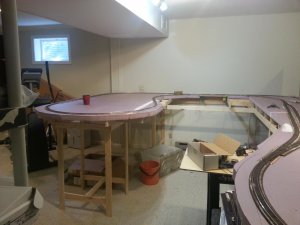
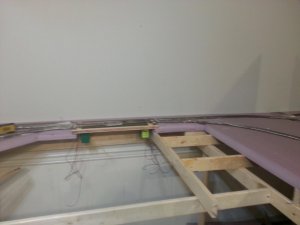
Here I should say that I consider most benchwork to be severely overbuilt. My first layout was built with 2x4's on 12" centers! Then I went down to 1x4's on 18" centers, then 1x4 framing with 1x3 internals on 18" centers. For this one, I'm going with strait 1x3's. The benchwork you see here isn't complete - there are a few more legs and braces to be added. But definitely will be lighter and less dense than in the past. FWIW, even with what you see, all 6'1" and 250 lbs. of me can lay on top of it (well most of it... a couple 4-5' spans need a leg yet...) YMMV. Not saying right/wrong, just saying this is what I'm doing...

20140907_184142.jpg20140907_184151.jpg20140907_184157.jpg20140907_184204.jpg
 
Thanks for the PM... Responding here as well since it's an interesting question:

The construction is glue-and-screw. Why? Because with an engineering background I'm here to tell you the glue is gonna give you vastly more structural bond/strength than any mechanical connection. The screws are there entirely to 'clamp' the joint and allow the glue to form a strong bond. The fact is I could go through tomorrow and take all the screws out with virtually zero impact on structural integrity. I'm not going to... because why bother: they do no harm either. But I remain a fan of the good old-fashioned butt-joint with glue as 90% of the strength of any other option (dado, rabbets, fillets, biscuits, etc.) with 10% the hassle...
 
Hi KJC,
It looks like your making fairly good progress alright. I haven't noticed where you mentioned what gauge your working in but due to what surely seem like a tight radiuse for HO unless your intending on putting overhanging plywood or such across the existing frame work? If not then I would assume your in N Scale. Nothing wrong with that either.

Your light weight construction is probably strong enough but I would seriously consider, although you've possibly already done so, adding some horizontal support to the legs and carried back to the wall, near the floor on the end of the table as shown in the last shot as those legs are surely going to get kicked at one time or another and I only see a single central spacer as is. You probably just hadn't got that far when the picture was taken.

Anyway it look good. I've been adding my table work as I go along due to haveing a bunch of clutter I have to build over. Not the best necessarily but I have to work with what I have.
While I agree about gluing adding to the structural strength it also creates a problem later on if you want to make a change.
 
@Trussrod: Thanks!

Yes, there is both more bracing and overhang yet-to-come - what you see is the 'base' only.

It's HO with 26" min radius on the mainline and 18" on the branch. Some of my bigger locos will look a bit ungainly on 26"... But it was basically that or have a point-to-point setup and I like roundy-round too much for that.
 
Thanks, @Wombat. I'm looking to get the thing to the point of 'running trains' in the next 4-6 weeks, so gotta keep moving quick.
 
I like everything you have shown, especially the fact that you have "downsized" the lumber sizes.
Are your girders movable? ... If not ... They should be. I am a huge supporter of the "L Girder" method of bench work construction. Being able to move one an inch or two either direction saves a lot of grief in the long run.
I never screwed anything down from the top .. Just in case I wanted to change something later on.

Keep up the good work.
Looking forward to more progress.

Wanted to add that I really like your track plan as well. Looks as if you have thought it out pretty well.
 
Last edited by a moderator:
Delay of Game!

Next step... Foam. Problem: we got rid of the minivan a while back and have no vehicle that can take 8' x 2' sheets of foam... So no progress today.

Have arranged with friend-with-van to make a Home Depot run tomorrow, so progress should continue shortly.
 
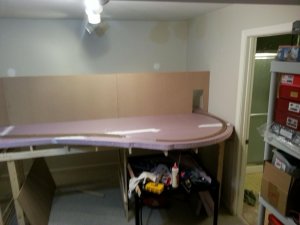
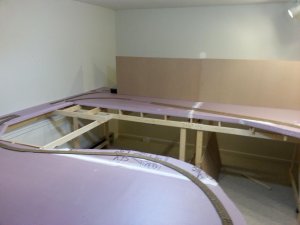
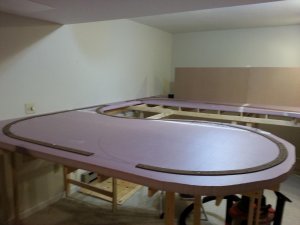
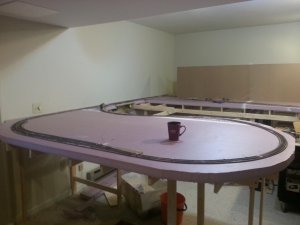
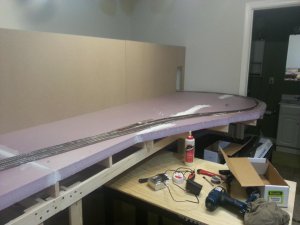
Good progress last 48 hours. Got foam put down, drew mainline onto it, test-fit backdrop between main area and staging, laid roadbed (excepting turnouts - waiting on delivery of sheet cork for those).

20140911_210735.jpg20140911_210741.jpg20140911_210751.jpg20140911_210802.jpg
 
Wow! You already got the main installed, impressive. Very nice looking benchwork and trackwork.
 
Thanks, LASM.

We're probably 2-3 days away from running trains.

Just ran the power bus last night. Need to run feeders to the track, and awaiting delivery of new power supply for the DCC system (the old one went AWOL in the move)... But we're within shooting distance.

I'll post come vids once it happens. Not bad, I think... it'll be about 12 days from bare emtpy room to trains running...


Back
Top