
Jaz avalley
Station cat
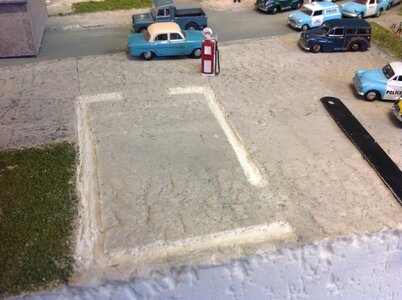
1.you can make permanent homes for buildings setting them into the landscape avoiding floating
2. Small drives
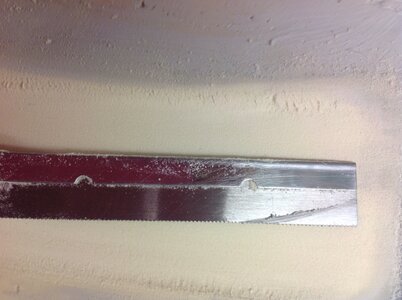
3. A small file
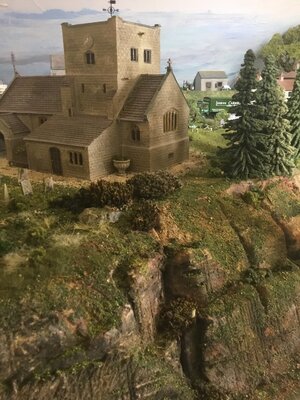
4. Rock faces
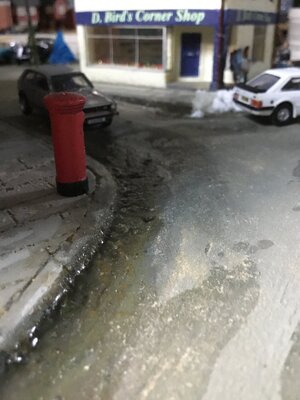
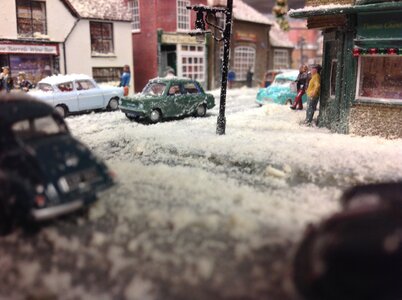
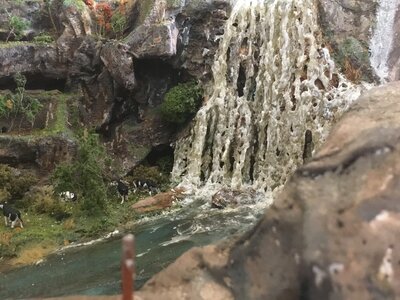
5. And mistakes happen I once over cut, so filled in the extra with ‘water’, which I liked so much I repeated several times
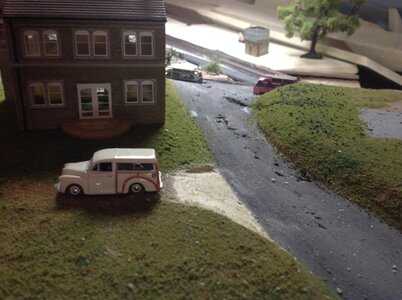
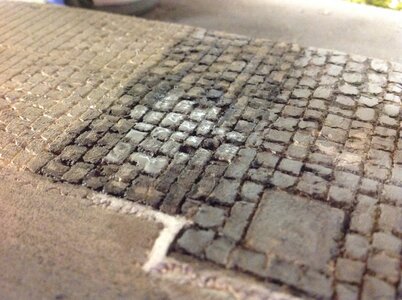
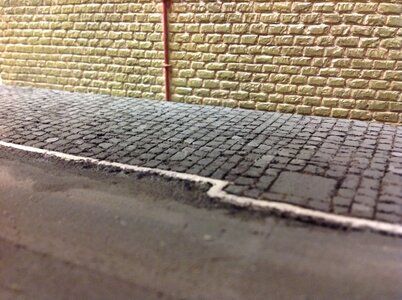
6 the kerbs were just sanded away
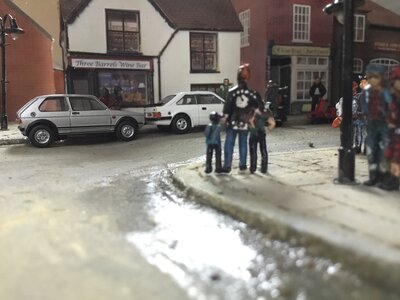
7,8,9 I cut cobbles and rather than built up to the kerb I cut down to the lower lever, panning a camera up and down for best angles help hide the real slope
2. Small drives
3. A small file
4. Rock faces
5. And mistakes happen I once over cut, so filled in the extra with ‘water’, which I liked so much I repeated several times
6 the kerbs were just sanded away
7,8,9 I cut cobbles and rather than built up to the kerb I cut down to the lower lever, panning a camera up and down for best angles help hide the real slope
Attachments
-
 IMG_2555.jpeg447.3 KB · Views: 19
 -
 IMG_5205.jpeg390 KB · Views: 14
 -
 IMG_8709.jpeg412.2 KB · Views: 20
 -
 IMG_8493.jpeg570 KB · Views: 16
 -
 IMG_9346.jpeg399.5 KB · Views: 14
 -
 IMG_4269.jpeg344.4 KB · Views: 14
 -
 IMG_0850.jpeg560.2 KB · Views: 22
 -
 IMG_0953.jpeg494.2 KB · Views: 17
 -
 IMG_0856.jpeg576.1 KB · Views: 16
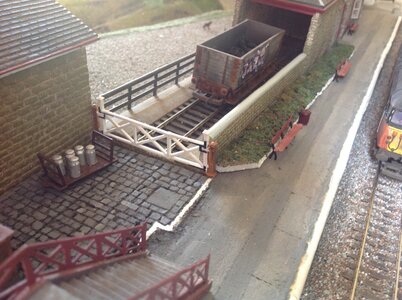
 . I've been moving backwards recently trying to fix some problems and also decided to re-do the bridge scene.
.png")
.png")
.png")
.png")
.png")
 )
).png")
.png")
.png")
.png")


