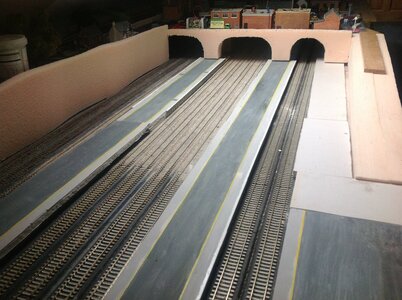
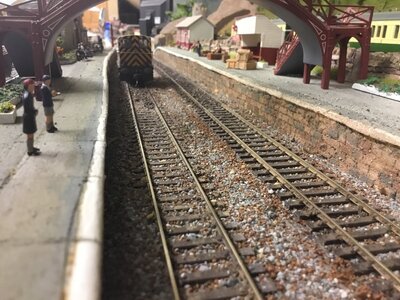
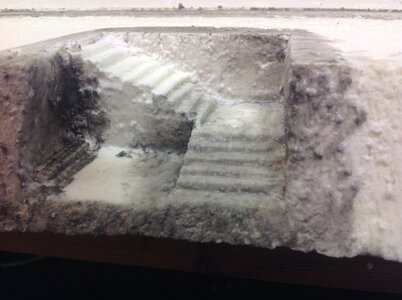
Finished painting the stub ended yard tracks. No idea what I'm doing but I don't think it's too bad. In these photos I started from the track on the left and got a better hang of it as I moved to the right, I think  . Gotta get to the train store for a few different colors of ballast and see what happens!
.png")
.png")
. Gotta get to the train store for a few different colors of ballast and see what happens!

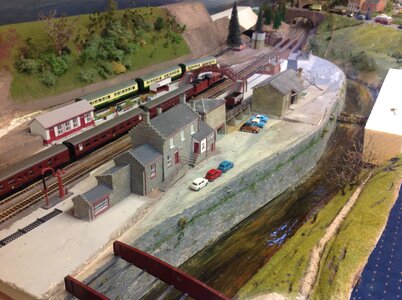
 . Maybe I should change the name of this thread from "A beginner's layout" to "I'm the best. Everyone else can suck it!". Obviously I'm joking
.png")
.png")
.png")
.png")