Weekend Photo fun 10/11/12 October 2008

ModelRailroadForums.com is a free Model Railroad Discussion Forum and photo gallery. We cover all scales and sizes of model railroads. Online since 2002, it's one of the oldest and largest model railroad forums on the web. Whether you're a master model railroader or just getting started, you'll find something of interest here.


The new crossover is for the most part done. Scratch another project off the list.
P1010168-1.jpg
 
I finally got around to starting (for a third time) my attic model. After reading some great advice here, I think the third time will be a charm. Lacking solid benchwork was my biggest problem last time, this time you could tapdance on it! I wouldn't recommend that, though, the ceiling isn't high enough for that.

It's the New World railway, Monongahela Division (Pittsburgh to Morgantown/Fairmont), Horseshoe subdivision (obviously nothing to do with the famous horseshoe curve). A fictional present-day railroad, except for that nuclear holocaust circa 1980. But society has rebuilt and so has the railroad industry.

Northern end of the Horseshoe yard under construction. To the left of the yard will stand the Melrose mine:
100_1319.png


One of two GP-38's that will be dedicated to local service, repainted in classic Monongahela Railway livery, delivering lumber which will be used to construct the company town of Alicia to house workers at the Melrose mine. And some other cars attached for no particular reason:
100_1322.png


My experiment in weathering with fire. Burning isopropyl alcohol to be exact. Kind of like the results, but I may have overdid it a bit:
100_1316.png


Nice blending of your new crossover, Jeff. You can't tell it was done at all...it has been there for months. :)

It has been a pleasure seeing all of your images. I enjoy the weekly "catch-up".

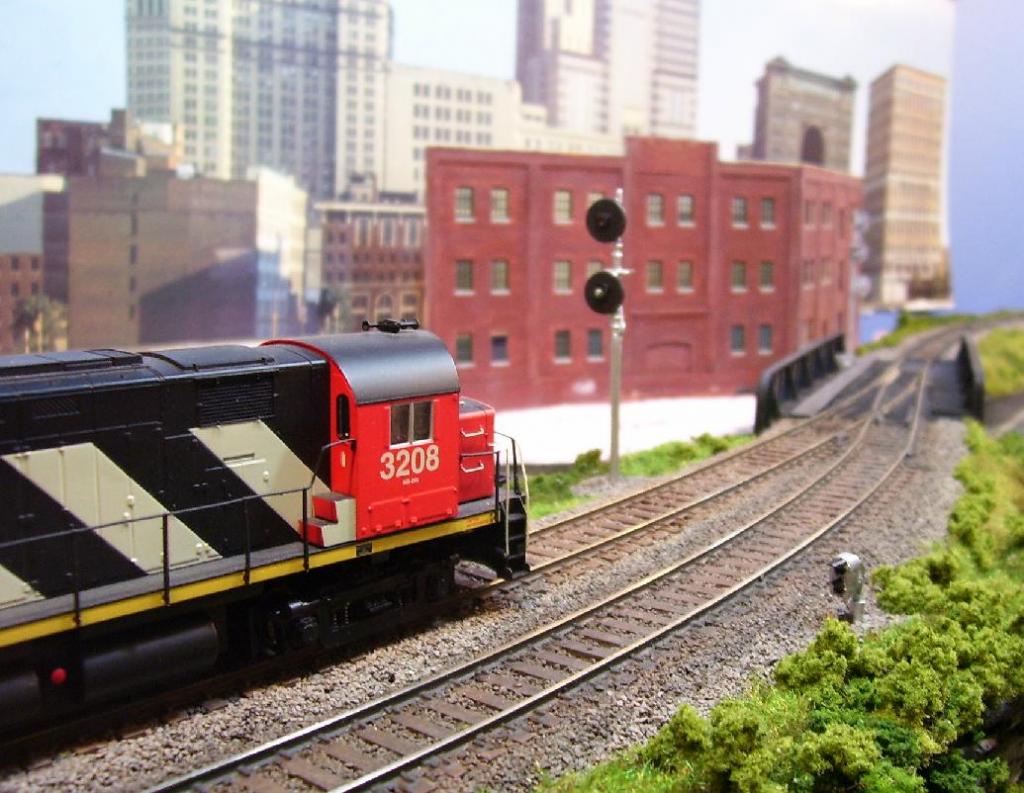
Here is another "wreck" photo. I have "cleaned up my act" by correcting most of the criticisms over the last one. The crane still has to work from the trestle, but it is providing stability to the locomotive only while workers provide shoring and supports, and while the tender is placed back on the rails and pulled back to a siding so that the locomotive can be winched back up the slope from the abutment behind it. Sky, red signal brightness, and the smoke of the hard-working wrecker are provided by RR Canuck on another forum. He also deleted tree shadows on the backdrop top right.

-Crandell
 
Last edited by a moderator:
jeffrey-winberley: You are a busy man. Real improvement the new cross-over.

UP2CSX; Cool shot! Like that picture. Well done

rhowrad; Thanks for the pics and "how to". Really like the switch target. I enjoy your layout/pictures a lot too.

Secondhandmodeller: Nice pic. Thanks for sharing

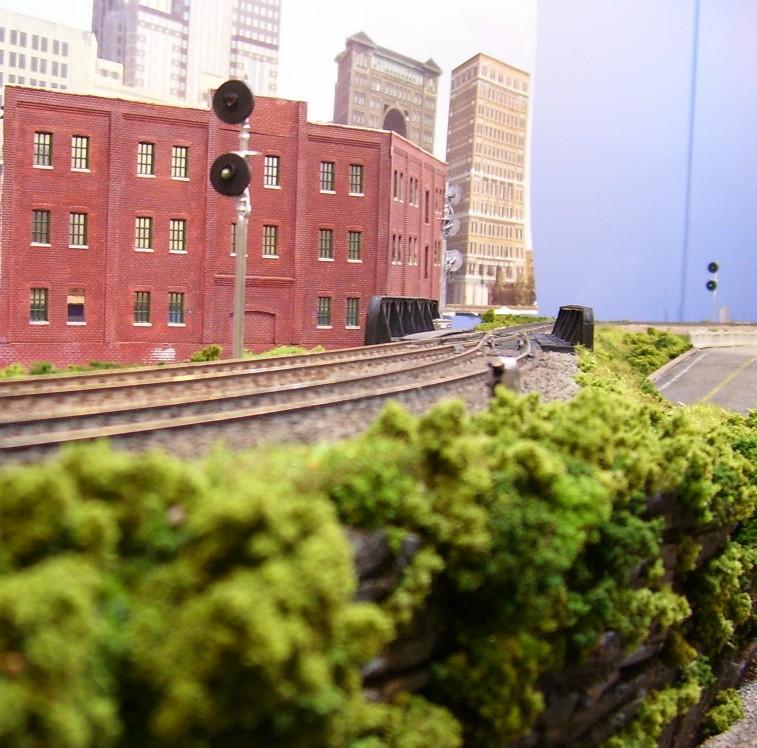
GAPPLEG: Busy urban scene. Nice pic

Dieselfan1: Nice pic. Well done

Nekom: Keep us updated on your progress

grande man: Nice shot. Winter's coming fast and we will see some of those soon.

Selector: I truly enjoy your pictures and your layout. Very well done. Keep them coming.
 
Signalization (ctc)

Lately I have been real busy and barely have time for the layout. (Economic crisis? What crisis?) Anyways, I manage to “escape” to the basement here and there, and started on signalization for my layout.

It’s at an early stage right now so I started on the basic thing first. Went thru my “garbage & things” box, got a hold of aluminium rods, red, yellow and green L.E.D. thin styrene, and some plastic bits. So I started to make some dwarf signals and the “run-of-the-mills” one.

All the signals actually work: meaning they light up, and they will stay like this for now. Later I will see how I will “hook them up”.

I have lots to do still: Adding all the details like ladder, service steps, placard, plates, signal numbers, cabinet, battery boxes etc..

So here’s a few shot of my progress too date
 
The dwarf on the lower level.

Exit of tunnel, leading to La Chine yard

nain-1-724147.jpg


From La Chine yard lead and main line, to entry of tunnel

nain-2-724166.jpg
 
Main Line

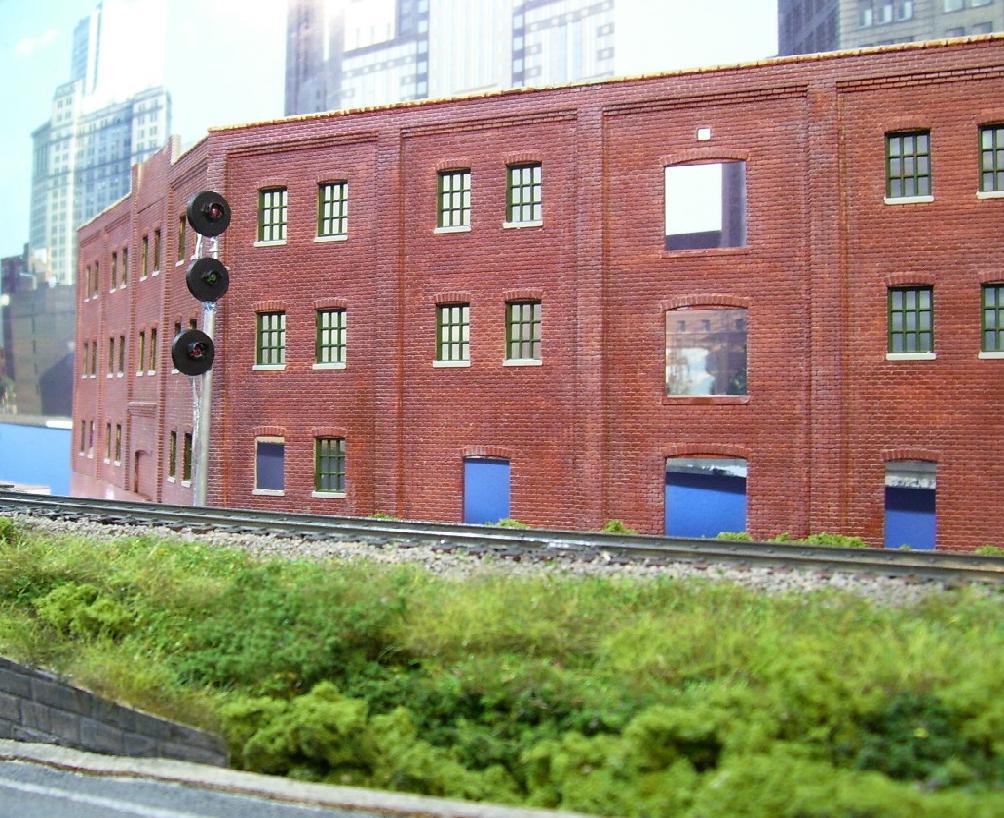
Leaving Chambly Station to St-Lambert (heading westward). Dwarf lower right and normal signal to the left

signal-1-7241d6.jpg

.
.
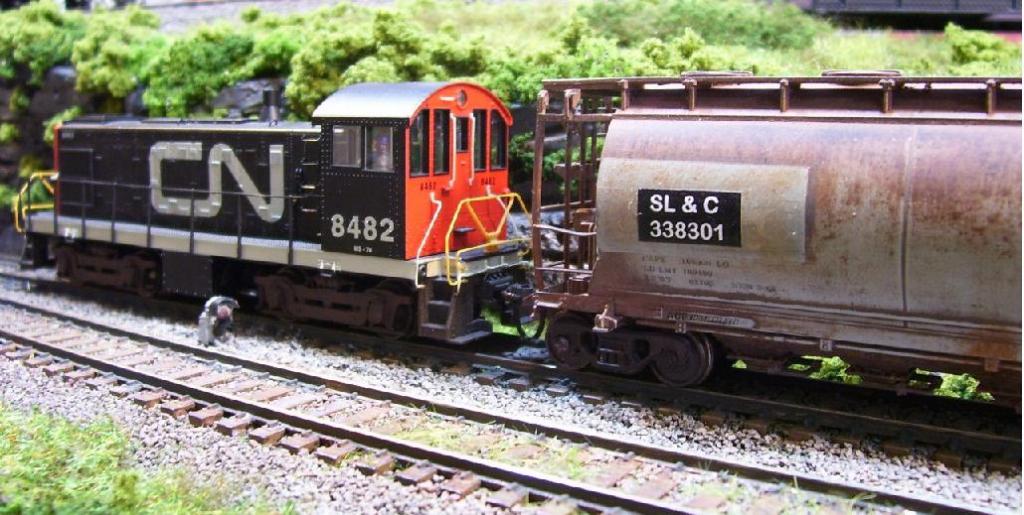
For some reason I really like this close up pic (?)
loco-1-724231.jpg

.
.
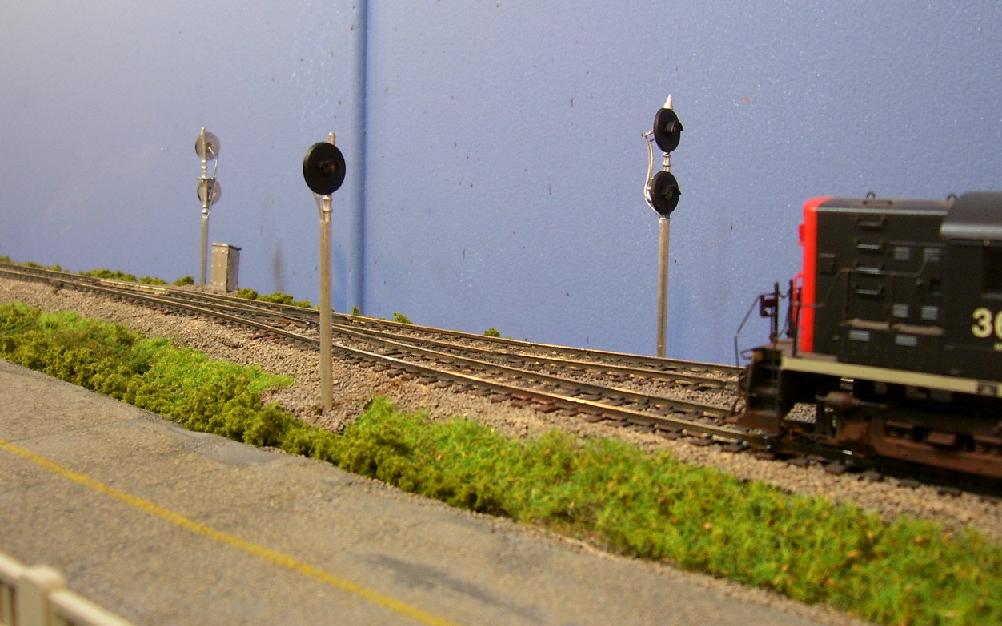
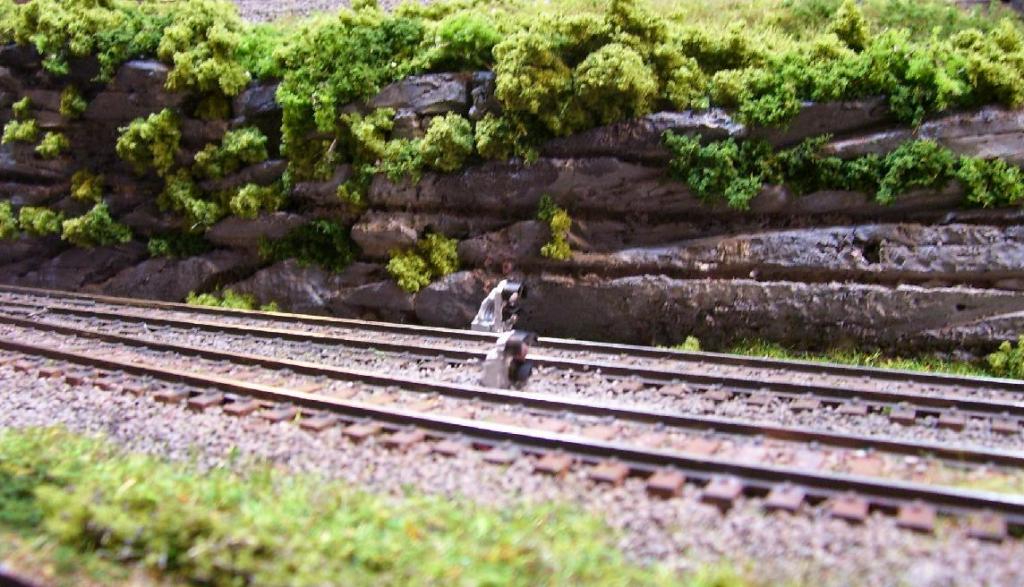
In the distance we can see another signal (far right) This signal is guarding the approach to the siding.
vue-1-724216.jpg

.
.
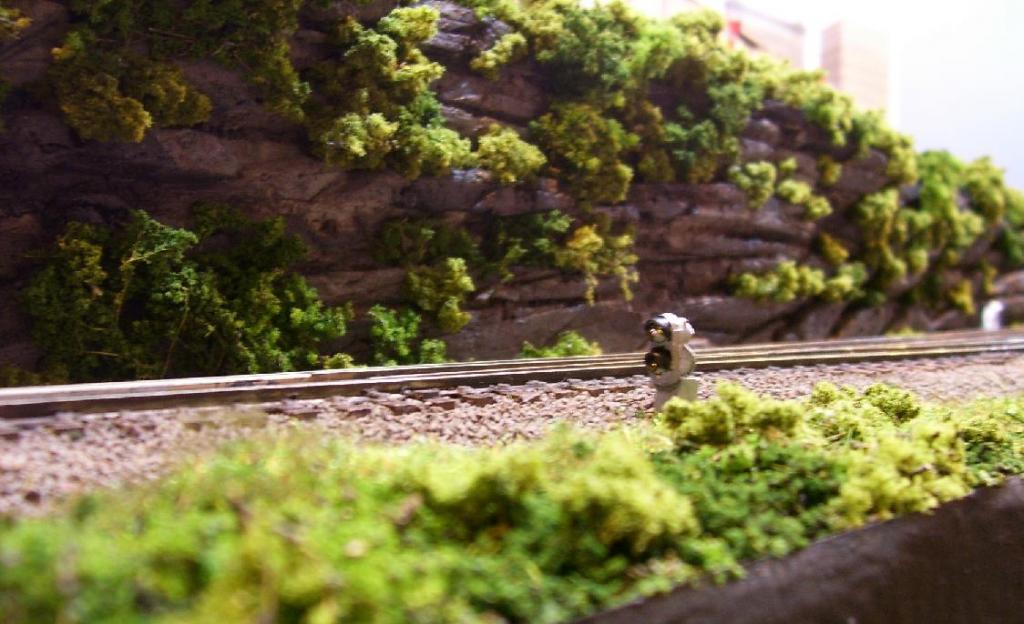
Siding of the main, looking east in the direction of Chambly. The signal closest to you is an "absolute". Will also install a dwarf.

signal-2-7241e3.jpg

.
.
And the signal mast at the bridge (turnout) and entry into Chambly station.
signal-3-724202.jpg


Lots of work "in progress" as you can see (buildings, backdrop etc..). Will post more when I have more time. Happy thanksgiving to the canucks out there.


MLW


Hi all: Crandell, I've gotta ask, "Was any one hurt in that wreck?" Seriously, that was a great scene, now even better! MLW, now you've done it! Those signals look great! Now, I have to put signals on my to do list. That will give me something to do in my retirement, besides my "honey do list".
 
Jerome, nice work. They look just like the real thing!

DJ, thanks for your compliment and question. The Wreck Master is tight-lipped, but did acknowledge that one of the crew is being transported to hospital with a non-life threatening injury. A bit of good news in all this mess.
:)

-Crandell
 
close.. 24" actually

There are more photos in our Blog... Links in my sig...

I will be posting a new blog post sometime this week with more updated photos...
 
Here are a couple pics showing the differences between the Sergents and #5's and #158's.
IMG_1005.jpg

IMG_1010.jpg

IMG_1011.jpg

IMG_1012.jpg

IMG_1014.jpg

IMG_1016.jpg

IMG_1017.jpg
 
Hi Friends!

I've been enjoying your work this weekend, but I feel that I need to do something with my hands...
So in Honor to all your effort, my first try on grafitti, with a dedication.

Hope you like it!!!


I got this boxcar, that I've weathered afew months ago


First, choose a theme, and draw in Coreldraw, make prints in plastic, so I can cut it.


Using an airbrush, I paint first the contours


Then I use another mold, and paint the grafitti itself


And give some details with a fine brush


Can you get the message of grafitti???


Nice. You should weather the result some. Also most grafitti rarely covers that much of a car. Actually the only one I've seen was a hopper with a Christmas scene in Chester, PA recently parked along I-95. The reason they don't cover the whole side is that the Vandals can only reach a few feet over the bottom of the car.


More of the CZ

I finally got my other B unit to complete the Western Pacific A-B-B consist used on the prototype. Next on my wish list for the passenger roster is the sweet looking DRG&W Alco PA's for the CZ


Affiliate Disclosure: We may receive a commision from some of the links and ads shown on this website (Learn More Here)

Back
Top