KB02
Well-Known Member
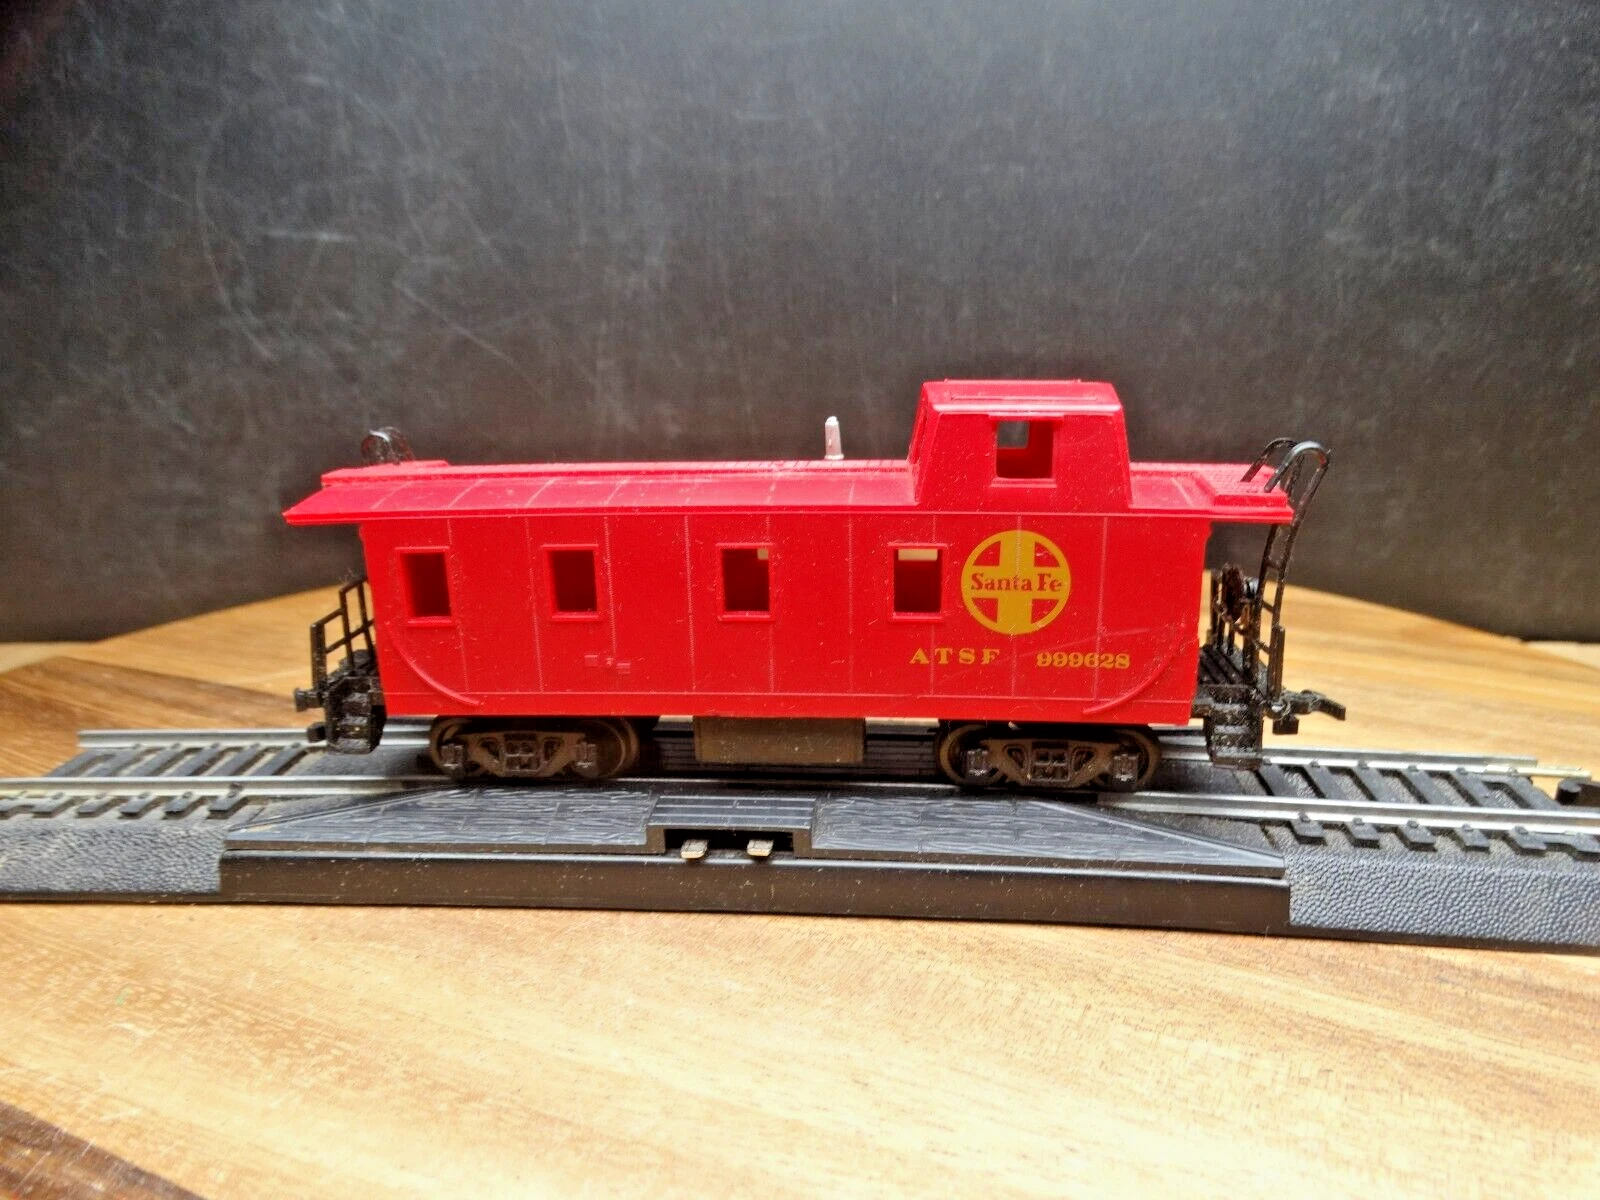
As I had posted in another thread, I have wound up with a toy HO scale caboose. One of the cheap Bachmann ones they sell with their low dollar kits for kids. This is not my photo, but one I snagged from the web (same car, though):
I decided that since I have too many cabooses, this one needed to have something done with it other than leaving it as is and taking up space. So a rebuild into a Shoving Platform is in order!! Found this article online and really liked the direction he went with it, so figured I would copy it to a degree.
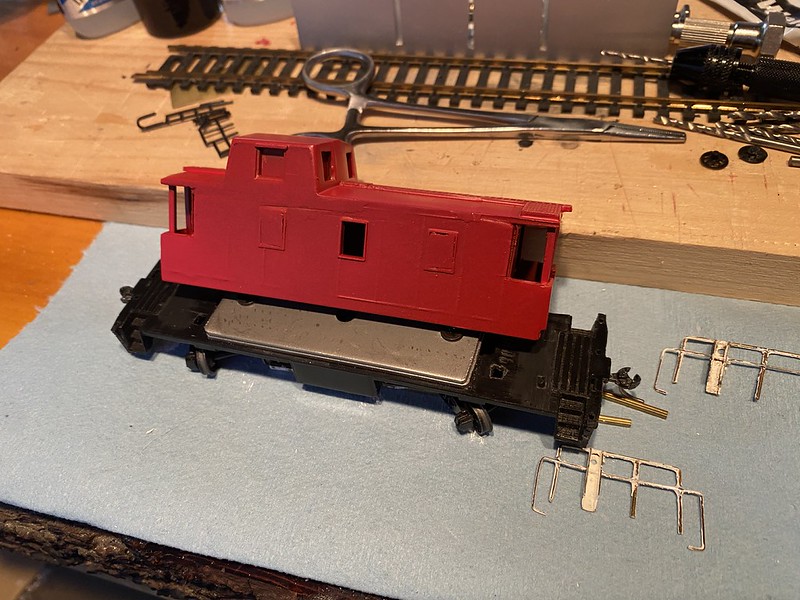
After pulling the body off the frame and stripping the decal, I was left with this:

Strategic planning took place and the first cut was made:

The cab is getting shortened up by roughly the length of one of the roof "sections." There will still be an overhang, but also a big porch. Blocked out some windows while I was there. Not sure how many, if any, windows I'll leave open. We'll have to see.

Cut #2! This one was much trickier. and took out a little more material than I had expected from the saw blade.


Those gaps got filled in with some styrene strips. I'll need a little putty to fill in the remaining holes before I am done.
End of day one's progress looked like this:

Oh, and those lamps... Jury is still out, but they may be coming back, so a little hole was drilled in each side just in case.


I decided that since I have too many cabooses, this one needed to have something done with it other than leaving it as is and taking up space. So a rebuild into a Shoving Platform is in order!! Found this article online and really liked the direction he went with it, so figured I would copy it to a degree.
After pulling the body off the frame and stripping the decal, I was left with this:
Strategic planning took place and the first cut was made:
The cab is getting shortened up by roughly the length of one of the roof "sections." There will still be an overhang, but also a big porch. Blocked out some windows while I was there. Not sure how many, if any, windows I'll leave open. We'll have to see.
Cut #2! This one was much trickier. and took out a little more material than I had expected from the saw blade.
Those gaps got filled in with some styrene strips. I'll need a little putty to fill in the remaining holes before I am done.
End of day one's progress looked like this:
Oh, and those lamps... Jury is still out, but they may be coming back, so a little hole was drilled in each side just in case.


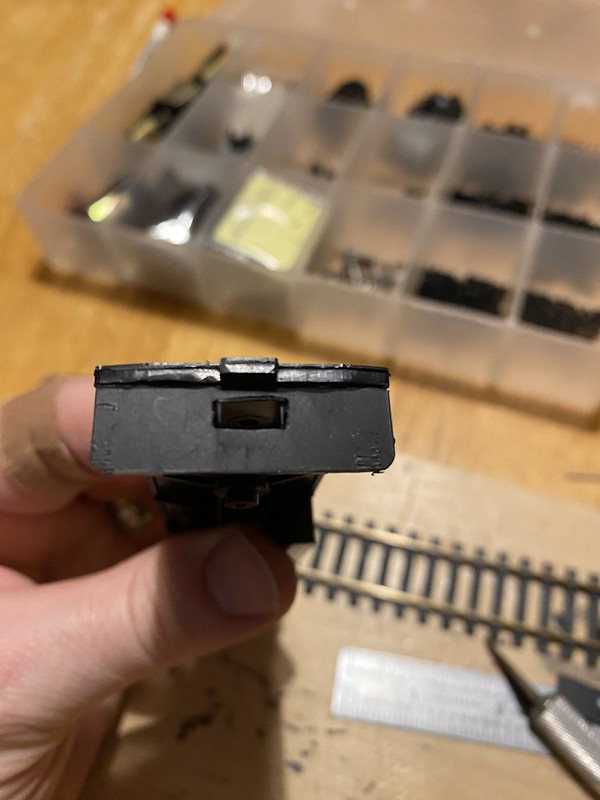


 It took a fair amount of careful cutting and prying but I finally got it out. Looks like there had been some super glue used as well at one point in it's life. It left me with a small mounting nub. Small, but usable. The other side was in great shape so that is the one I used for all my measurements and what not. When it came time to install it, though, it was gone.

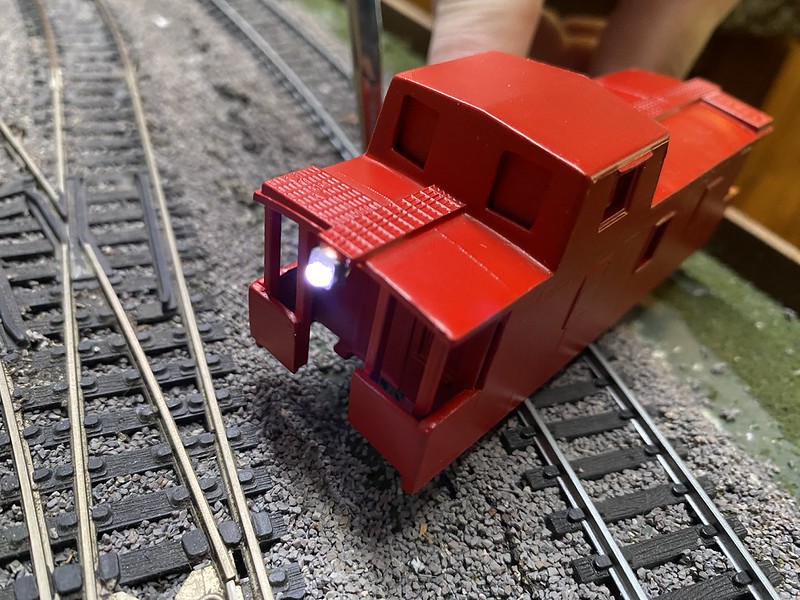
 Then I got some rattle can paint (cost more than the caboose itself, probably) and painted the first coat of the body's final color: