Toy to Treasure (or at least acceptable)

ModelRailroadForums.com is a free Model Railroad Discussion Forum and photo gallery. We cover all scales and sizes of model railroads. Online since 2002, it's one of the oldest and largest model railroad forums on the web. Whether you're a master model railroader or just getting started, you'll find something of interest here.


KB02

Well-Known Member
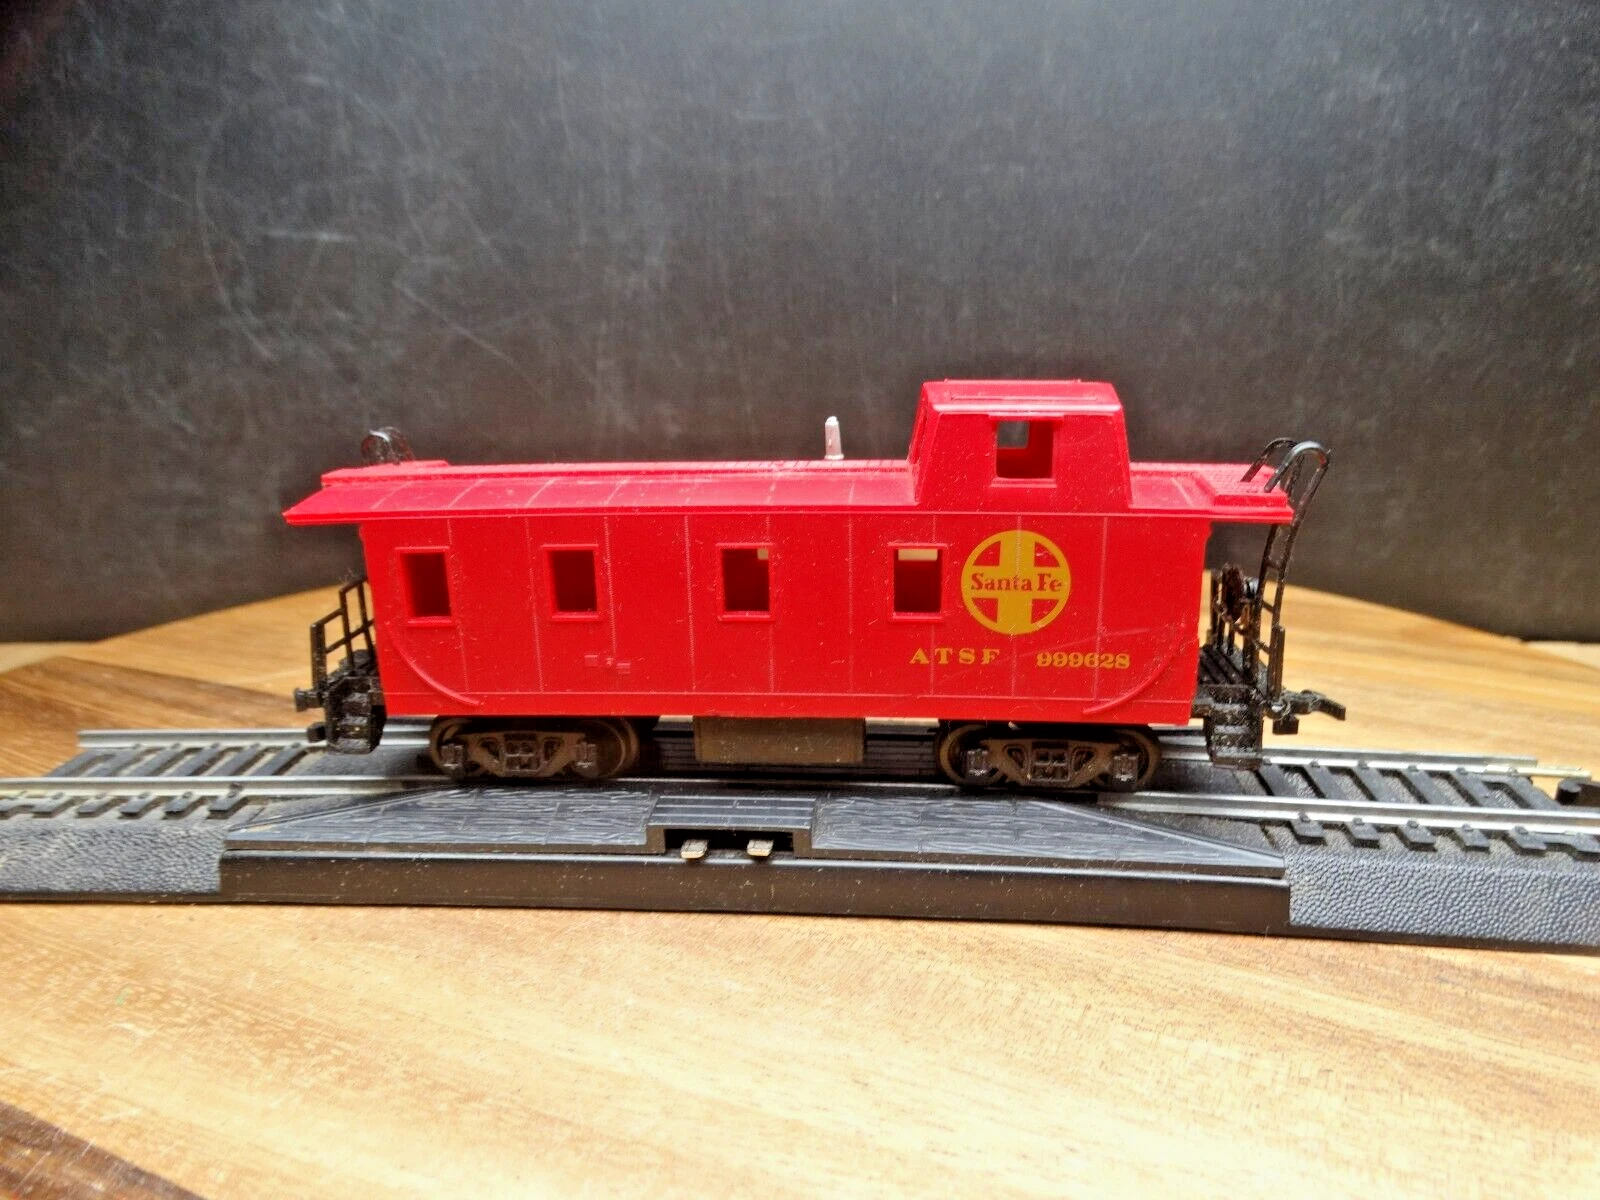
As I had posted in another thread, I have wound up with a toy HO scale caboose. One of the cheap Bachmann ones they sell with their low dollar kits for kids. This is not my photo, but one I snagged from the web (same car, though):
s-l1600.webp


I decided that since I have too many cabooses, this one needed to have something done with it other than leaving it as is and taking up space. So a rebuild into a Shoving Platform is in order!! Found this article online and really liked the direction he went with it, so figured I would copy it to a degree.

After pulling the body off the frame and stripping the decal, I was left with this:
55043350161_4f17acb441_c.jpg


Strategic planning took place and the first cut was made:
55043529798_3e250fbc6b_c.jpg


The cab is getting shortened up by roughly the length of one of the roof "sections." There will still be an overhang, but also a big porch. Blocked out some windows while I was there. Not sure how many, if any, windows I'll leave open. We'll have to see.
55043529783_5f4479d9f6_c.jpg


Cut #2! This one was much trickier. and took out a little more material than I had expected from the saw blade.
55043529818_d13503ed2f_c.jpg

55042451417_dd03a1ab7c_c.jpg

Those gaps got filled in with some styrene strips. I'll need a little putty to fill in the remaining holes before I am done.

End of day one's progress looked like this:
55043608139_de7f8f9599_c.jpg


Oh, and those lamps... Jury is still out, but they may be coming back, so a little hole was drilled in each side just in case.
55042451747_e832d3372b_c.jpg

55042451752_abdce42a5f_c.jpg
 
Day two brought attention to the frame.
55043687820_6c717fb2a2_c.jpg


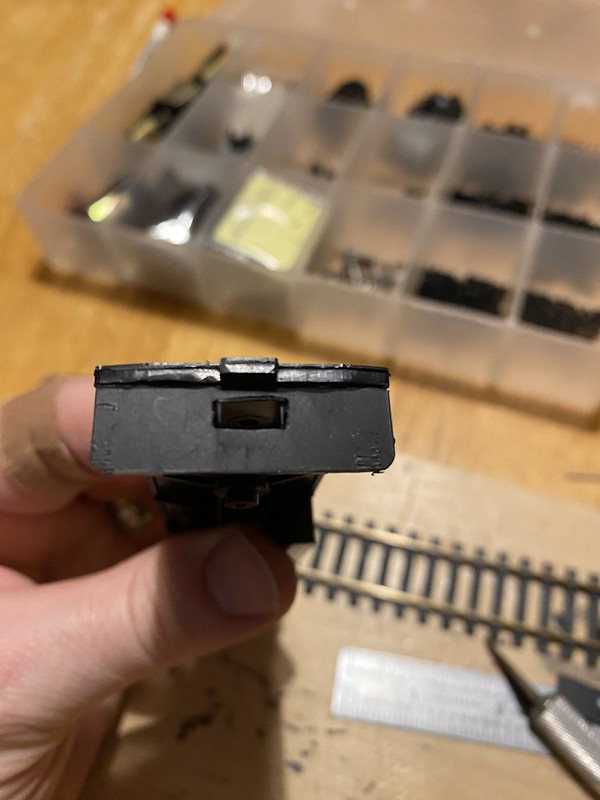
The frame will be staying the same length, so the weights will need to be shortened to fit under the shortened cab. Also needed to cut new holes for the mounting tabs on the cab to fit into the frame. My cuts were not quite as precise as I had hoped. The body fits on just fine, but it not quite as tight as before and comes off a little more easily than I would like.
55043529793_2260ce870a_c.jpg


The old hole got filled in and smoothed out:
55043529823_aafd47d2dd_c.jpg


The mutton chops got shortened just a touch and new panels were added on the ends along with upright supports.
55043608134_4e97e89dbe_c.jpg

I bought a bag of random brass end cuts a number of years ago, and it has been just a wonderful, never ending, bag of goodies for projects like this. :)

End of day two looked like this:
55043608129_4649dc437c_c.jpg


The plastic railing is just set in place. Since this side is broken, I'll end up replacing them with something else. I've got some phosphor bronze wire that are just about the perfect dimension for railing work. And I might have an old Athearn Blue Box loco railing lying around somewhere that I can scavenge as well. Again, we'll see.

Tonight's work is more frame work. more to come.


I envy you modelers who can cut thing up and patch them back together and turn a turd into a gem! I don't have that knack.

I like it, well done so far!
You know what they say: You can put lipstick on a pig... :D
I am by no means claiming to be good at this, but I figure it's worth a shot and I'll just do my best.
Give it a shot! You might surprise yourself. :)
---------------------------

If this is going to be a working unit, the ends needed to be beefed up a bit. So I added a bigger bumper:
55043434421_59b709a0cf_c.jpg
55043613653_761a9a6b74_c.jpg


My last pair of Kadee's coupler boxes going to good use (need to replenish that supply...):
55043771740_6346242816_c.jpg
55043434431_1d824ae21e_c.jpg


My NMRA gauge shows I got the couplers just a tick low, but since that seems to be a common occurrence on my layout, I guess it will be all right.
55043434426_f1c72faa9f_c.jpg
 
Blocked out most of the windows. The conductors convinced the powers that be to not close them all up, so they left one open on each side.
55046573328_9cc2380f2a_c.jpg

55046726135_e21f90c2d7_c.jpg


Then it was primer time. The good thing about primer is that it shows not only all the spots you don't have to worry about any more, but also all the spots you do. 🤦‍♂️
55045492797_6387d70532_c.jpg


So out came the JB Weld. It was the only filler type epoxy I had on hand.
55046384466_2fb009e803_c.jpg


Once that all sets up, it will be back at it with files to smooth it all back down. Not sure if I'll do that next or move onto the hand rails. Not entirely sure how I will get those done. Got a couple ideas in mind.


Decided to work on the railings. Once again dipping into my bag of random brass to pull out some pieces. The first side came out a little wonky, but good enough that I can live with it.
55047691004_7b7f567dd5_c.jpg


The second side came out much better (or at lease straighter) and I was able to re-use the brake wheels from the original railings (sort of...).
55047616083_edd0108f38_c.jpg


The "sort of" part goes like this: On the original caboose, the railings appear to have been secured by melting the plastic. One of the brake wheels popped right out without issue. The other... did not. :confused: It took a fair amount of careful cutting and prying but I finally got it out. Looks like there had been some super glue used as well at one point in it's life. It left me with a small mounting nub. Small, but usable. The other side was in great shape so that is the one I used for all my measurements and what not. When it came time to install it, though, it was gone. :eek:
I think what happened is that it got mixed up in the scraps and trash on the table and possibly got swept up and thrown out. 🤦‍♂️ So back down to the layout I go and looking at other cars I could pull a brake wheel off of. I found two cars that I simply don't use: old "wooden" cattle cars from the transcontinental RR days. The Whistlestop RR may be Restoration Railroad, but even I have my limits. 🤣 Donor selected, I grab my tools and the first one breaks right in half. 🤦‍♂️ The second one came out much easier. Sadly the post was ever so much smaller than the hole I cut so its a little loose. That's fine. a touch of glue after the railings have been painted will do just fine.
The crappy wheel popped into place without issue.

55047616088_c666692992_c.jpg


I'm debating on whether or not to paint the frame. Anything to limit shiny plastic would be good, but what color?
 
Black with safety stripes on the pilots.
That is the plan! :)
-------------------
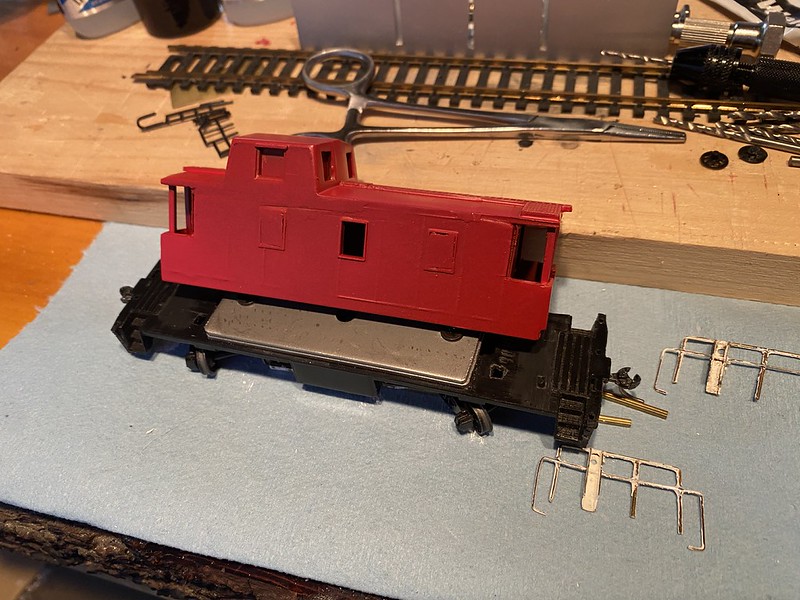
Today's post is not much. Spent yesterday morning filing down all the JB weld. Found a few spots that I could have worked some more in if I was trying to make this a show-stopper piece... but I'm not. ;) Then I got some rattle can paint (cost more than the caboose itself, probably) and painted the first coat of the body's final color:
55049753721_1733089173_c.jpg


Then I attempted to paint the railings which failed miserably. You just can't brush paint tiny railings and make then look good, you know? Fortunately most of the paint just scraped off with my fingernails (is that fortunate?). Then I made a purchase online of a cheap, self contained, battery operated and rechargeable, mobile Air Brush. $25 from Walmart which included the 2 year protection plan. The rest of the painting will have to wait until it gets here. Not that I think this thing is going to look spectacular, but I'd like to give it the best chances I can. Also my acrylic paints didn't want to stick to the brass very well, so I might have to research that a bit, too, for the railings.

One of my goals for this project was to not spend any money on it - just use what I already had on hand. Technically, buying the paint and the air brush means I failed in that goal. But, since I can still use both of those for other things, I think I'm still okay.
 
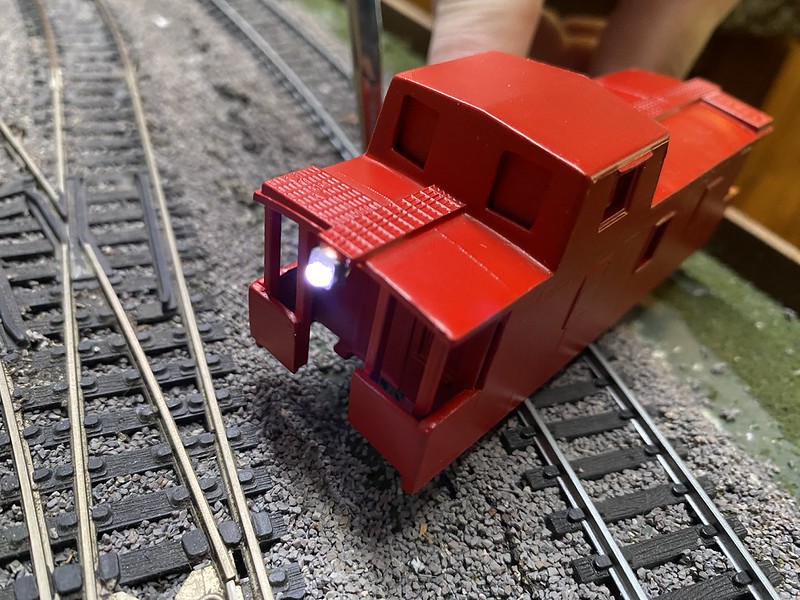
Reinstalled the headlights and added some LED's.
55051582943_bf0856a7d1_c.jpg

55051582938_598101507a_c.jpg


Then I added some wipers to on of the trucks.
55051660704_b18cce9b91_c.jpg


The lights kind of work. I'm running metal wheels, but the power is not really transmitting very well. And they only work with the car facing one direction. Some kind of polarity issue that I will have to investigate. May or may not work in the end.
 
You need to put a bridge rectifier between the pickups and the LED. Two reasons - to make it light in both directions, also to prevent track voltage appearing in reverse across the LED which can damage it.
1769034237213.png

You can also add a capacitor as a "keep alive" to help with the intermittent pick up. If nobody is making this as a circuit board, someone should...
 
Reinstalled the headlights and added some LED's.
55051582943_bf0856a7d1_c.jpg

55051582938_598101507a_c.jpg


Then I added some wipers to on of the trucks.
55051660704_b18cce9b91_c.jpg


The lights kind of work. I'm running metal wheels, but the power is not really transmitting very well. And they only work with the car facing one direction. Some kind of polarity issue that I will have to investigate. May or may not work in the end.
That's really cool! Those Bachmann trainset cabooses make good projects, I painted one for a circus train not that long ago.
 
Got the safety stipes added on.
I tried applying masking tape and cutting out the stripes. They were not anywhere near straight or uniform.
I tried some thin pin stripping tape. The tape was old and not only didn't adhere well, but they were once again not straight or uniform; especially around the couple boxes.

In the end I resorted to a good, old fashion, homemade decals: I just printed them out with my regular printer, hit the back with spray adhesive, put them into place and trimmed off the excess.
55058408073_85bf378795_c.jpg


I'll go back in later and seal these up with something. I've got some Modge Podge that should work. And as the photo shows, the body needs a serious shot with some Dull Coat, or something similar. But, it's getting there.


Affiliate Disclosure: We may receive a commision from some of the links and ads shown on this website (Learn More Here)

Back
Top