ModelRailroadForums.com is a free Model Railroad Discussion Forum and photo gallery. We cover all scales and sizes of model railroads. Online since 2002, it's one of the oldest and largest model railroad forums on the web. Whether you're a master model railroader or just getting started, you'll find something of interest here.
The rocks were glued with more PVA and left to dry. The upper part of the river and the small waterfall will have to wait until the landscape develops.
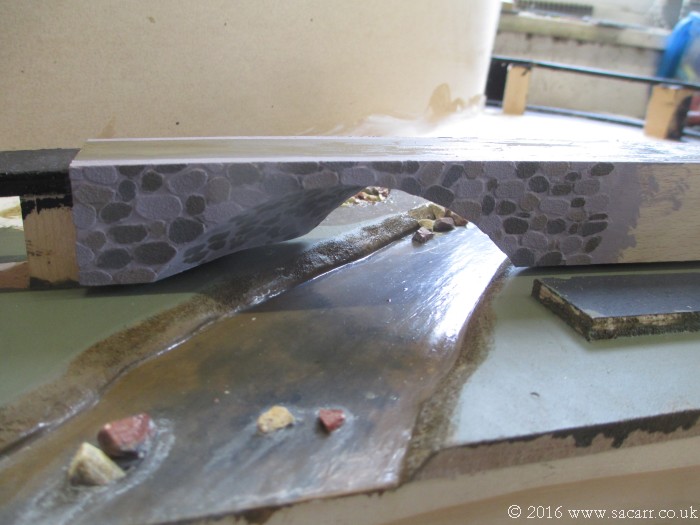
While that was drying, the bridge was painted its first coat. The pinkish grey base coat will then be overpainted with random stones high and low lighted to create a more mottled appearance.
With just a couple of coats of PVA, the river is starting to look quite good. The bridge isn't glued in at this time.
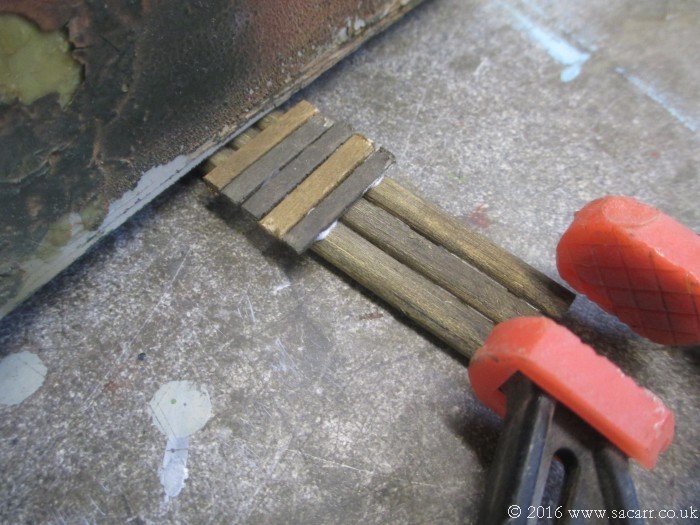
The second bridge was going to be a low wooden structure, so it didn't block the view of the stone bridge. Some 1/16 plywood strips were stained with dilute brown household emulsion paint of variuos shades for the bridge decking.
The area under the bridges was given a quick coat of green, as once glued in place, it will be hard to access.
The last picture of the day was both bridges in place with track placed over them for pictures. My daughter has now gone away camping for the weekend, so the next build session will probably be Monday.
The main loop was laid first, running from both ends of the turnout, soldering the track joints on the curve and making the expansion joint on the straight area by the bridge.
A GEM turnout lever was used to throw the rails, with the aid of a micro servo head as a bellcrank.
The stone bridge was glued down next, and the climbing track to the station laid.
With the track all pinned down, I soldered some wires to the rails and gave the loco a test run around the loop and up the incline. All went well, although the loco is still a bit rough, as I haven't replaced the 30+ year old motor yet, with the new 5 pole motor.
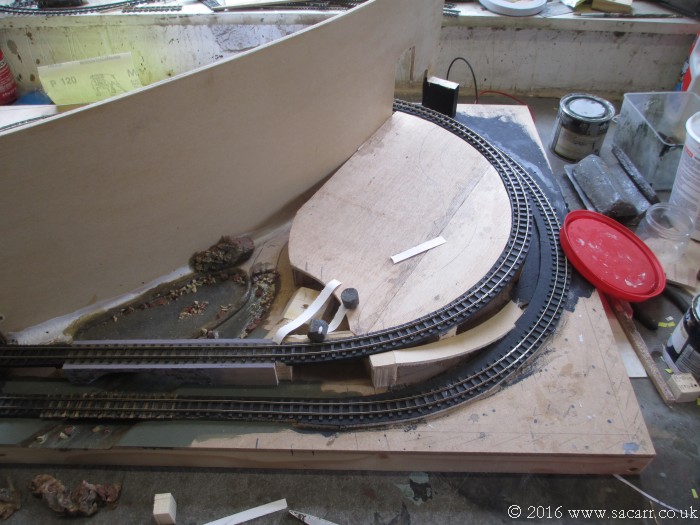
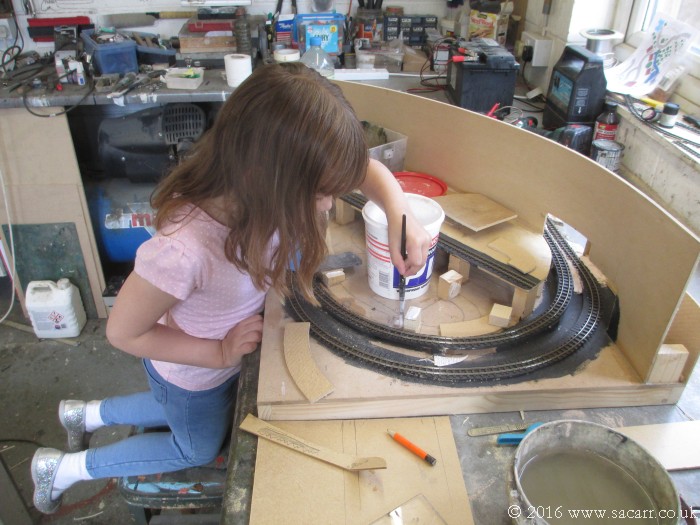
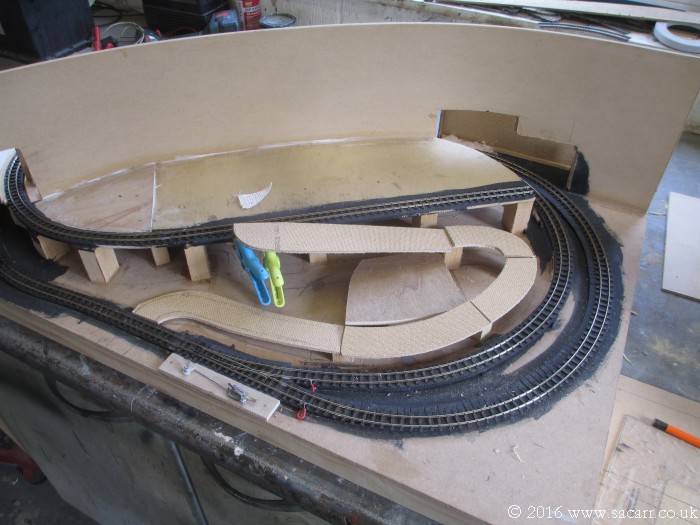
After a day at grandma's house yesterday, we were back on the layout today. We started by adding a plate to raise the landscape in the forest and river area, held up on several wooden blocks, seen being glued here.
Some 2mm plywood sits on top of the blocks, forming the base for the road/dirt track through the forest, and provides an edge for the continuation of the river.
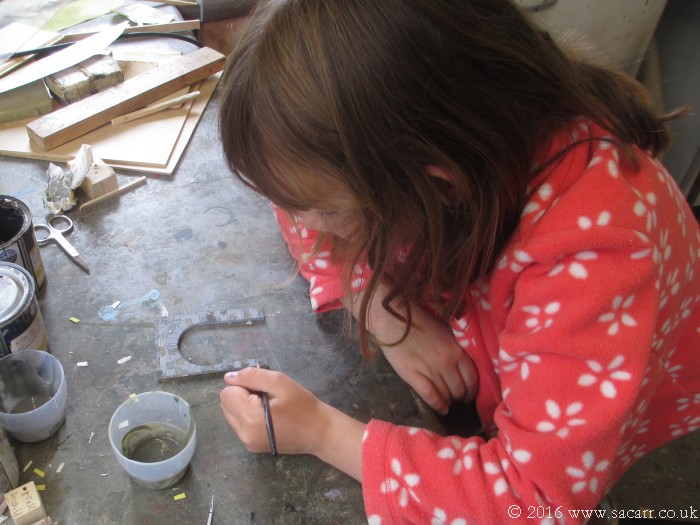
While I prepared some other bits and pieces, my daughter got on with painting the tunnel mouth a base coat of grey, and once dry, painted a number of stones in various grey/brown shades.
We then did some 'mod-roc' work around the river and the location of the camp fire. I also soldered up a red and yellow flickering LED which would be burried under a pile of logs for the camp fire.
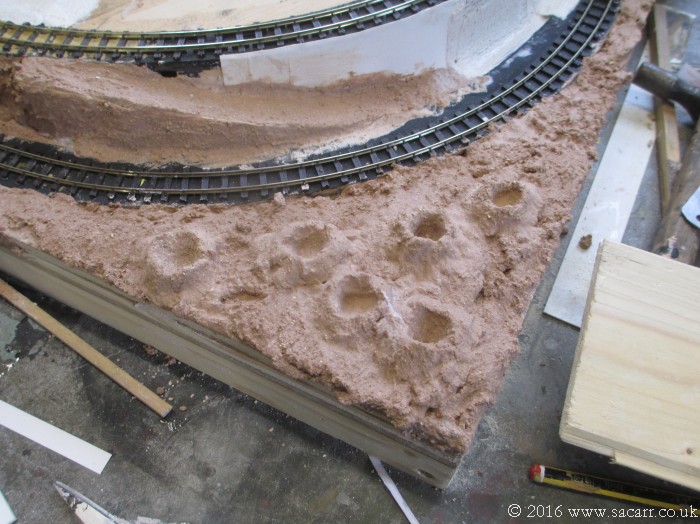
We had considered ballasting the track, but decided we needed some landscape in place where some of the ballast would slope down from the edges of the rail ties. This corner is the desert area where the 'Diamond Dogs' live. Their burrows is where they hide diamond and gems, to be replicated with flickering LED's of various colours.
The last job of the day was plastering the area along side the lower part of the river, and creating the waterfall and upper part of the river that runs behind the 'Everfree Forest'.
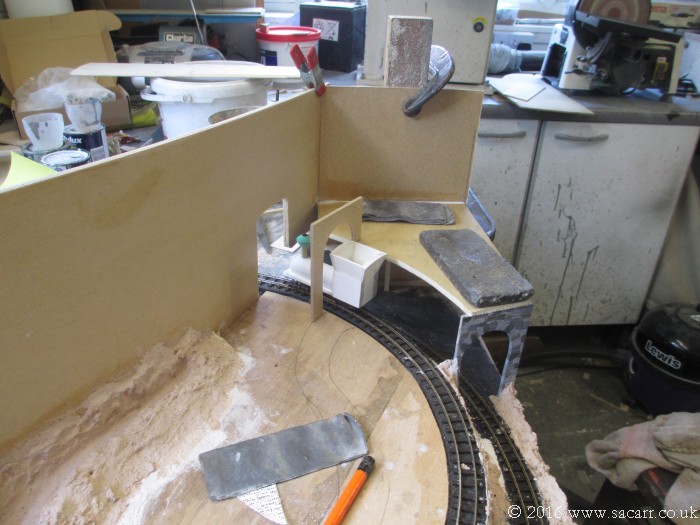
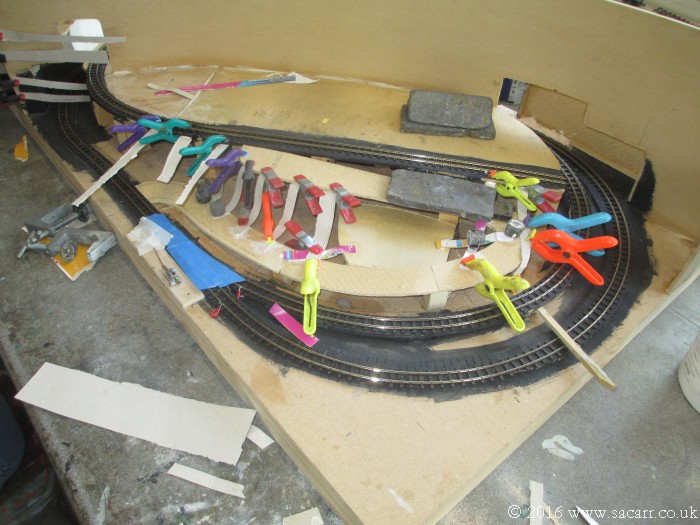
The next stage was on the other side of the layout, building up the road that leads to Ponyville station. I cut some sections of hardboard and some supports on the bandsaw, ready to be glued on.
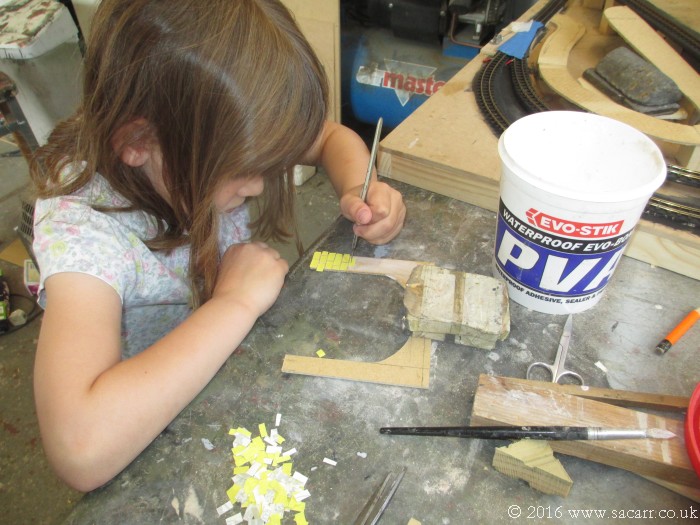
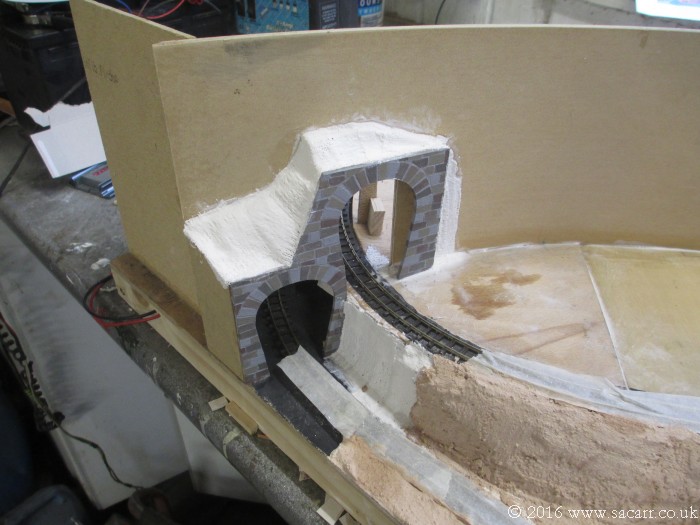
Once the road was dry, we added some strips of card for supports for the landscape, and while they were drying, another tunnel mouth was made with more cut up sandpaper stones.
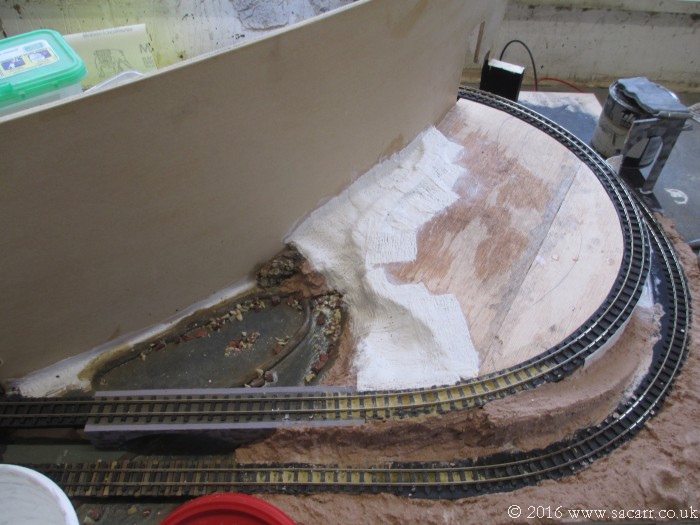
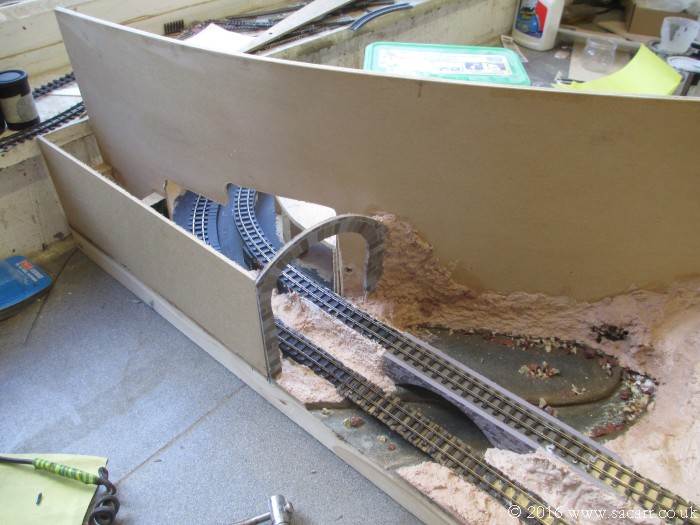
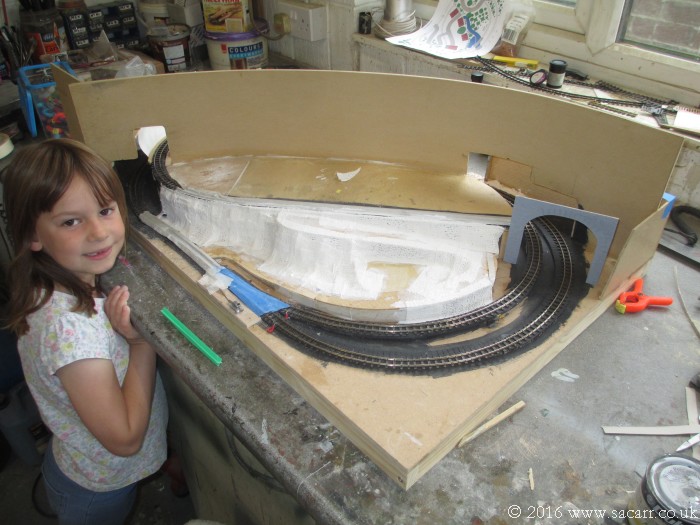
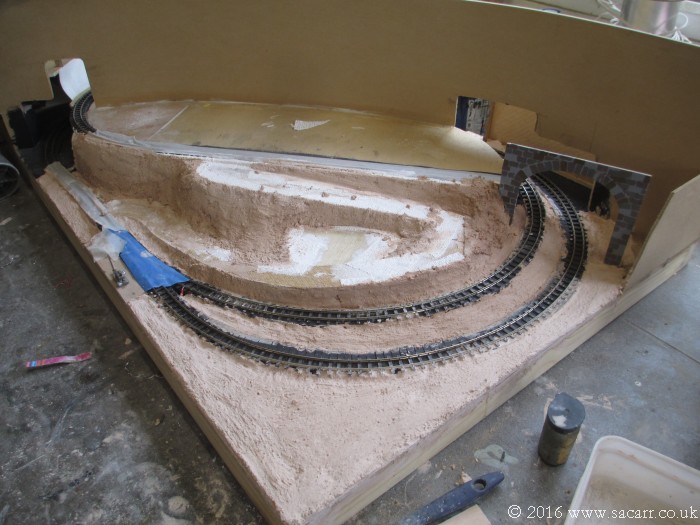
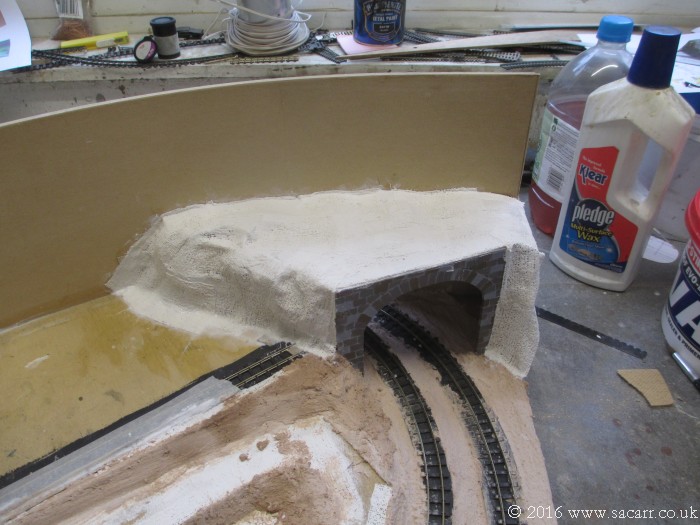
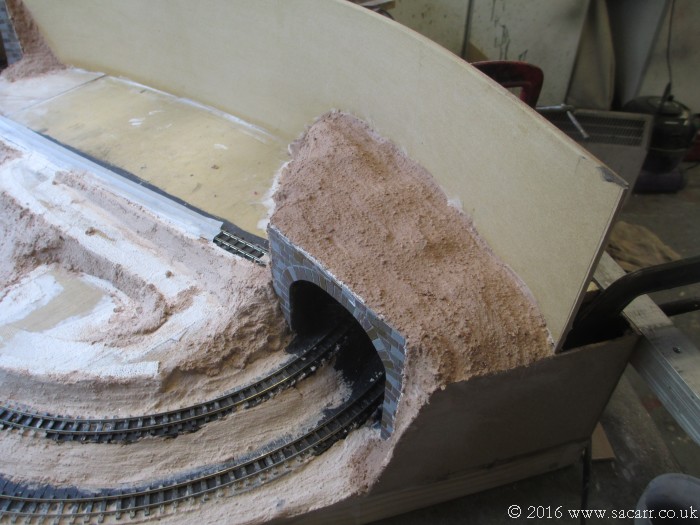
After everything was dry, and the tunnel attached, we used plaster bandage to form the hillside shape, followed by more undercoat plaster for surface texture. That was then left to fully harden, and that's as far as we've got to date.
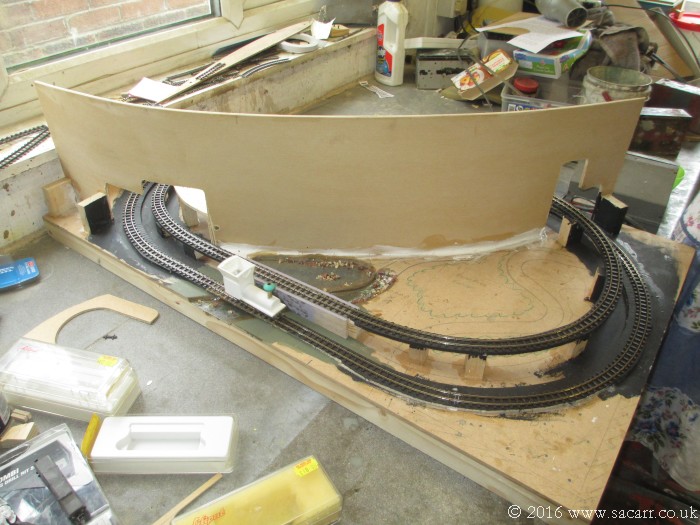
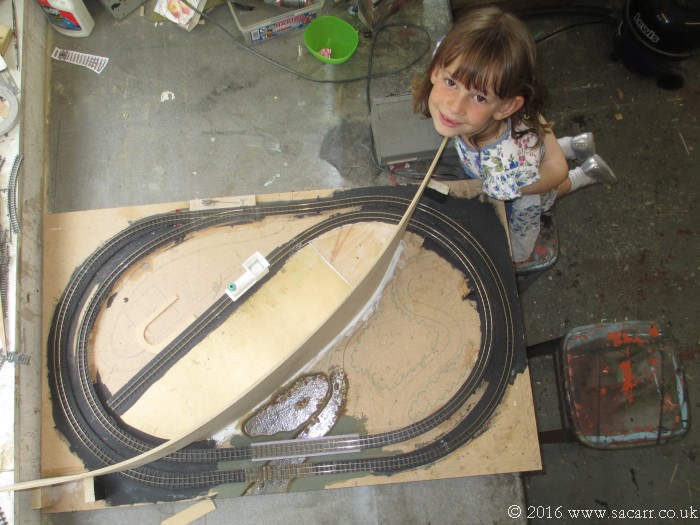
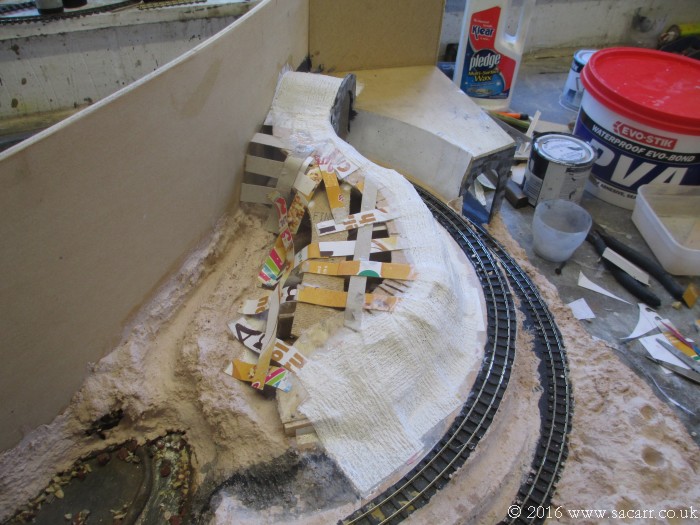
Today, on the other side of the layout, we began the structure over the tunnel in the 'Clousdale' area of the layout. I used a section of aluminium channel to hold the side straight while the hillside supports were cut and glued.
Card strips were then glued over the wooden structure.