bklynman01
Active Member
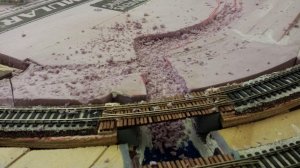
So the previous small bridge had it's problems. I intend to try and resolve those problems in the next bridge. I started last night with making some "cement" blocks out of some foam and painting. After they were glued down, I put down the stringers (wood that runs in the direction of the bridge). I put the ties down and let everything dry. Sorry, I didn't get pictures of this process.
After the ties were down, I realized I could end up with the same problem as the previous bridge - the bridge grade can be different than the track on either side. Per the advice of CJCrescent, I plan to have the track rails continue about 1.5 inches beyond the ends of the bridge. Since the rail will continue, I thought the ties should also. I was talking to the guys at the LHS and they took out one of the bridge books they had to reference pictures. The standard was to have the ties continue for some distance beyond the bridge. And so, that is what I plan to do.
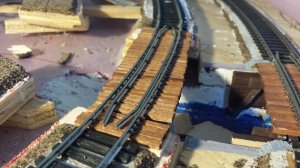
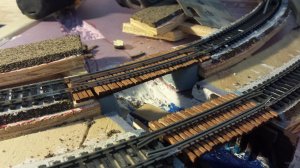
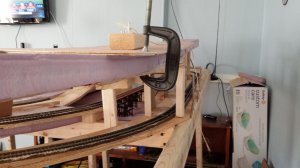
I cut the cork back a little pit to make space for the ties. Then I had to add spacers underneath to get the ties to the proper height. In the picture, I had found a few small pieces of trash wood that happened to be the perfect height. What I ended up actually using was a solid piece of wood that fit in the area that was the same height as those small pieces. I glued those down to the plywood and the ties to the spacers. Again, no pictures because it was getting late and I wanted to get those down so I can continue tonight. Hopefully the next post will be of some rails being laid!
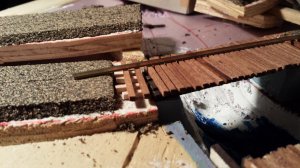
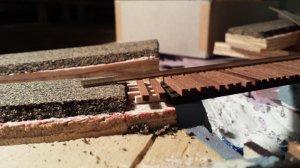
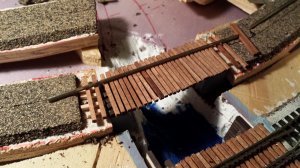
After the ties were down, I realized I could end up with the same problem as the previous bridge - the bridge grade can be different than the track on either side. Per the advice of CJCrescent, I plan to have the track rails continue about 1.5 inches beyond the ends of the bridge. Since the rail will continue, I thought the ties should also. I was talking to the guys at the LHS and they took out one of the bridge books they had to reference pictures. The standard was to have the ties continue for some distance beyond the bridge. And so, that is what I plan to do.
I cut the cork back a little pit to make space for the ties. Then I had to add spacers underneath to get the ties to the proper height. In the picture, I had found a few small pieces of trash wood that happened to be the perfect height. What I ended up actually using was a solid piece of wood that fit in the area that was the same height as those small pieces. I glued those down to the plywood and the ties to the spacers. Again, no pictures because it was getting late and I wanted to get those down so I can continue tonight. Hopefully the next post will be of some rails being laid!