New Layout for LASM

ModelRailroadForums.com is a free Model Railroad Discussion Forum and photo gallery. We cover all scales and sizes of model railroads. Online since 2002, it's one of the oldest and largest model railroad forums on the web. Whether you're a master model railroader or just getting started, you'll find something of interest here.


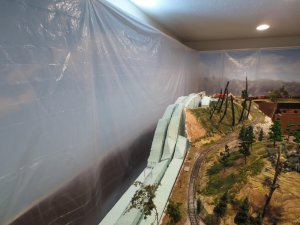
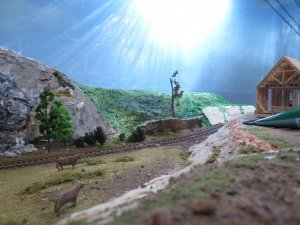
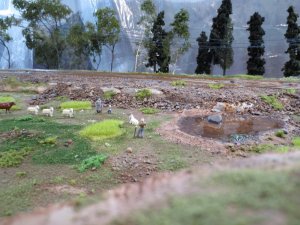
I have a couple pics from the weekend progress. Here is a grass product, I purchased two brands and they both are pretty neat! Also some of the finished trees that will be up against the backdrop:

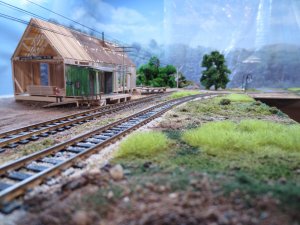
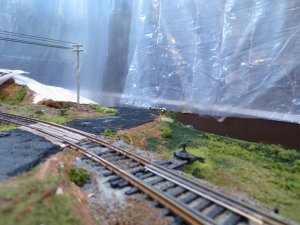
Here is the grass product, there are smaller groupings up by the track that hide the turnout controls
backdropwork3 006.jpg

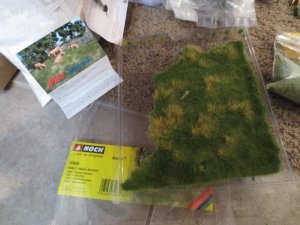
Here is the package
backdropwork3 005.jpg


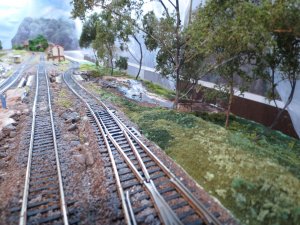
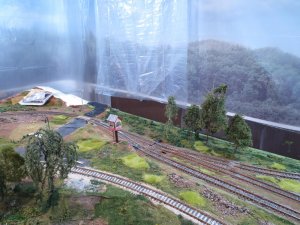
Here is some work by the sawmill
backdropwork3 004.jpg


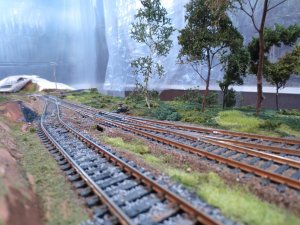
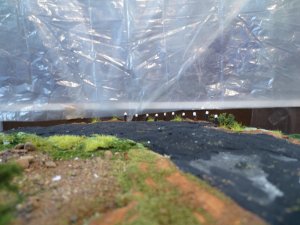
A shot of the finished stream
backdropwork3 003.jpg


THANKS for looking


Looking very realistic Dave , nice work !! Is the grass the Noch or Heki ? It appears that it is a sheet that you just tear off what you want?
 
THANKS for following my thread!! Jim, the grass on the layout pictures is the Heiki. Some of the Noch is also in place but does not show up because it is right along the edge where it will meet up with the backdrop.

I just peel away the backing and try to tear off and spread out the pieces. Some of it I used Hobby Tack to stick down and sometimes just the matte medium is good enough. I go around the perimeter of the grass patches with a fine ground foam that is about the same color as the grass because sometimes the little seam shows up and that covers it.
 
Dave excellent work there! Are these Heki wildgrass? I have used these with PVA glue to set them (the wildgrass variety i got) down, and it seems that pushing the edges of the tuft (like burnishing them) works good in hiding a seam/step. Having said that, i have resorted to complementing my heki tufts with noch static wildgrass (in similar fashion to what you are doing with the ground foam). This latter method seems to yield the better results and at some point i ll try the foam blend as you did!

Anyhow great work again there and thanks for posting!!!
 
Thanks, Yannis; The second photo shows the Noch brand grass. It is used only along the very right side edge of the 4th photo. I plan on using this up along the edge of the not yet completed layout extension.

The Heki brand I just about used up the entire package, they are only right next to the grade in the second photo also throughout the first and third photo. I am pleased with the results of both products, although when the package arrived I wasn't sure.

The Heki brand was about 100% usable wheras the Noch brand, around the perimeter there was a little bit of waste.
 
Hey David,

Those grass patches really look good around the dirt.
Nice to see differences in your scenery, it's much better when not all is identical
Well done
 
I have a couple pics of the "new addition" area, just about made it to the corner.

I added the ground cover as well as a grouping of trees:

sceneryroad 002.jpg

I added some guard posts where the blacktop road goes off the layout, also the pavement ended up with a pretty worn look, which is fine with me.

sceneryroad 003.jpg


Here is the bigger view. I have been using the plaster cloth to get the sloped area and I really like the product. Wish I would have discovered it at the beginning of the layout.
sceneryroad 004.jpg


Here is a close up of the guard posts. Looks like I got a little carried away with the brown paint, will have to do some touching up. Also, can see where I need to hide a seam in the grass patch. These closeups really help in getting the details right.

sceneryroad 001.jpg


Nothing like a digital camera for bringing out our needed improvements. I've also learned to dust everything off prior to taking pictures.
Willie
 
Very good work Dave! As usual, some excellent looking scenes are going to be produced with the scenery you have created :)
 
Thanks, Yannis;

Willie, you are right about the dusting. However, still in the middle of the project and I kind of liked some of the dirt on the blacktop, gives a little of an unkept appearance. We have some pretty poor looking roads in rural Minnesota, all the freezing and thawing can really work havoc.
 
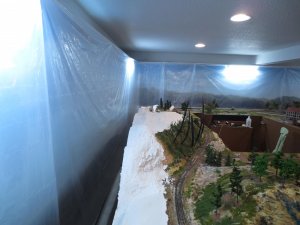
Well I made a lot of headway over the weekend, or maybe it is that I got to the easy part. Pics of the foam hill and landscape extension progress, I had this leftover foam and it was an easy way to make a pretty large hill:


I decided to use the leftover foam like this, putting it on edge then will use plaster cloth to bridge the gaps. I used cardboard in a couple places, where the gap was greater than 3 inches:
Backdrop4 001.jpg

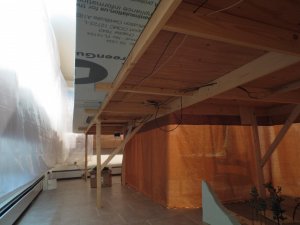
Here is the underside. I just edge glued a piece of foam using a "caulk" style tube of foam bond material. I added a couple stubs of wood for support:

( the red and black wires are feeders for my building and street lights, the inside wires are the track power bus wires.)

Backdrop4 002.jpg

Here I have all the plaster on. It is plaster cloth and sculptamold, except sheet rock compound on the relatively flat area in the foreground.

The sculptamold is an interesting product, it worked good but after a couple days is not as solid as I thought it would be.

Backdrop4 006.jpg

I got some preliminary paint on, will be adding ground cover and trees. The wall area straight across from the sawmill is going to be exposed rock.

Backdrop4 007.jpg

Thanks for checking it out! Dave
 
Looking fine David. Some excellent work. Waiting to see it when it's finished with the backdrop in place.
 
Thanks, Chet, I am super anxious to "get er done" but at the same time don't want to rush it.

Maybe by the weekend complete the scenery and slide the layout back towards the backdrop, take down the protective plastic, etc.
 
Thanks, Lloyd;

Those feeders go to the town of Grizzly Flats which includes 4 street lights and 3 lighted buildings, pretty light weight usage. At the source I have another set of feeders going to Grovemont and the sawmill, where there are 11 double street lights, and 3 lighted buildings. The building lights are LED but the street lights are not.

I think the feeder is 14 gauge, and I have a 5 amp separate power source for all the lighting. The plug in on the back of my MRC train controller could not handle the lights.

I can handle a lot more lights if necessary.
 
You did a really nice job blending the old with the new Dave . It always amazes me what a difference a little plaster makes!!! Looking good.


Thanks, Jim; I wondered how that was going to work out and between the plaster cloth and putting the foam on edge, it turned out much easier than I was anticipating.


Affiliate Disclosure: We may receive a commision from some of the links and ads shown on this website (Learn More Here)

Back
Top