You are using an out of date browser. It may not display this or other websites correctly. You should upgrade or use an alternative browser.
My Northern Pacific Butte Montana Layout.
Thread starterNP2626
Start date
ModelRailroadForums.com is a free Model Railroad Discussion Forum and photo gallery. We cover all scales and sizes of model railroads. Online since 2002, it's one of the oldest and largest model railroad forums on the web. Whether you're a master model railroader or just getting started, you'll find something of interest here.
Right now I am forming and adding the grab irons to the caboose and since these details are at the edge of my photographic abilitys, I don't know if I will attempt any photos. We'll see how they turn out!
It seems like when I get into these projects that take a few weeks to get done, the maintenance of the layout seems to stack-up. Is this a documented fact? Locos need lubrication gears need replacing, locations on the layout are subject to funny electrical problems that come and go! I guess the only way to stay ahead of the curve is to work on scenery in areas where a section of track needs to be covered and taken out of service; so, therefore you can't run trains. That way maintenance issues don't crop-up because nothing is being run!
Despite everyone's thinking that a completed layout is the goal, the above demonstrates to me that my layout at least, will never be completed! I am just fine with that, as goals can be very fickle and sometimes unobtainable!
So, something I thought was going to be a nicely done detail has turned out clunky. On the grab rails on the top of the cupola, I used locomotive stanchions to hold the grabs in place. These are the small brass parts that hold the grab rail along the boiler, away from the boiler. On boilers they look good; but, being used where I have, they are too big. The little wire eyes http://www.modeltrainstuff.com/Cal-Scale-HO-541-F-Unit-Lift-Rings-p/cas-541.htm would be a better option; but, I don't have any. I was also going to use them on the end platforms on the L-shaped grabs on the caboose ends as a middle support. However, I made one and felt it just is too clunky, so I filled the holes drilled for these parts and will do the L-grabs without these supports. I've always found these grab irons to be difficult to get to look right anyway and these brass stanchions added another complication to an already difficult detail to add.
The detail parts I got for my 2 Atlas Genset diesel locos have tiny flat brass "support rods" for the coupler cut bars, 4 per bar, and they are loose on the bar, so they move and swing about. They are from the later production of that loco called the Genset2, so holes will have to be drilled into the pilots of the earlier ones to mount them, inserting each one into it's hole while the others move about on the thin bit of wire that is the cut bar (thank goodness it is wire and not plastic), I am not looking forward to doing it (trying that is). Support rods is the name given to them on the parts list, not eyelets or rings as one would expect, and @ .85c each a pop, not cheap.
On the subject of wire rings or eyes, I wonder if they could be obtained from Walthers. The have some very small ones as lift rings on their Proto 2000 diesel locos.
Toot - I did get the wire rings from Walthers, but many years ago. I now have them in a parts drawer, not in a package, but I think they were from Details West.
I have left the boiler stanchions on the cupola, once they are painted they will be far less noticeable. The L-grab irons on the end platforms are difficult to see; anyway, so I don't think the missing rings will be a problem. If I had some of these parts, at this point I doubt I would use them. At $2.69 for 20 of them, I will buy some, I just won't have them in time for this project.
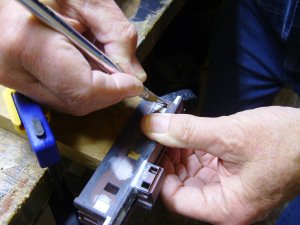
This photo shows the making of the forgotten bathroom window on my caboose. I am actually cutting in the X cuts Toot so highly recommended! This window is very small and I'm unsure if the X-Cut helped. Again it sort of looks like I'm attempting to lop off the tip of my thumb. While sitting here talking about this photo, I wondered what in blazes is that blue thing under my knife hand. I blew the photo up and it dawned on me that it is one of my new bar clamps I bought last week!
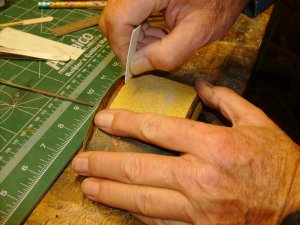
This photo shows the process I used to make the new end walk platform supports. The old roof walk had these platforms on the other side of the walks, as that was how the Northern Pacific Brainerd Shops designed the caboose. I removed the supports that supported the old position of the roof walk end platforms and had to make new ones for the other side. The photo is showing sanding a radius into the support so it will match the camber of the roof.
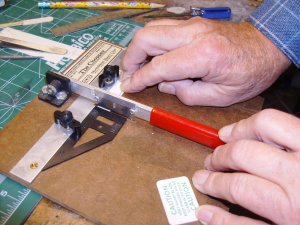
The second photo shows cutting the thickness of the support block with my NWSL "The Chopper".
Photo three shows the two outer support blocks glued in place. I'm waiting for the glue to dry before gluing the second set of support blocks to the roof.
The end roof platforms are in place and the forward cupola grab rails have been added. In photo two, both cupola grab rails are in place. I use Testors liquid cement to attach the grabs as it wicks into the joint and locks things in place. However, the bond is not very strong; so, I will go back and use thick CA to secure the joints better, where the grab irons go into the holes. Also, the coat of paint will add some strength to the joints.
Hi, back again. Travel this week seemed to be a foolish endeavor given the weather we've gotten and the weather predictions for the week.
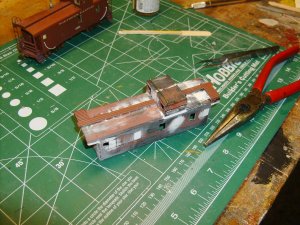
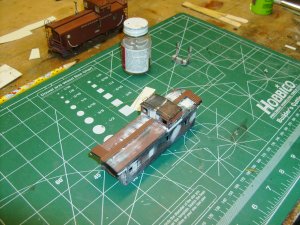
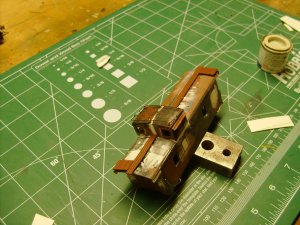
This photo was an attempt to show that all the grab irons have been applied. Some do show up; but, the grabs on the end of the car are in shadow and don't really show.
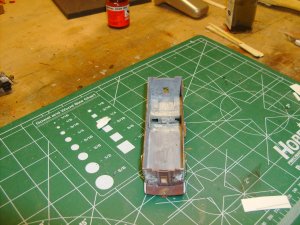
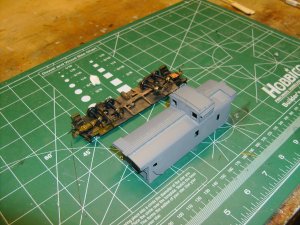
In this photo it can be seen that I have applied a coat a gray paint to the interior of the car. I have been aboard the 24 foot wood caboose; but, don't recall what color was used on the interior. I have never been aboard a 1000-1100 series steel caboose, so I have absolutely no idea what color would have been used in the interior. All I can use for example is the fact that lighter interiors tend to make small areas seem bigger, so gray it was.
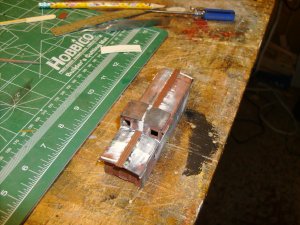
In the second photo you can see that the caboose has been given a gray primer coat. I generally don't use primer coats. However, because the Squadron Signals white putty might show through on a color paint application, I decided to squirt some Krylon Primer Gray on the car. The fact that I had a spray can of primer also helped make the decision. The primer might also help hide some of the rivet and panel details that may not have been completely sanded away. Next is some Floquil Oxide Red brushed on.
Most of the NON restored cabooses that I have been on were painted various shades of a light green. I think you are close enough; Your work looks very nice.