ModelRailroadForums.com is a free Model Railroad Discussion Forum and photo gallery. We cover all scales and sizes of model railroads. Online since 2002, it's one of the oldest and largest model railroad forums on the web. Whether you're a master model railroader or just getting started, you'll find something of interest here.
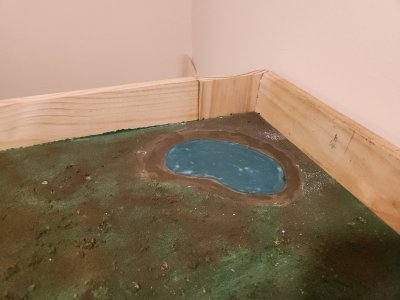
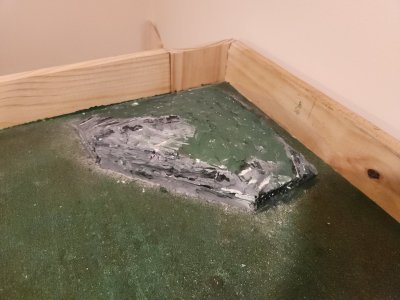
Here is the finished scenery panel with the rocky hill on one side and a lake feature when flipped over.
Another advantage of this modular approach is you don’t have to bend over the train boardt while creating the scene...you just move the panel to a work table for easy assess
I plan on surprising my grandson this week and we will add lichen to the panel scene. I wonder which side he will chose first?
Attached is a diagram for our next track layout: Coal Industry.
It will operate 2 twos locomotives. The inner loop will be used to return empty coal cars from the power plant (right) to the coal mine (left).
The middle loop carries loaded coal cars from the mine (left) to the power plant (right).
The engine on the middle loop can also pick up freight cars and move them around the outer loop (main line).
I plan on using a divider so it looks more like a point to point layout by hiding the loop activity.
I learned something new today...
In 1985 my sons got a Bachmann HO starter set from their aunt. Knowing they would not be happy with just a loop, I added 3 turnouts, curves and straight track and we put it all together on a 5x9 train board.
Our first mistake...although we didn't attach the track to the borad, we did add mountains, houses and scenery which limited future track plans.
The second mistake was only buying 3 turnouts. I drew up a bunch of track plans for my grandson this morning when i realized, even with 3 turnouts you are still limited to just 4 options.
Its not until you add a fourth turnout that layout options increase to 10 variations.
If you bring the total curves to 35, you increas the variations to 15.
So to keep it really interesting you should start with 4 turnouts, 35 curves, 25 straights and 2 bumperd.
We are about ready to start our coal industry layout. After watching DJs Trains on YouTube, i changed our plan shown in the attached pic. The coal tipple is next to a lake and by coincidence it looks alot like the lake we just made 2 weeks ago.
My grandson was so excited to show his dad the train board for the first time on Saturday.
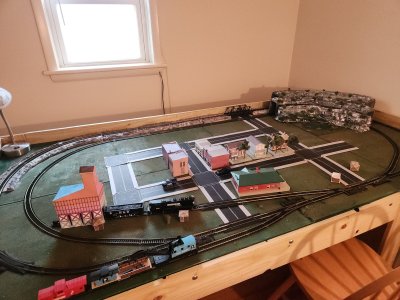
We ran the trains for a while before we started working on the coal industry terrain.
We relocated the lake terrain panel to where the coal mine will be and removed the corner panel to start creating the river panel for the location of the coal power plant.
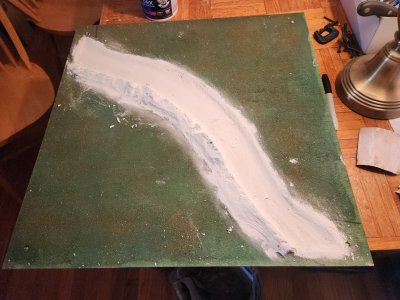
We moved the panel to the work table where cut out the river, attached insulation board and sculpted the river terrain. It's almost ready for painting.
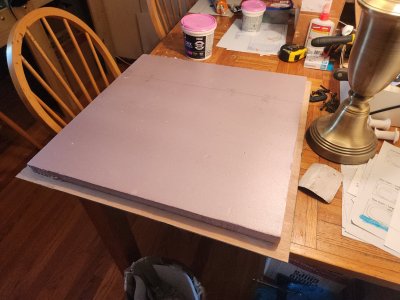
The insulation board can be flipped over and used for a new terrain panel in a future layout with a different theme.
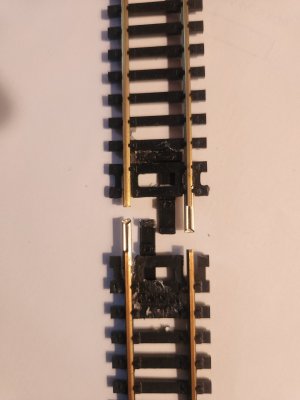
The only problem with frequently changing the track plan is the track will separate causing derailments. So to fix this issue, i designed a latching track clip and had them 3D printed.
I then attached the clip to each end of the track track using gorilla glue.
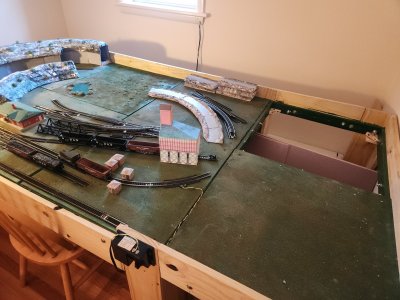
I finally got all the track clips glued to the each piece of track and was able to get the train running on the reconfigured bench with a 1x4 opening in the middle.
My grandson absolutely loved it!
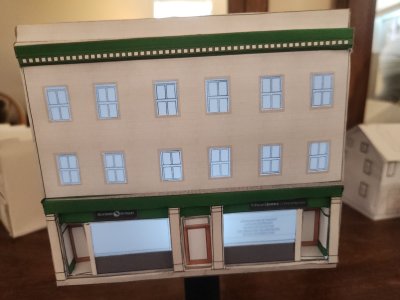
I also finished my 3rd building of my town; Blackbird Antiques. I delivered the s gauge version to the owner and he was absolutely blown away!
I used tracing paper for the windows so i can light them up.
The frame is made up of four 2'x4' modules constructed with 1"x3" fir strips.
I drilled 5/16" holes every 3" so the four modules can be bolted together in various configurations such as sliding one model forward to provide an opening in the center.
I also drilled 3/4" holes to run wiring.
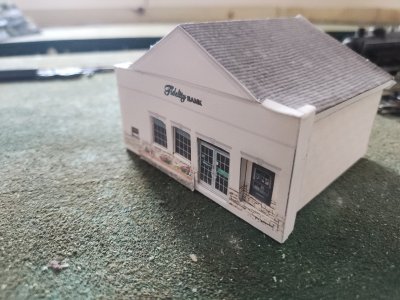
Here are my first four home town buildings. I also gave a building to each business who have them displayed on the counter of their business.
Ive completed 8 paper buildings of home town businesses. Now i am adding LEDs.
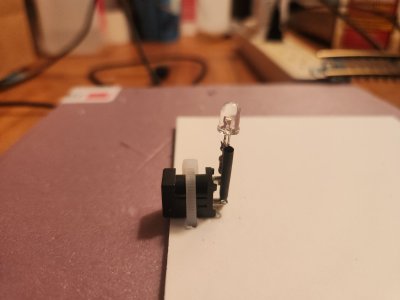
I found a 5vdc barrel jack receptical that i tie wrap to the base of the building then connect/solder a 3.2VDC LED with a 91 ohm resistor.
The barrel jack makes it easy for my grandson to move buildings around.
I also found a USB to 5VDC barrel jack cable so i can use a standard USB charging block.
As mentioned, im using a dual USB charger with a USB to 5VDC barrel jack so my grandson can easily move the buildings around.
However, the USB cable is stiffer than expected and since each building is a different size, the the cable pushes each building in different angles.
I solved this problem by fabricating a stand which supports two buildings.
Along the front is a 1/8" stop so when the USB cable pushes the building forward, the buildings all line up in a straight line.
I allowed for buildings to be up to 5" deep but most are 4" deep.
This 5" depth and the 4" depth of the USB cable enclosure uses a lot of space si i plan to disguise the the cable enclosure with rock and integrate it with the existing 2% grade components.
You can line up multiple 2 unit assemblies next to each other or elevate one behind another (i.e., on steps) to go up a hillside.