ModelRailroadForums.com is a free Model Railroad Discussion Forum and photo gallery. We cover all scales and sizes of model railroads. Online since 2002, it's one of the oldest and largest model railroad forums on the web. Whether you're a master model railroader or just getting started, you'll find something of interest here.
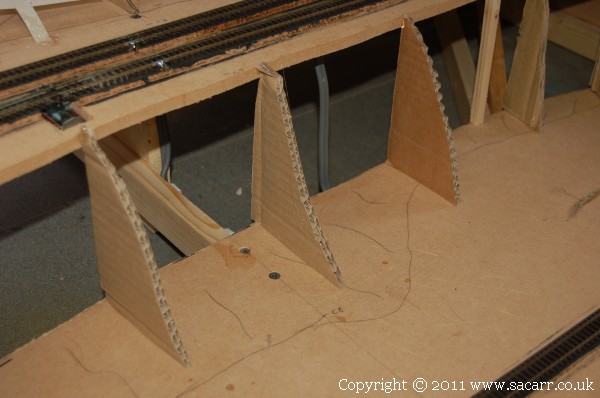
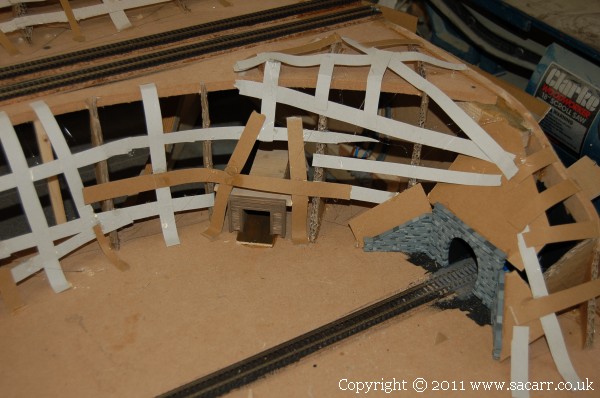
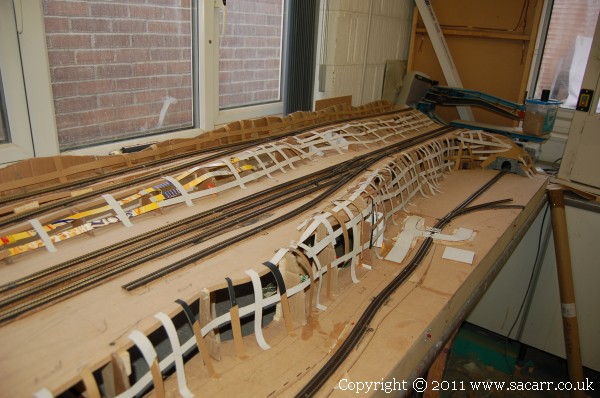
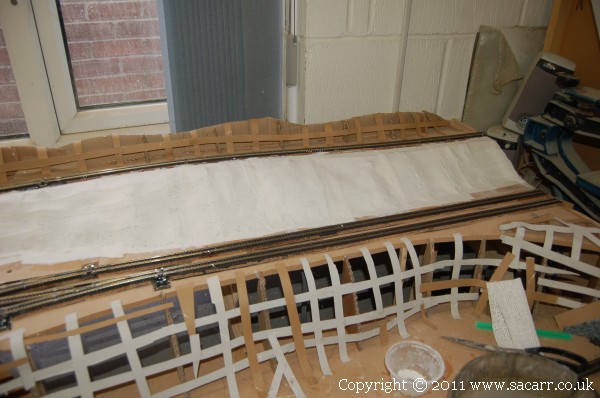
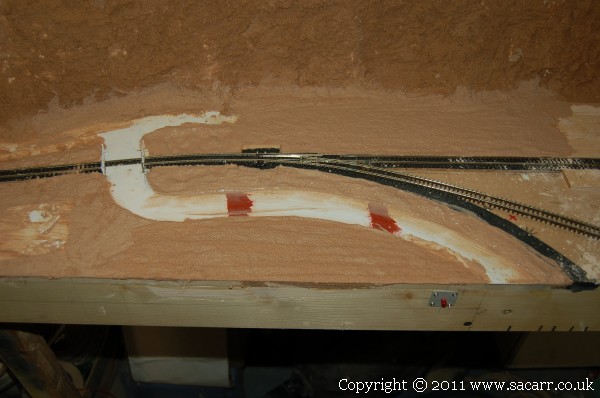
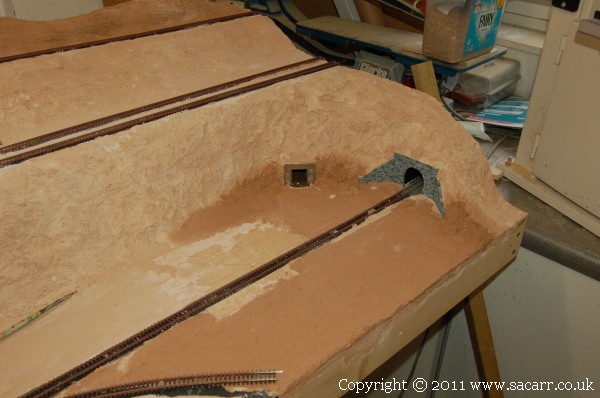
Landscaping began today. The basic hill former shapes were cut from 1/4 inch cardboard, and glued to the layout with a hot glue gun. This was a fast way to build up the scene without waiting for glue to dry.
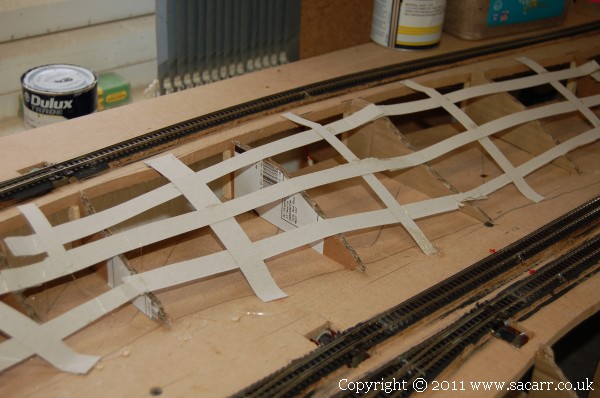
The next stage was to cover the formers with half inch wide strips of thin card creating a lattice work which created the basic hill shape. Plaster bandage will be next, followed by first coat wall plaster to give the final layer and texture.
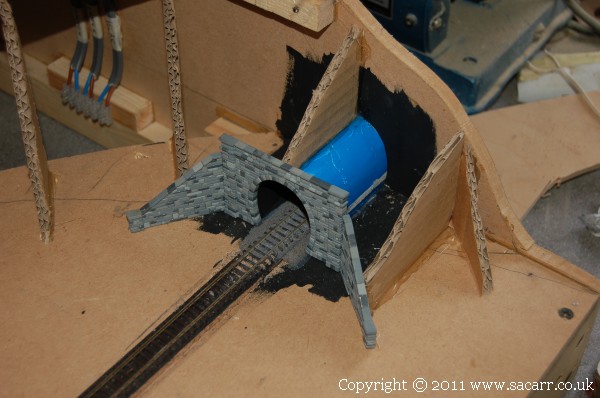
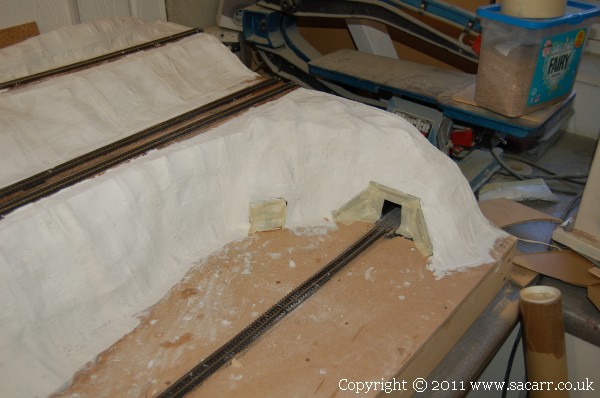
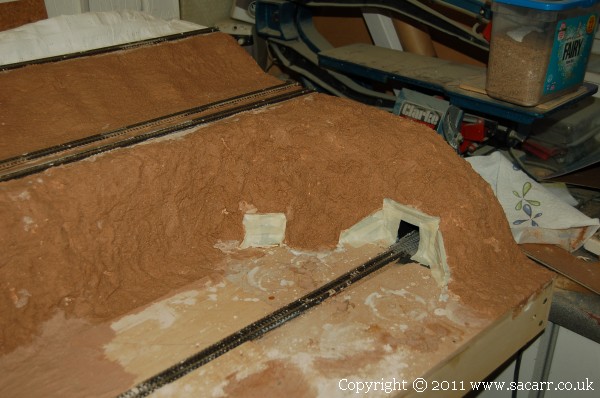
One of the painted tunnel mouths was glued to a half tube of thin card to form a short tunnel. This tunnel goes no where, and is just the back drop for one of the layout's film tributes. This is the "Kelly's Heroes" scene with the Sherman tanks emerging out of the tunnel..
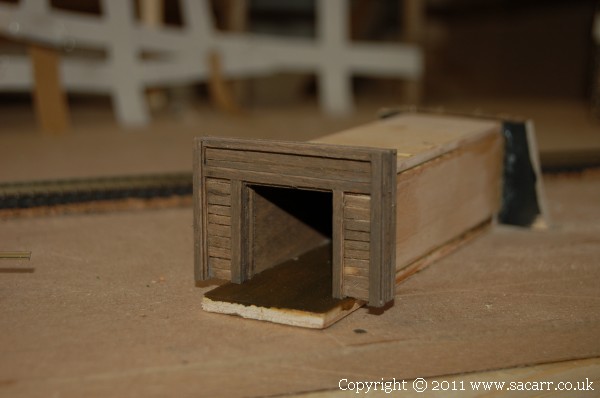
Near by to the rail tunnel is another tunnel with this wooden portal. This is the entrance to the clay works drift mine. It was made from small planks of stained 1/16 ply.
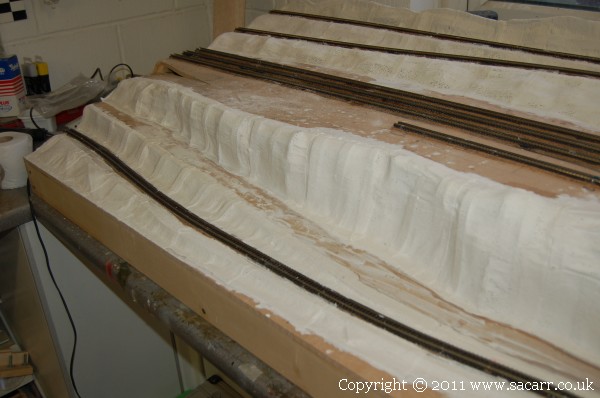
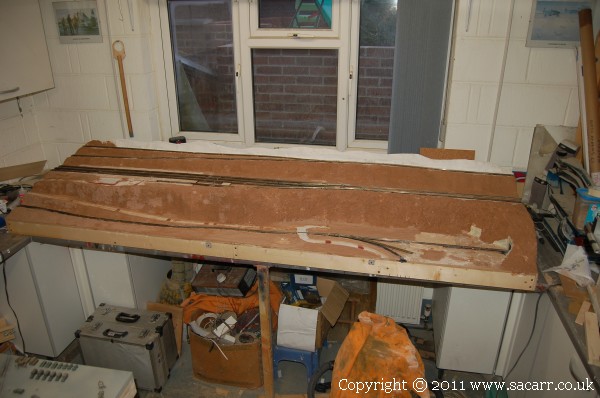
Further progress since Tuesday. The hills are now all covered in plaster bandage. The baseboard and card structure were all painted with a diluted woodworking glue prior to applying the plaster bandage to help it make a firm bond. The tunnels were masked out to protect the paintwork.
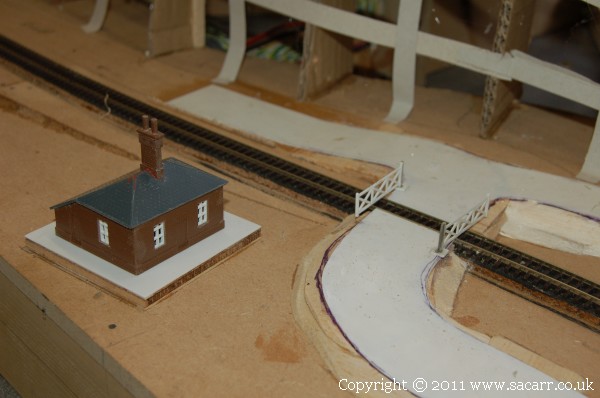
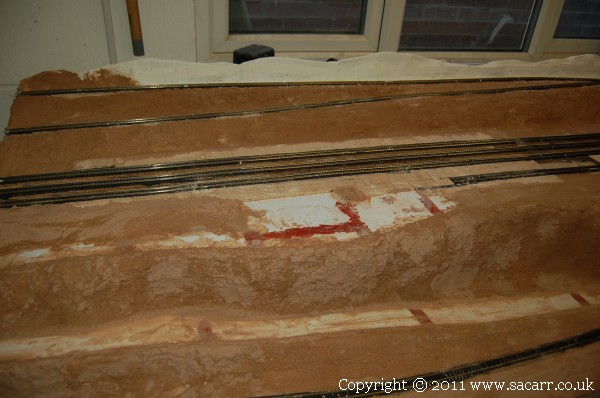
The other end of the section shows the branchline and road cut through the hillside. I also moved the level crossing sensor further from the crossing now I know how the system works, and that it won't shut too quickly.
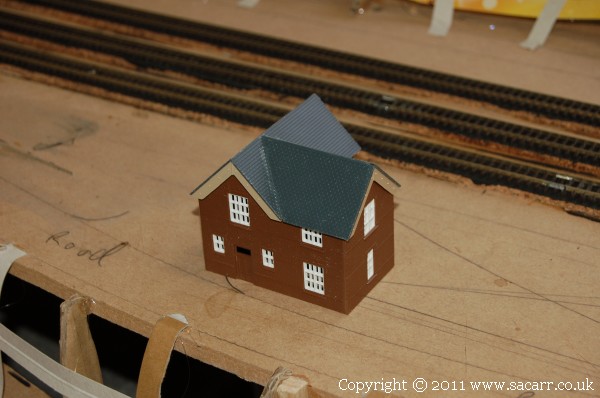
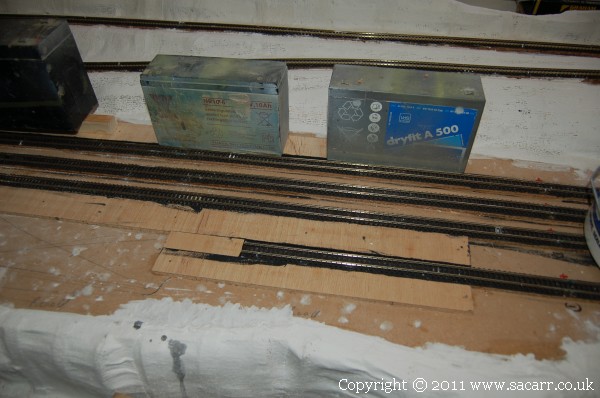
The locations of the platforms also had some plywood footprints added so that the ground plaster can be kept away from where the passenger and goods platforms will glue in place. I still need to finalise the position of the station building and station masters house, which are both not far from completion.
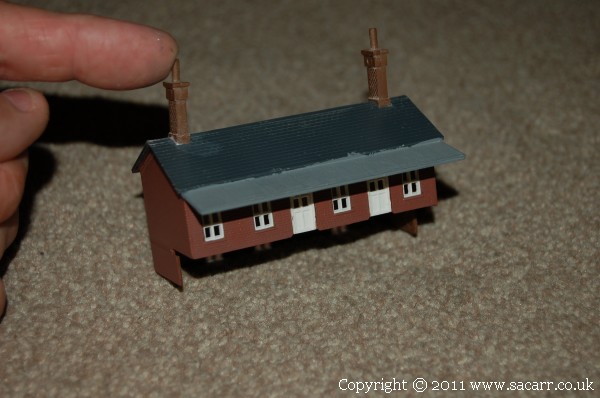
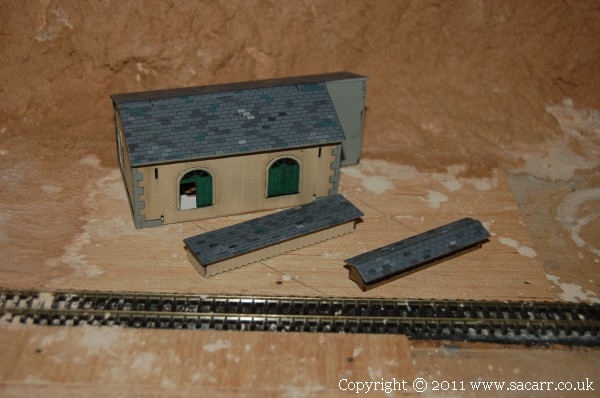
This is the station building. I presume ticket office, waiting room etc. It's not a big building, but this is only the country station. The station in the town will have a much larger structure.
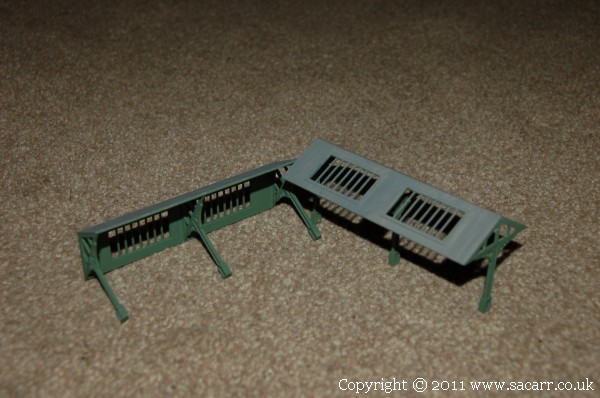
The station canopies are all painted now and just awaiting their glazing. Something I'm not sure of is whether the canopy glazing would be removed during wartime or taped like normal building windows to prevent flying glass.
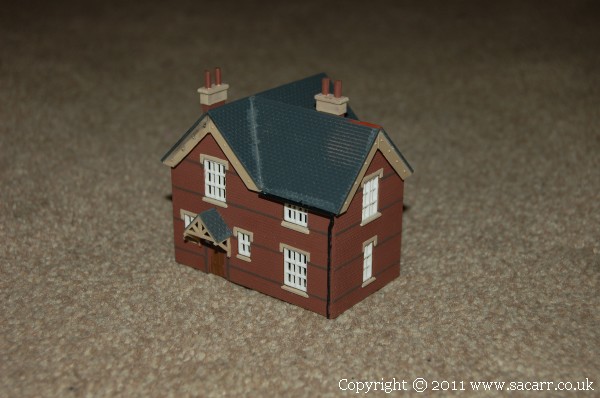
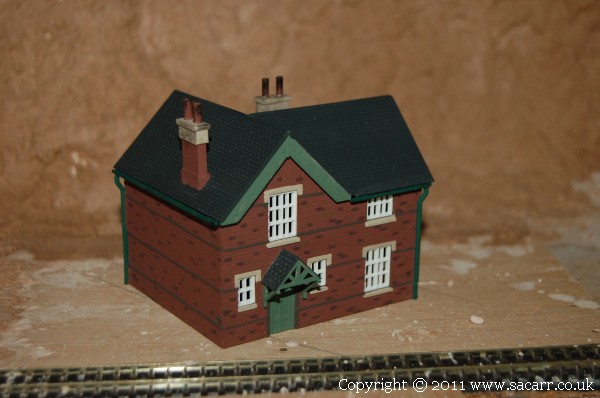
The station masters house is mostly painted now, but still the roof and some detail painting to go.
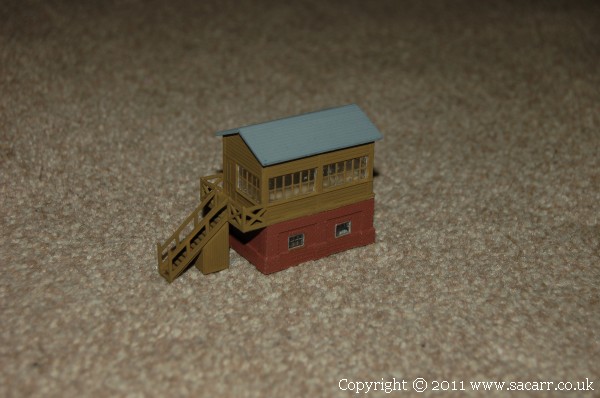
The signal box is also painted but not weathered. I''ve got a model shop trip shortly to collect some odds and ends and to get some slate grey paint, as none of the greys I have are the correct shade.
Great thread. Took me all morning to go throught it. That is the nicest wiring job I have ever seen anywhere. There is something you could write the book on. Awesome work. Ron
The baseboard and plaster bandage was painted with dilute woodworking glue as I went to aid bonding of the plaster which was applied with a 1/2 inch brush. Bases were also added for the signal box, water tower and clay works.
It's been a few days since my last update. Work has continued, but due to working in the garden, illness and a trip away, I haven't had time to post any updates until now. Most of the plaster work was done, but I needed the buildings completed, particularly the Clay Works, before I could finish. The station masters house is now complete. Several random bricks were painted a few different shades to break up the basic brick colour, but under the camera flash, only the really dark bricks show up!
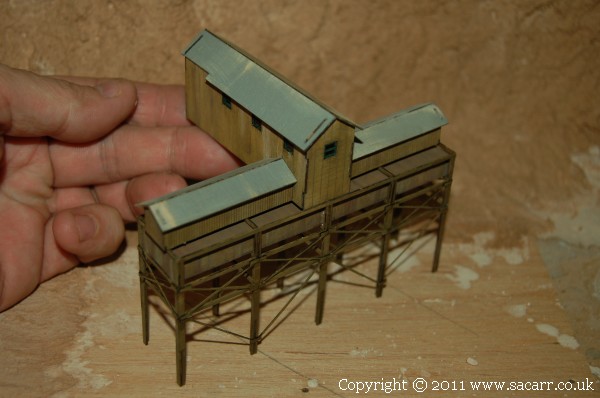
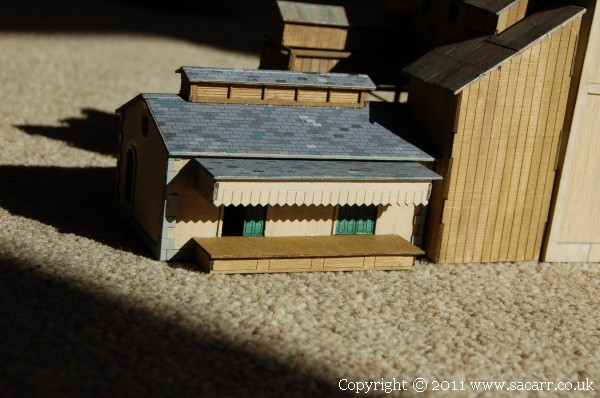
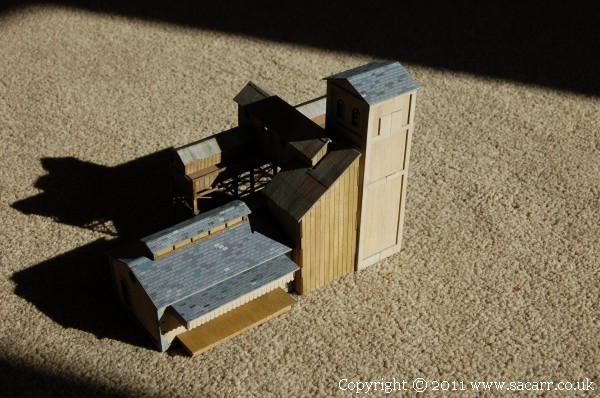
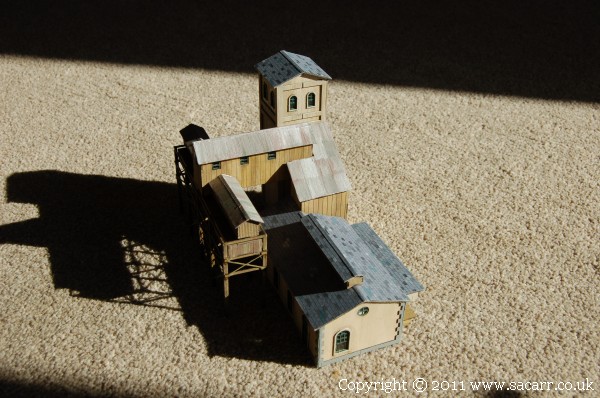
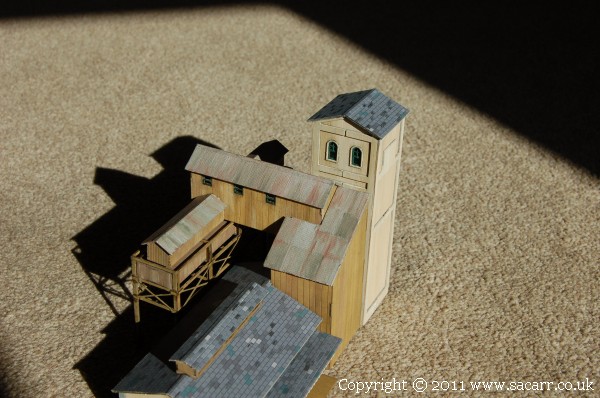
On the clay works, I started applying the paper roof sheets. There were several repeating patterns in the slates, so a number of random slates were coloured with a pencil to break up the patterns. PVA woodworking glue was smeared in a thin layer onto the roof, and the paper tiles pressed on. After the glue had a few minutes to grab, but before it was fully set, I scored the horizontal tile lines with the back of a scalpel blade along a steel rule, to hopefully give a slight bit of texture to the printed surface.
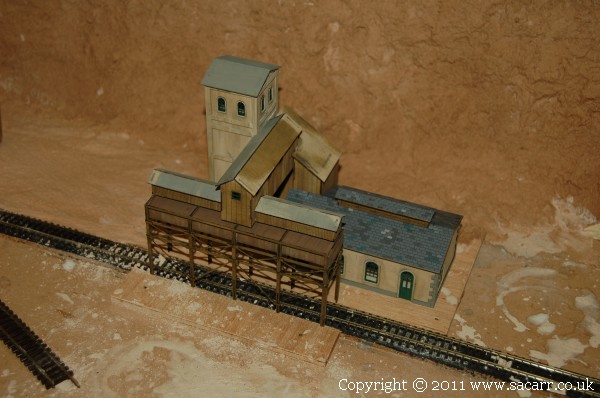
Next, the conveyor sections of the clay works was built, and the whole building placed together for a picture. The bottom of the conveyor buildings is hollow, so I need to fill them with some scrap balsa to give some gluing area to attach it to the rest of the structure.
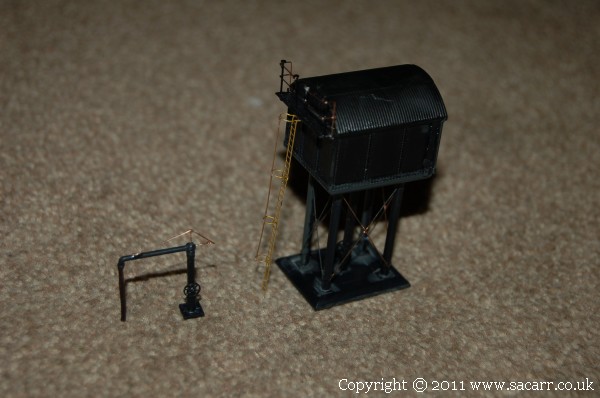
This ratio water tower came next. The basic plastic parts were no problem, but the wire handrails and bracing for the legs was. The wire supplied in the kit was phosphor bronze, and came in a long coil. Unfortunately, it was very springy, and was a nightmare to straighten enough to use on the model. It was also prone to snapping when being bent at 90 degrees for the handrails. I don't know why they didn't use brass wire in the kit. The handrails were a combination of the phosphor bronze wire and track pins for the uprights, all glued with cyano, as were the bracing wires on the legs and water hose section.
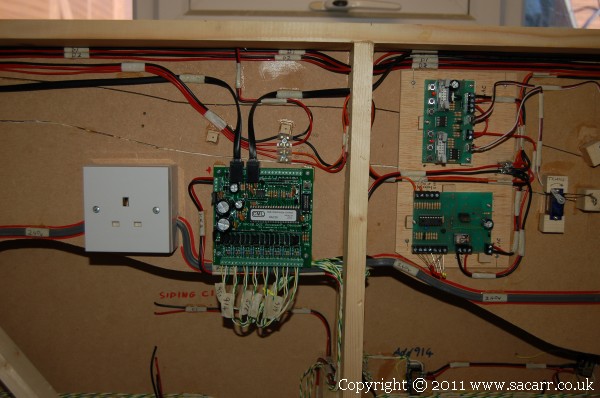
A few days ago, two more DAC20 point decoders arrived for the next two sections. One was fitted to the country station section and the point motor wires all connected, followed by Loconet wiring.
Then the corrugated aluminium foil was glued to the other roof sections. They were painted with a combination of silver, dark grey and rust, all used together while wet, and blended into each other. I'm quite pleased with the finished result.
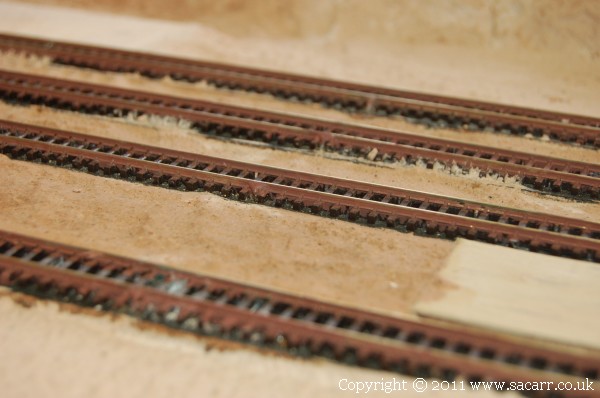
Yesterday saw the plaster work completed around the clay works and the ridge behind the branch line. The track also had all the edges painted rusty. This took some time since there's almost 40 feet of track on this section.
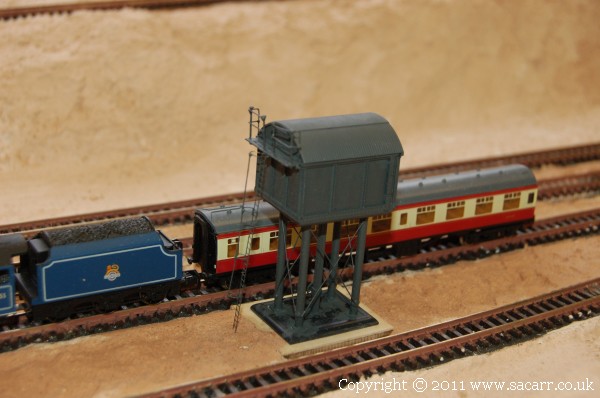
Here's the water tower in position. It is complete and painted, but still lacking weathering. I wanted the paint to fully harden before going any further.
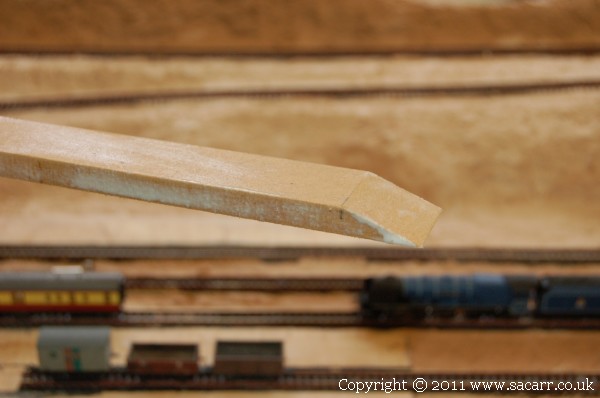
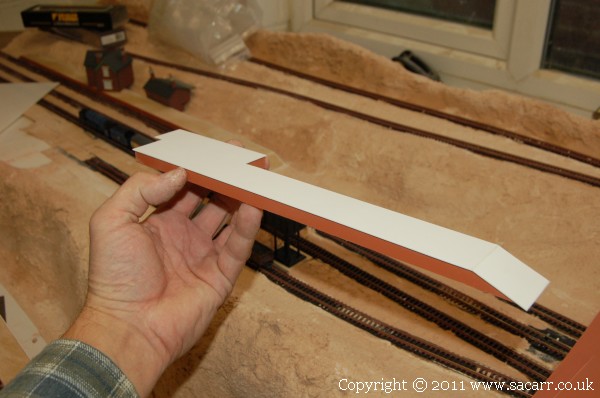
The three platforms were made with a core of 9mm MDF. This was cut and sanded to shape, and sealed with a brushed coat of PVA glue to seal the surface. There are two main station platforms, and a smaller goods platform. This is the end of the goods platform.
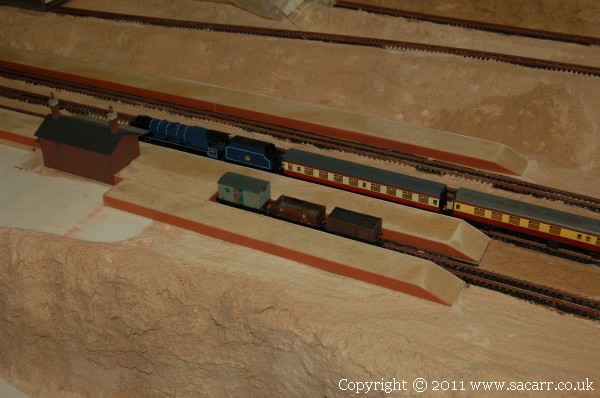
This afternoon, the PVA was given a light sand, and then I started adding the brick effect styrene to the sides of the platforms. They can be see in position here, using a loco, coaches and wagons to make sure there is enough clearance and that the height is correct.
They all got the sides added and trimmed down, but only the goods platform had the top added. All the styrene was glued in place with cyano.