

You are using an out of date browser. It may not display this or other websites correctly.
You should upgrade or use an alternative browser.
You should upgrade or use an alternative browser.
'1943, Somewhere in England', N scale Monster Layout
- Thread starter armyairforce
- Start date
ModelRailroadForums.com is a free Model Railroad Discussion Forum and photo gallery. We cover all scales and sizes of model railroads. Online since 2002, it's one of the oldest and largest model railroad forums on the web. Whether you're a master model railroader or just getting started, you'll find something of interest here.

Affiliate Disclosure: We may receive a commision from some of the links and ads shown on this website (Learn More Here)
armyairforce
Well-Known Member
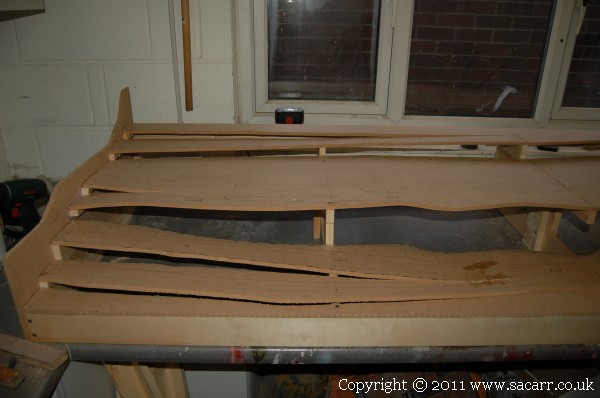
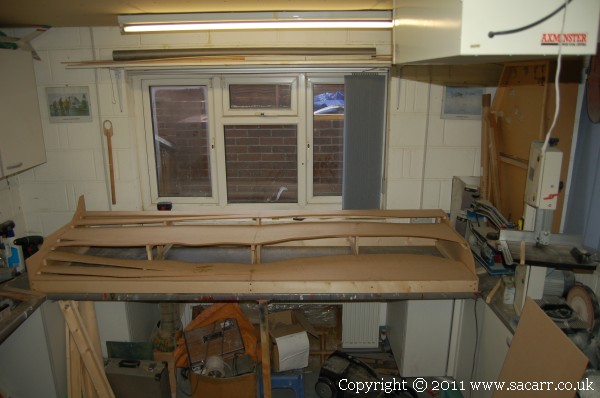
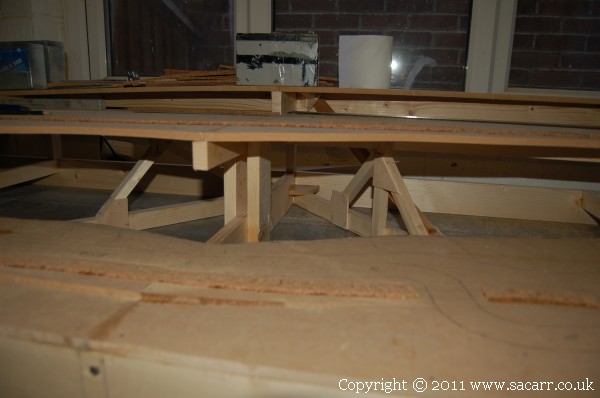
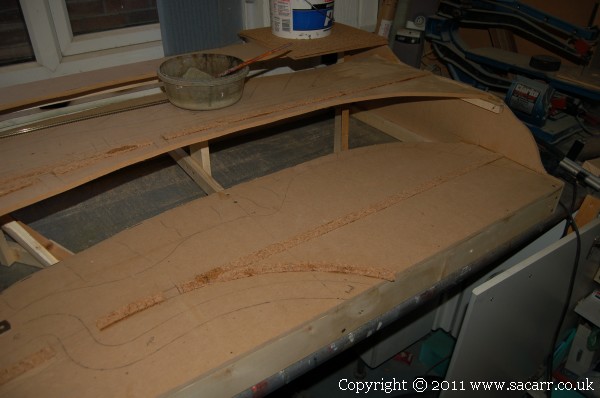
August 30th - After some work on my Dodge this morning, I got back to the railway, and trimmed the MDF ends flush with the track bed. Once that was done, I turned the section on its back, and started adding some diagonal bracing underneath to add to the torsional strength of the section. Some of the bracing can be seen below.
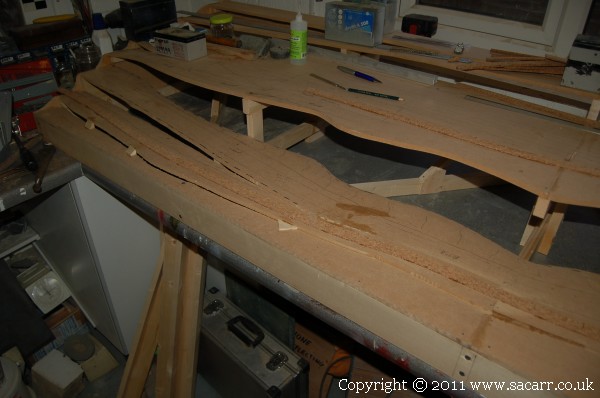
After that, I began to add the cork track bed, glued down as I usually do with PVA wood glue along most of the length, and cyano adhesive at each end and the middle. The cyano holds the cork in place while the PVA does the main job of sticking it down. For some of the curved sections, I added a few slices with the bandsaw to help the cork form a nice curve without snapping.
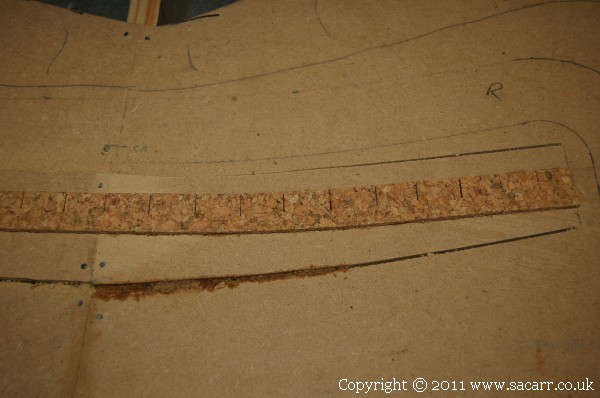
After that, I began to add the cork track bed, glued down as I usually do with PVA wood glue along most of the length, and cyano adhesive at each end and the middle. The cyano holds the cork in place while the PVA does the main job of sticking it down. For some of the curved sections, I added a few slices with the bandsaw to help the cork form a nice curve without snapping.
armyairforce
Well-Known Member
All of the branchline track bed is laid, except where the level crossing will go. There will be mechanics to fit here. Part of one of the main lines and the siding to the platform is also laid.
armyairforce
Well-Known Member
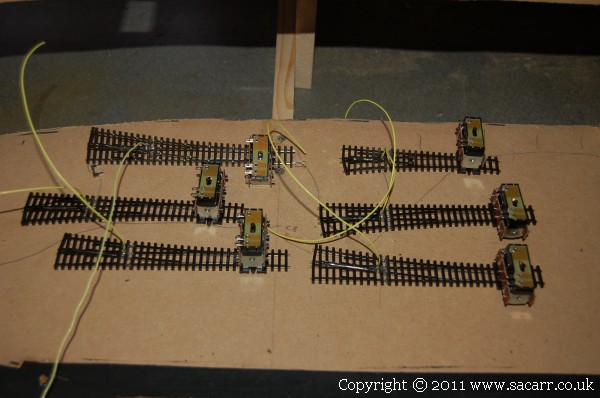
Last day of August - I did some work on the railway today while waiting for a B&Q delivery of 85 paving stones which never arrived all day. Since they never arrived, I ended up on the railway all day. All six points received their electrical modification to improve reliability, and also had their point motors and electrical switches fitted.
armyairforce
Well-Known Member
The rest of the day was spent gluing down the remaining cork track bed, cutting the holes for the point motors and then painting the track bed. I added some small strips of wood between the levels to help support them and prevent sagging.
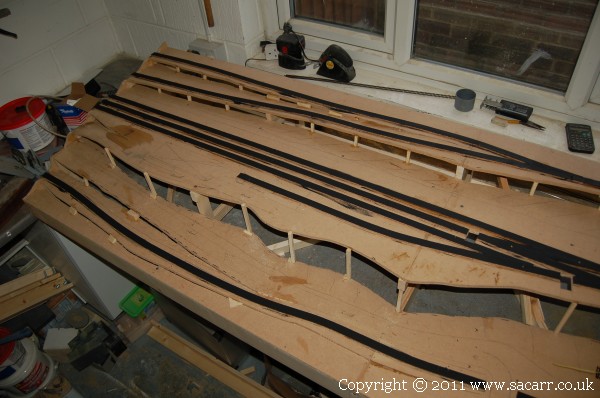
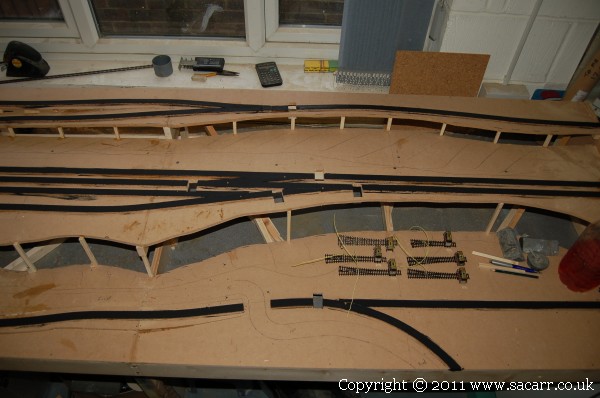
I also marked out two MDF end pieces to match the existing landscape ends on this section. This will be fitted to the ends of the adjoining sections to match the scenery height. It is easier to do this now than once further scenic details are added.
I also marked out two MDF end pieces to match the existing landscape ends on this section. This will be fitted to the ends of the adjoining sections to match the scenery height. It is easier to do this now than once further scenic details are added.
armyairforce
Well-Known Member
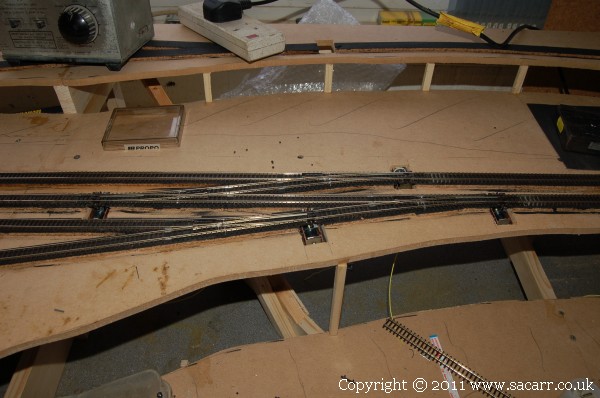
September 1st, and almost up to date now. I got most of the track laid today. All that is left to do is the curve leading around to the quayside and the branchline leading to the mine and airfield. Here's the crossover and point leading to the station siding.
Here's the point to the quayside and clay works.
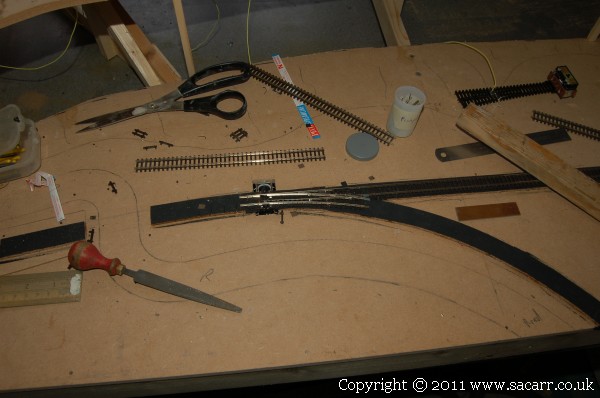
Here's the point to the quayside and clay works.
armyairforce
Well-Known Member
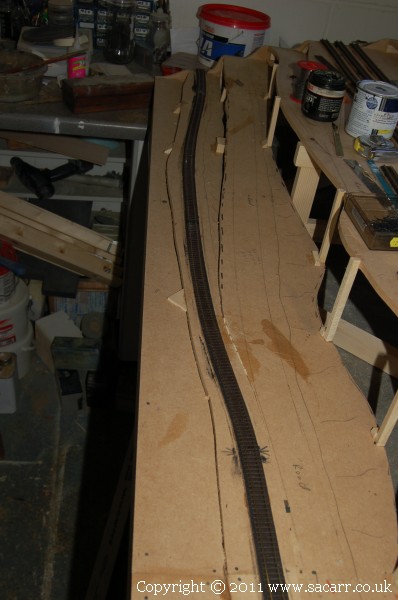
The branchline winding its way slowly up the hill.
This is one of the infra-red sensors to activate the level crossing. The track bed has been drilled to allow the sensor to fit through the board from below, with the sensors just flush with the sleepers.
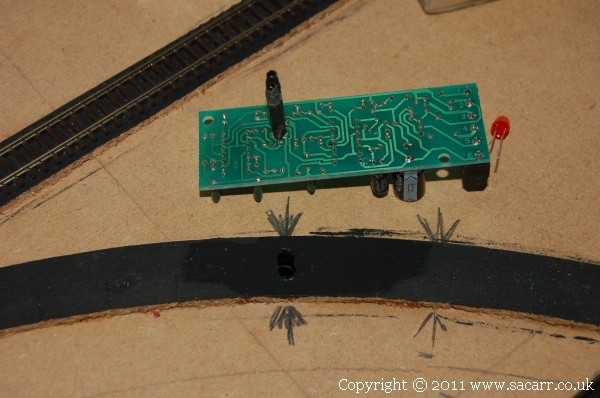
This is one of the infra-red sensors to activate the level crossing. The track bed has been drilled to allow the sensor to fit through the board from below, with the sensors just flush with the sleepers.
armyairforce
Well-Known Member
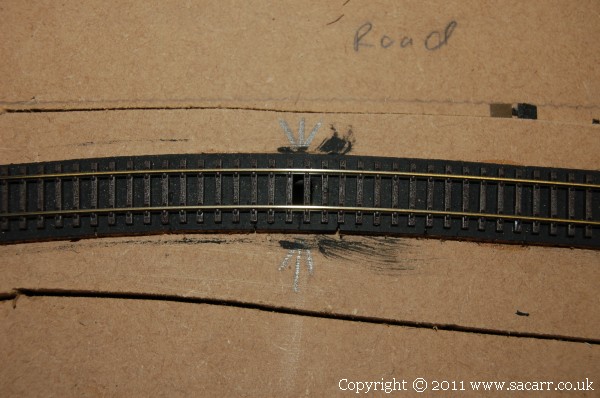
Here's the branchline in place over the sensor hole.
All of the electronics to make the level crossing work.
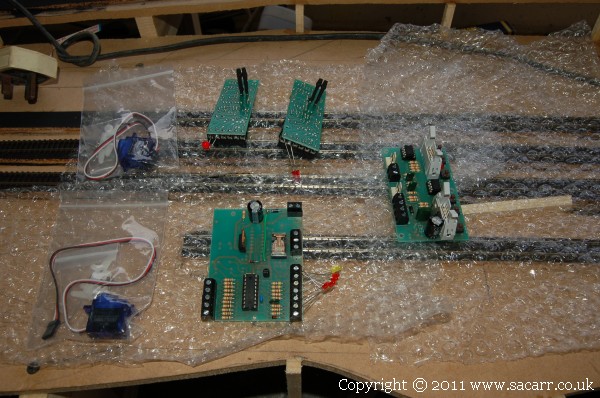
All of the electronics to make the level crossing work.
armyairforce
Well-Known Member
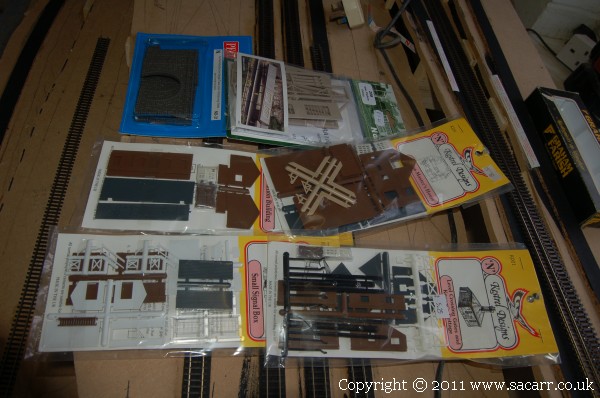
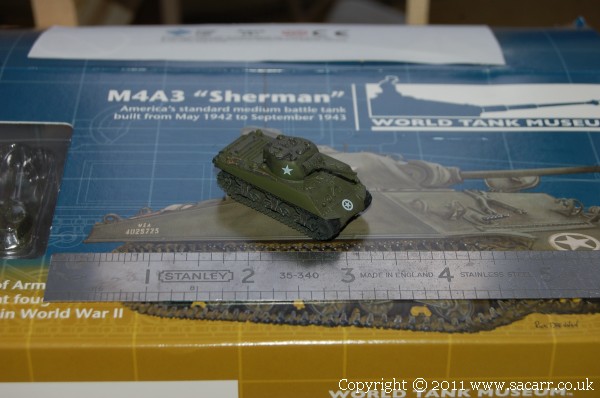
Other toys that arrived on the first of September are the level crossing and gate house, station house, station building, station canopy, signal box, tunnel mouths, five sherman tanks, and not shown is several rolls of plaster bandage.
armyairforce
Well-Known Member
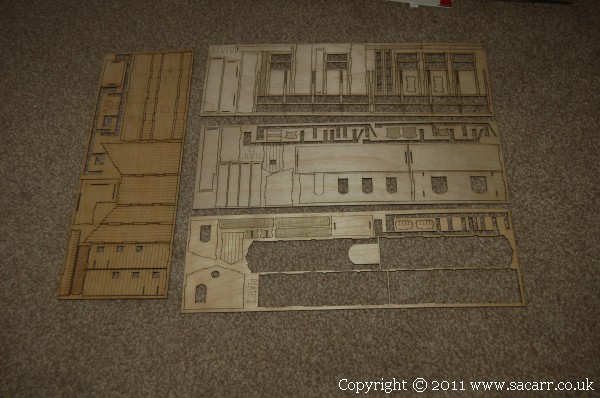
Sept 3rd - A hard day laying paving in the garden resulted in several aching joints today, so I decided to take it easy, put my feet up and get one of the building kits out. I decided to start with the Clay Works, a P&D Marsh laser cut wood kit with some resin and white metal detail parts. Here's a photo of four of the laser cut wood sheets. Some parts have already been removed.
The tower parts were removed for painting, but it was soon realised that the more fragile parts would be safer painted before removal. The other larger parts were also left in place. The instructions called for the tower to be painted white, but I felt this would be too bright, so a very light cream colour was used, with streaks of brown added with plenty of thinners to give a little weathering.
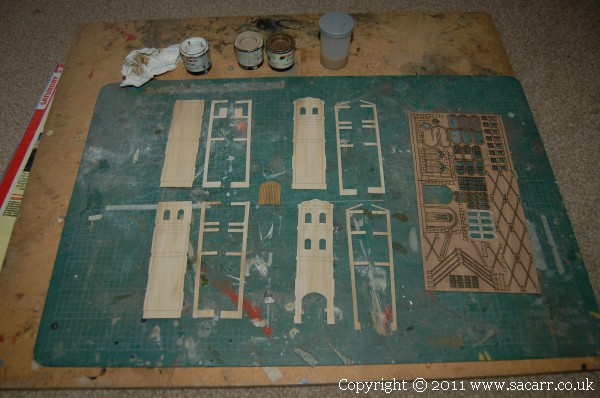
The tower parts were removed for painting, but it was soon realised that the more fragile parts would be safer painted before removal. The other larger parts were also left in place. The instructions called for the tower to be painted white, but I felt this would be too bright, so a very light cream colour was used, with streaks of brown added with plenty of thinners to give a little weathering.
armyairforce
Well-Known Member
The wooden panelling and supports were painted brown, once again streaked with other shades. Window frames were painted green, corner stones and roof panels were painted grey. Other parts were painted cream to match the tower.
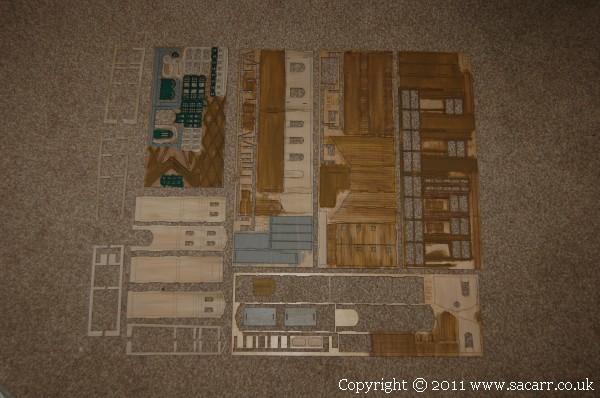
Here's the window frame sheet, also showing the corner stones and cross bracing for the legs.
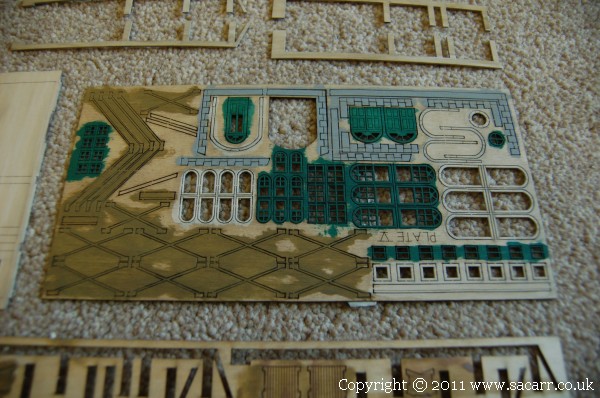
Here's the window frame sheet, also showing the corner stones and cross bracing for the legs.
armyairforce
Well-Known Member
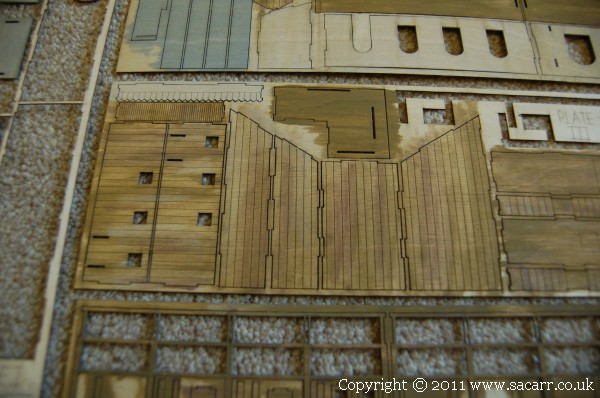
This close up shot shows the staining and weathering on the wooden panels.
These are the resin cast storage tanks and chimney, after cleaning up the casting seams and risers.
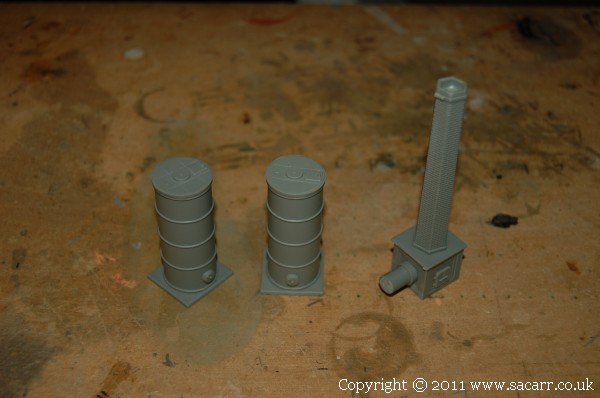
These are the resin cast storage tanks and chimney, after cleaning up the casting seams and risers.
armyairforce
Well-Known Member
The storage tanks now have a coat of silver, and their bases painted. That needs to cure before they can be weathered. The chimney has also been painted, but still needs weathering and the mortar in the brick work bringing to life a little.
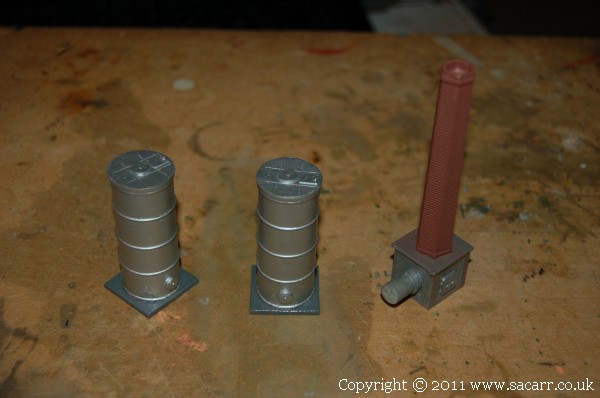
Some of the white metal parts have also been painted silver.
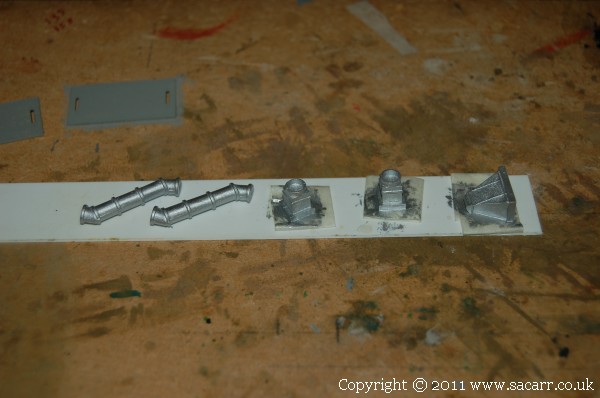
Some of the white metal parts have also been painted silver.
armyairforce
Well-Known Member
Progress from the last couple of days. The tower has the windows fitted and the stone detail around the outside.
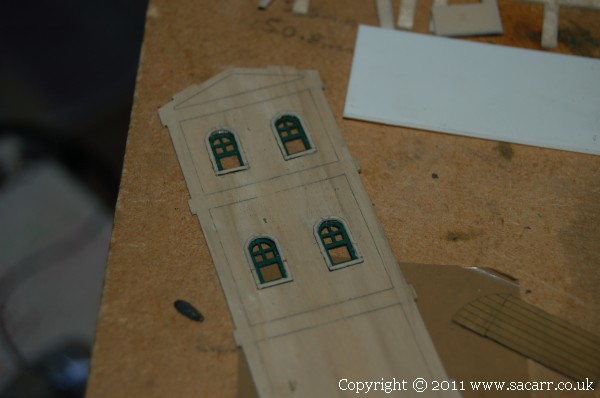
The frames were laser cut with double sided tape already on the back of the sheet. Once glued in, the backing was removed and the clear acetate windows stuck in place. To make sure they didn't come away, the edges were sealed down with wood glue.
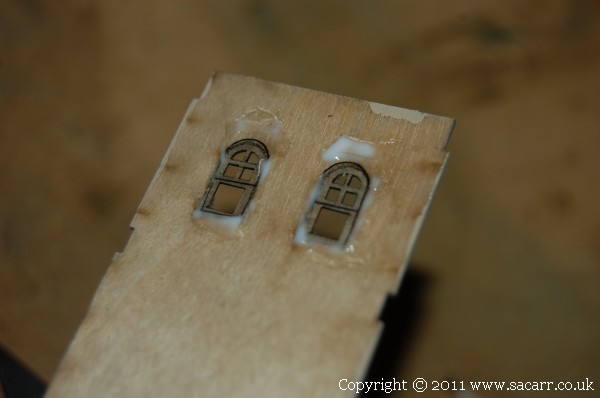
The frames were laser cut with double sided tape already on the back of the sheet. Once glued in, the backing was removed and the clear acetate windows stuck in place. To make sure they didn't come away, the edges were sealed down with wood glue.
armyairforce
Well-Known Member
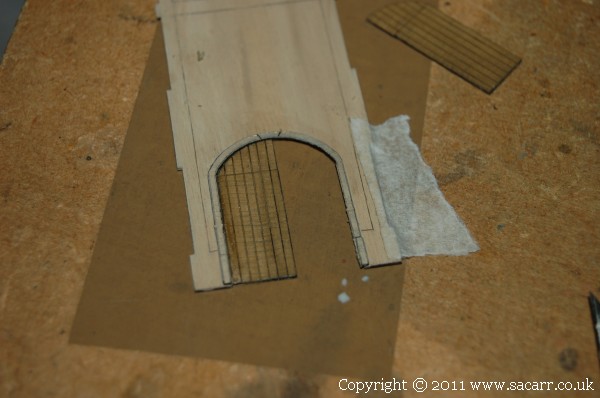
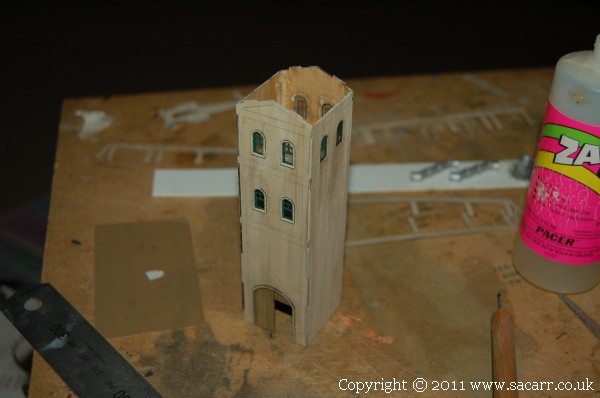
One of the doors was cut out, to be glued in the open position later. With all the windows in the sides, the tower was assembled.
armyairforce
Well-Known Member
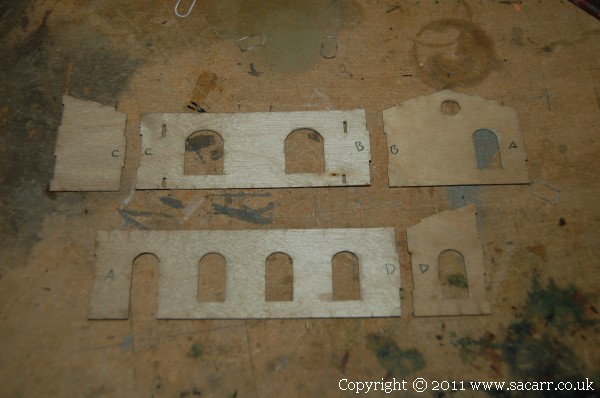
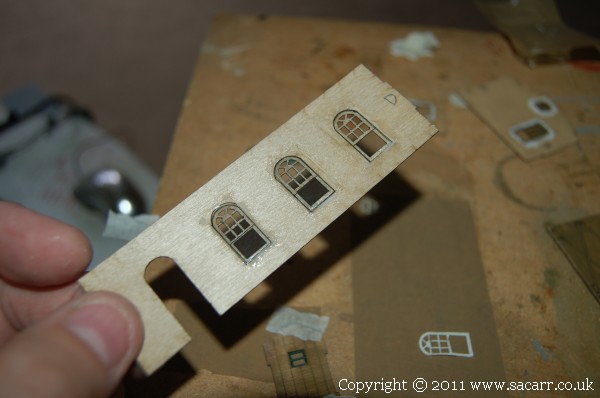
The sides of the next building were identified and labelled, then had their windows fitted. Not an easy task identifying the parts as the instructions only show a completed side and plan elevations of the buildings as one big complex. The parts are numbered, but it isn't always easy to see the full shape of the part. None of the laser cut parts have part numbers on them. The instructions would have been more helpful if they had pictures of the laser cut parts sheets, identifying each part in its position on the sheet.
armyairforce
Well-Known Member
The glazing was glued in these parts too.
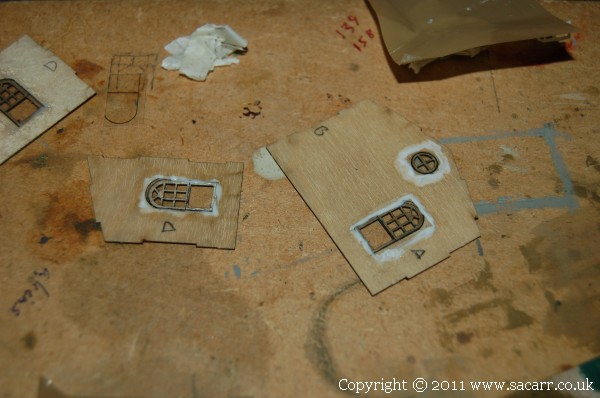
To fit the windows, some parcel tape was stuck to the board. The building side was taped down flat, and some wood glue applied to the hole with a pointed stick. The window was dropped into place, and excess glue removed with a damp paint brush.
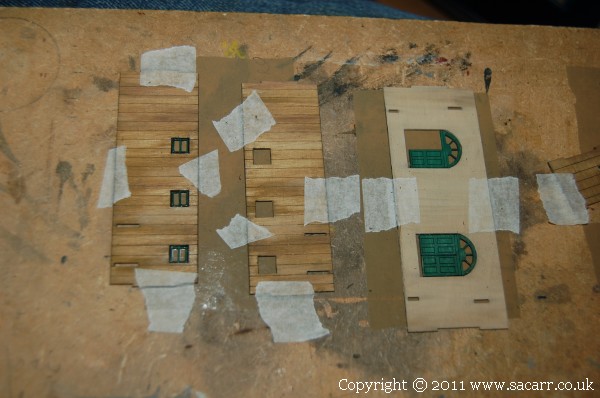
To fit the windows, some parcel tape was stuck to the board. The building side was taped down flat, and some wood glue applied to the hole with a pointed stick. The window was dropped into place, and excess glue removed with a damp paint brush.
armyairforce
Well-Known Member
The tower now has its detail stone work added. This also serves the purpose of hiding the interlocking joints on the edges of the building sides.
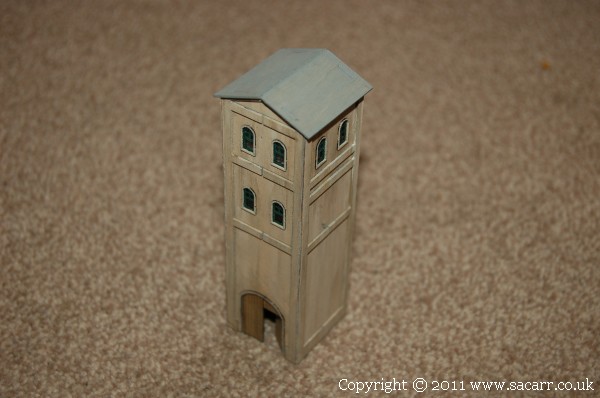
The next building used a 2mm cardboard base to glue the sides too and to help keep everything square.
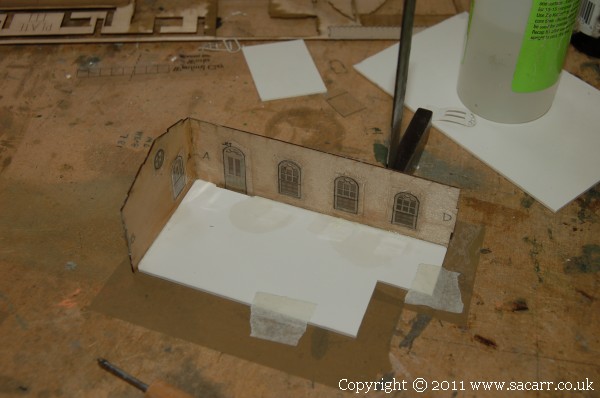
The next building used a 2mm cardboard base to glue the sides too and to help keep everything square.
armyairforce
Well-Known Member
The roof is on now, but still needs sanding flush at the interlocking joints.
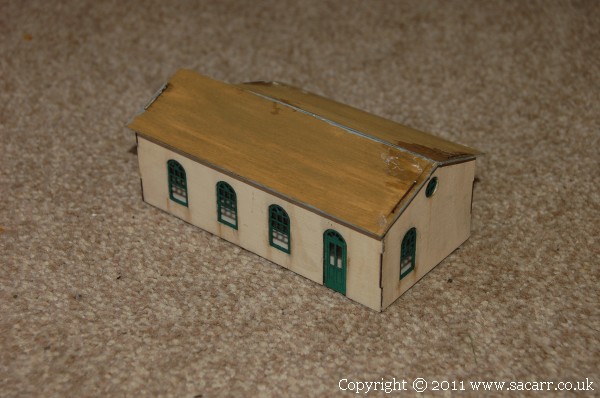
Now the detail stonework has been fitted around the windows and at the corners of the building.
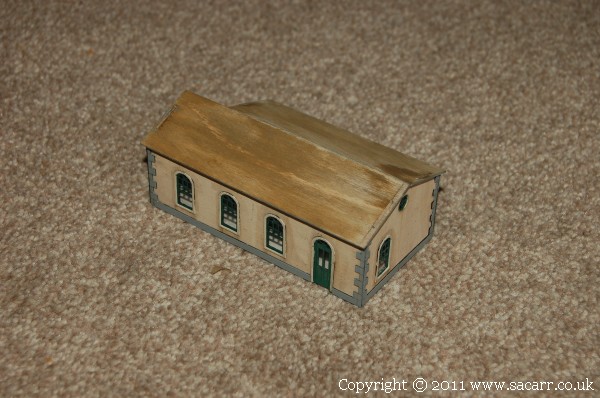
Now the detail stonework has been fitted around the windows and at the corners of the building.
armyairforce
Well-Known Member
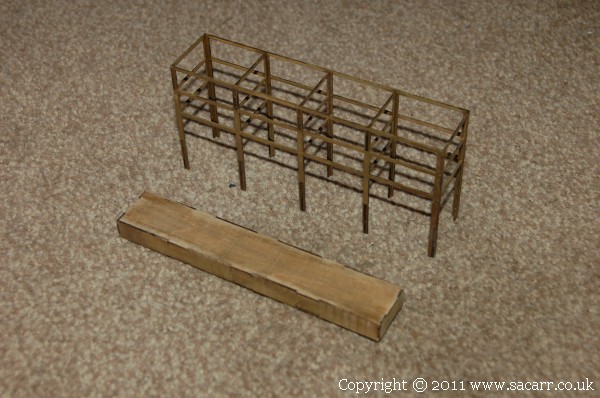
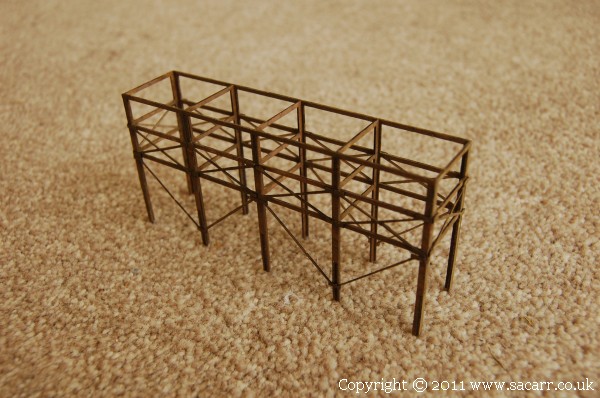
The hopper framework was rather fragile to cut out, but is a satisfying structure once complete. The diagonal bracing also has double sided tape to hold it in place, but I added some thin cyano to reinforce the joints and make sure it would stay together over time.
Affiliate Disclosure: We may receive a commision from some of the links and ads shown on this website (Learn More Here)