ModelRailroadForums.com is a free Model Railroad Discussion Forum and photo gallery. We cover all scales and sizes of model railroads. Online since 2002, it's one of the oldest and largest model railroad forums on the web. Whether you're a master model railroader or just getting started, you'll find something of interest here.
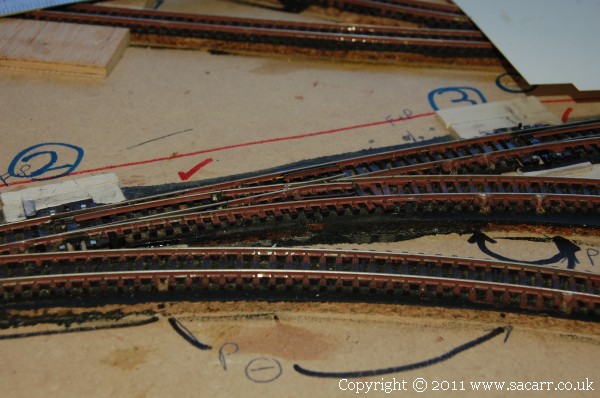
June - After painting the loco sheds, I moved on to the rusting of the rails. This took twice as long as usual, for the simple reason that I normally cheat. All of my layouts have been exhibition layouts, viewed only from one side. As a result, I only ever 'rust' the rail on the side the public views from. Since this will be viewed from both sides, painting both sides of the rails took twice as long!
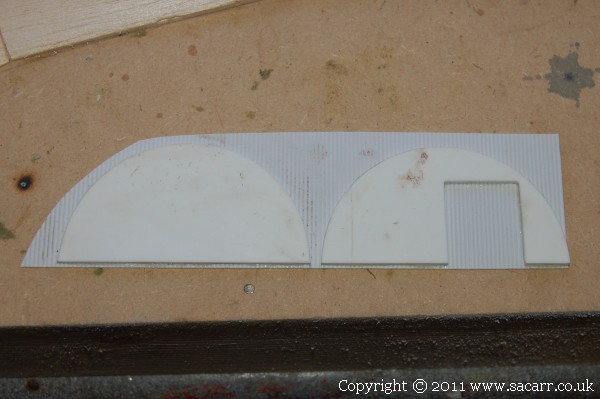
While the rails were drying, I made a start on the Romney hut. The corrugated styrene was very thin, and not strong enough to maintain a straight structure, so the end walls were glued to some thicker flat styrene.
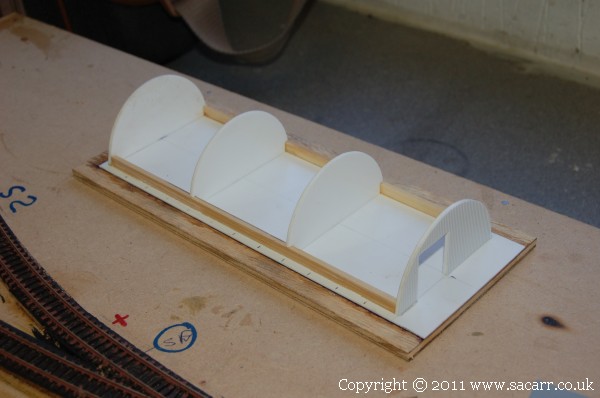
Additional walls were added internally to help support the roof. Two 1/8 x 1/4 strips of wood were added along the base of the walls to give a good gluing area for the curved roof.
Further concrete around the rails has been added, extending the original quayside concrete up to what will become the main gate to the dock. From there, the yard will be more of a gravel/ash base around the tracks, leading to more greenery towards the end of the section where it will join to the main part of the layout.
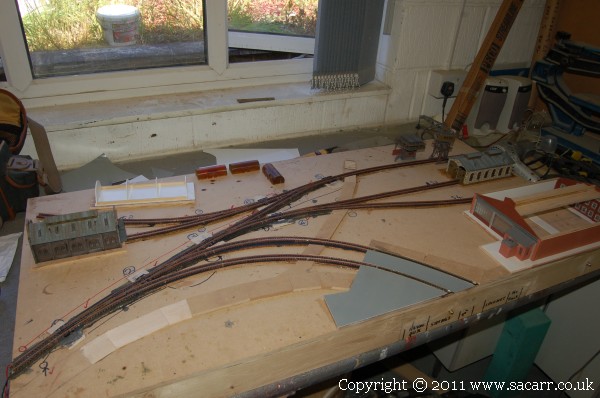
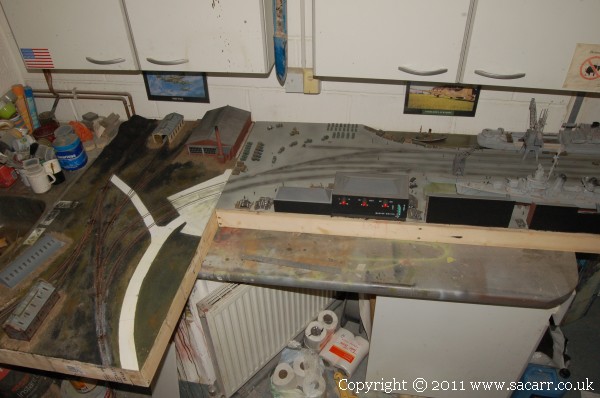
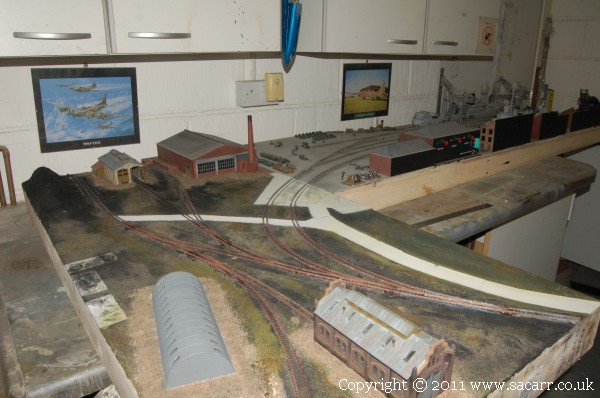
This is general view showing the locations of the various buildings, roads etc. The loco sheds will be storage and maintenance facilities for the locos that will shunt the wagons around the quayside, assembling the trains that will leave for the rest of the layout.
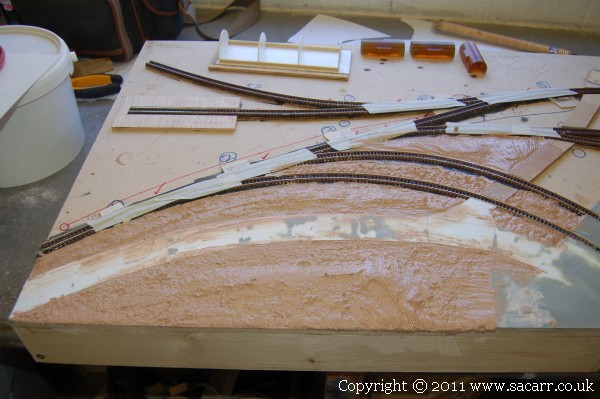
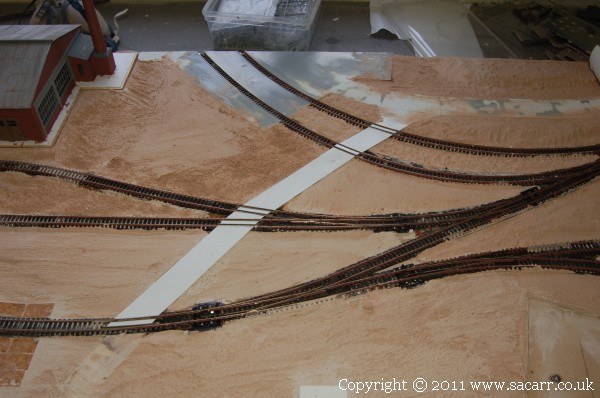
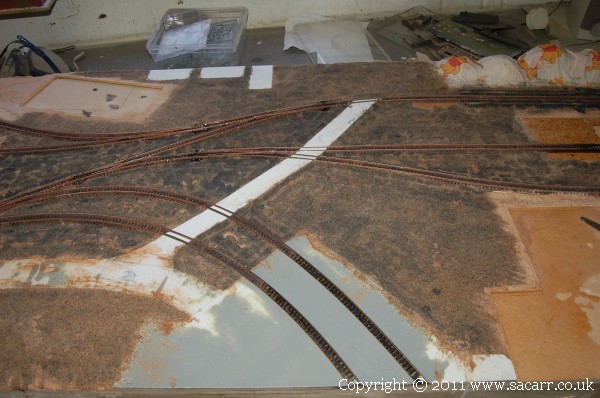
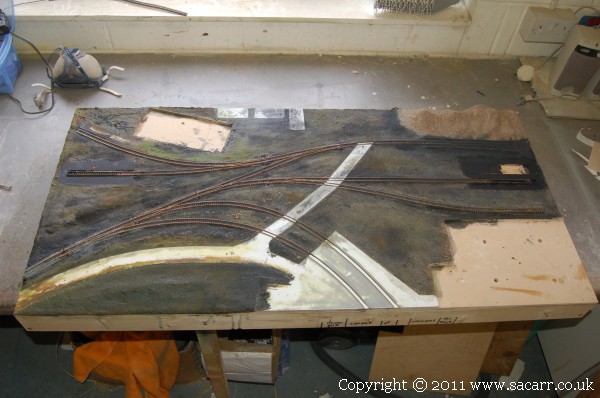
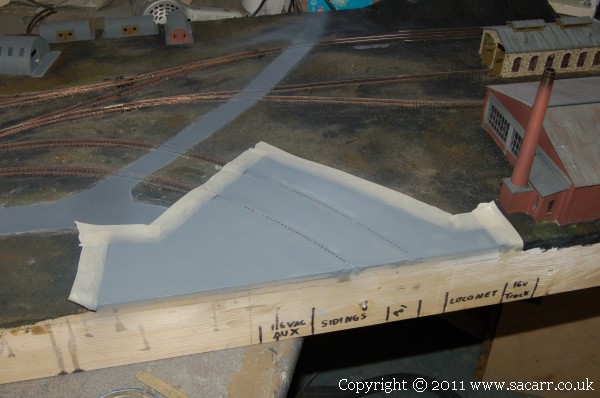
Time for plasterwork! The points were covered with masking tape to protect them from spills, I was just careful with the rest of the track. Before applying the plaster, I painted the MDF base with a slightly diluted water/PVA mix to help the plaster stick to the wood. The plaster itself is normal household first coat plaster from the local DIY store. It's cheap and slightly gritty, giving a nice texture where you want bare rock, though in this case, most of the plaster would be covered over with fine sand. The road has also been skinned in white styrene.
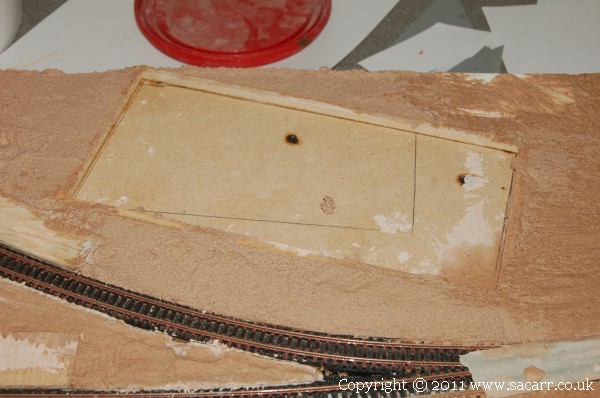
Around the Romney hut and the factory, a small 3/16 square strip of wood was glued to give an edge to stop the plaster at. This would leave a clean area to glue the buildings down on to. This is where the Romney hut goes.
Next to the Romney hut, I added a ply base for a loading platform. This will give a nice flat surface to build onto.
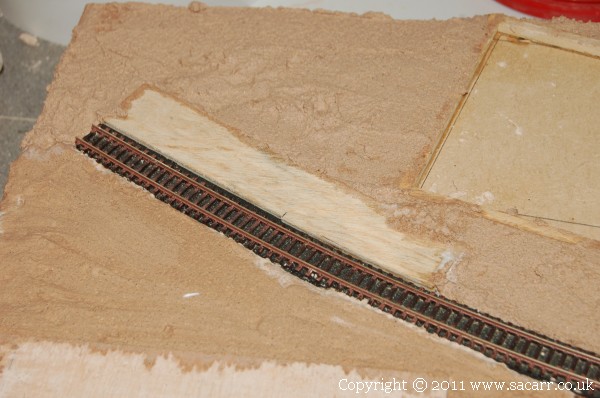
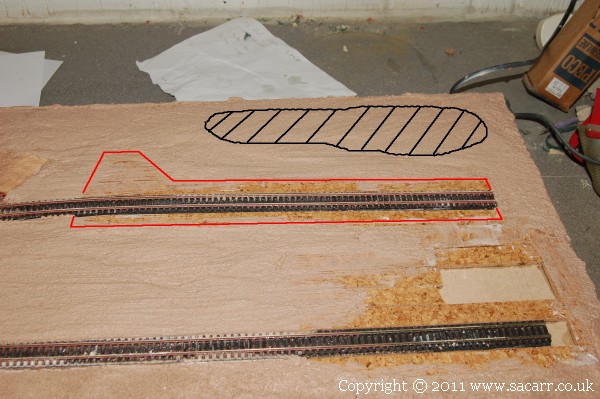
Beside one of the other sidings, the ground level was built up with more cork where the crane and coal loader will go. This can be seen outlined in red. Close by, shaded in black, will be piles of coal.
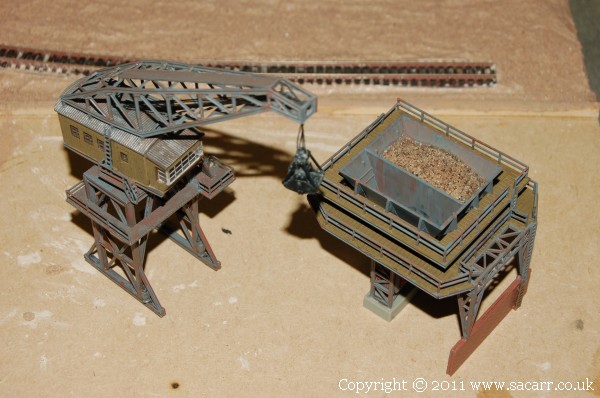
While the plaster was drying, I moved back to buildings and structures. The crane and coal loader are painted and weathered.
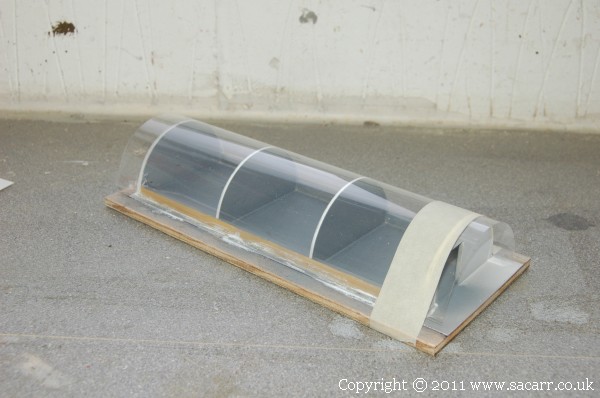
Because the Romney hut has windows in the roof, I needed a clear layer under the corrugated plastic to represent the windows. This clear layer would also help to support the thin corrugated layer. The clear plastic was attached with cyano to the wooden side rails, and then solvent glue run around the curved ends.
The windows were marked out and cut into the corrugated layer while it was still flat. One side was then glued, and the corrugated layer was then slowly rolled over and glued all the way round.
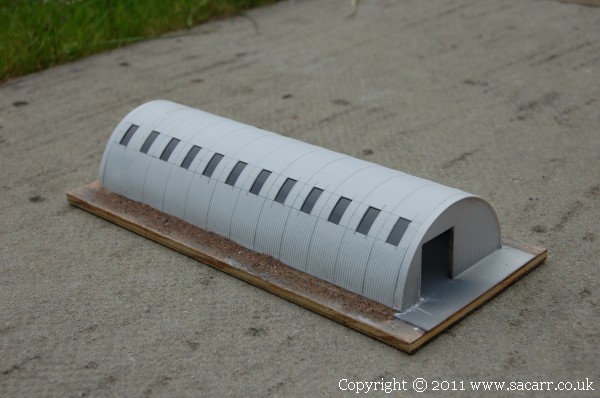
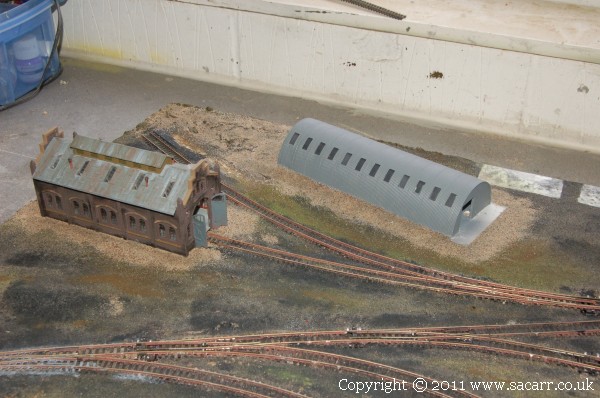
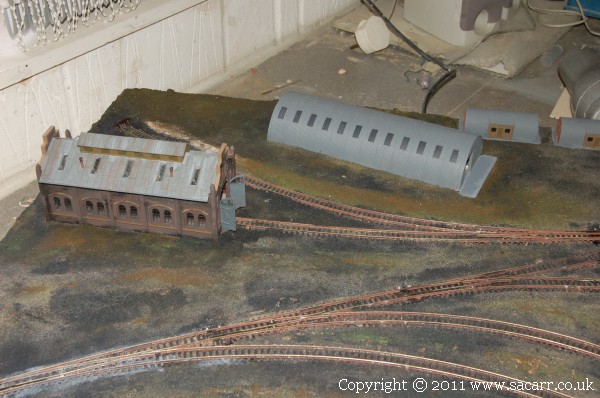
The hut was then brush painted, and is seen below with just the first coat done. I've scribed where the pencil lines were ( as seen above ), to represent the separate panels that make up the hut. The white edges around the windows have now been touched in, but it still needs it's final grey coat and weathering.
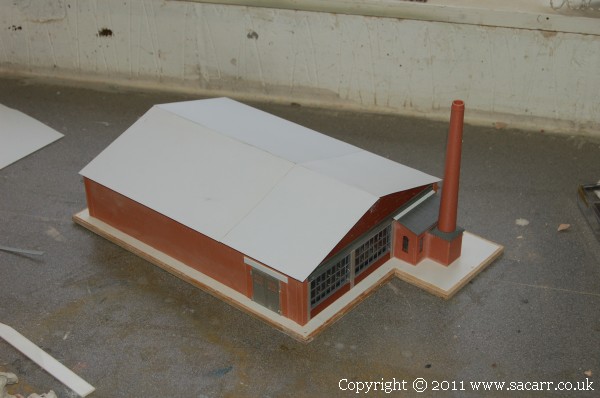
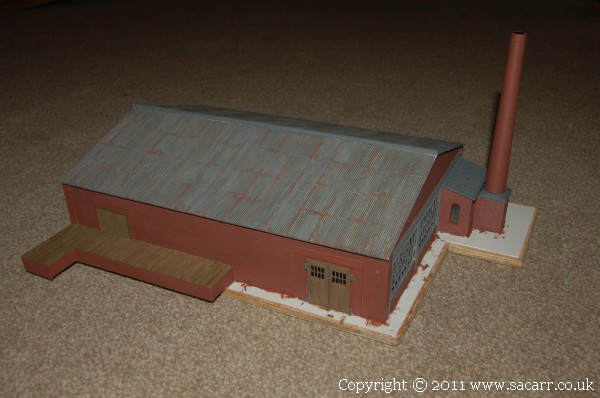
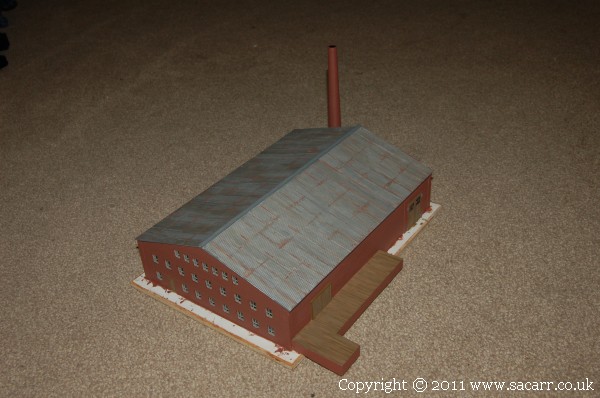
The big factory had it's roof added next. Again because the corrugated styrene is so thin ( probably around 0.25mm ), it needed a thicker layer of styrene to support it. The roof was too big for one piece each side, so I needed a join. To help hide this, join lines were scribed across the rest of the roof to simulate the separate sheets of corrugated iron.
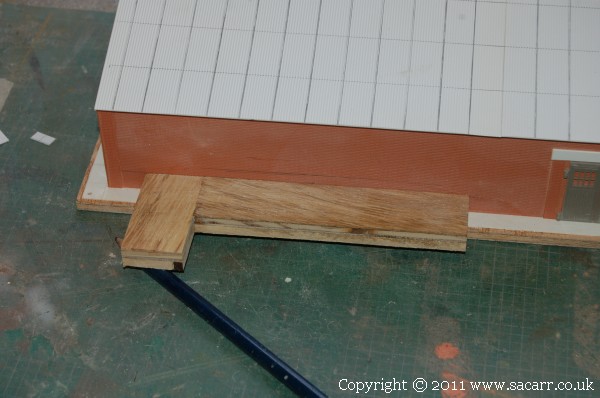
A loading platform was needed next. A basic form was made from 1/4 plywood and some 3/16 sq strip.
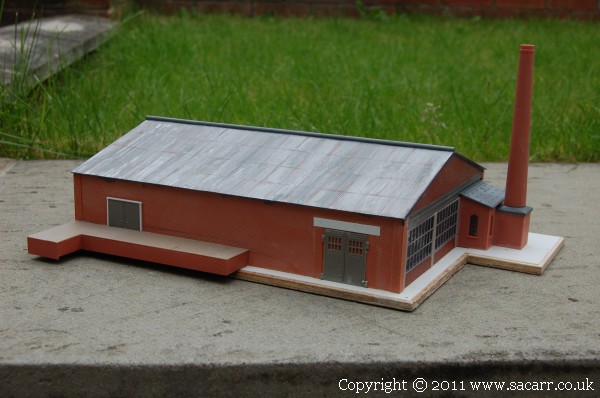
This was skinned in brick and wood plank effect styrene. The roof has also been painted here, silver first, then before it was fully dry, a wash of grey streaked and blended into the silver.
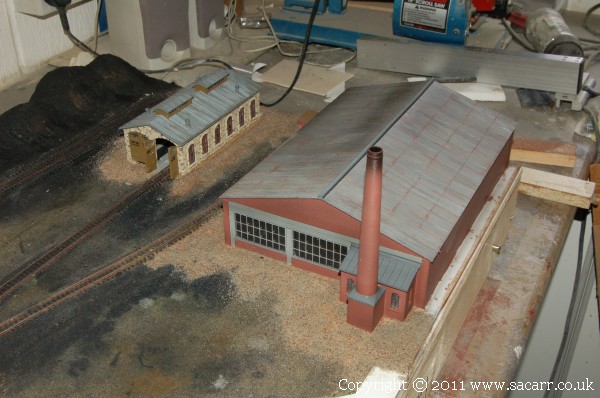
Almost complete now. Walls, doors and the loading platform painted, roof rusted along the joints, and detail painting of the bricks around the window frames. Just needs a little coal dust and dirt here and there.
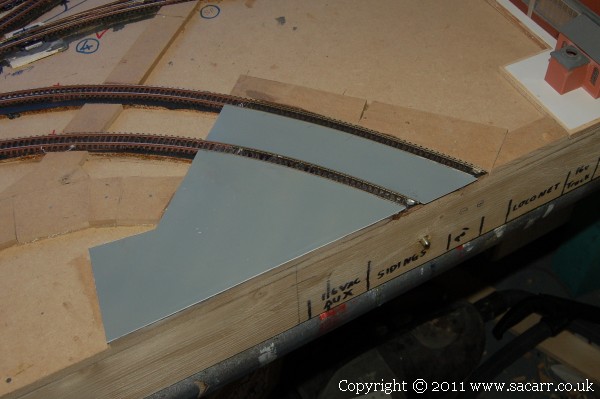
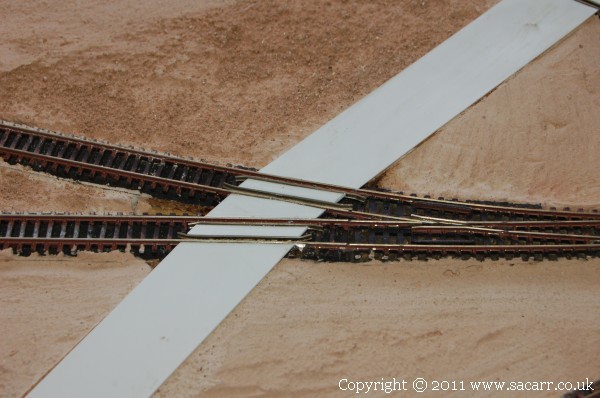
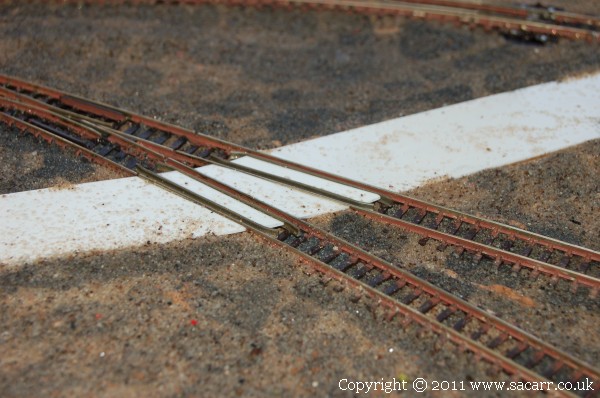
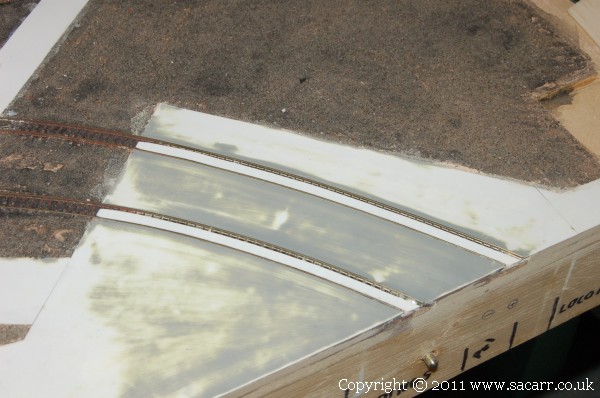
The road across the section came next, made from thin styrene glued to the MDF previously applied. At each crossing, check rails were added, with a small piece of styrene to fill in the road between. This took a while matching the curves in the track on both the check rails and the styrene strip.
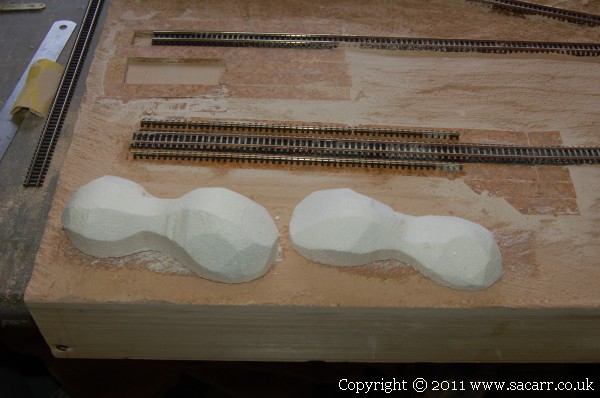
The heaps of coal ready to be loaded came next. To start, I cut some blocks of expanded polystyrene on the bandsaw to an approximate shape. Behind these, the plaster was sanded away from the cork strips beside the tracks, and a length of flexitrack was split down the middle on the bandsaw. This made the rails for the loading crane.
The rails were tacked in place with cyano to hold them until ballasted.
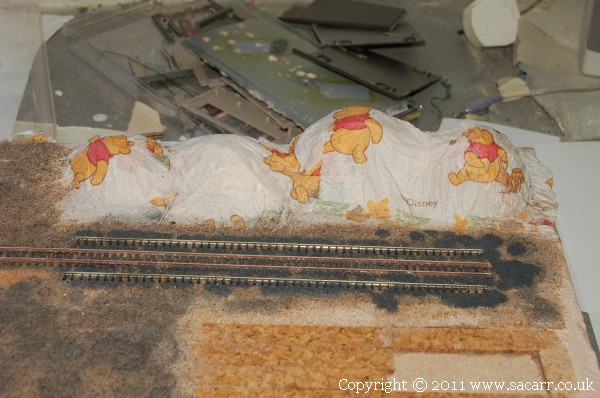
The next stage on the coal heaps was to build up the shape. Kitchen roll was layed over the polystyrene, and then wetted out with a watered down mix of PVA. Once set, it would leave a hard shell to work on. Also seen in this picture, more ground works have been done. More of that in the next post.
Over the top of the plaster, a thin layer of sand was sprinkled to give a nice gravel texture to the yard. The sand, Kiln Dried from B&Q is also used for the ballast. Once brushed out of the moving parts of the points and out of the check rails etc, a plant water sprayer was used to wet out the sand using a detergent to break down the surface tension of the water.
A small syringe was then used to drop a water/PVA mix onto the ballast and the rest of the sand. This soaks into the wetted out sand, and once dry, it sets nice and hard. I tried mixing a little black paint into the PVA to start to colour it, but I think it flowed better without the paint.
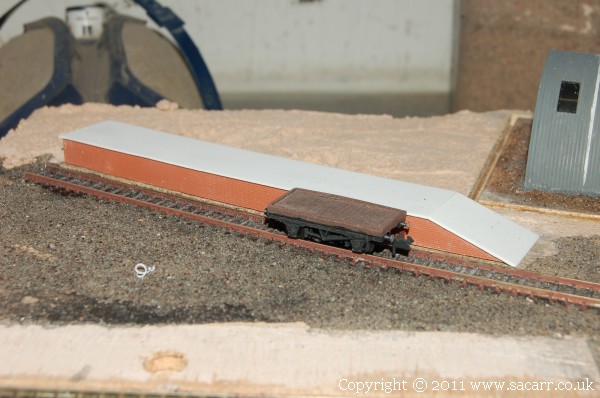
Near the Romney hut, I've made a curved loading platform. This started out as a piece of shaped MDF, with the sides skinned in brick styrene, and the top in plain styrene. I did think about wooden plank or paving slab styrene, but they would have looked wrong not following the curve of the platform.
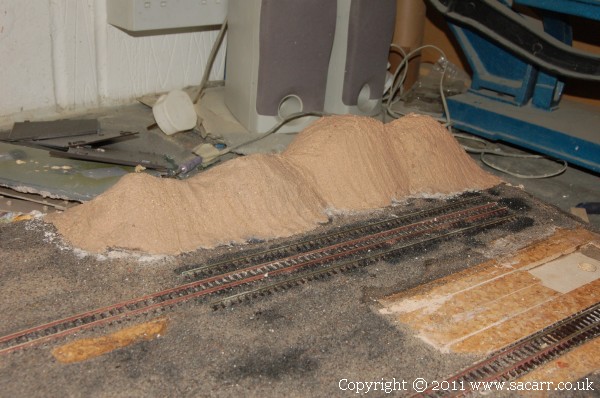
The coal heaps were painted in PVA before applying a layer of plaster to smooth out the shape.
The concrete infil between the tracks has been added, another fiddly job out of the way! The rest of the concrete was a left over piece from the quayside, hence being already painted. However, after cutting and fitting to this section, there were areas that needed rubbing down, especially where it blended with the road.
The ground colour came from B&Q tester pots; black, brown, green and grey. The brush was dunked into the tin and spreading around was with the assistance of a bit of water to help it soak into the sand and plaster. The brown however, mixed with the black and went green. This was ok in some places, but others I did want brown. I'll try again when the rest of the paint has dried.
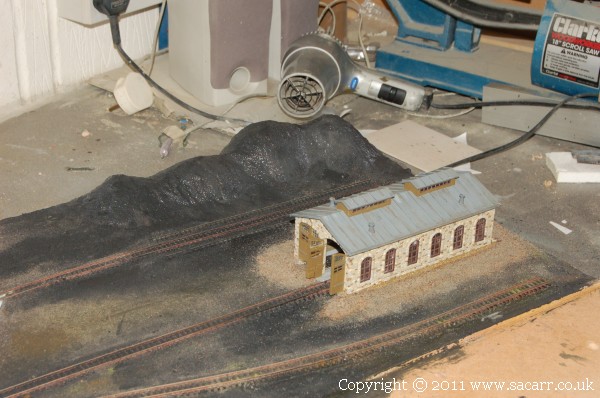
Sand was glued to the plaster coal heaps next, and after it was dry, the coal was given a coat of black. In the foreground, the loco shed has been attached, and the sand added to blend in the base.
Romney hut, loco shed and factory are attached and sand added.
To match the positions of the concrete join lines between the two sections, they were briefly joined. This gave the chance for a couple of photos. I couldn't get far enough back to get everything in shot! The two sections together measure 8 x 4 feet.
The road was brush painted about three coats of grey before being speckled with a number of different greys and black. The concrete that extends from the quayside was then sprayed. This would also be receiving speckling.
The sand around the buildings cured overnight so the colours in the yard were then blended into the fresh sand. The concrete bases for the huts were also given another coat of paint.
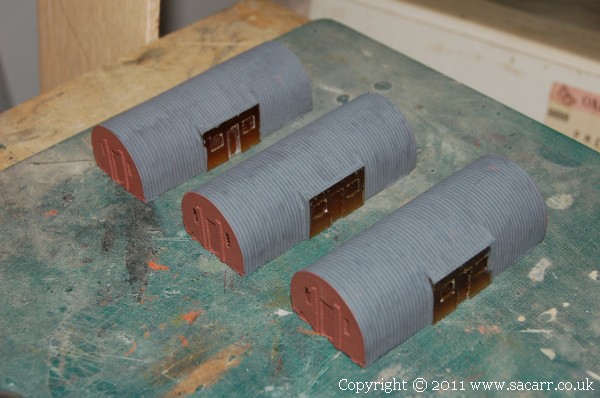
Windows in the Nissen huts were painted next, and then they were glued onto the bases. After gluing, I felt the hut colour was too close to the concrete base colour, despite being from different tins. So hopefully a little weathering to the huts will give some contrast.