ModelRailroadForums.com is a free Model Railroad Discussion Forum and photo gallery. We cover all scales and sizes of model railroads. Online since 2002, it's one of the oldest and largest model railroad forums on the web. Whether you're a master model railroader or just getting started, you'll find something of interest here.
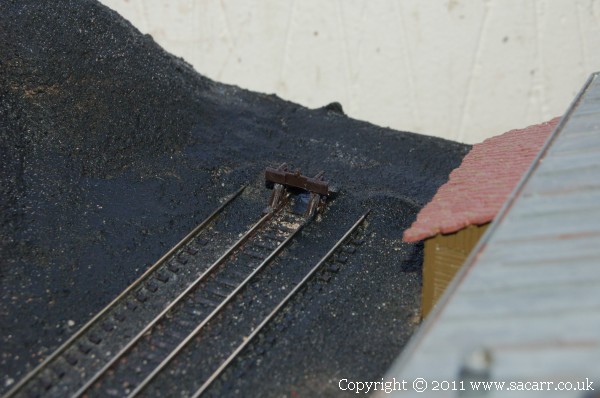
One of the purchases during the mornings model shop trip was some more buffers. The siding with the coal drop and the one next to the Romney hut both needed buffers.
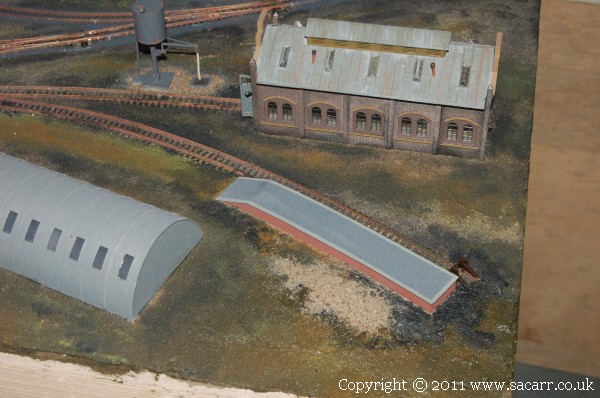
The platform had its sides painted brick yesterday. That was masked up and the top sprayed grey today to represent a concrete or tarmac type finish. Once that was dry, the centre was masked out to spray the edges a lighter shade to represent the edging stones. The masking was then removed and the whole platform was speckled in dark grey.
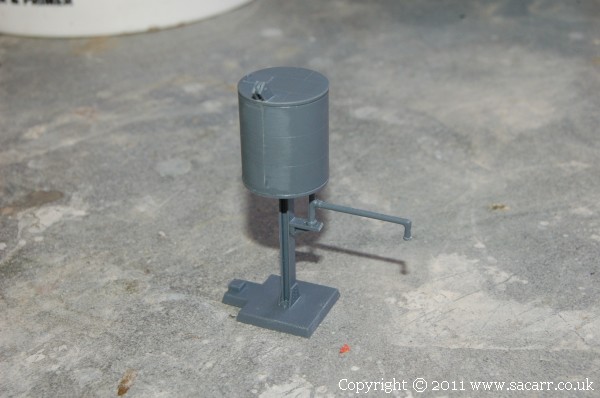
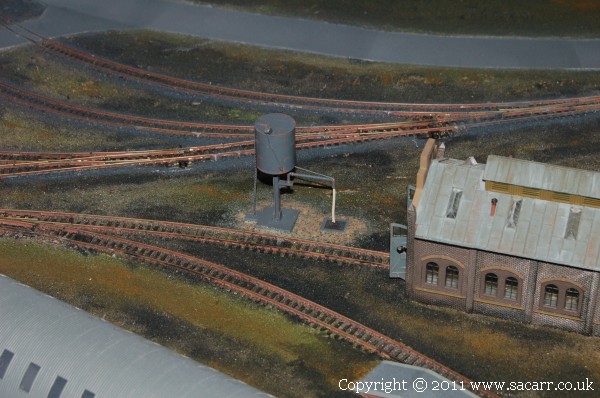
Another of the purchases is this water tower, a Ratio kit, seen here part assembled. It wasn't amongst the original plans for this section, but with a quayside loco to support, and a loco shed, there needed to be some facilities for looking after the loco.
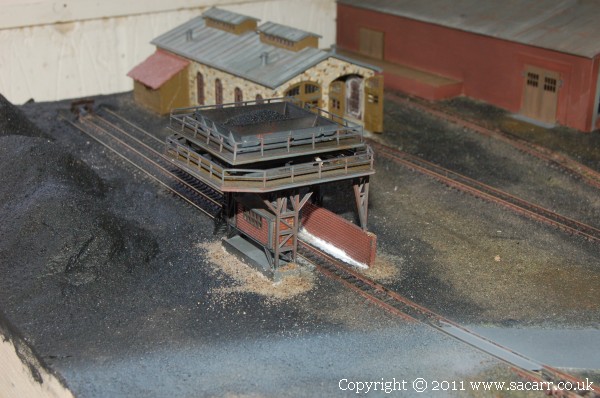
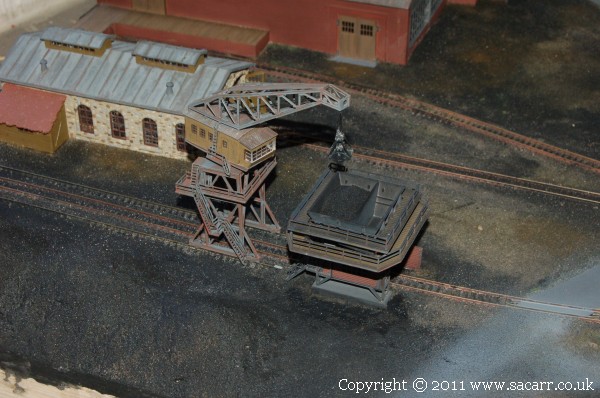
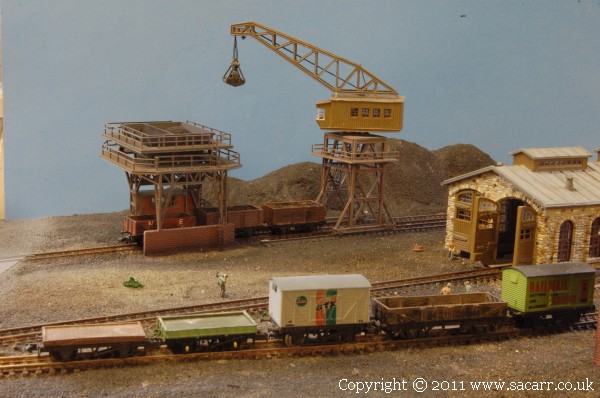
The coal loader had its coal painted, and the whole assembly dirtied up before being glued in place.
The base around the coal loader is now painted, and the crane placed on for a photo. I'm leaving the crane off for now as it is quite fragile.
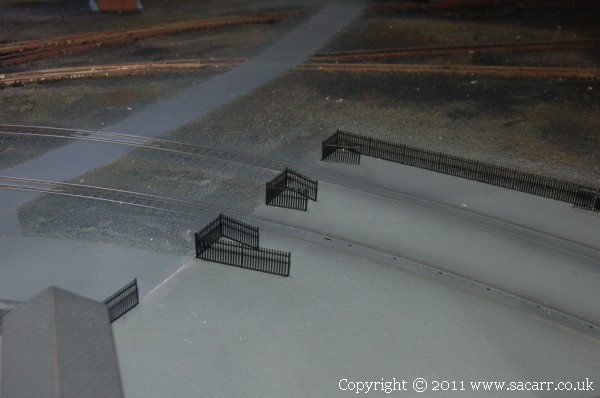
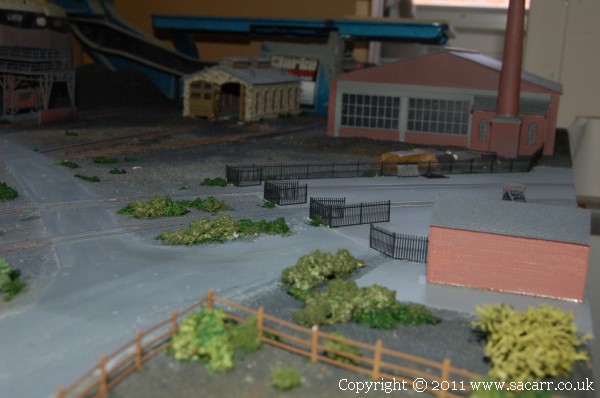
Here's some more pictures from the last couple of days work. Fencing and gates around the entrance to the quayside was the first job. This plastic fencing was rather fragile, and fiddly to work with, but it looks nice now it's done.
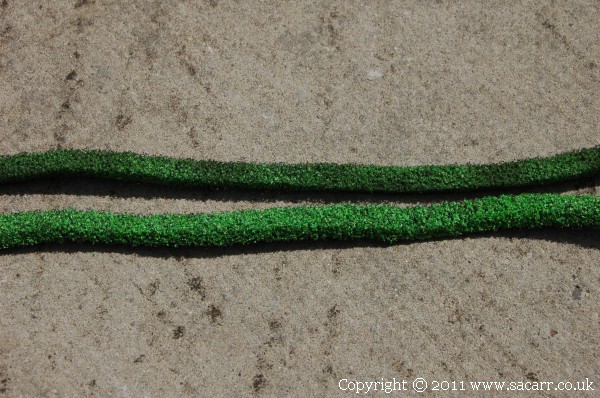
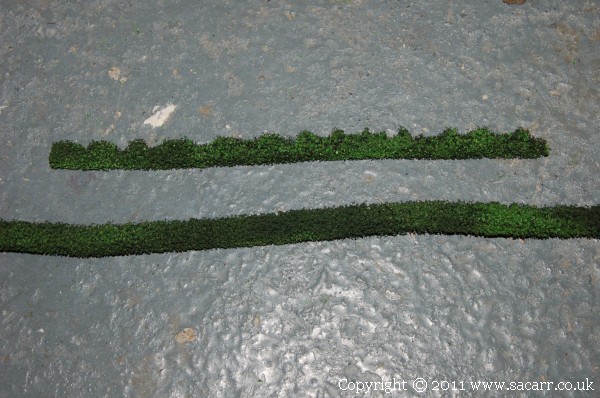
During the shopping trip, I also bought some foam hedges along with other greenery. The green colour was a bit bright, so the first picture shows the original at the bottom of the picture, and a darkened version above. The dark green was sprayed in a random mottled fashion along the hedge.
The section of the hedge was slightly off rectangle, and the corners were just a little too square and even, so some nail scissors were used to snip chunks out of the top, giving a more natural, uneven finish.
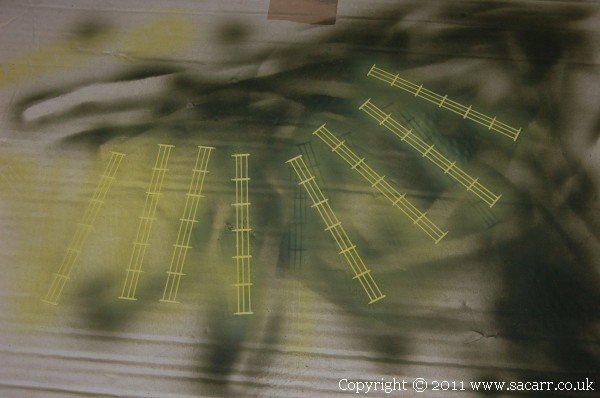
White plastic fencing was etch primed in preparation for being sprayed brown.
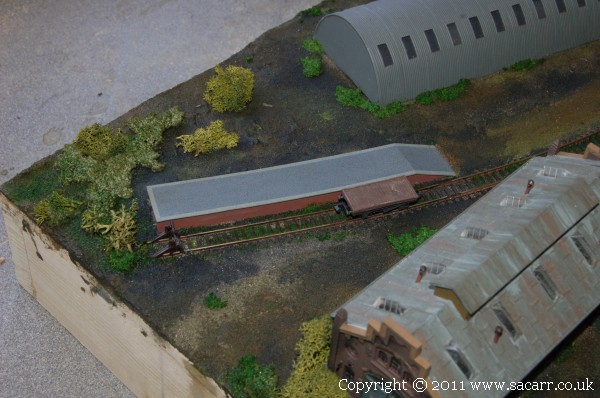
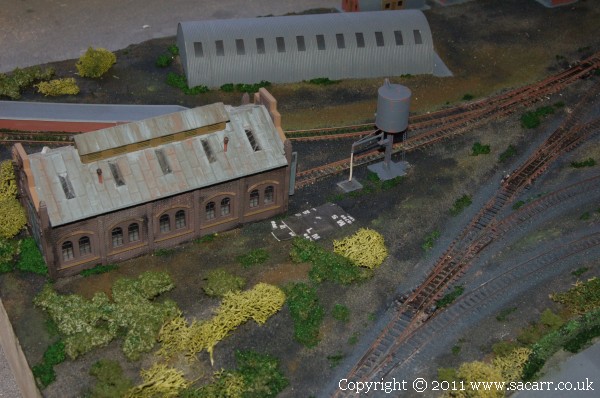
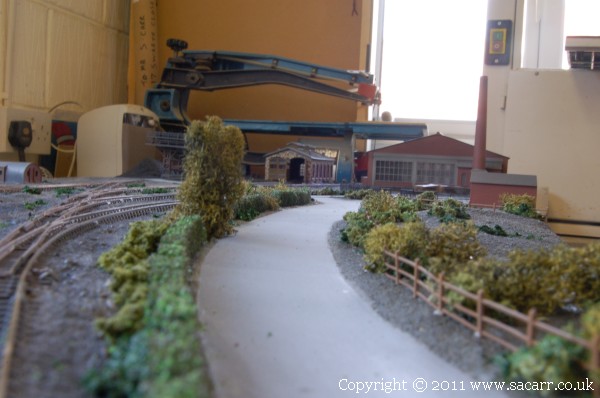
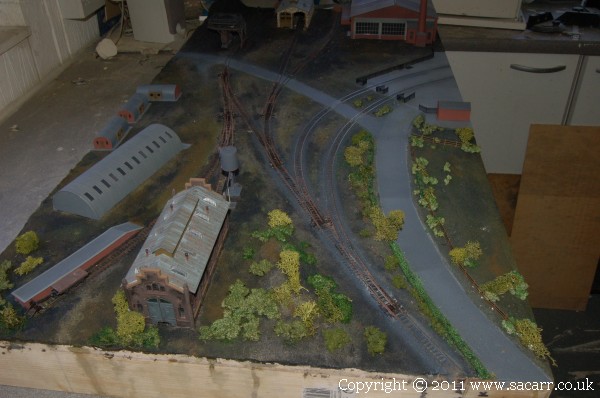
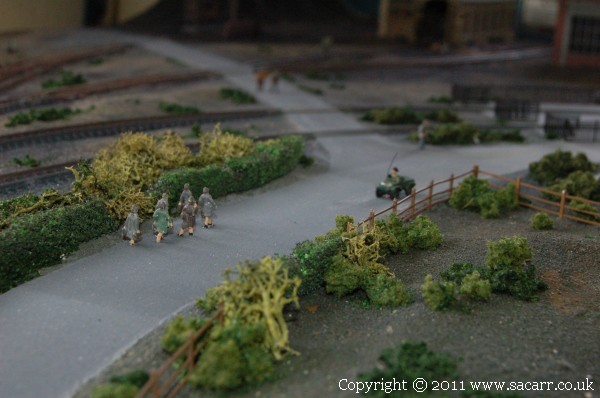
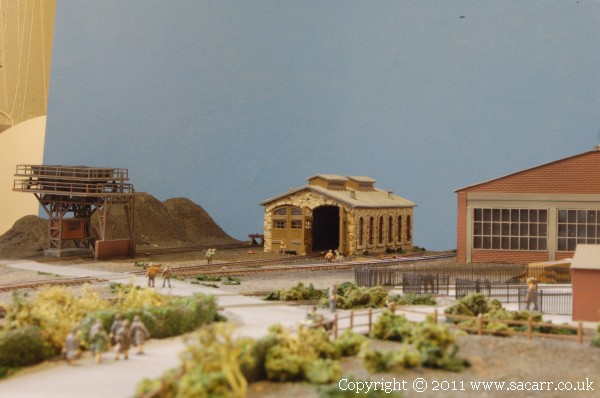
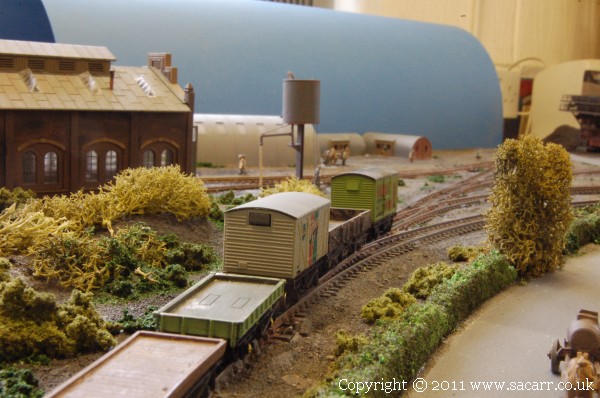
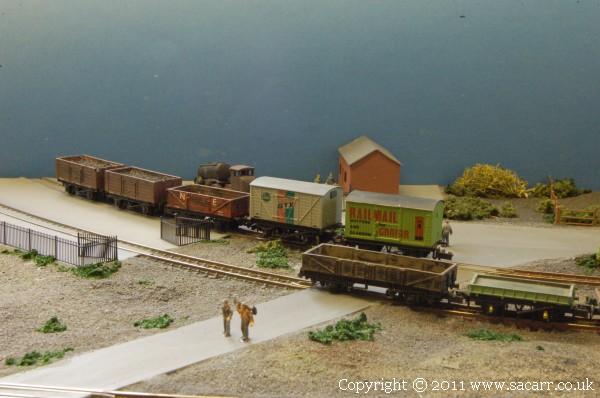
ENOUGH OF GREY! Time for some greenery. This yard is an intermediate section between the quayside and country side and so I wanted to use it to transition the landscape from concrete to nature. Here's some of the scrub land around the loading platform. The lichen is something I've used many times before, but the other stuff was a bit more tricky.
I thought it was a clumpy type foam material, but when I tried to pull a piece out of the bag, it dissolved into very small beads of foam around 3mm diameter. I ended up mixing a water/PVA solution, then stirring the foam beads into it. It was then scooped out and dropped onto the layout. Some grass powder was also mixed with glue and brushed around the edges of buildings and in and around the track.
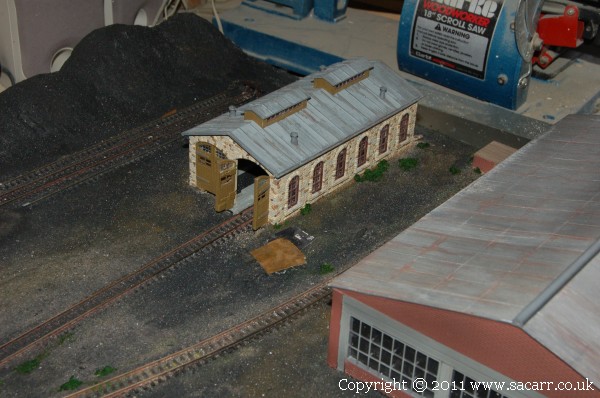
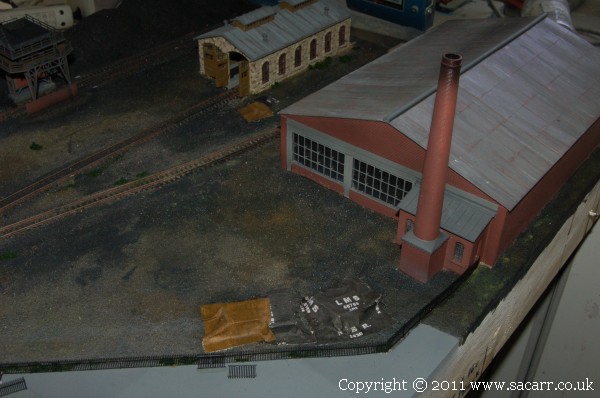
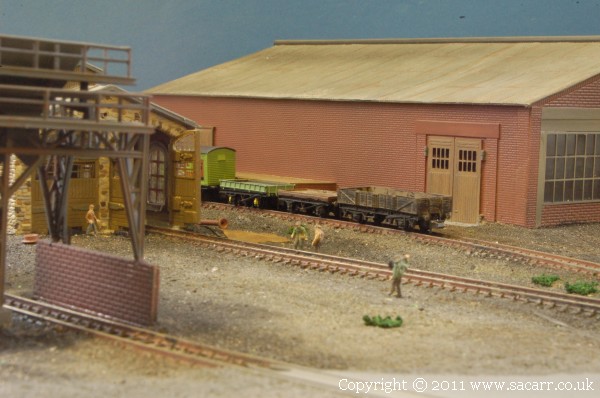
Here's the other side of the loco shed. Some more old tarpaulines have been added near the shed.
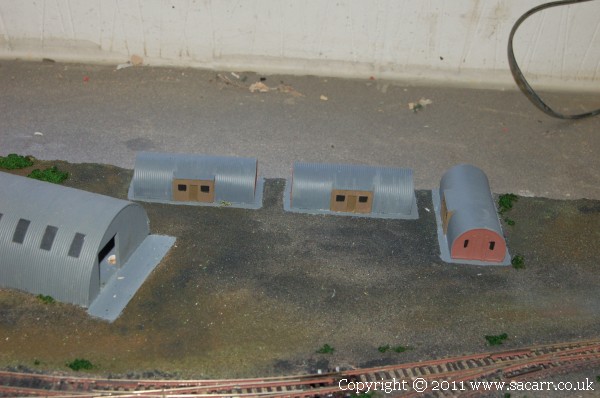
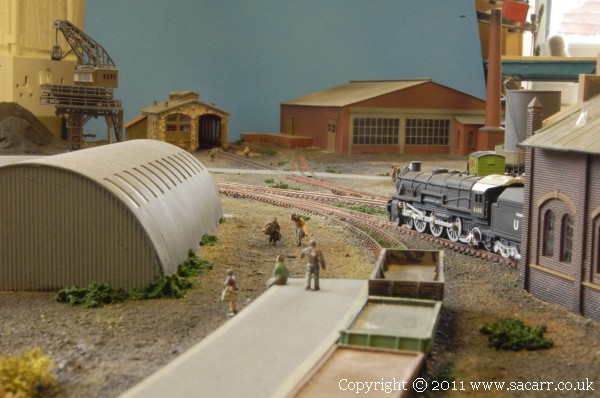
The Nissen huts are repainted and have a little greenery around them, but not too much as we are heading further into the yard where frequent vehicle movements keep nature at bay.
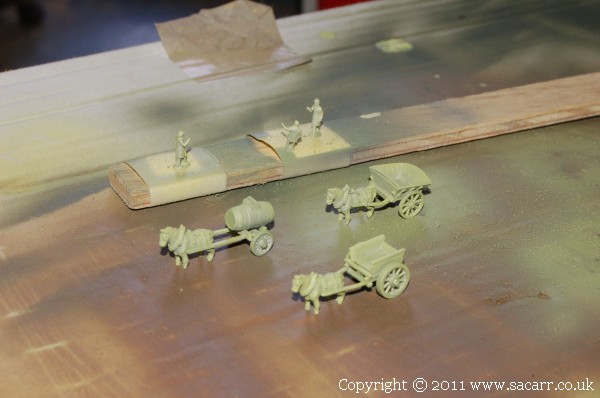
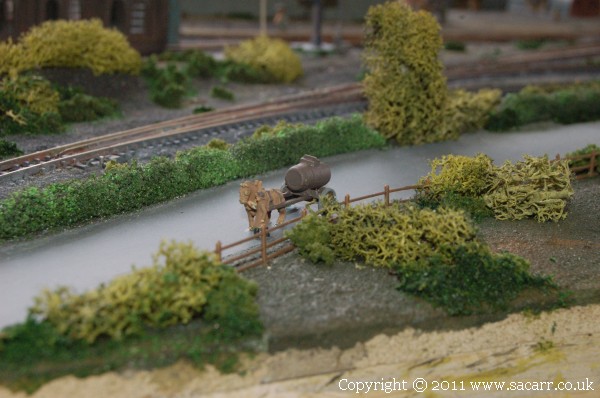
These white metal horse and carts were bought at the same time as the other white metal accessories, but sat in the cupboard as the quayside looked busy enough. They are seen here in the green/yellow etch primer. Two new packs of people were also etch primed, and painting started on them.
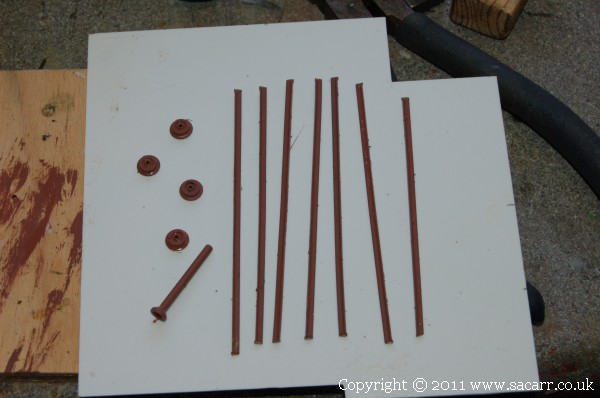
Some old rails and wheels were rusted up to glue on as junk around the loco sheds. You always find junk around railway buildings.
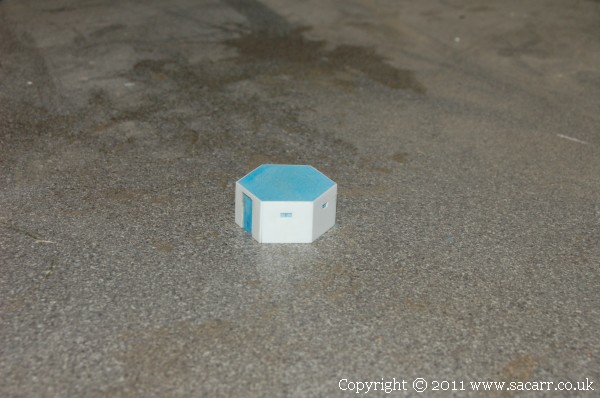
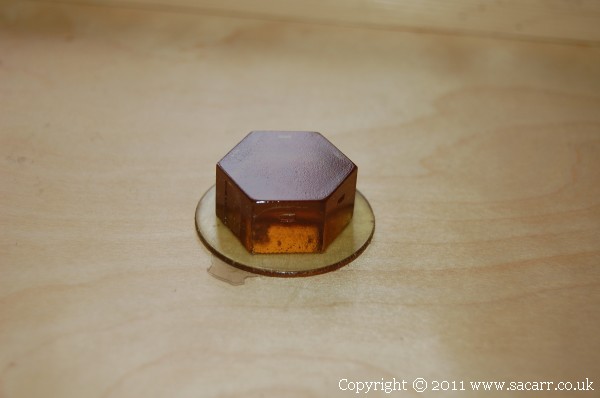
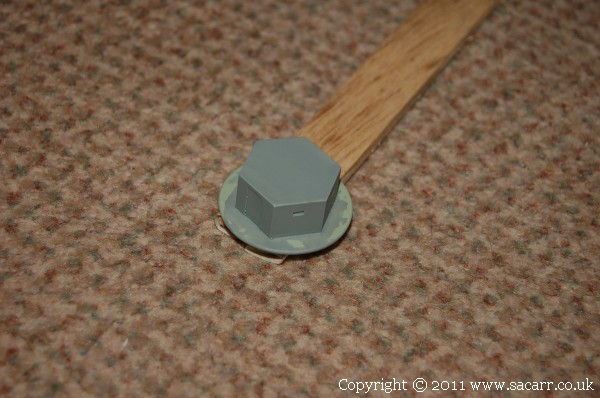
June 15th - This morning started out by finishing painting the people, including a few unpainted from the last batch, plus the horses and carts. While they were drying, I made this master pattern for a Type 22 pill box. I want a number of them around the layout, so I'll be making a silcone mould from this one so I can cast the rest in resin.
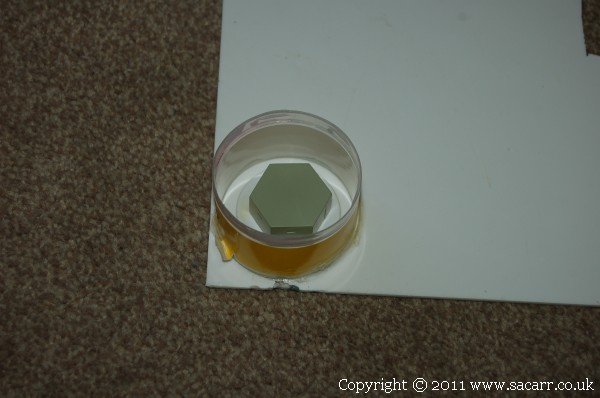
The pillbox was sanded, primed, sanded and then prepared for moulding. It was fastened to a styrene base with double sided tape, then the cut off top from a spray can was glued around it to make a wall.
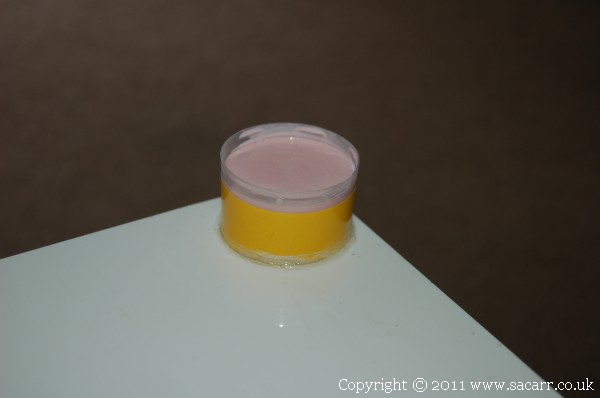
The silicone was mixed slowly in a pot and once fully mixed, the pot was held onto the base of an orbital sander to agitate the bubbles to the surface. The mould was then poured and left to cure overnight.
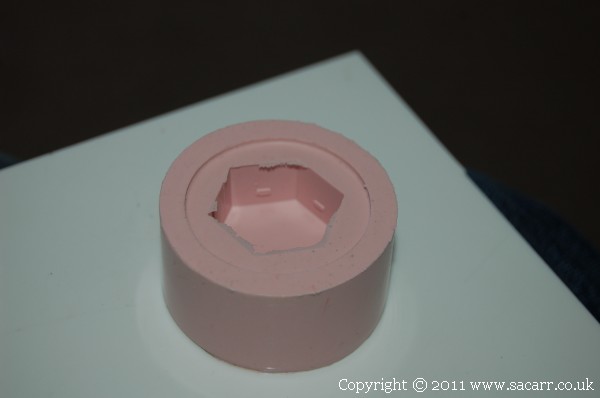
The following morning, the master pillbox was removed from the mould and the raggy edges where the silcone creaped under the base were trimmed away with a new scalpel blade.
The first pillbox was then cast in polyester resin.
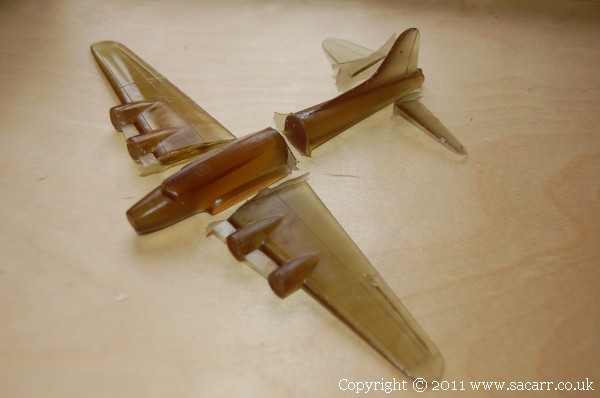
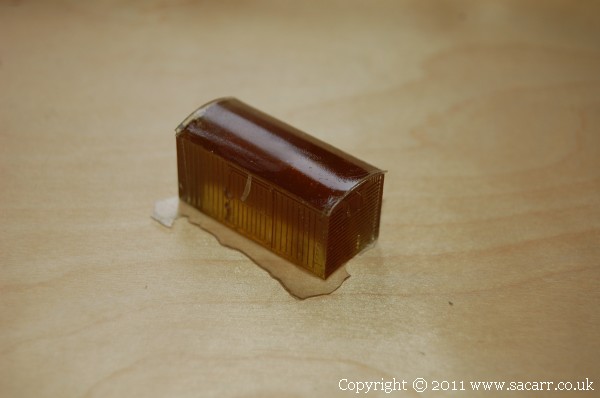
Since it is more accurate to mix a larger quantity of resin than just enough for the pillbox, I also cast a B-17 which will become a 'Hangar Queen' on the airfield section, plus an old van body for a yard shed, and an old coal wagon as a coal bunker for the locos.
Here's the parts of the B-17, ready to be cleaned up, assembled and painted.
Here's the van straight out of the mould.
I hope I haven't put you all to sleep? After all, we're only onto the second section here!
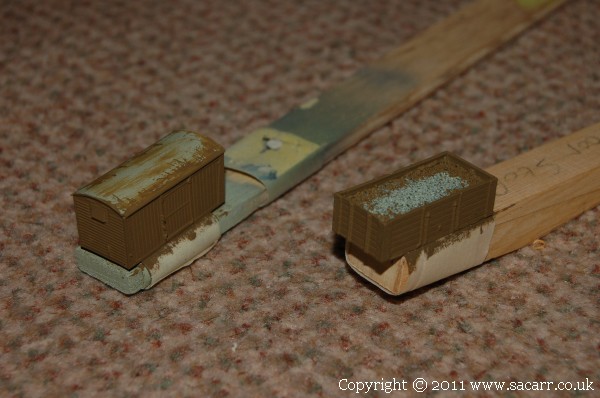
After priming, here's the van and coal wagon with a coat of brown. Having had a think about the coal wagon, I'm going to grind out the door on one side, and use sand to represent excess coal spilling out where it has been shovelled to load up the shunting loco.
The pillbox was also primed and given a coat of grey. It just needs attaching to the layout, and the base blending in with a mix of sand and greenery.