Tankengine389
New Member
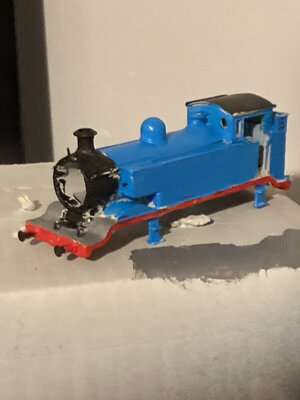
So working on my hornby Thomas, I've managed to get the parts from south eastern finecast on it and now trying figure out the best way to get a really smooth finish on the putty and model filler so it wouldn't have any cracks or bumps on it. (I please don't just say sanding. For I have been and I'm not THAT dumb in that department.)