KB02
Well-Known Member
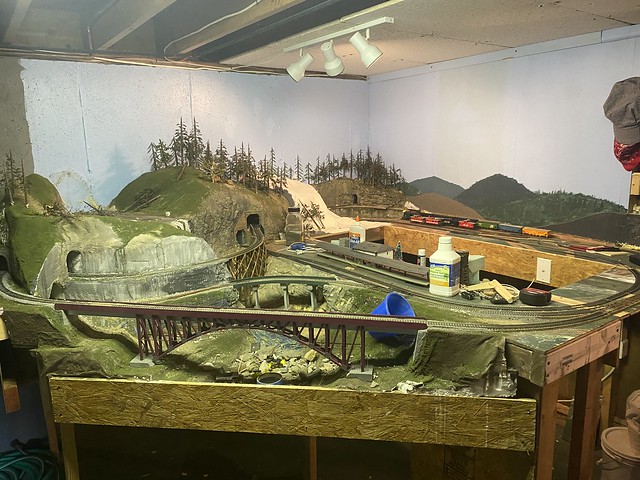
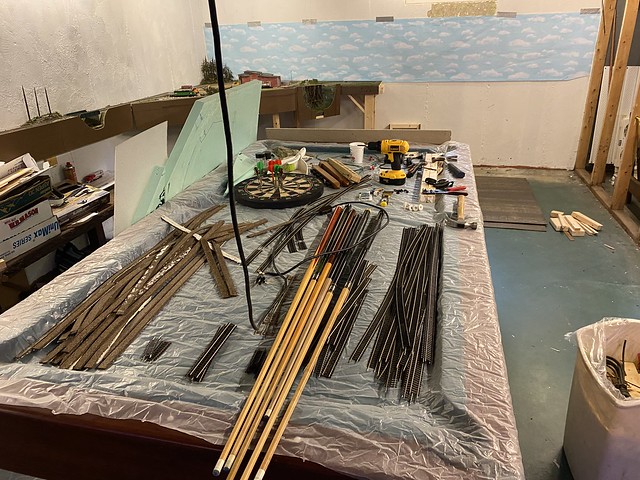
Before:
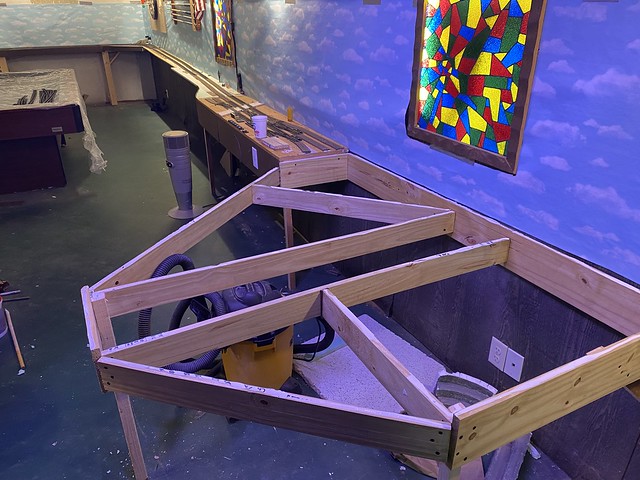
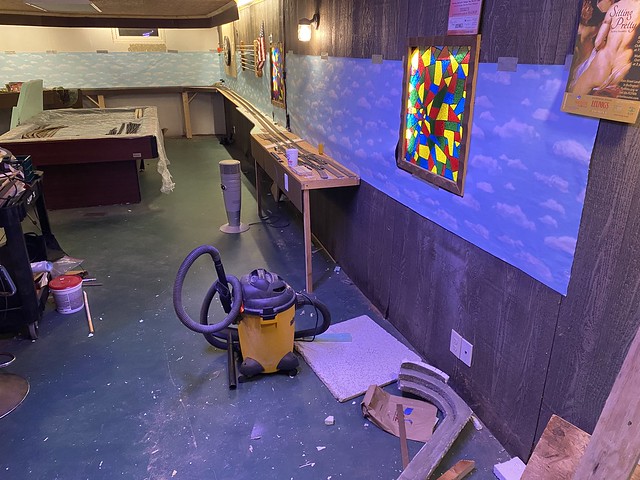
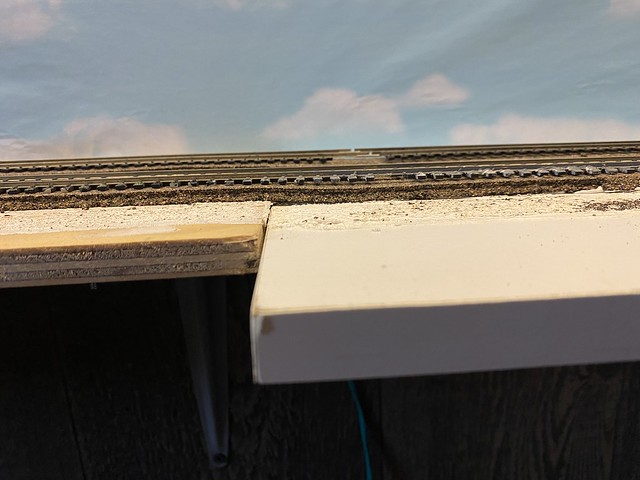
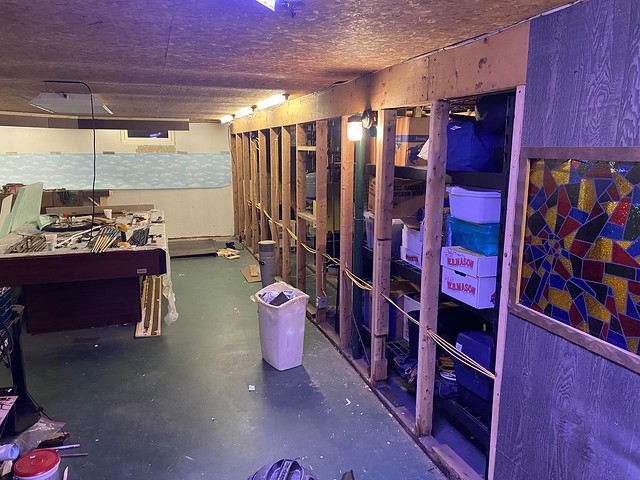
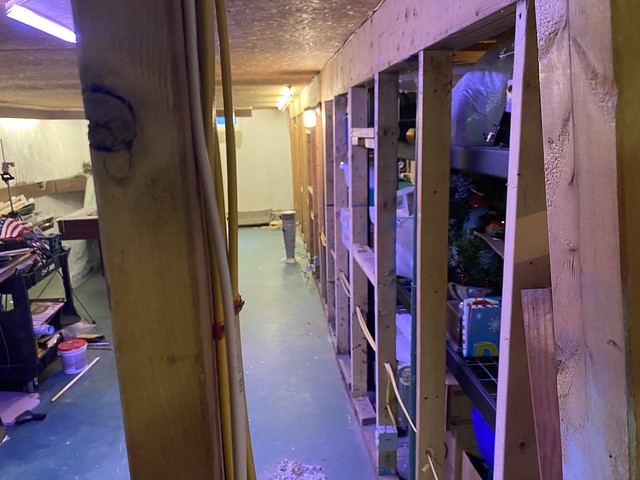
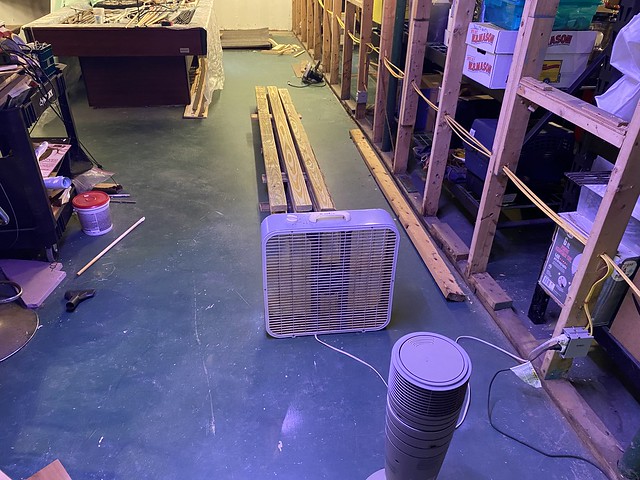
Currently (mid April, 2023) :
The Future:
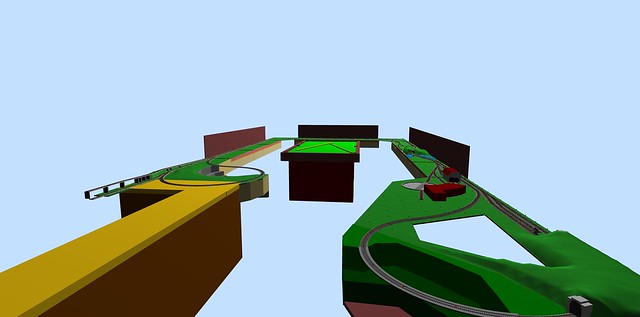
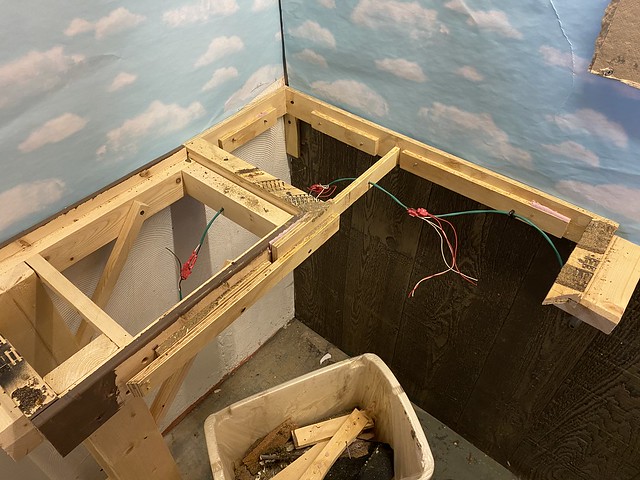
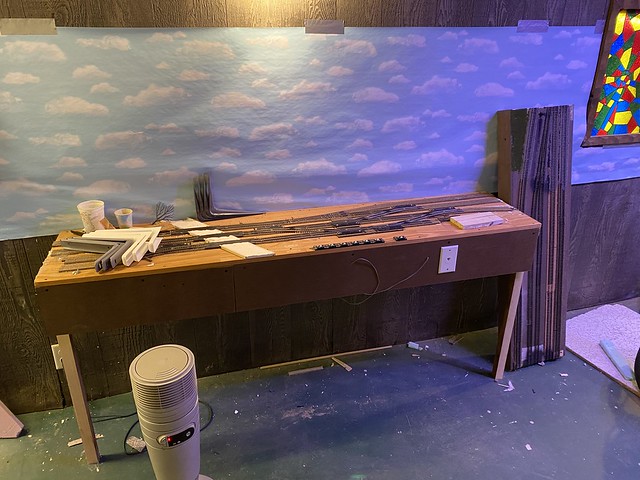
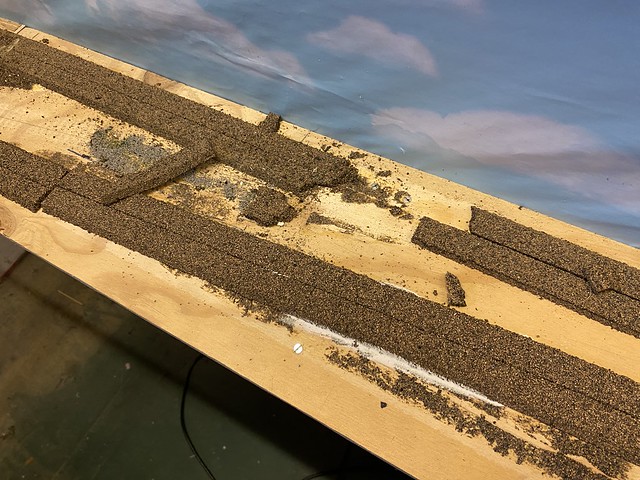
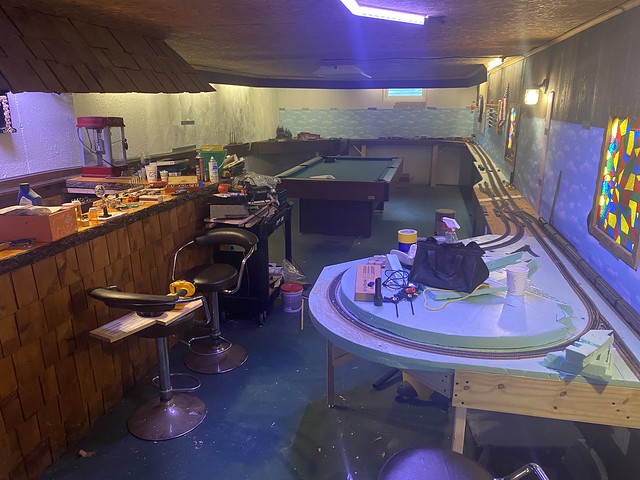
The time has come for my first teardown and rebuild of my layout. I have grown somewhat dissatisfied with the current status of my layout and can't really find a way to correct the "Flaws" I see with the way it has been built over the years.
"...the way it has been built over the years." That statement really seems to sum up a big part of the problem. There are about 876.3 different construction styles used in what ended up being little more than a novelty railroad running around the ceiling of a show room or candy shop (except its in the middle of the wall). I had a grand vision at one point in time of the trains traversing the entire room and ending with a turn around under a glass topped table. Really don't see that happening, plus, with the way my interests have changed over the years, not really sure that's what I want it to become.
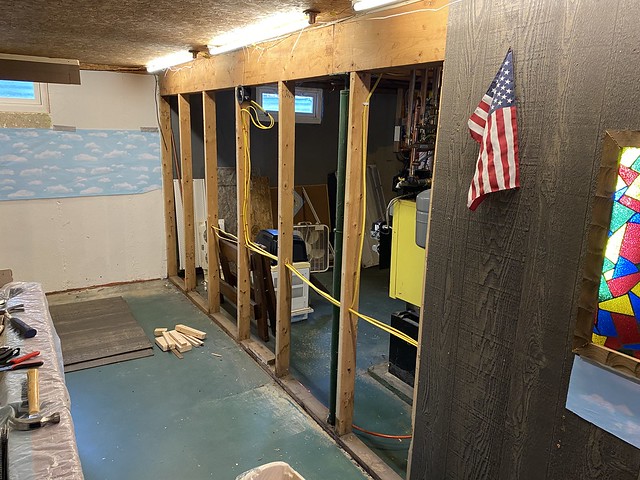
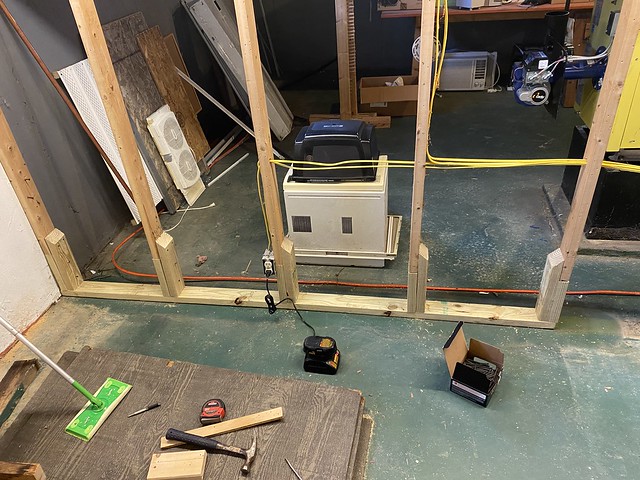
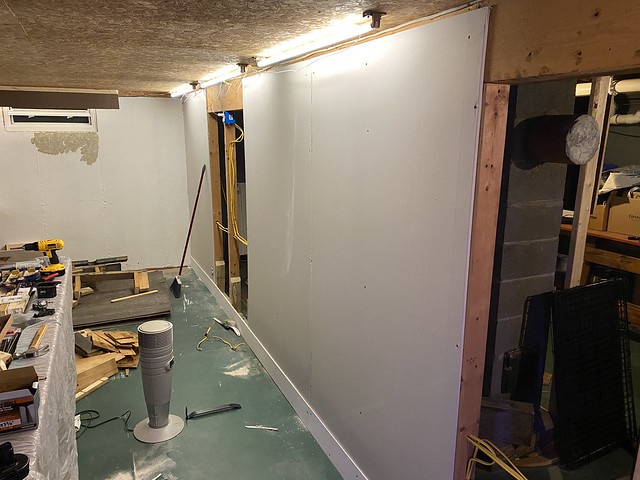
Also, while I am at it, there is a great deal about the room itself that is begging to be updated, SO - Out will come the crowbars, hammers, hack saws and recycle bins. Out will come the 1970's faux wood panel walls. Out will come the 3%+ grades I built in. And, in their place will be new walls behind a "FreeMo inspired" modular type layout that will still traverse the room, but with more switching, more industries, more bridges and more fun!!
So strap in, grab some popcorn, kibitz, provide constructive criticism, or just flat out tell me what I'm doing wrong... This is going to be a long journey that should end, with any luck, with me having a far more pleasant space to hang out in while I play with my trains.
Currently (mid April, 2023) :
The Future:
The time has come for my first teardown and rebuild of my layout. I have grown somewhat dissatisfied with the current status of my layout and can't really find a way to correct the "Flaws" I see with the way it has been built over the years.
"...the way it has been built over the years." That statement really seems to sum up a big part of the problem. There are about 876.3 different construction styles used in what ended up being little more than a novelty railroad running around the ceiling of a show room or candy shop (except its in the middle of the wall). I had a grand vision at one point in time of the trains traversing the entire room and ending with a turn around under a glass topped table. Really don't see that happening, plus, with the way my interests have changed over the years, not really sure that's what I want it to become.
Also, while I am at it, there is a great deal about the room itself that is begging to be updated, SO - Out will come the crowbars, hammers, hack saws and recycle bins. Out will come the 1970's faux wood panel walls. Out will come the 3%+ grades I built in. And, in their place will be new walls behind a "FreeMo inspired" modular type layout that will still traverse the room, but with more switching, more industries, more bridges and more fun!!
So strap in, grab some popcorn, kibitz, provide constructive criticism, or just flat out tell me what I'm doing wrong... This is going to be a long journey that should end, with any luck, with me having a far more pleasant space to hang out in while I play with my trains.
Last edited:
 ).
).