ModelRailroadForums.com is a free
Model Railroad Discussion Forum and
photo gallery. We cover all scales and sizes of model railroads. Online since 2002, it's one of the oldest and largest model railroad forums on the web. Whether you're a master model railroader or just getting started, you'll find something of interest here.
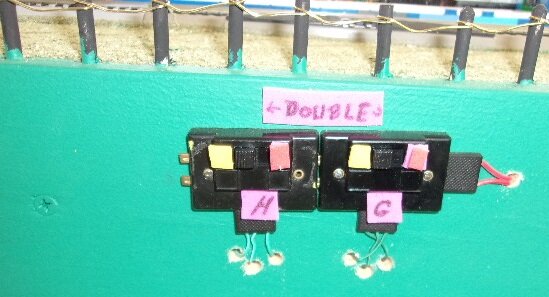
I guess you noticed I'm still using Lego's for all of my structures. I'm also getting ready to add 2 more tables to the inside of the layout for Yards & then I will move all of my Transformers & sound systems & other stuff to the end of the table thats closest to what I have now. Today I'm going to work on adding 8 more plugs for my MRC walk around throttle.
Lego has come a long long way since I played with it, love your ingenuity.
Does anyone still use chicken wire, newspaper and plaster of paris?
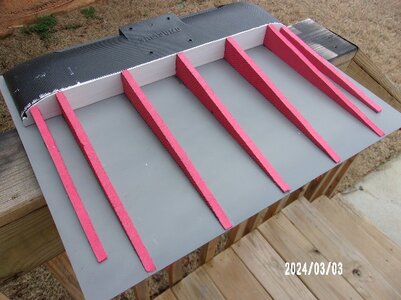
On my last Layout in Arcadia,Fl. before I moved up here I used Pink & Green Foam insulation on 1 of the 20ft long tables & framed up a long mountain on a 16ft long table & added the small chicken wire & covered it with Drywall Mud & on another table that was 20ft long I used Expansion Foam(16 cans) & at the bottom of that mountain I used Drop Ceiling Tiles for the rough mountain side. Everytime I build a new layout I try different things. On this layout I used PINK 2" FOAM on both mountains.
Granite Gorge and Northern Again
I converted from the plaster and newspaper to foam and caulk. Works great, really fast builds and you can make rock textures with your fingers or a rasp.
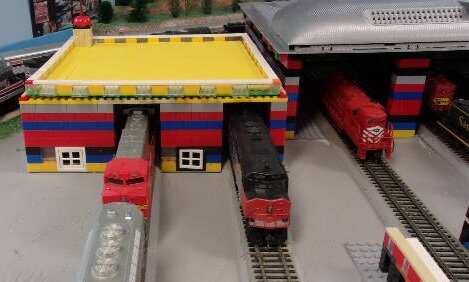
Here it is March already. had the Flu for about 2 weeks & couldn't work on the layout & then I passed out in the bathroom from not eating hardly anything for 2 weeks, so, now I'm back to building Trains & layout stuff again. I finally got the roof almost finished for the Train Shed & now it actually looks like a beefed up roof.
-
102_0342.jpg
120.5 KB
· Views: 94
-

102_0343.jpg
95.9 KB
· Views: 92
-

102_0345.jpg
72.5 KB
· Views: 124
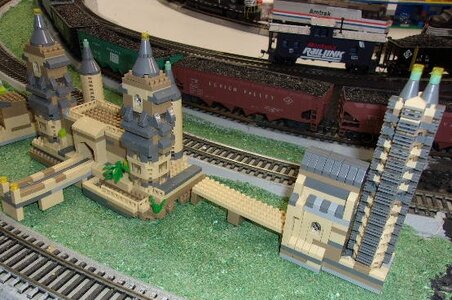
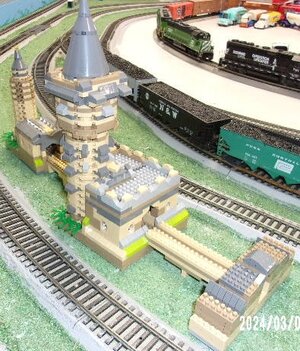
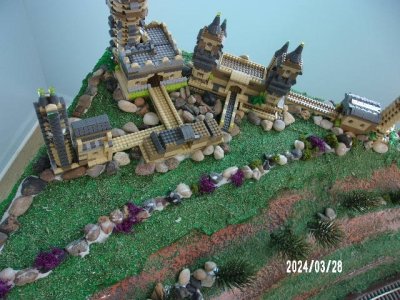
Then I built a 4 pc. Miniature castle out of lego's that I'm going to add to the side of 1 of my mountains. This one took me 3 days to build. These are called Micro Mini Blocks & were very hard for me to hook together w/pains in my hands.
-
102_0347.jpg
126 KB
· Views: 94
-
102_0348.jpg
115.4 KB
· Views: 95
-
102_0350.jpg
87.1 KB
· Views: 126
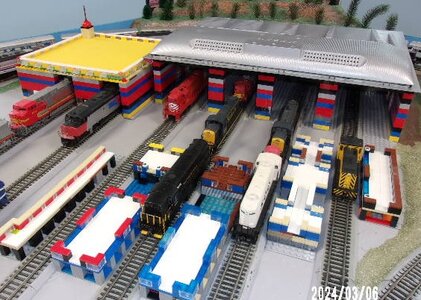
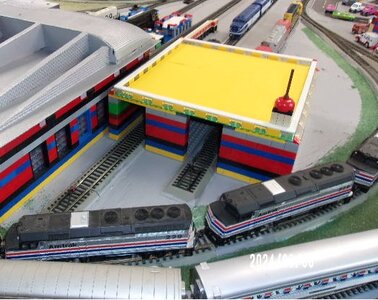
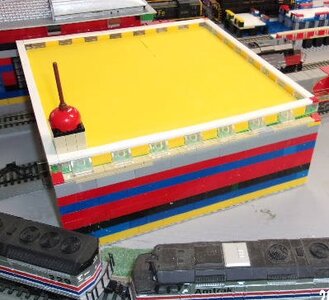
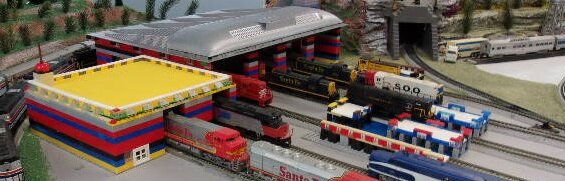
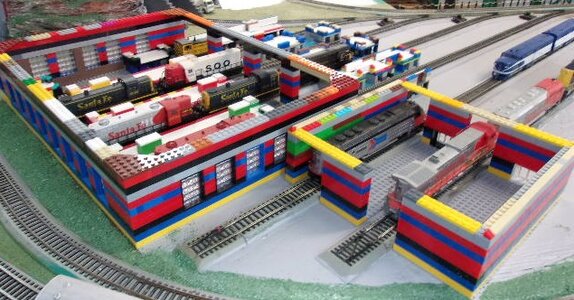
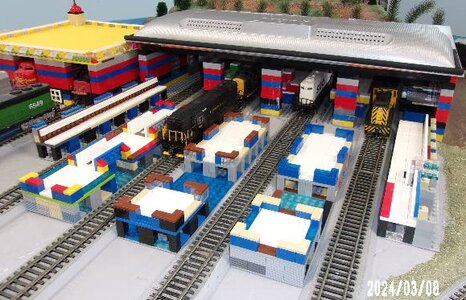
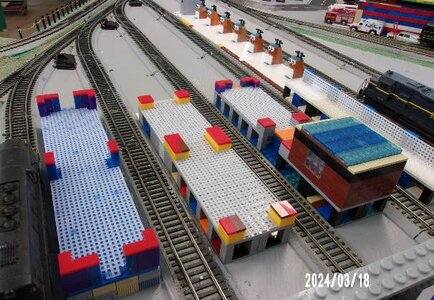
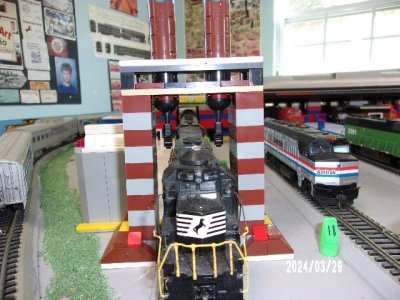
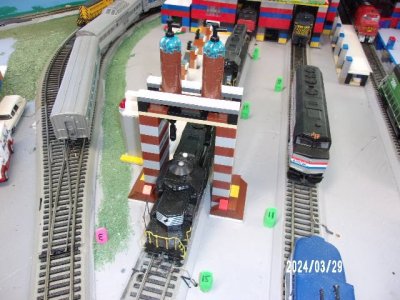
This Lego's Build I had to do right on the layout to get everything lined up next to the original Train Shed. Took me about 3 hrs & then I added the 1\16" Peel & Stick foam sheet to the roof panel which I will paint flat black later. The building is 10 by 10 inches & 4 & 1/2" tall. I never glue any roof down until I add LED lighting inside the structures. The Engine shed has a removable roof for derailments, etc.
-
102_0352.jpg
127.3 KB
· Views: 100
-
102_0353.jpg
55.3 KB
· Views: 119
-
102_0354.jpg
109.6 KB
· Views: 124
-
102_0355.jpg
69.1 KB
· Views: 120
-
102_0356.jpg
62.8 KB
· Views: 125
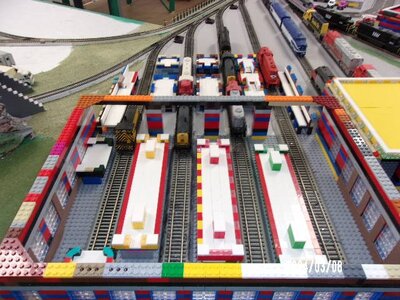
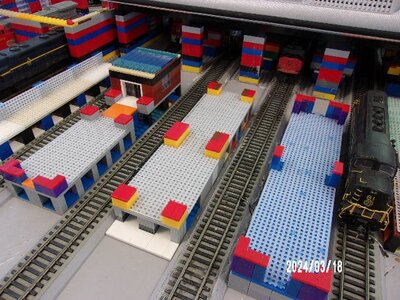
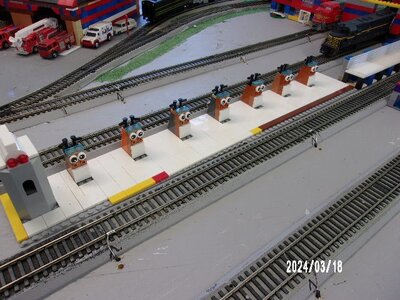
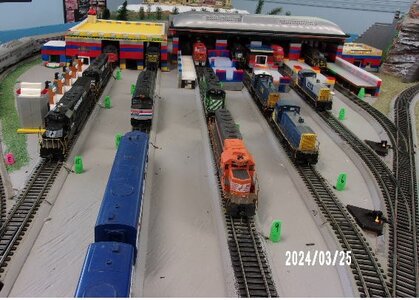
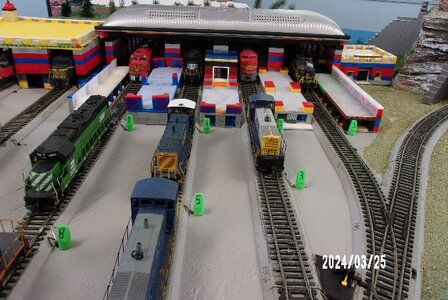
Made engine work stations inside the Engine Shed today. All Lego items & I also added some trim to the front of the roof on the engine shed. There was a 3/8ths opening on the front & about 6" on the sides. I used some wood dowels to fill in that space & glued it all w/E6000 glue.
Tomorrow I hope to start adding LED lighting to both of these buildings & cutting all of the blocks to seperate at least 4 engines on each track in front of both buildings. This part of the layout looks like it is real crowded, but it's not. The next big project is building a fueling & sanding track someplace around these buildings.
-
102_0358.jpg
136.8 KB
· Views: 104
-
102_0359.jpg
144.2 KB
· Views: 141
-
102_0363.jpg
128 KB
· Views: 96
-
102_0365.jpg
134.2 KB
· Views: 132
Amazing layout. Congrats !
Made engine work stations inside the Engine Shed today. All Lego items & I also added some trim to the front of the roof on the engine shed. There was a 3/8ths opening on the front & about 6" on the sides. I used some wood dowels to fill in that space & glued it all w/E6000 glue.
Tomorrow I hope to start adding LED lighting to both of these buildings & cutting all of the blocks to seperate at least 4 engines on each track in front of both buildings. This part of the layout looks like it is real crowded, but it's not. The next big project is building a fueling & sanding track someplace around these buildings.
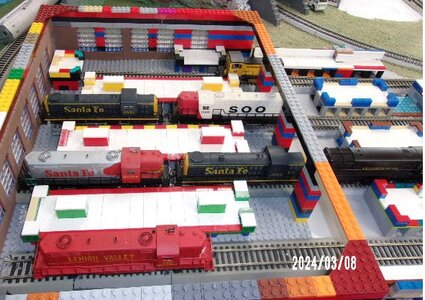
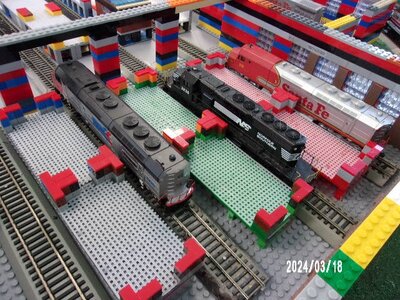
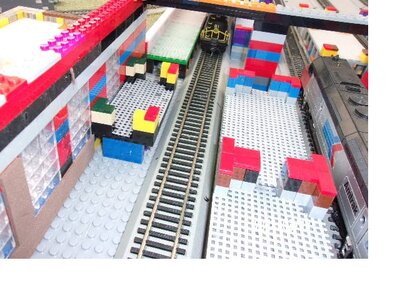
I redid all the tops of the service racks this week to make them look like metal tops. I used plastic canvas & it made a 100% different look. Did the ones in the engine shed & the ones outside the shed too.
-
102_0371.jpg
156.4 KB
· Views: 115
-
102_0373.jpg
168.1 KB
· Views: 118
-
102_0374.jpg
143.4 KB
· Views: 117
-
102_0375.jpg
145.9 KB
· Views: 118
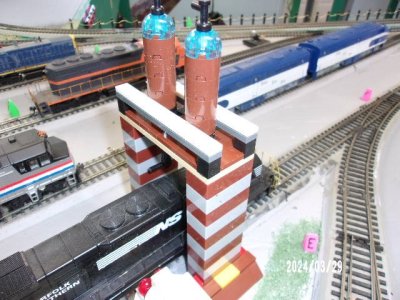
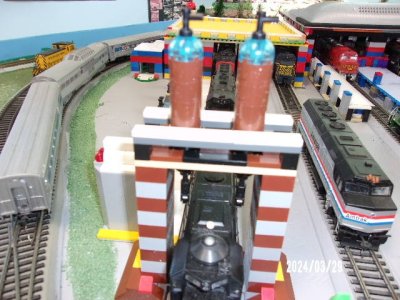
Started making a Fueling rack for engines this week too. Still need to make an overhead sanding rack w/downspouts. Then will have to buy some small rubber rope to use for hoses at each pump. What do you all think?
-
102_0372.jpg
133.2 KB
· Views: 119
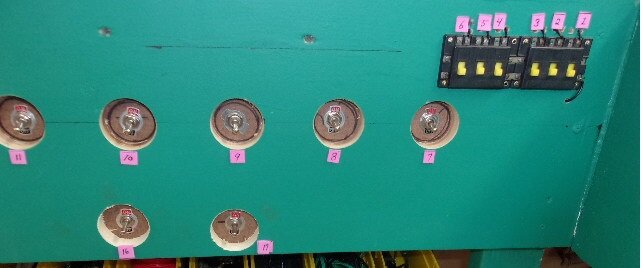
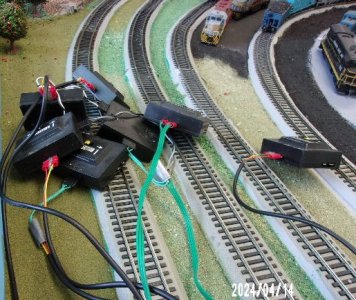
Been working 4 days hooking up turnout switches & cutting track for 18 blocks in front of & beside the engine shed. Then I hooked up 4 turnout switches & blocks for the passenger station & 8 more for other blocks. Takes a long time when you work by yourself.
-
102_0388.jpg
52.1 KB
· Views: 112
-
102_0389.jpg
95.5 KB
· Views: 104
-
102_0390.jpg
70.7 KB
· Views: 107
-
102_0391.jpg
116.6 KB
· Views: 113
-
102_0392.jpg
137.6 KB
· Views: 109
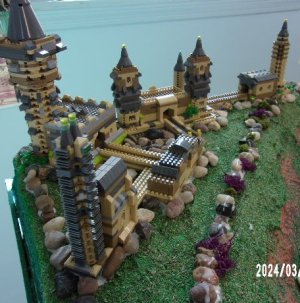
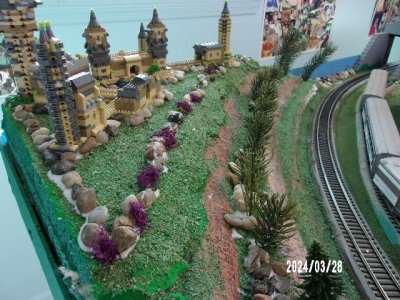
Castle on a Hill. Micro Mini Lego. 11 by 31 inches. 3-29-24
-
102_0399.jpg
108.7 KB
· Views: 113
-
102_0401.jpg
162.3 KB
· Views: 116
-
102_0402.jpg
152.9 KB
· Views: 117
New Sanding Rack I made this morning. 3-2-24
-
102_0410.jpg
122.4 KB
· Views: 108
-
102_0411.jpg
118.9 KB
· Views: 116
-
102_0412.jpg
129.3 KB
· Views: 116
-
102_0413.jpg
119.8 KB
· Views: 121
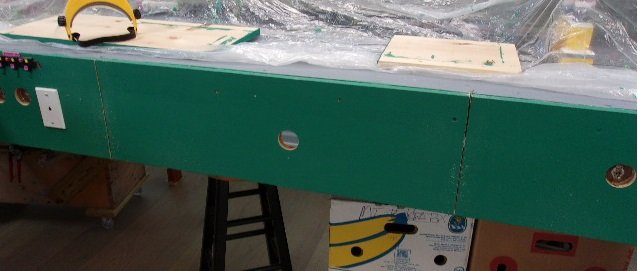
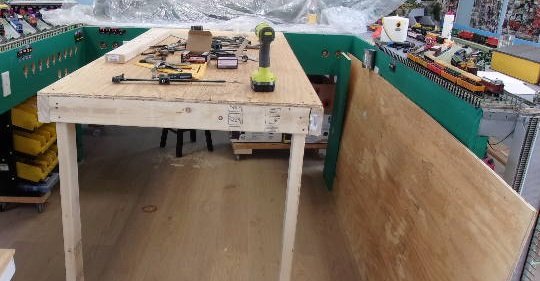
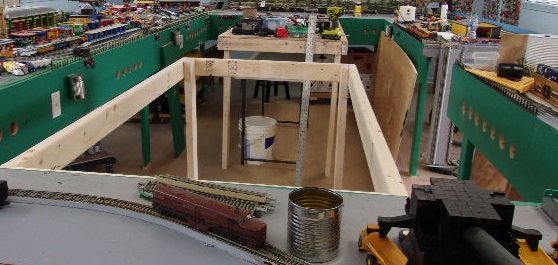
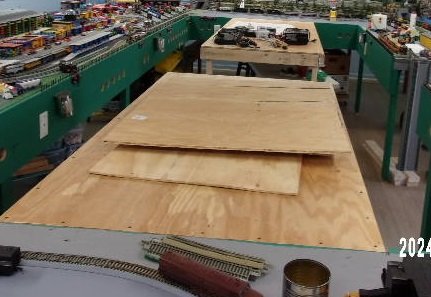
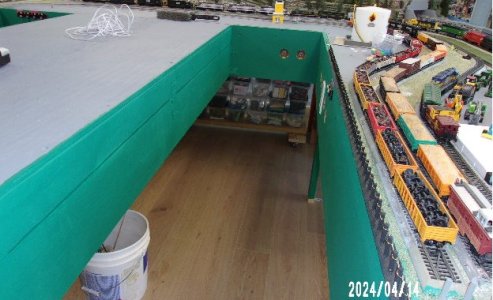
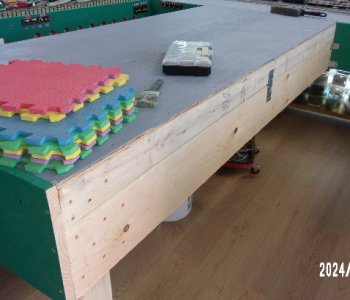
Went to Home Depot today & bought enough lumber to add onto my layout in the middle. This Table is 36" wide & 80" long & the same height as the layout is now. This one is on the east end of the layout. Cut the Facia out 3ft wide before I got started. Work on the other end tomorrow if I can get out of bed after crawling around on the floor to make the frame & add legs. I built it upside down & then screwed the one end to the side of the original table. No leg needed there. 4-1-24 There's a 19" clearance on both sides which is enough for me.
-
102_0414.jpg
58.4 KB
· Views: 110
-
102_0416.jpg
61.2 KB
· Views: 117
-
102_0418.jpg
68 KB
· Views: 108
-
102_0419.jpg
77.2 KB
· Views: 121
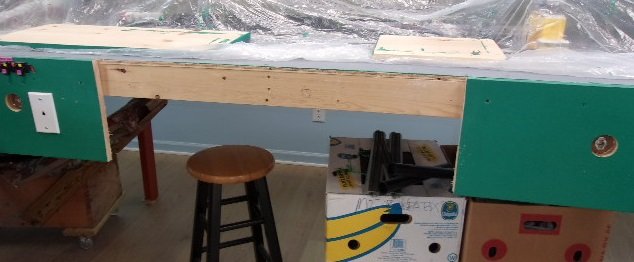
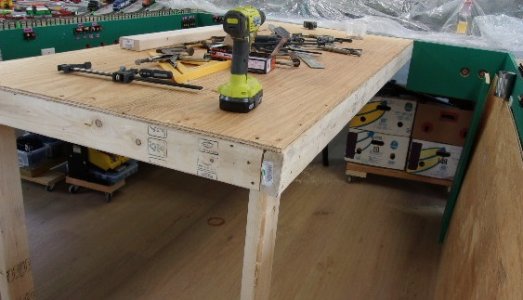
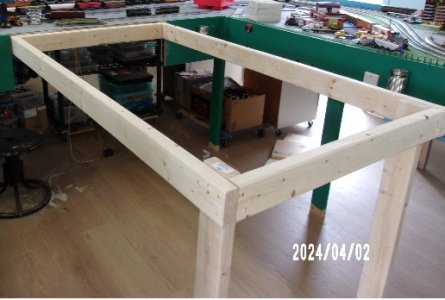
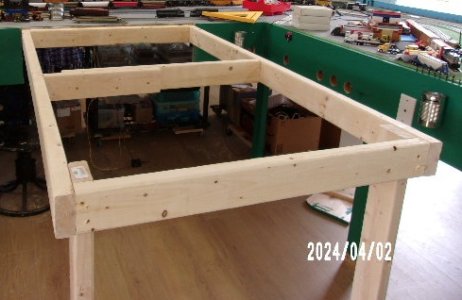
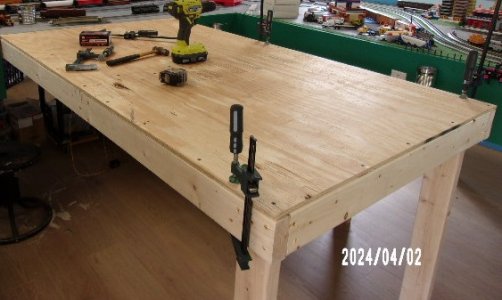
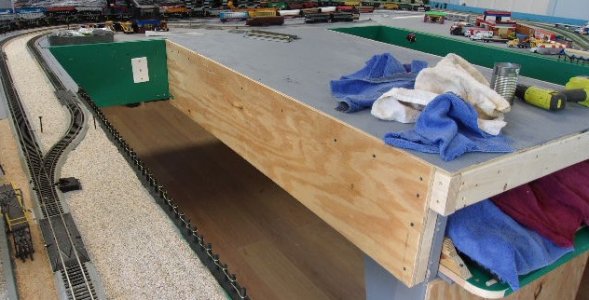
Finished up the table on the other end this afternoon. 85" long & 36" wide by 70" high. Going to put all my Transformers & sound Systems on the end of this table in the isle. I also made the center isle 36" wide in case I want to add a let down bridge between the 2 tables later. 4-2-24
-
102_0415.jpg
70.4 KB
· Views: 107
-
102_0417.jpg
62 KB
· Views: 117
-
102_0420.jpg
76.7 KB
· Views: 109
-
102_0421.jpg
73.8 KB
· Views: 117
-
102_0422.jpg
63.3 KB
· Views: 112
-
102_0423.jpg
77.5 KB
· Views: 114
-
102_0424.jpg
60.5 KB
· Views: 104
Finished up the table on the other end this afternoon. 85" long & 36" wide by 70" high. Going to put all my Transformers & sound Systems on the end of this table in the isle. I also made the center isle 36" wide in case I want to add a let down bridge between the 2 tables later. 4-2-24
Really nice work, you've got a lot done.
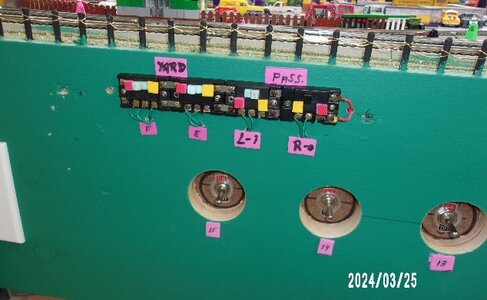
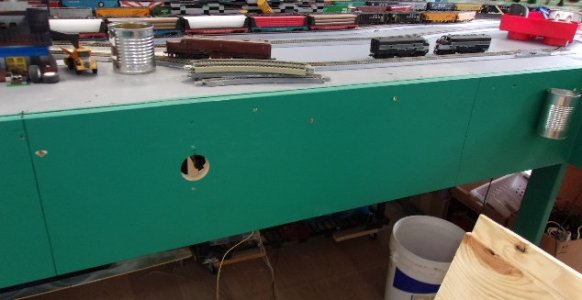
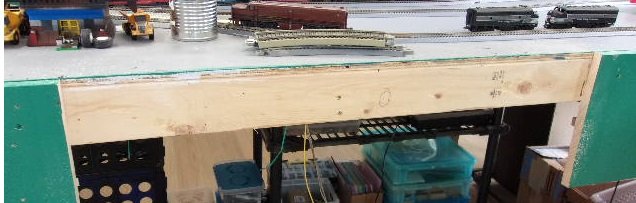
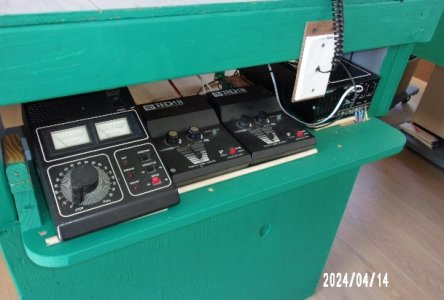
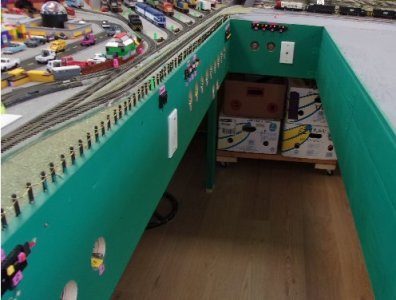
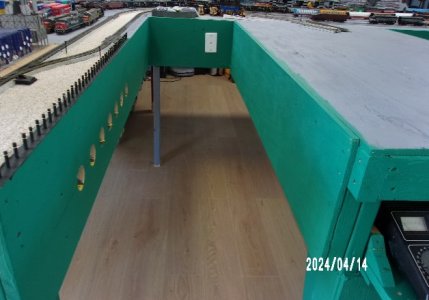
All new tables are done & painted as of today. 4-14-24. Installed my transformers & sound systems on the end of the west side table & all the wiring is in & I can now run trains. All the turnout switches are hooked up & marked on the front Facia Boards. The only thing that I have to hook up now is the Bachmann EZ track toggles which will be on the new facia Boards that I put on yesterday & today. Next project is laying out all the Brass Turnouts & brass flex for yards on both new tables & every switch will be controlled w/Ground Throws. have you noticed I've been using cut down pencils Erasers to mark all the turnouts & blocks. So far I have hooked up 27 Blocks on the Freight line & 1 on the passenger mainline.
-
102_0433.jpg
93.2 KB
· Views: 114
-
102_0438.jpg
146.3 KB
· Views: 122
-
102_0437.jpg
105.3 KB
· Views: 117
-
102_0436.jpg
73.5 KB
· Views: 116
-
102_0434.jpg
86.9 KB
· Views: 110
-
102_0430.jpg
72.9 KB
· Views: 103
-
102_0429.jpg
102.3 KB
· Views: 114
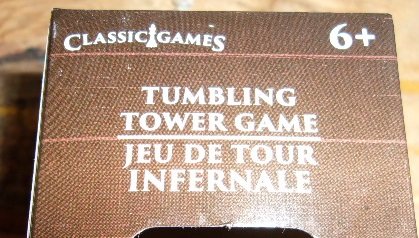
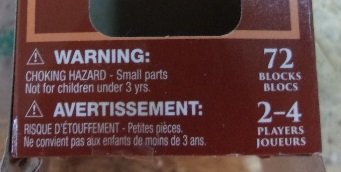
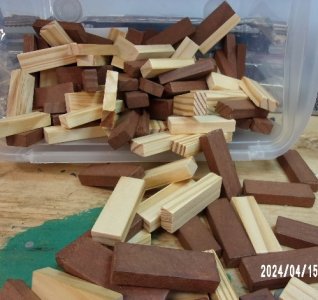
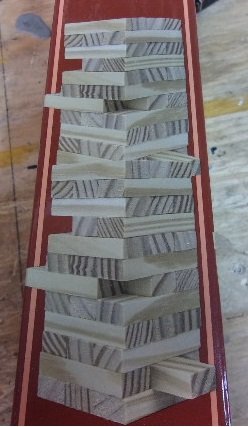
Found an item at Dollar Tree yesterday that would be a great item for structures, bridge supports & a hundred other ideas. A box of 72 wood blocks. 1&7/8ths long, 5/8ths wide are most some are narrower & 1/2" thick. Beautiful colors. $1.25 per box. I bought 3 boxes. They are on the bottom shelf in the toy isle. 4-16-24
-
102_0439.jpg
66.1 KB
· Views: 111
-
102_0441.jpg
29.5 KB
· Views: 113
-
102_0443.jpg
94.1 KB
· Views: 108
-
102_0444.jpg
46.7 KB
· Views: 108
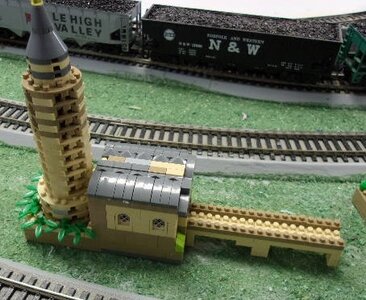
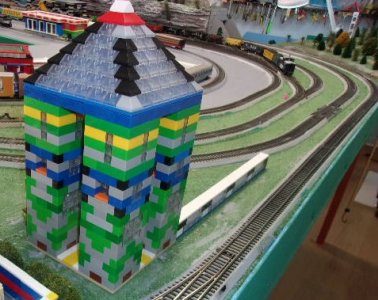
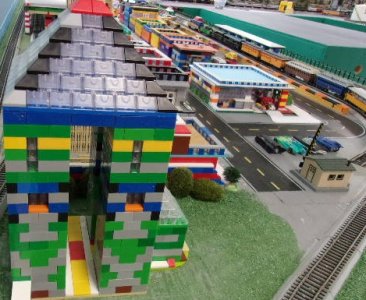
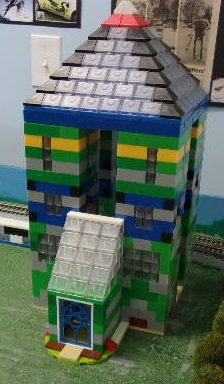
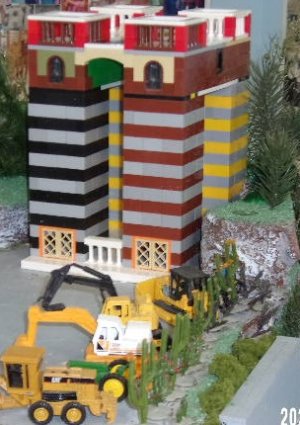
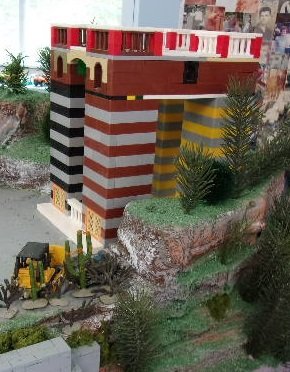
Made another Lego Hotel this morning. 11" high & 5" square. Going to call it the Pyramid Hotel. I also moved the other Hotel up on 1 end of the east mountain. Both sets of pictures here. 4-16-24
-
102_0445.jpg
102.3 KB
· Views: 109
-
102_0446.jpg
106.2 KB
· Views: 117
-
102_0447.jpg
46.1 KB
· Views: 110
-
102_0448.jpg
69.5 KB
· Views: 108
-
102_0449.jpg
71.8 KB
· Views: 113
-
102_0450.jpg
64.6 KB
· Views: 108

Affiliate Disclosure: We may receive a commision from some of the links and ads shown on this website
(Learn More Here)
