
HuntertheRuster
The Rusty Railroader
So after having a look round online and through my old Tyco locos I've decided I'm going to have a crack at replicating the Razor Train from Half Life 2 using a Tyco Rock Island diesel locomotive for a chassis, modified with a styrene plastic shell that'll have some custom support structures.
I'm using roughly 1.5mm thick plasticard for the main framework, along with some metal bits and bobs I have lying around. Right now I'm just prototyping and working out the shape, but I figured I'd post and see if anyone had any feedback/ideas.
The basic standard I'm going off of is that most of my rolling stock/yard is going to be American when it's finished, so I'm going to slap some American knuckle couplers onto the Razor at the front and back (even though in-game the engine technically can't pull in reverse.)
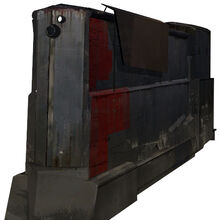
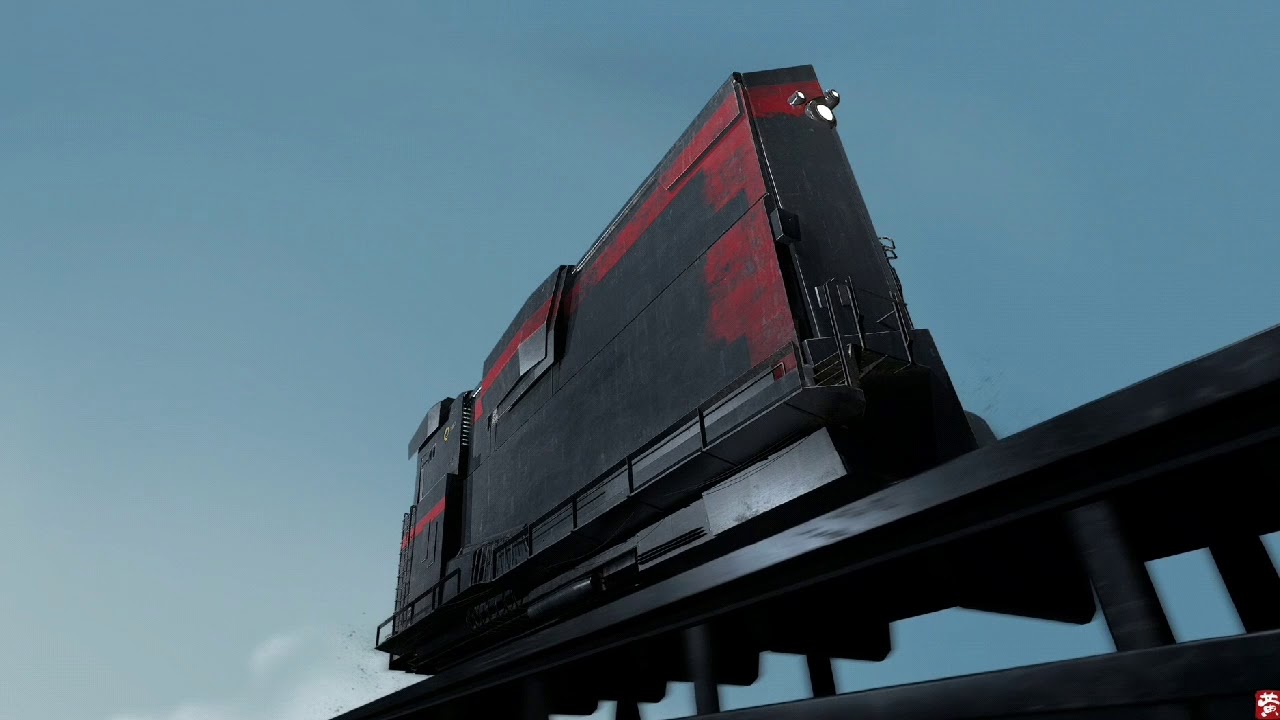
The Razor Train's shape is somewhat basic, and it'll be a good side project, so I intend to start today while I wait for some friends to arrive. Here's the in-game model:
Going off of measurements someone on an N.scale forum was using, I'm going to make the locomotive roughly the length of a 50ft Boxcar and the height of two of my Tycos. I'm going with the styrene route mainly because while 3d printing would give me better detail/scaling, I also don't know that I would want to try and modify the shell I had just printed to accept the wheels/chassis underneath, as making one from scratch would be much easier.
For anyone wanting to replicate my process, here is the basic outline of steps. When I am finished or satisfied at any point in the build, I'll post some pictures of my progress.
Step 1: Remove original Tyco chassis from shell and reorient/organize to fit the size constraints of the Razor Train loco
Step 2: Build basic wedge shape/hull using sheet 1/1.5mm styrene sheet
Step 3: Smooth and sand using Tamiya putty over edges, gaps, or uneven points
Step 4: Use 0.25/0.5/1mm styrene and plasticard to add detailing and smaller shapes to the loco
Step 5: Dryfit to the main loco chassis and test run
Step 6: Hook up front lamp-post and add any other effects as needed
Step 7: Paint and Weather
I'm using roughly 1.5mm thick plasticard for the main framework, along with some metal bits and bobs I have lying around. Right now I'm just prototyping and working out the shape, but I figured I'd post and see if anyone had any feedback/ideas.
The basic standard I'm going off of is that most of my rolling stock/yard is going to be American when it's finished, so I'm going to slap some American knuckle couplers onto the Razor at the front and back (even though in-game the engine technically can't pull in reverse.)
The Razor Train's shape is somewhat basic, and it'll be a good side project, so I intend to start today while I wait for some friends to arrive. Here's the in-game model:
Going off of measurements someone on an N.scale forum was using, I'm going to make the locomotive roughly the length of a 50ft Boxcar and the height of two of my Tycos. I'm going with the styrene route mainly because while 3d printing would give me better detail/scaling, I also don't know that I would want to try and modify the shell I had just printed to accept the wheels/chassis underneath, as making one from scratch would be much easier.
For anyone wanting to replicate my process, here is the basic outline of steps. When I am finished or satisfied at any point in the build, I'll post some pictures of my progress.
Step 1: Remove original Tyco chassis from shell and reorient/organize to fit the size constraints of the Razor Train loco
Step 2: Build basic wedge shape/hull using sheet 1/1.5mm styrene sheet
Step 3: Smooth and sand using Tamiya putty over edges, gaps, or uneven points
Step 4: Use 0.25/0.5/1mm styrene and plasticard to add detailing and smaller shapes to the loco
Step 5: Dryfit to the main loco chassis and test run
Step 6: Hook up front lamp-post and add any other effects as needed
Step 7: Paint and Weather
