Most of my railroad is from flex track. When i started with flex track i thought it would be a PITA trying to join pieces, especially on curves. But with a little practice and a few tools of choice, laying down the track goes smooth. My tools for flex are few: mini pliers with teeth to handle the track nails and since much of my benchwork is plywood i use a mini drill with drill bit to start a hole in plywood, otherwise it's difficult to push in the nails (of course i have cork "ballast" under the rails).
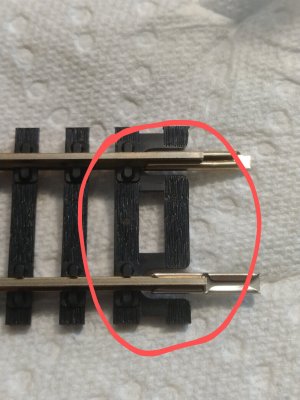
Instead of cutting off the ties at the ends, i use a scalpel to cut the rail tie with nails imitation and joiners go in normally. This way i don't have to stick ties under missing spots. For the curves i solder the joiners with two pieces of flex track together before bending it to the desired curve, this elliminates possible kinks where two flex track pieces meet together. One huge plus with flex track for me is, i don't have to sit and design on paper, or computer the exact curves and where they end and begin, which for me would be very frustrating. Anothe huge plus is; just like on a real railroad i can make easments from tangent track into the curve. A lot of home layouts have this unrealistic look where the train is abruptly going into curves from a tangent, because the modeler used templates for layout design and didn't make easments into the curves.