ModelRailroadForums.com is a free Model Railroad Discussion Forum and photo gallery. We cover all scales and sizes of model railroads. Online since 2002, it's one of the oldest and largest model railroad forums on the web. Whether you're a master model railroader or just getting started, you'll find something of interest here.
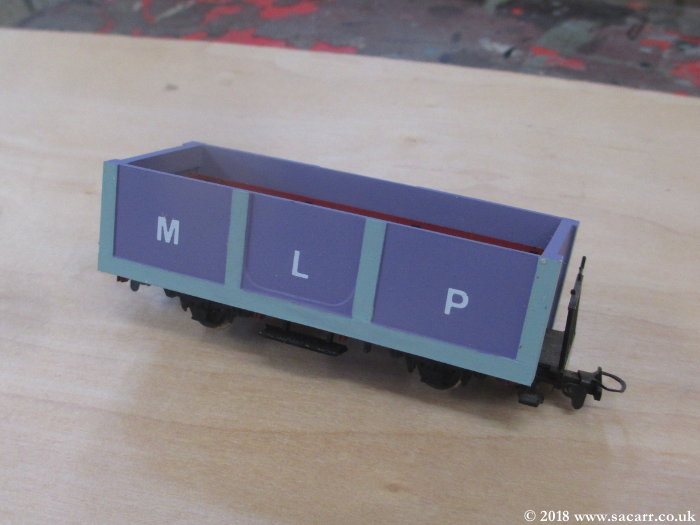
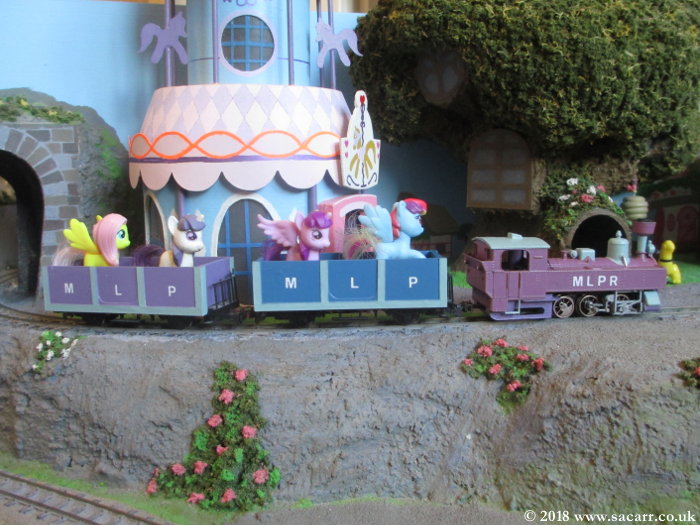
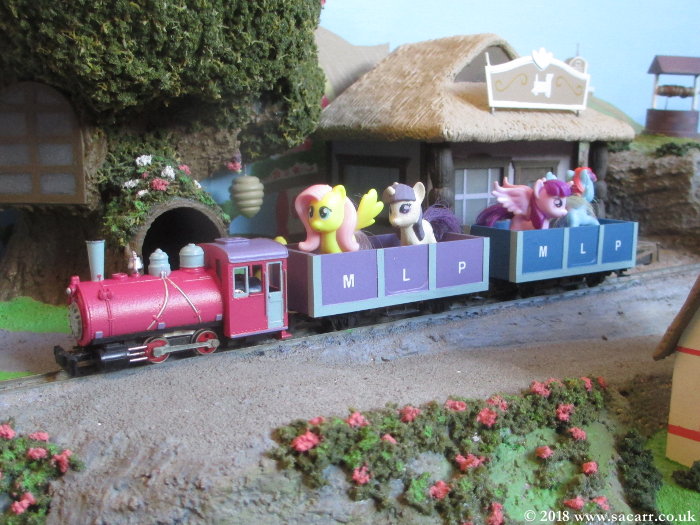
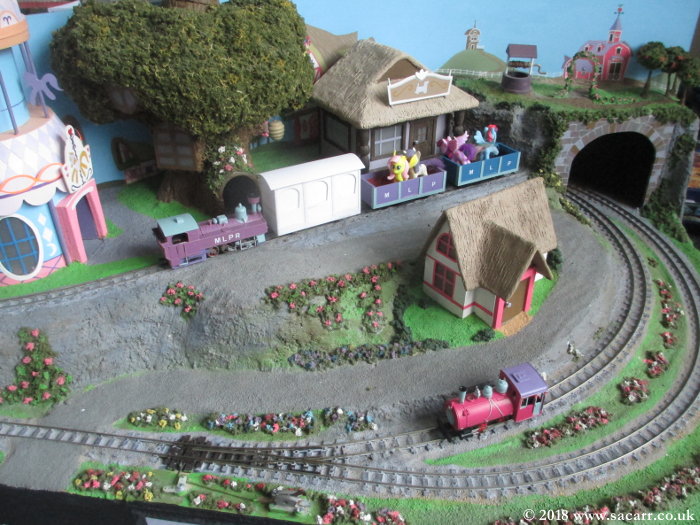
Today, the wagons had their detail painting completed, followed by the addition of MLP lettering on the sides. They were then given several coats of satin varnish.
I'm very pleased with the finished result which leaves the original wagon undamaged, but gives my daughter two themed wagons for the ponies to ride in.
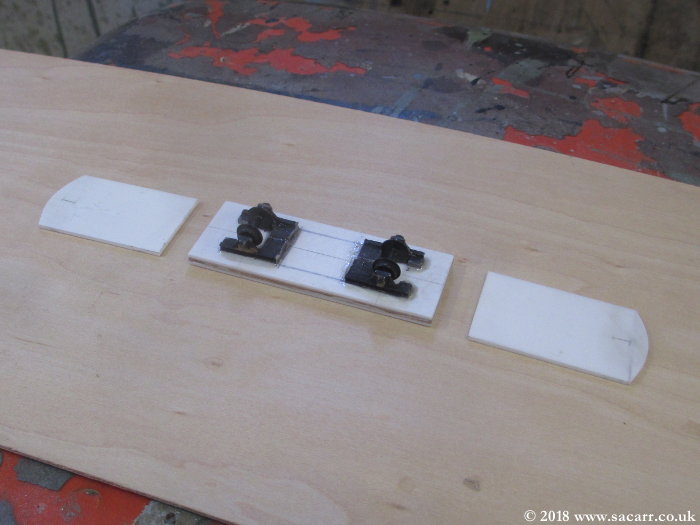
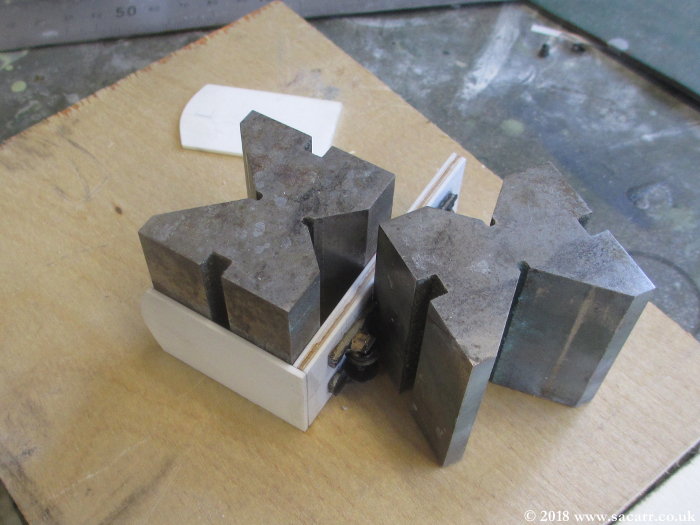
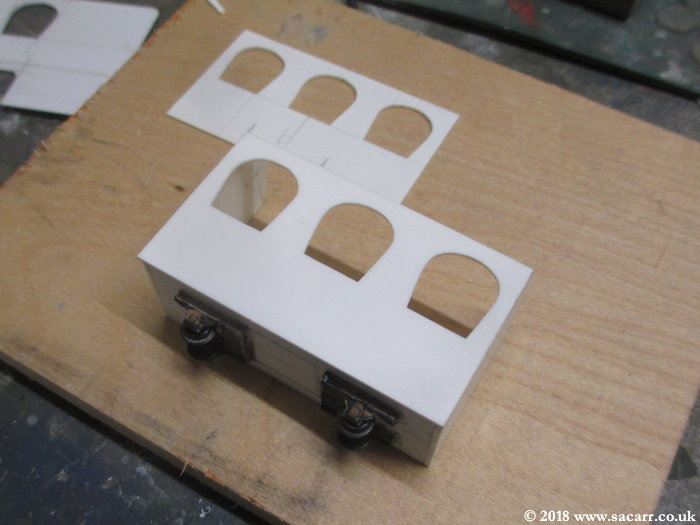
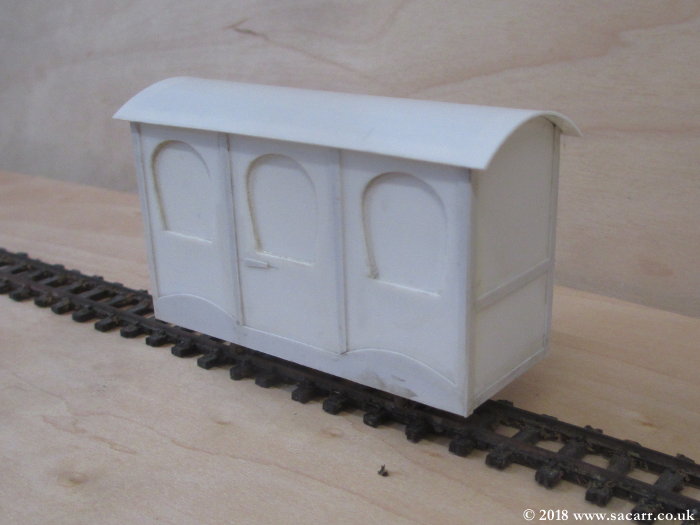
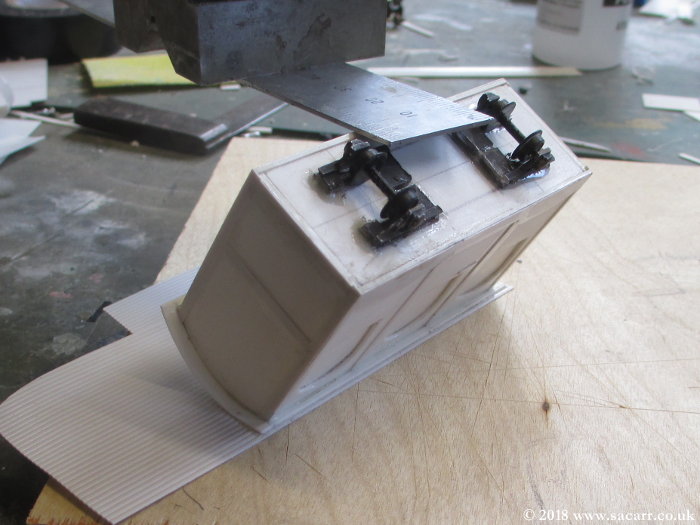
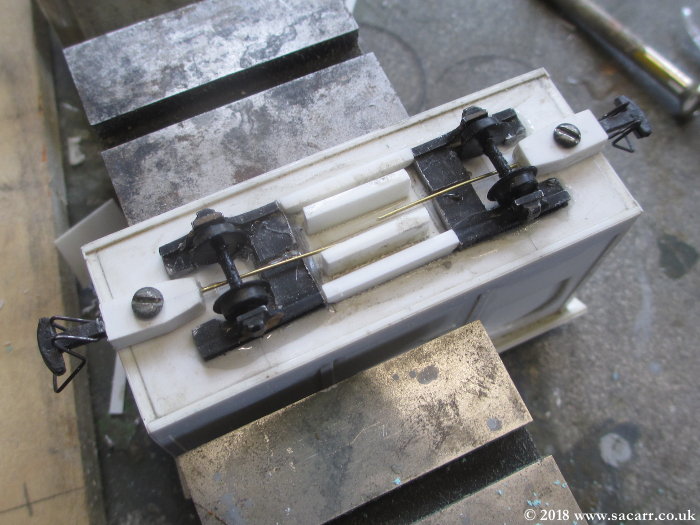
I also started scratch building a coach, based on pictures from the show. I had some wheels and a short white metal chassis in the spares box and made a styrene / 1/16th ply / styrene laminate for the longer coach chassis. The white metal chassis was cut in half to allow a longer wheel base and epoxied to the bottom of the plastic/ply chassis.
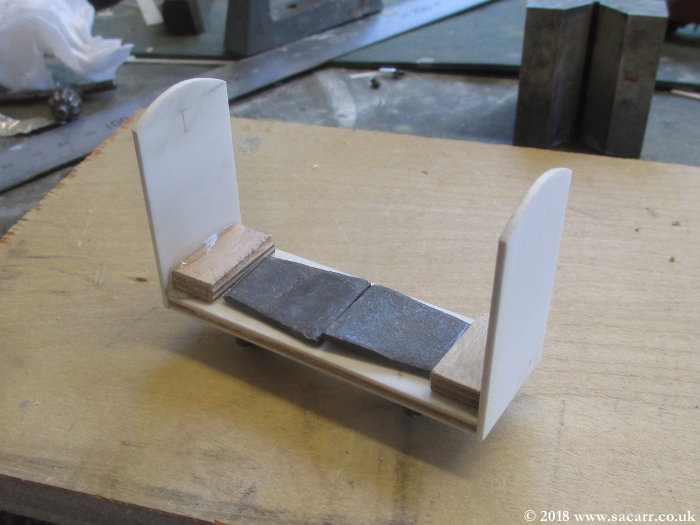
The styrene ends were glued next and left to dry for a while.
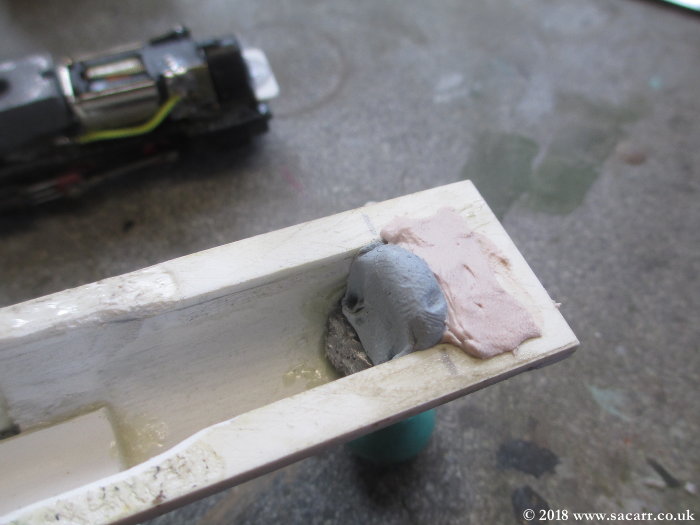
A small plywood block was glued inside the coach at each end to give me something I could screw into. This would allow a coupling to be attached by a small screw, so giving the coupling a little sideways movement using the screw as a pivot. I also cut a couple of flat lead strips to give a little ballast to the coach.
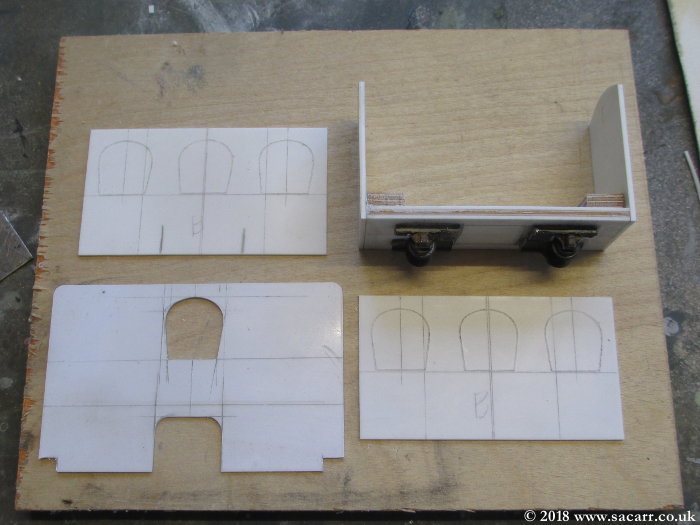
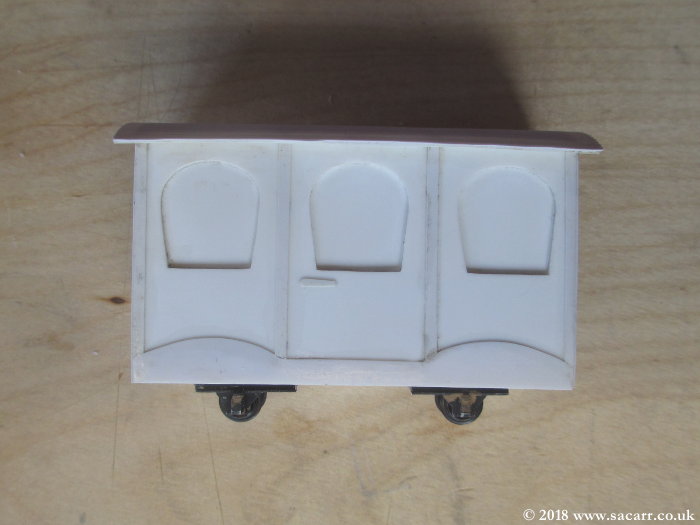
The old bank card came out again to cut a window template. Three windows were then scored on each side panel.
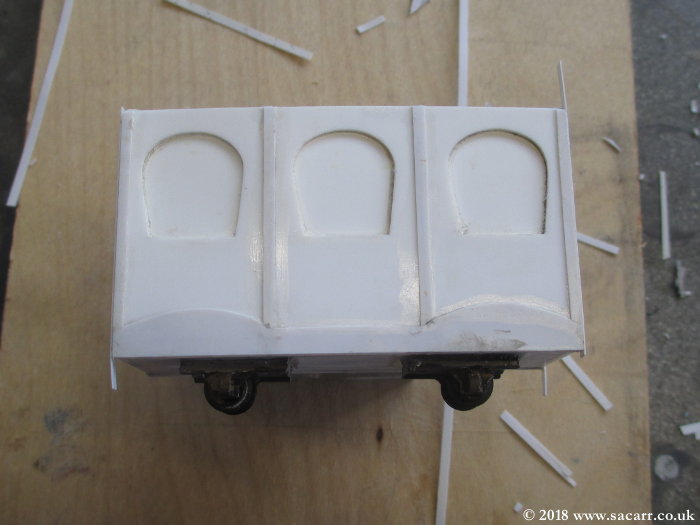
The windows were all carved out and sanded, then a piece of styrene added on the inside to leave a rebated window which will be painted.
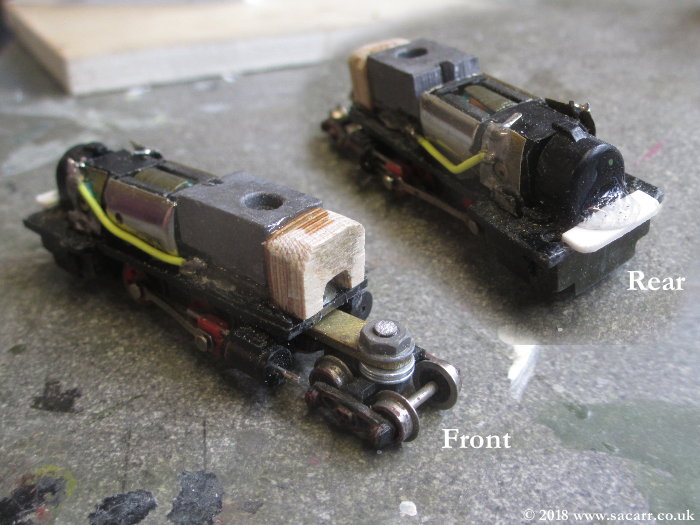
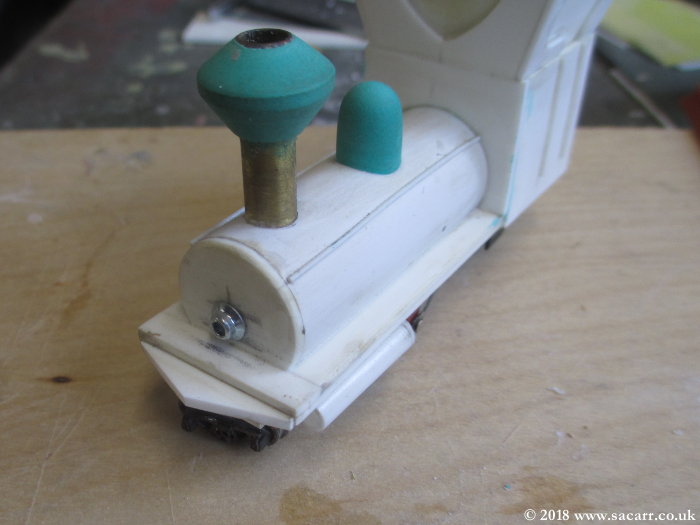
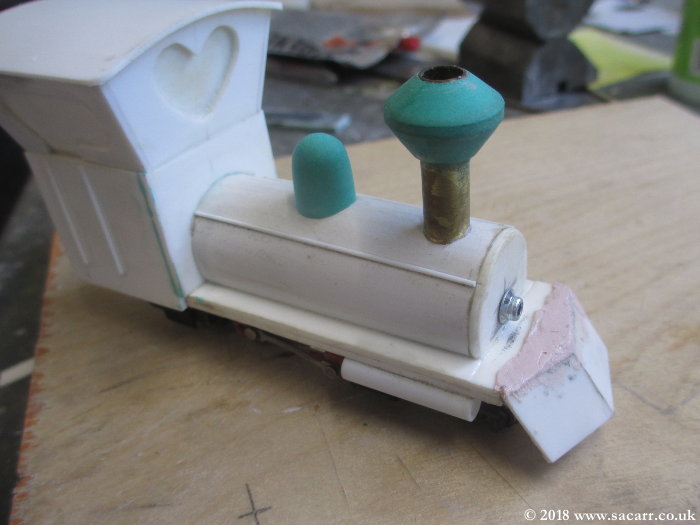
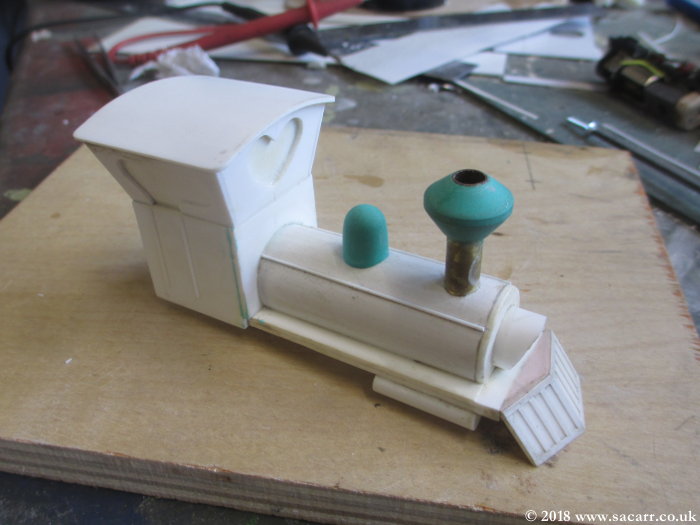
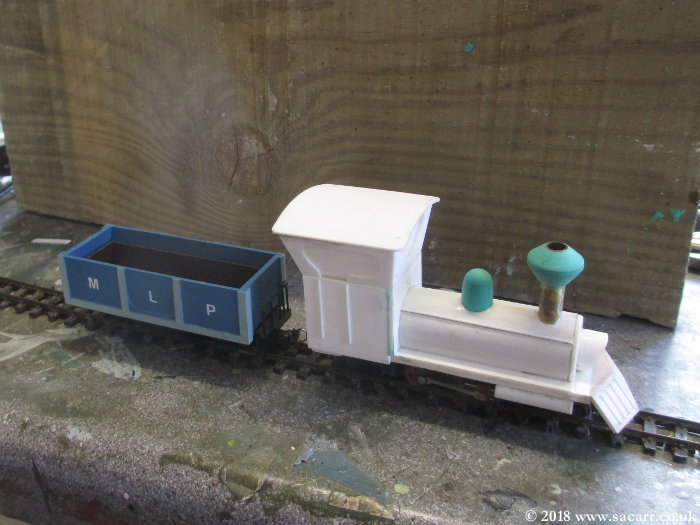
Also worked on today was the loco started two years ago. A new motor was fitted to this, but due to damage to the electrical pick up wires where they clip onto the motor, the motor was hard wired in place. The wheels and contacts were also cleaned. A test run showed it to be as noisy as the pink loco, but it now ran reasonably ok; good enough for this layout. Neither loco run well enough to be used on a proper scale layout which is why I didn't mind painting and modifying them.
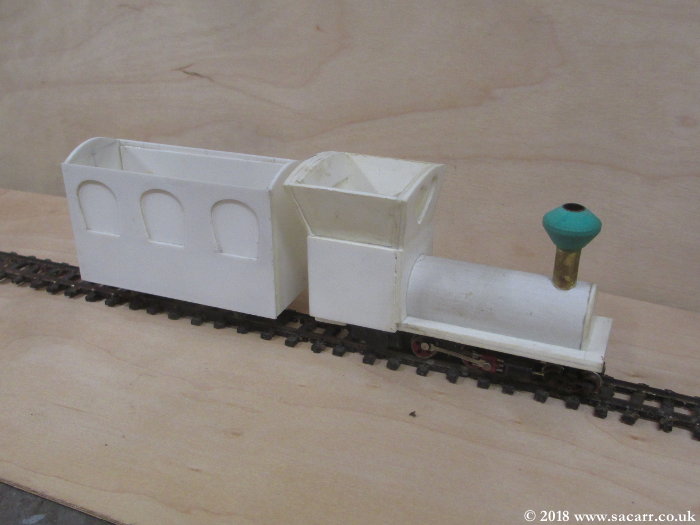
The coach is seen along with this loco at 21:30 hrs tonight. I ordered some OO9 style couplers today as both this coach and the loco will need some.
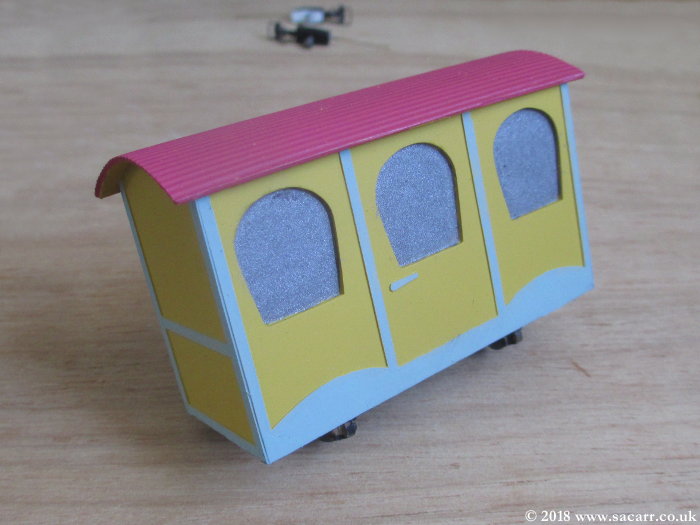
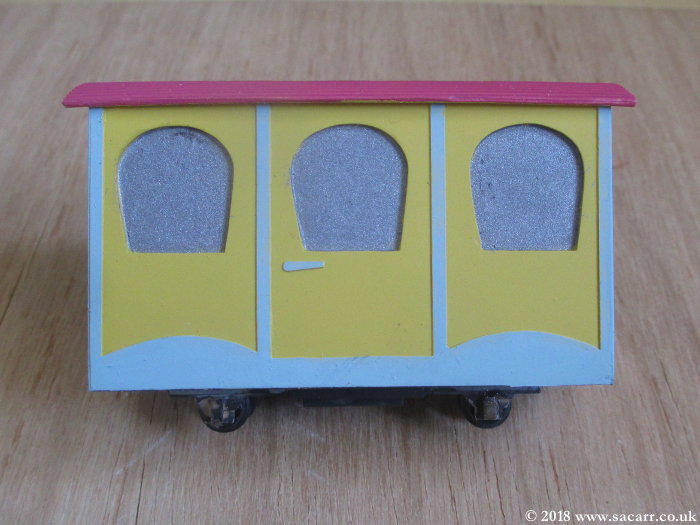
Some additional detail work was added to the outside of the coach.
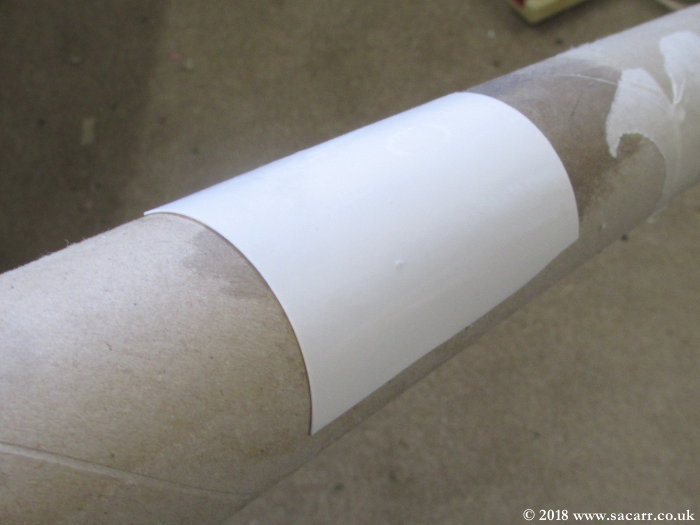
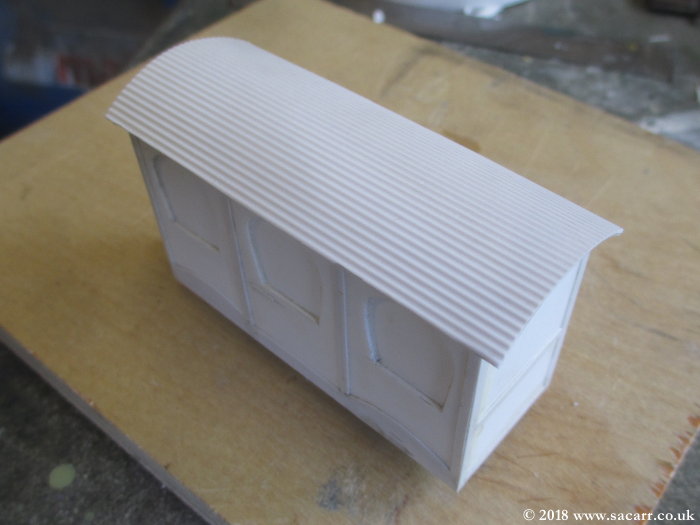
Another piece of 0.5mm styrene was taped onto a cardboard tube and then heated with a hot air paint stripper. This softened the plastic and once cooled, it retained the curved shape for the coach roof.
The corrugated roof needed to dry fully before the edges were trimmed. I was waiting for couplers to arrive in the post before the coach could move forwards any further.
The coach was tried on the layout to make sure it wouldn't catch on any tunnels and platforms one more time.
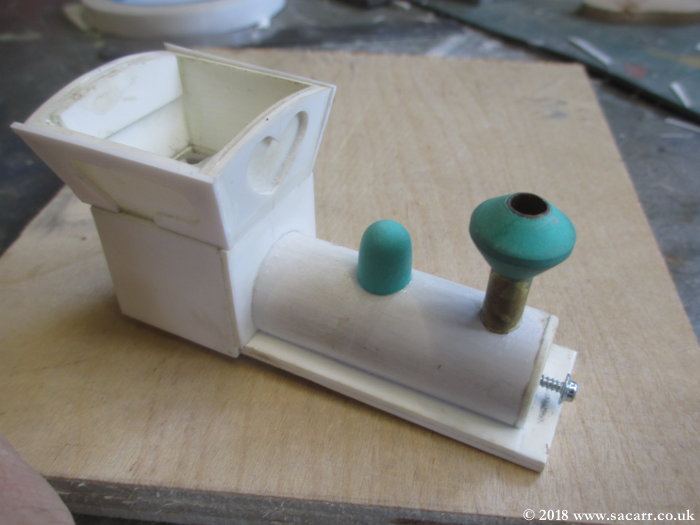
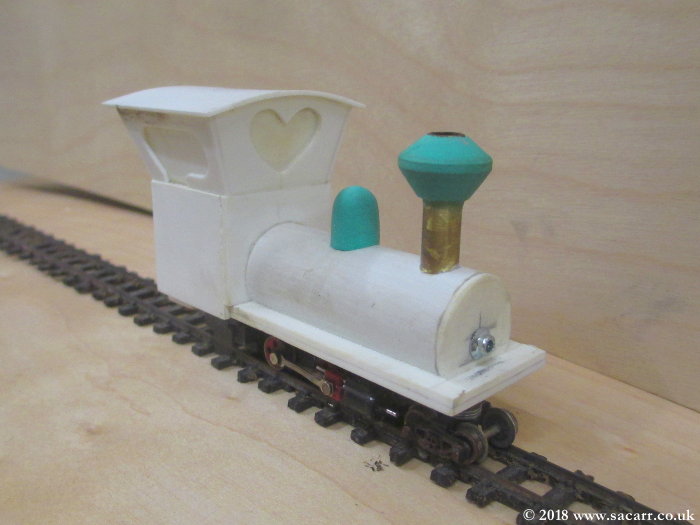
Now it was time to turn my attention back to the locomotive and adding some fixing points to the chassis to allow the bodywork to be attached. A plastic tongue was added to the back and a plywood block on the front for a screw.
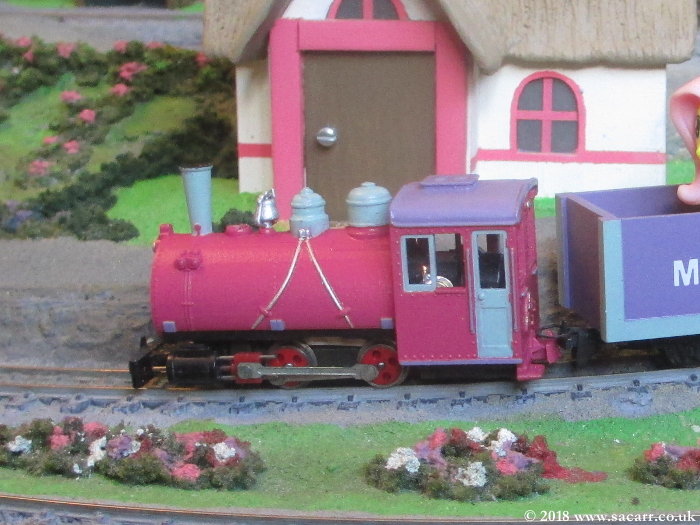
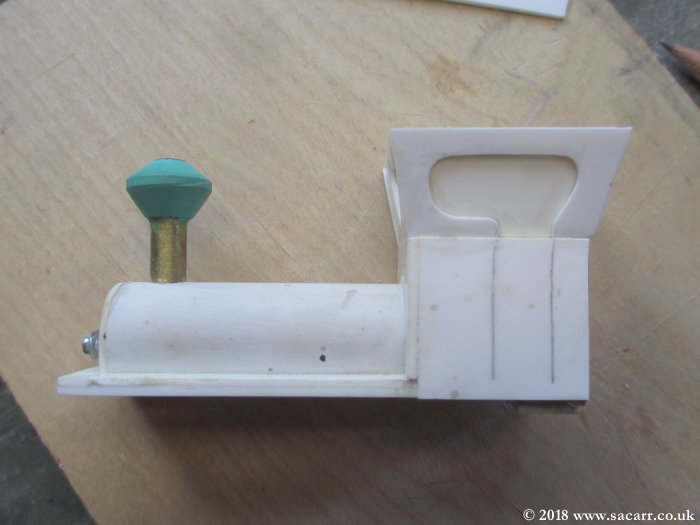
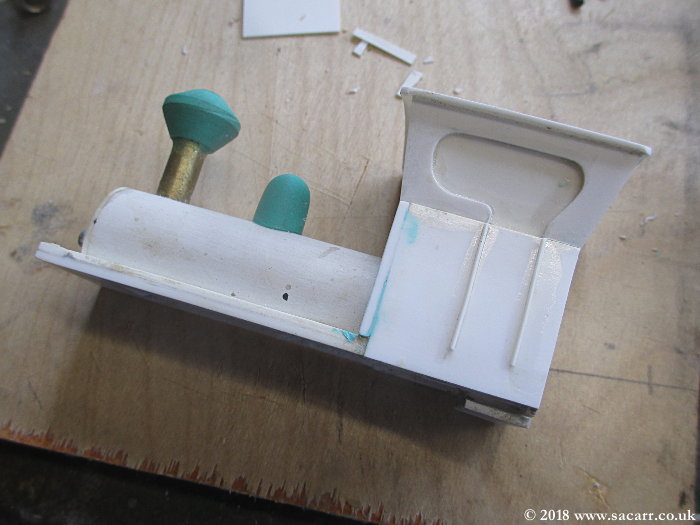
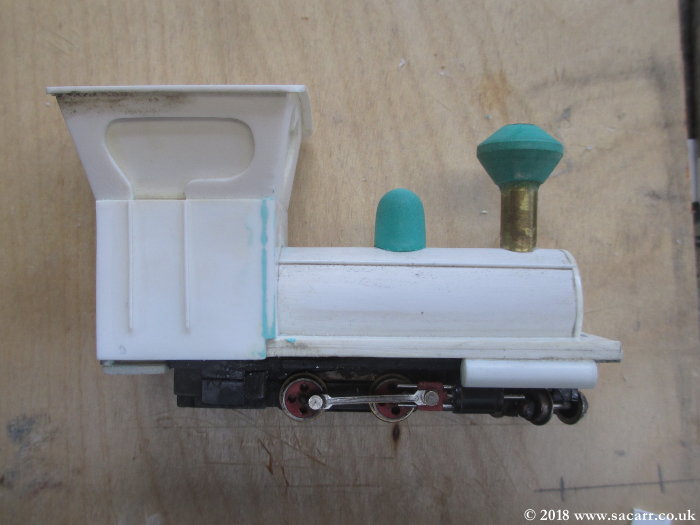
Today, some small diameter microstrip was added to the side of the cab to represent grab handles.
Handrails were also added to the boiler, and two larger cylinders were added to the front of the loco to help fill the space next to the leading four wheels.
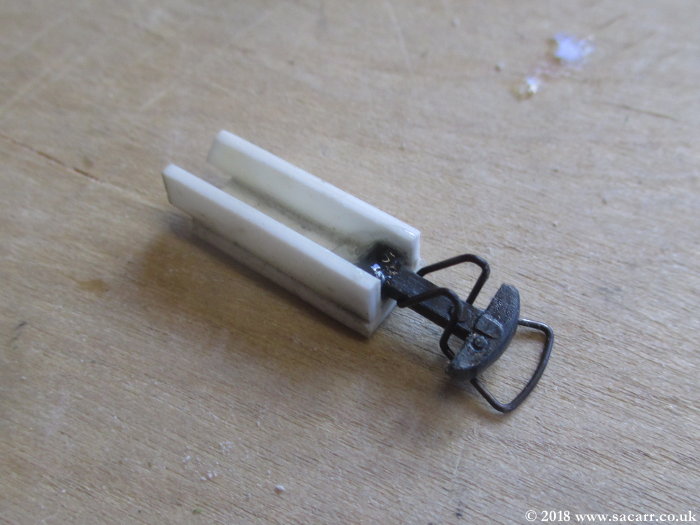
Back to the coach. The postman brought the couplers today. I made some pivoting housings for them to allow the couplers to turn to some degree to help the wagons stay connected on the tight curves.
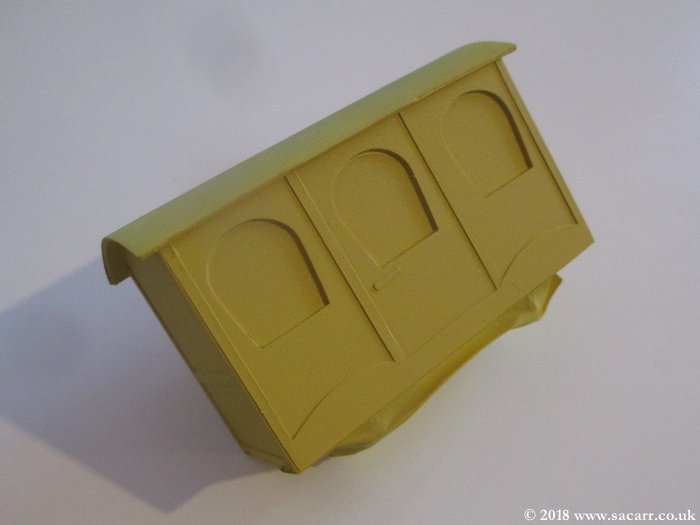
Once the couplers were sorted, the coach was primed and then sprayed in a yellow base coat. The roof will probably end up pink with light blue trim, but the yellow needs to fully harden before it can be handled again.
Coming along very nicely, and yes, when in Rome you do need to learn "the lingo". So much so that I get the odd look at the club of "what the hell are you talking about?" Just remember when referring to "points", in US model railroading (they do have some called railways), they are "turnouts" but in 1:1 scale, "switches" and yet model "shunters" are called Switchers like their real counterparts and not "turnouters"??
Language does make things more complicated than it really needs to be!!! I am English, but often try to use the local terms depending on which forum I'm on and what country it is hosted in. It all gets very confusing!
I used one of the other wagons to check/set the coupler height.
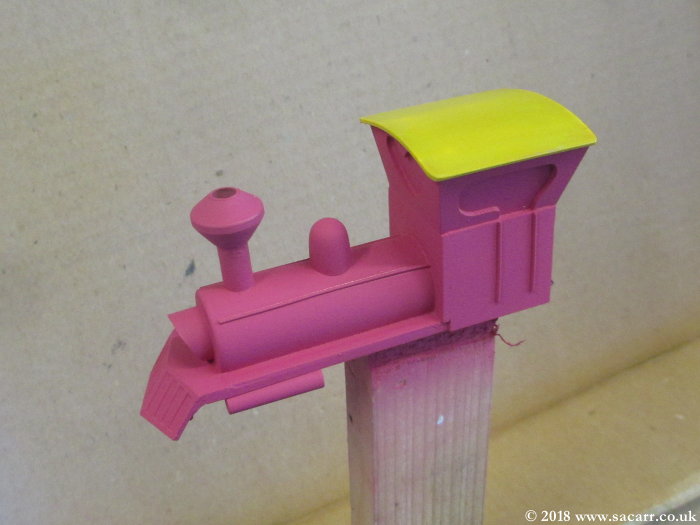
After the coupler was fitted, the loco was primed and the pink sprayed. After a period baking in the airing cupboard again, the yellow cab roof was painted.
Back to the coach. The postman brought the couplers today. I made some pivoting housings for them to allow the couplers to turn to some degree to help the wagons stay connected on the tight curves.